


TensorFlow2.0 编程基础
前言
来到此处的你,你需要有以下两个准备:
- 你已经安装好了 TensorFlow 2.0,无论是 CPU版本 还是 GPU版本,如果你还没有安装好 TensorFlow 2.0,可以去看的之前的一篇博客,TensorFlow2.0 的安装(CPU/GPU)–深度学习第一课;
- 你需要有一定的耐心,因为本篇文章 TensorFlow2.0 编程基础 会有一丝枯燥,但是确无比重要,因为神经网络的搭建与训练对数据结构与维度要求严格,你必须弄懂 TensorFlow 的基础,你才能熟练且无误的搭建神经网络和进行训练
此篇之后,我会写一篇,最基础最简单的,使用 TensorFlow 搭建神经网络解决一个实际问题。
本文就以下几个方面对 TensorFlow 的编程基础做出介绍:
- Tensor 数据类型
- 创建 Tensor
- 索引与切片
- 维度变换
- Tensor 数学运算
- 合并与分割
- Tensor 排序
本文中的代码是以 jupyter notebook 所编写的,完整代码可在我的GitHub中找到,GitHub链接在此
Tensor 数据类型
在介绍 Tensor 数据之前,先介绍两种 Python 常用的数据结构,并解释,为什么做深度学习不用这些数据结构,而是要用 Tensor。
- List : Python中最常用的数据结构,以 [ ] 括起来,如 [1, 1.1, ‘hello’, ‘(1,2)’, layers] ,缺点是储存图片占用内存非常大,读写图片数据效率低。
- np.array : 存成一个静态数组,转置、加减乘除等运算方便灵活,但 numpy 不提供创建张量函数和自动梯度求导,也不提供 GPU 支持,不适合深度学习。
- tf.tensor : tensorflow 中的数据载体,偏重神经网络的计算。为减少初学者的入门难度,tensorflow 和 numpy 的 API 刻意相近,而且参数的命名也是刻意相近,从而方便从 numpy 转化到 tensorfolw 中。tensorflow 中使用它来表示数据:标量是张量,向量是张量,矩阵是张量,矩阵的矩阵是张量。
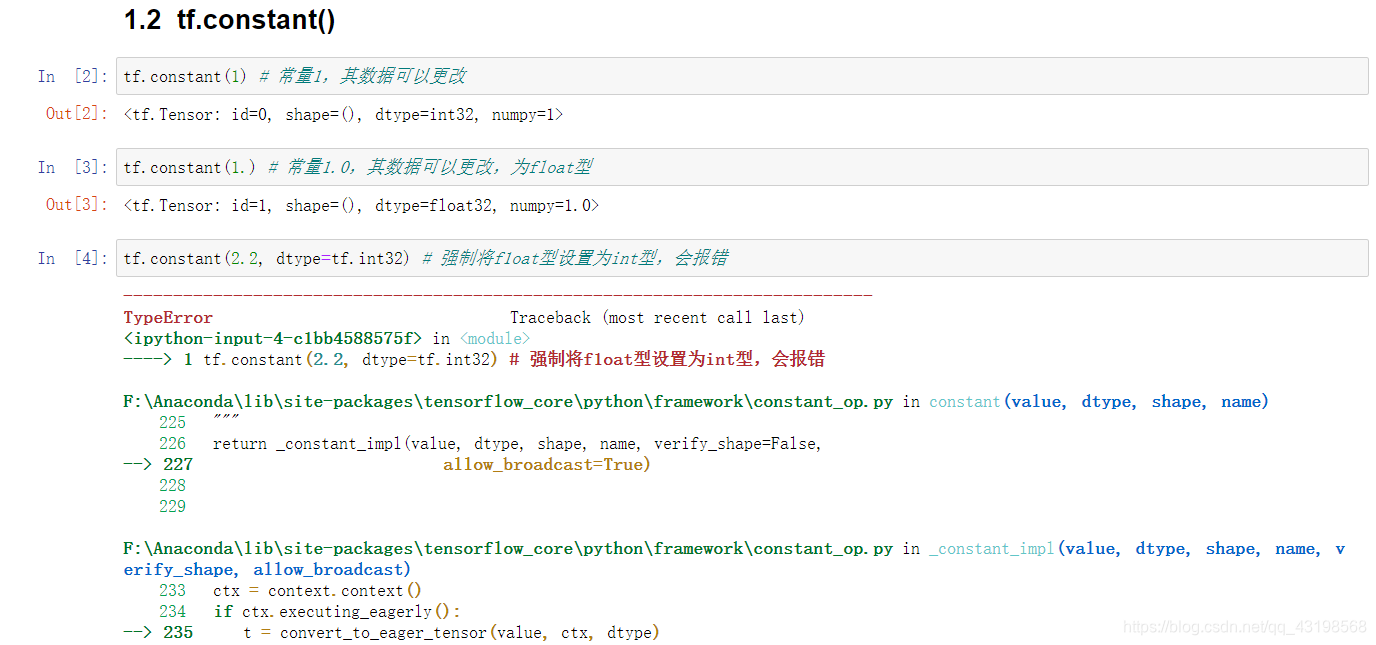
tf.constant()
创建 Tensor 常量
# 导入需要的库
import tensorflow as tf
import numpy as np

tf.constant(1) # 常量1,其数据可以更改
tf.constant(1.) # 常量1.0,其数据可以更改,为float型
tf.constant(2.2, dtype=tf.int32) # 强制将f1oat型设置为int型,会报错
tf.constant(2., dtype=tf.double) # 将float可以强制设置为double型
tf.constant([True, False]) # bool型变量
tf.constant('Hello World!') # string类型变量
tf.constant(np.array(2.0))
tf.constant(np.array(2.0), dtype=tf.float32)
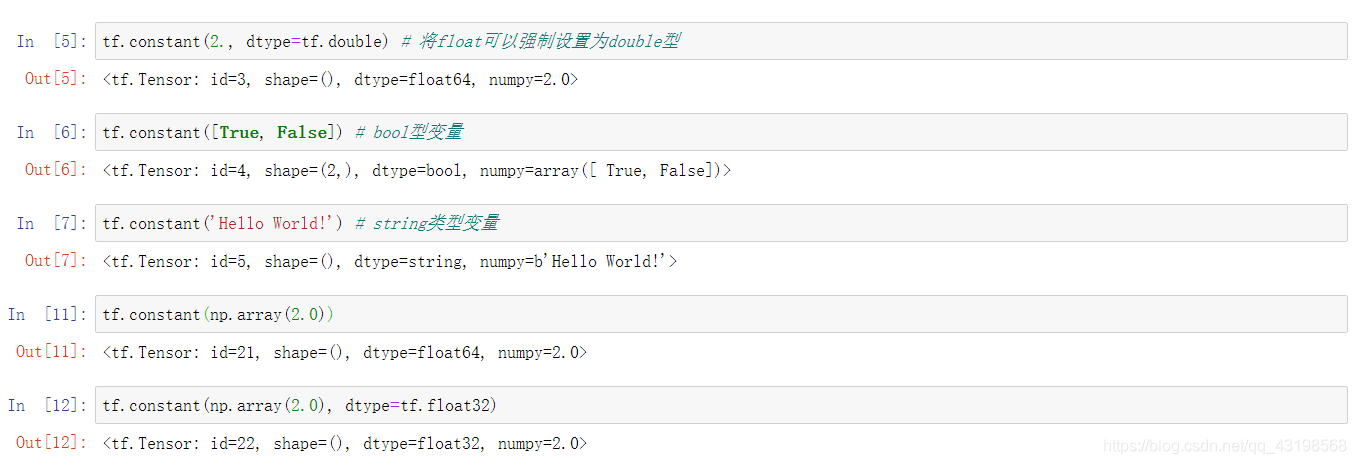
其中需要注意的是:
由 numpy 数组变换到 tensorflow 的张量时需要稍加注意。numpy 创建数组时默认的浮点型是 double,而 tf 在创建张量时默认是 float32。tf 在接收 numpy 数组时会同时接受其元素的数据类型。tf 的使用者可能很多都是需要在 GPU 上运行的程序,而 GPU 处理 float32 比处理 double 要快很多,所以如果对数据精度要求并没有太高的话,最好还是使用单精度的 float32,而不是双精度的 double。
tensorflow 中的 shape
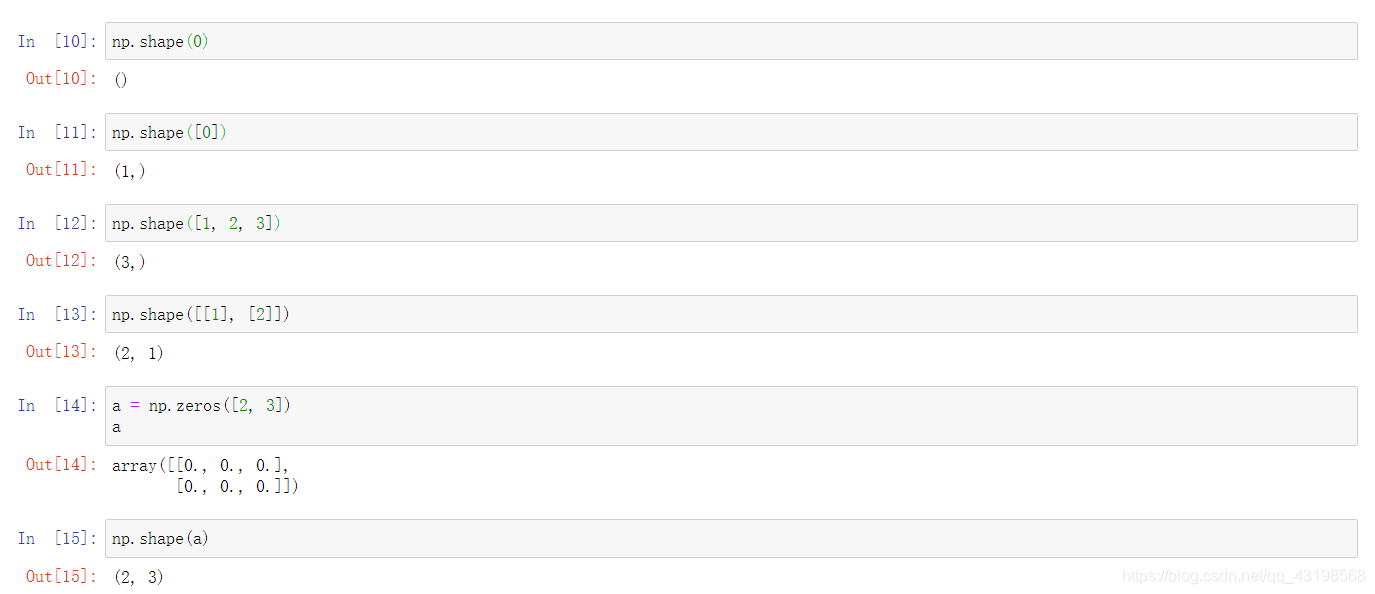
np.shape():
这个函数是 numpy 中的一个函数,其功能是获取括号内数据的长度或维度信息,其使用对象既可以是一个数,也可以是数组或矩阵。
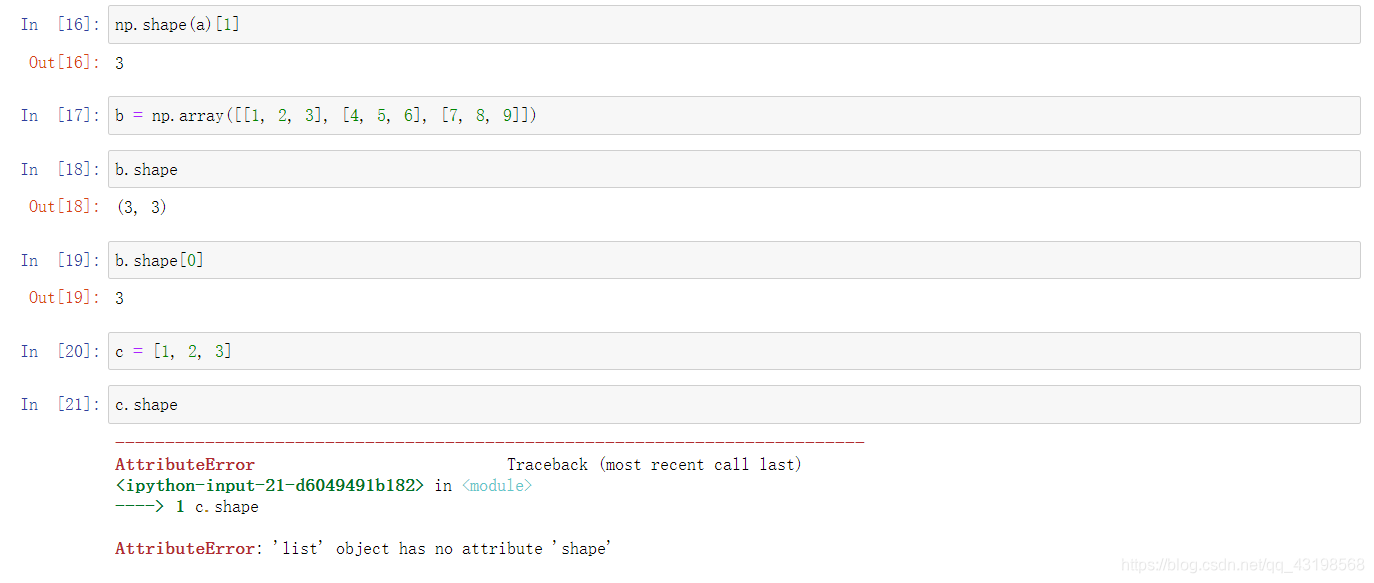
array.shape:
array.shape 是 np.ndarray 的方法,可以快速获取矩阵的形状,注意此处不加括号!!!
np.shape(0)
np.shape([0])
np.shape([1, 2, 3])
np.shape([[1], [2]])
a = np.zeros([2, 3])
a
np.shape(a)
np.shape(a)[1]
b = np.array([[1, 2, 3], [4, 5, 6], [7, 8, 9]])
b.shape
b.shape[0]
c = [1, 2, 3]
c.shape
TensorFlow 时用张量这种数据结构来表示所有的数据。同时可以把初级的 TensorFlow 理解为线性代数的计算工具。Shape 表示为张量的阶(但是此时又区分与线代中的阶),几何意义可以大致理解为张量(向量)的几何维度。而 [ ] 中的内容可以理解为向量中的维度界。而无[ ]这个界进行限制则可以理解为无法构成向量。这样就可以很好的理解 TensorFlow 中的 Shape 了。
获取变量维度是一个使用频繁的操作,在 TensorFlow 中获取变量维度主要用到的操作有以下三种:
- Tensor.shape
- Tensor.get_shape()
- tf.shape(input,name=None,out_type=tf.int32)
方法1与方法2基本一样,只不过前者是 Tensor 的属性变量,后者是 Tensor 的函数。
方法1、2均返回 TensorShape 类型,而方法3返回一个 1D 的 out_type 类型的 Tensor。
方法1、2可以在任意位置使用。
方法1、2获取的是静态 shape,可以返回不完整的 shape;方法3获取的是动态的 shape,必须是完整的 shape。
isinstance(a,tf.Tensor) || tf.is_tensor(b) || a.dtype
isinstance(a,tf.Tensor)
判断 a 是否为 Tensor。
isinstance() 会认为子类是一种父类类型,考虑继承关系。如果要判断两个类型是否相同推荐使用 isinstance()。语法 isinstance(object, classinfo) 参数 object ——实例对象;classinfo ——可以是直接或间接类名、基本类型。
a = tf.constant([1.])
isinstance(a, tf.Tensor)

tf.is_tensor(b)
判断 b 是否为 Tensor。
b = tf.constant([True, False])
tf.is_tensor(b)

d = np.arange(4)
tf.is_tensor(d)

a.dtype
返回数据类型。
a = tf.constant([1.])
b = tf.constant([True, False])
c = tf.constant('hello,world.')
a.dtype, b.dtype, c.dtype

Convert
aa = tf.convert_to_tensor(a,dtype = tf.int32) # 将numpy转换为tensor并指定数据类型为int32
aaa = tf.cast(aa,dtype = tf.double) # 张量数据类型转换为double

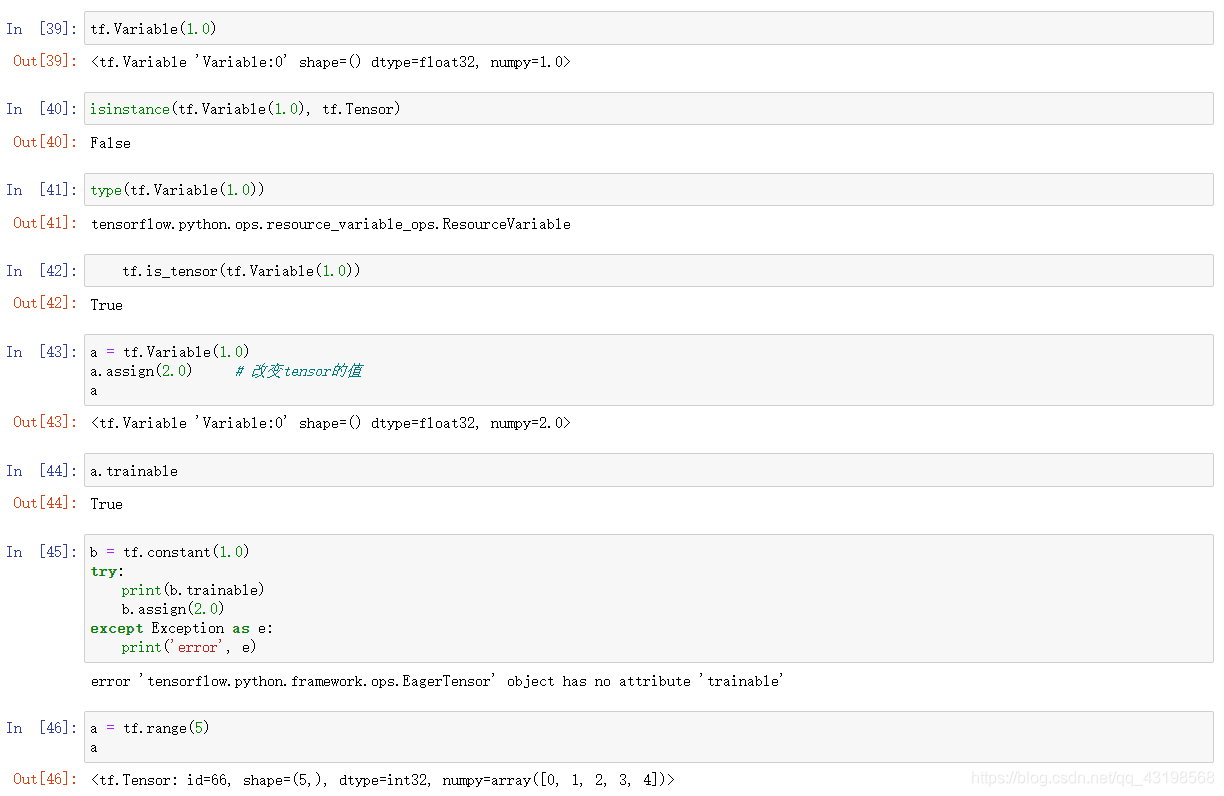
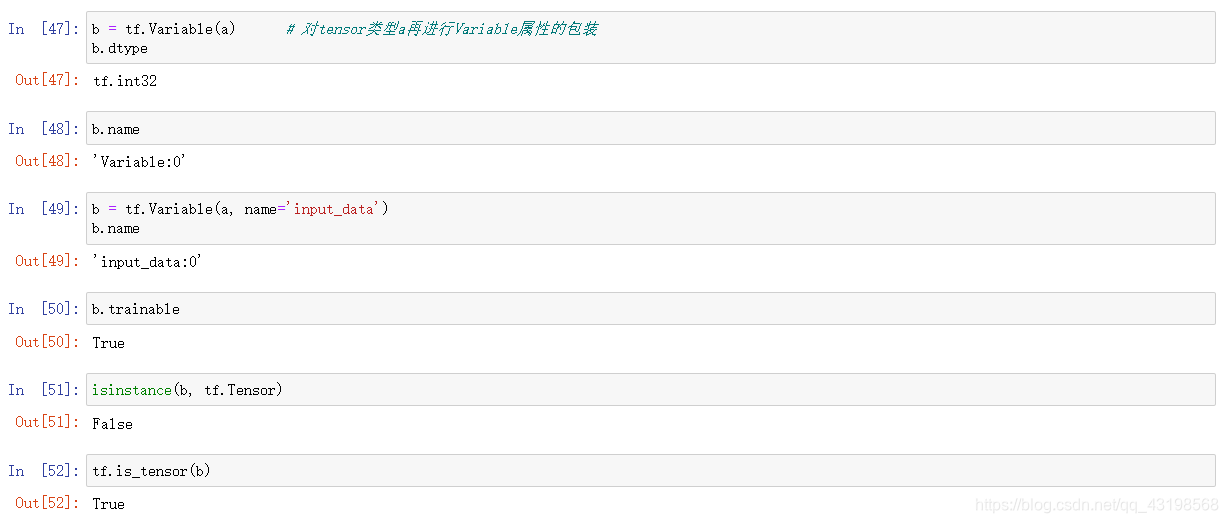
tf.Variable
Variable 是特殊的张量,也是 tf 的使用者常见的一种复合数据类型,一般用于模型中需要在训练过程中进行调整的参数。
Variable在初始化之后还是可以修改其内容的,并且其包含了 “trainable” 属性,该属性在训练时可以用于判断这个 Variable 是否需要被调整。而一般的 Tensor 在初始化之后是不能修改内容的,如果需要修改,就只能生成一个新的 Tensor。并且一般的 Tensor 没有 “trainable” 属性,说明在训练时,是完全不需要在误差反传中进行调整。
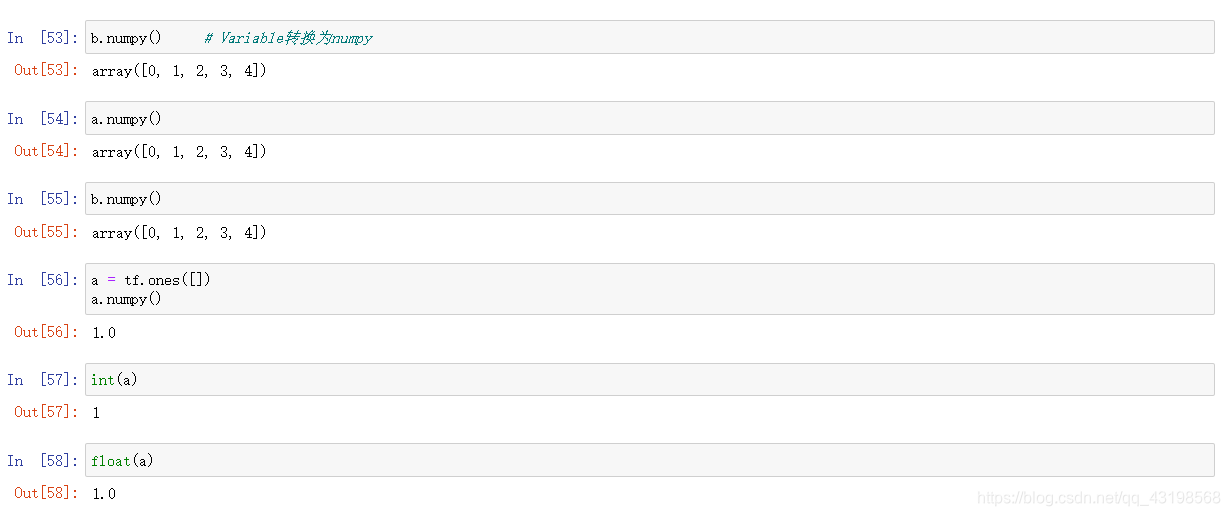
To Numpy
创建 Tensor
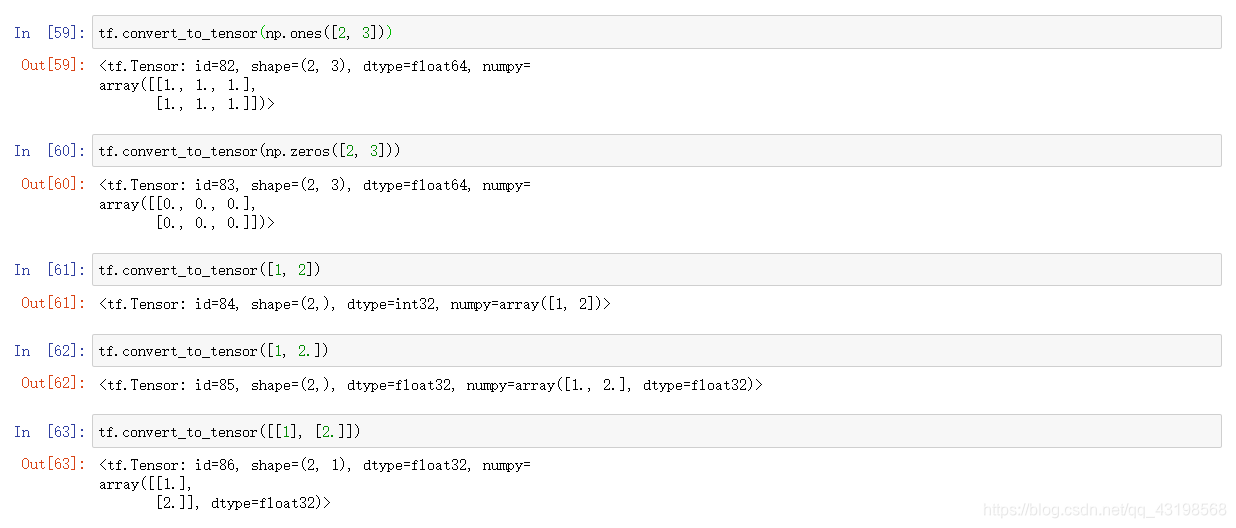
From Numpy, List
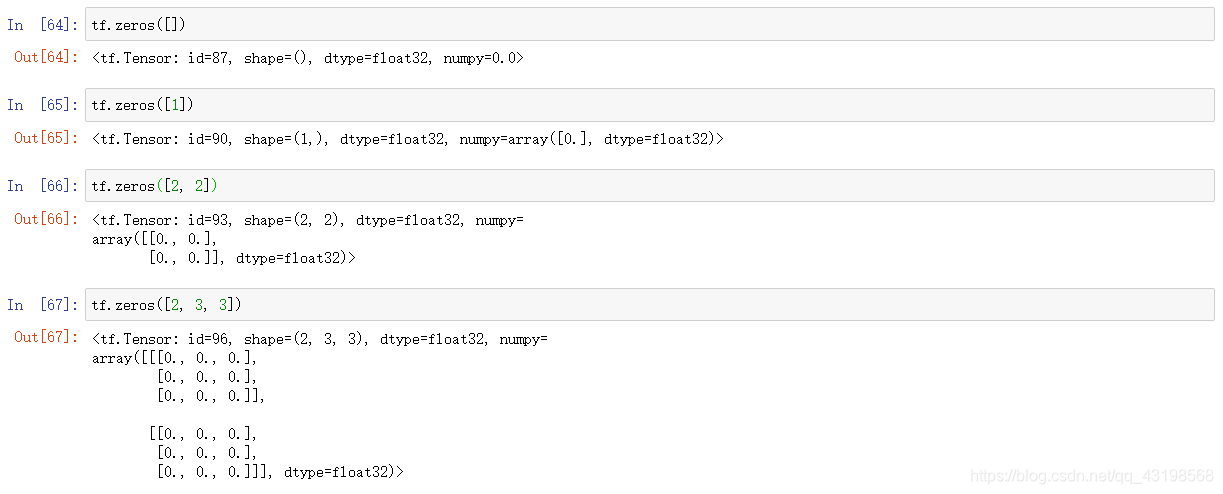
tf.zeros()
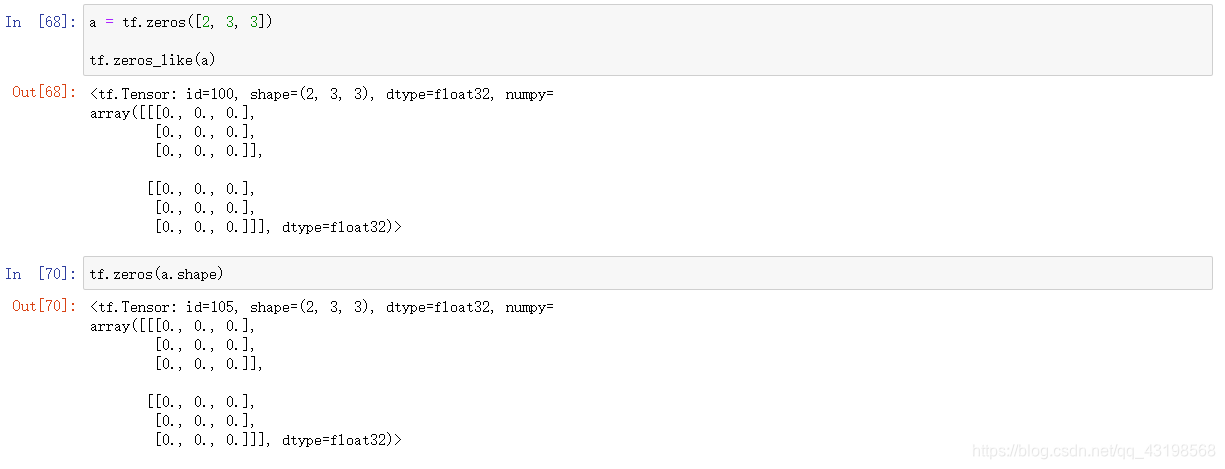
tf.zeros_like()
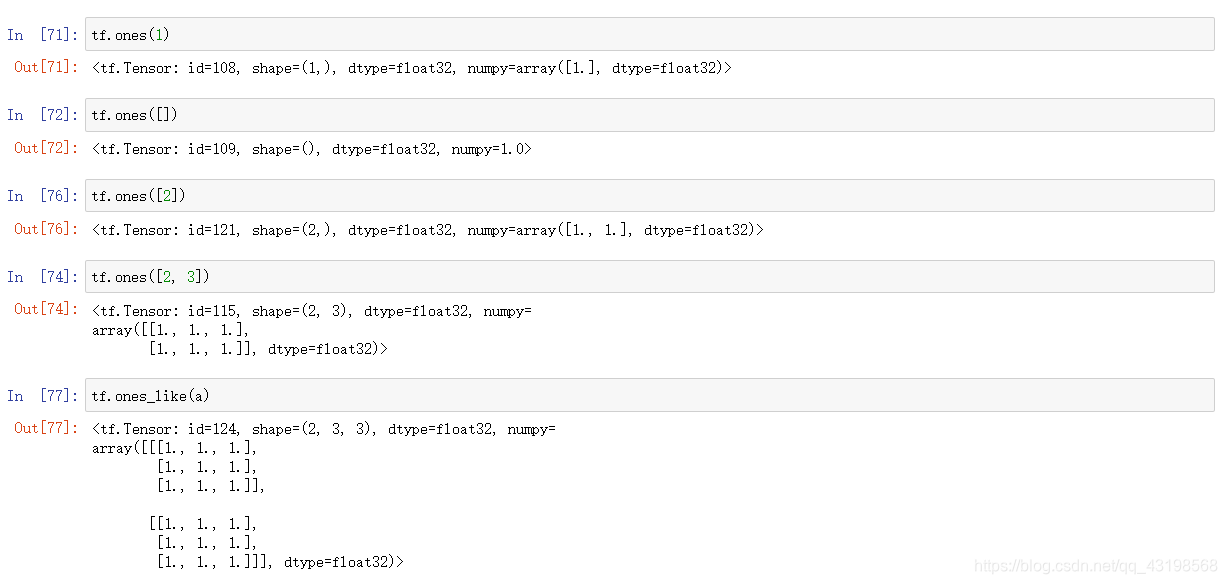
tf.ones()
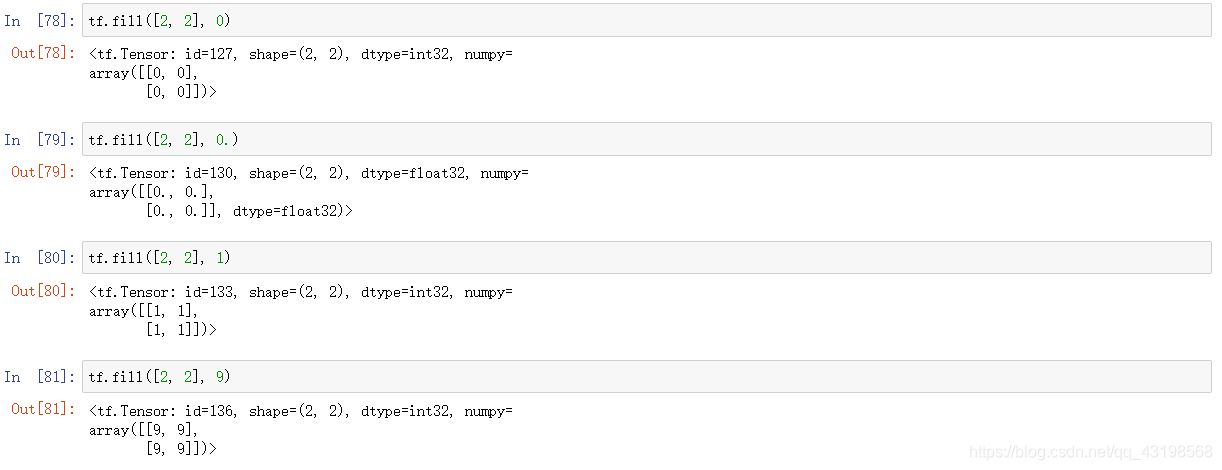
tf.fill()
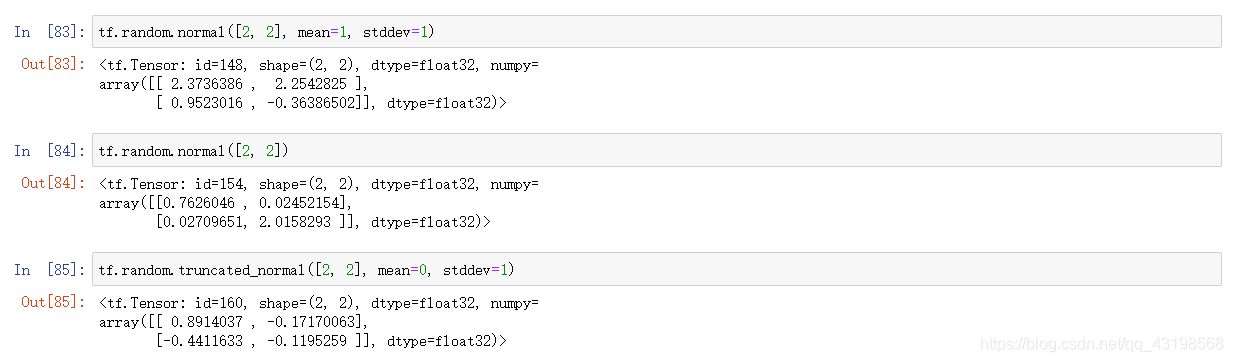
normal || uniform
tf.random_normal() 函数用于从服从指定正太分布的数值中取出随机数

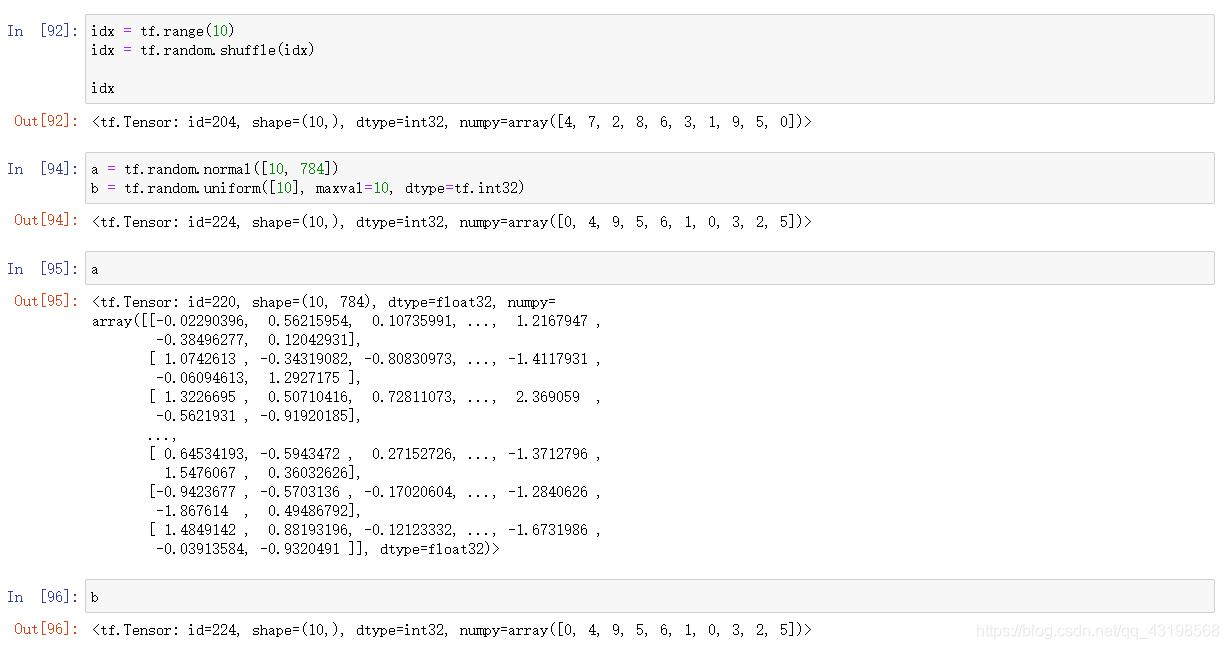
Random Permutation
索引与切片
Basic indexing
Numpy-style indexing

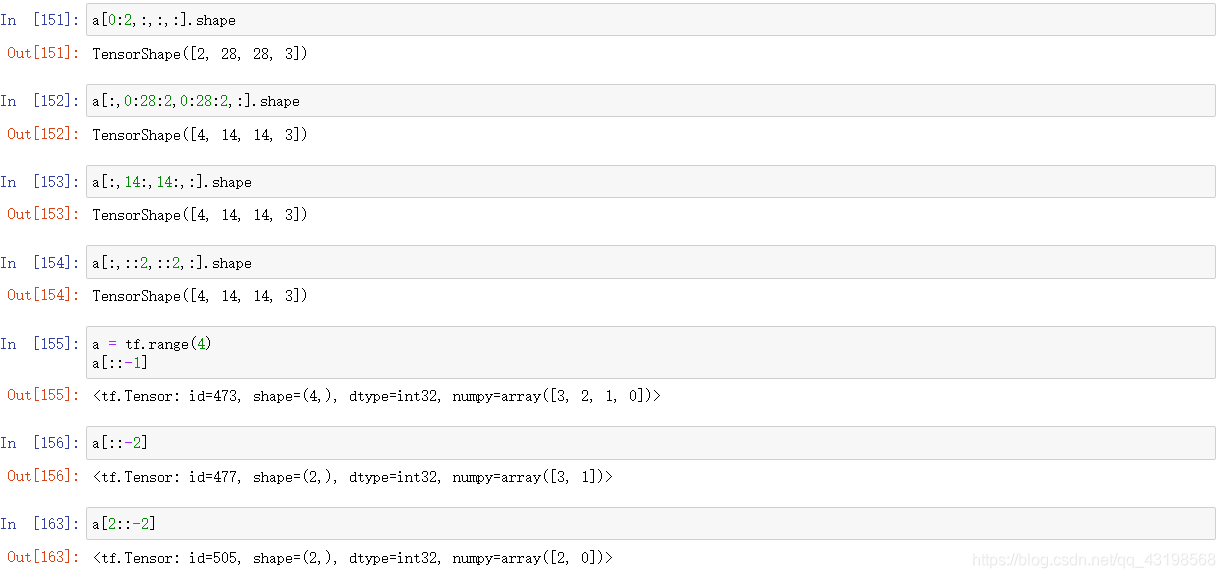
Indexing by : start:end

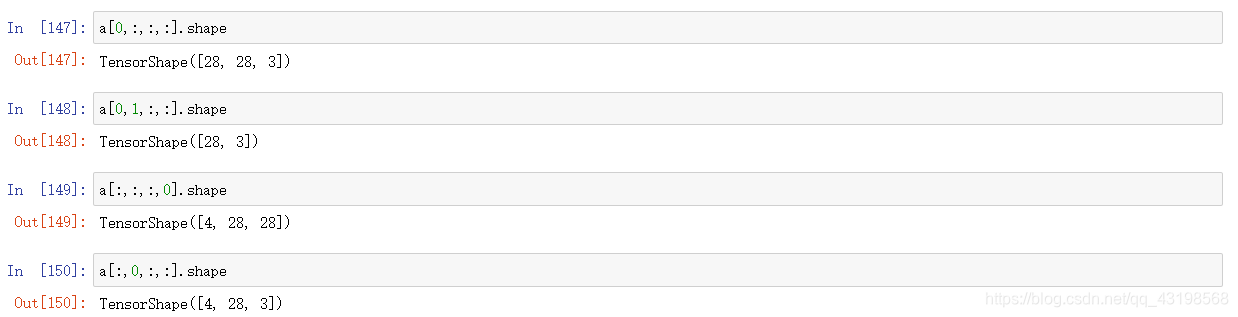
Indexing by : start🔚step
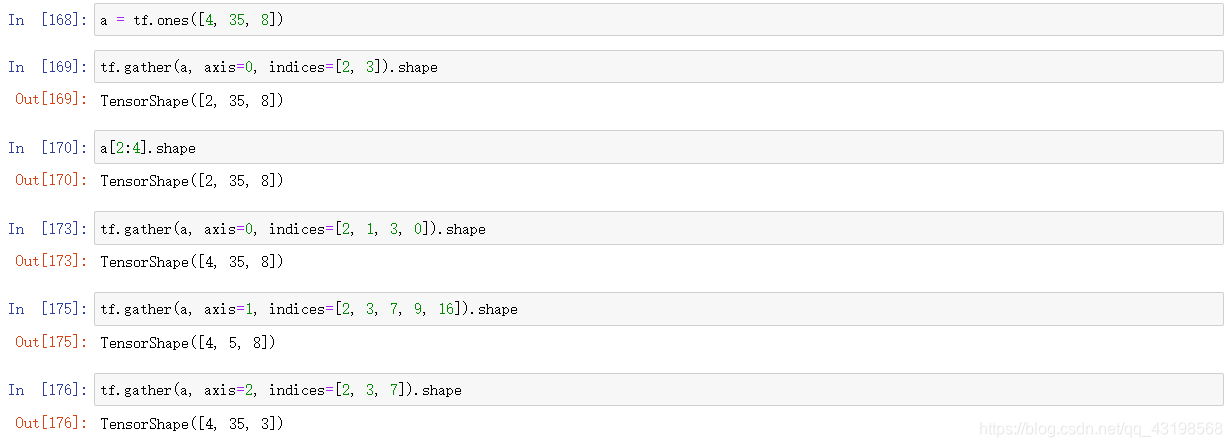
tf.gather()
tf.gather_nd()

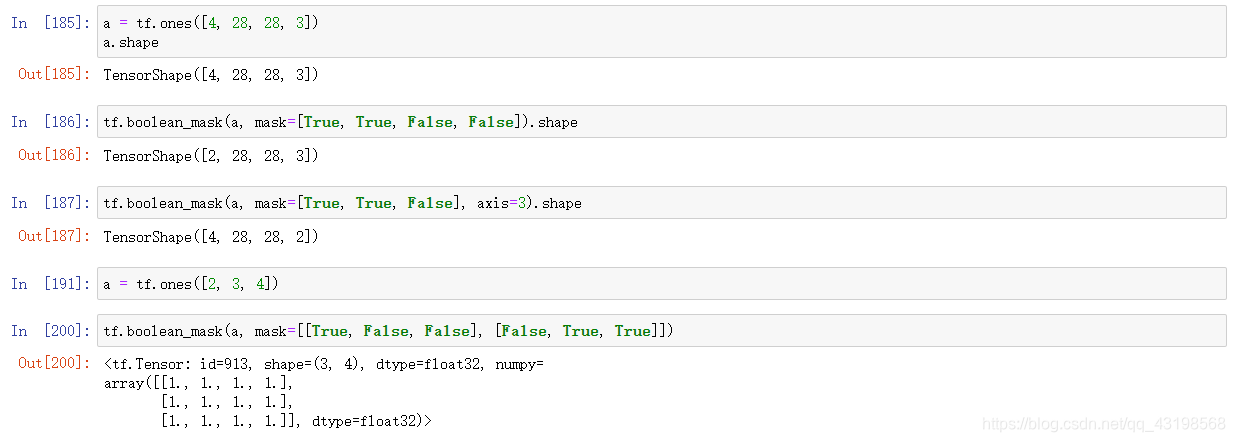
tf.boolean_mask
维度变换
tf.reshape()

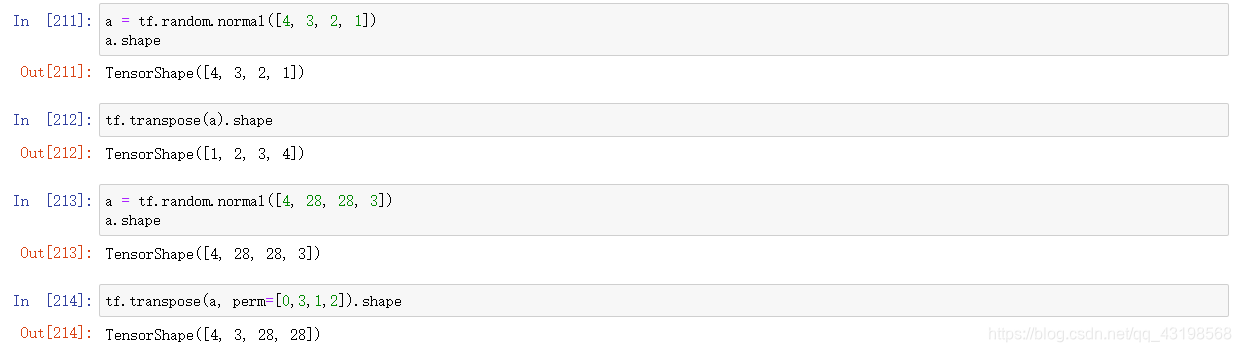
tf.transpose()
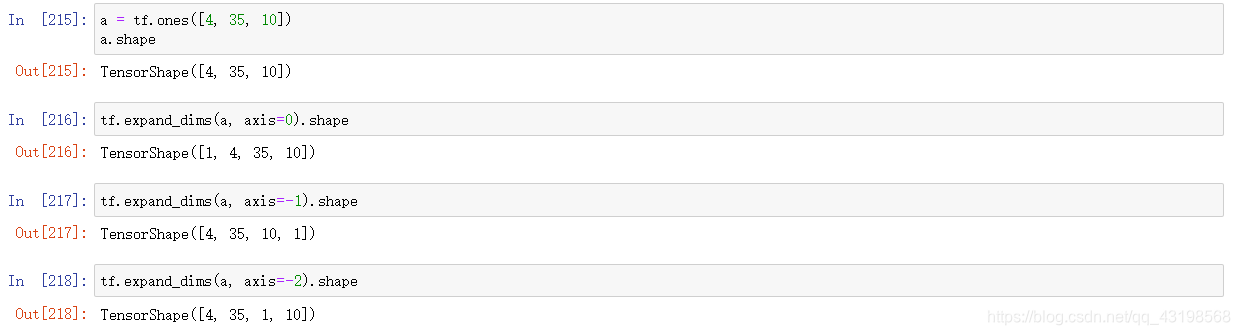
tf.expand_dim()
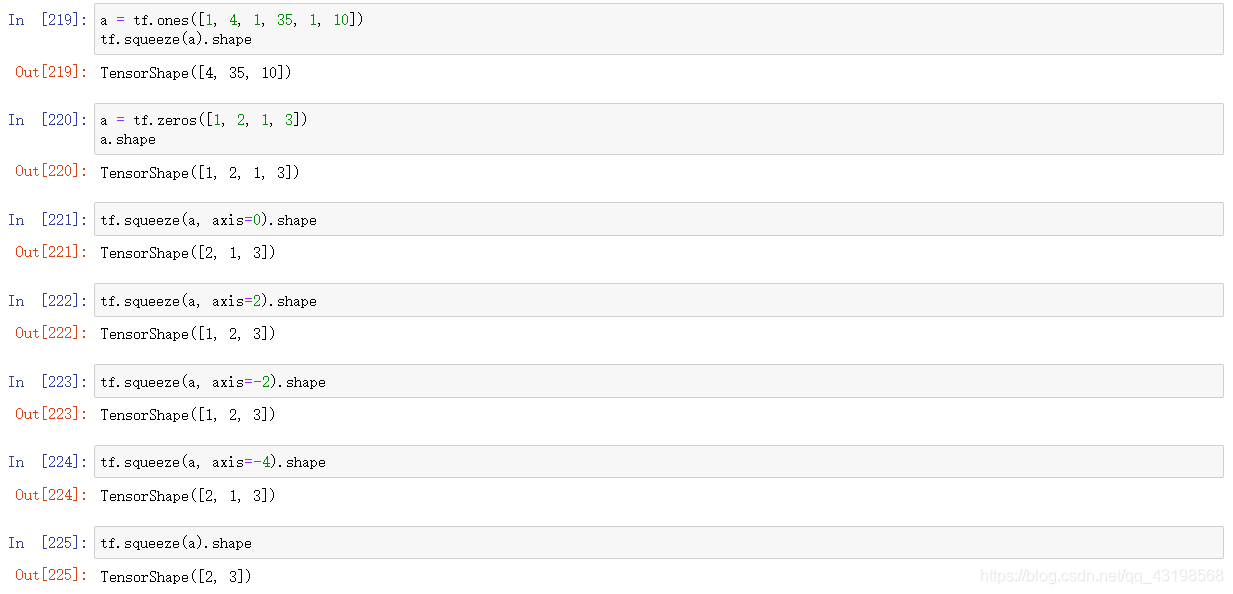
tf.squeeze()
Tensor 数学运算
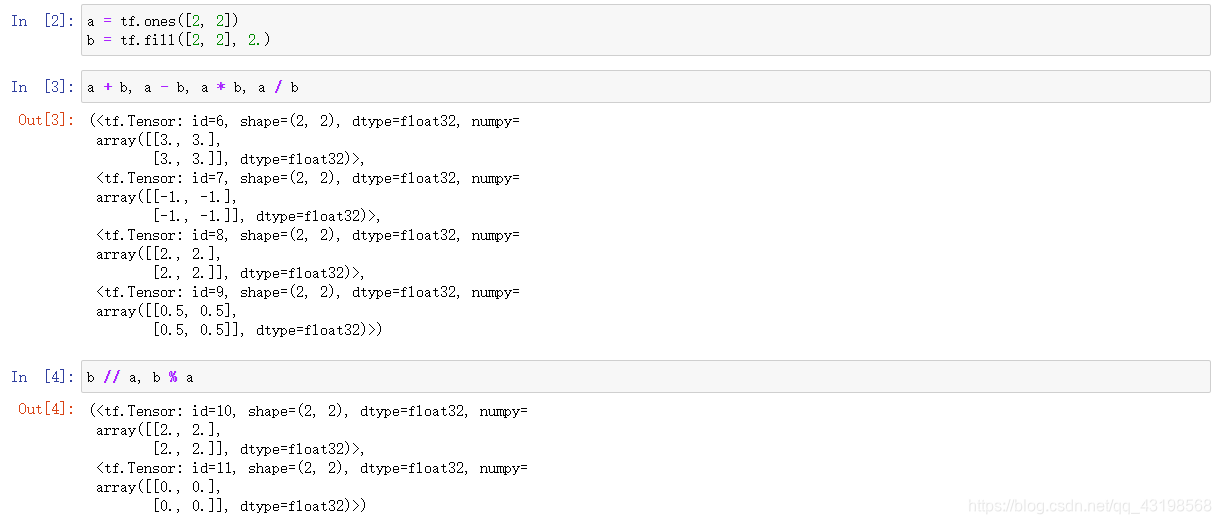
+ - * / % //
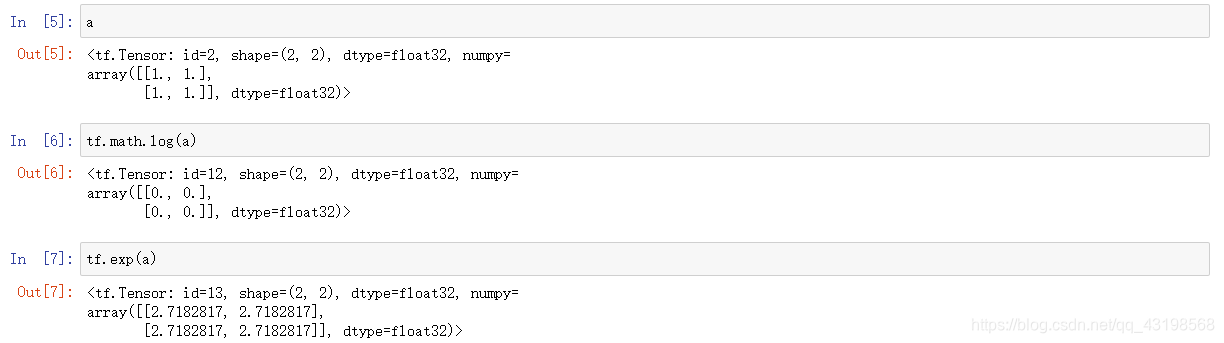
tf.math,log tf.exp
log2, log10

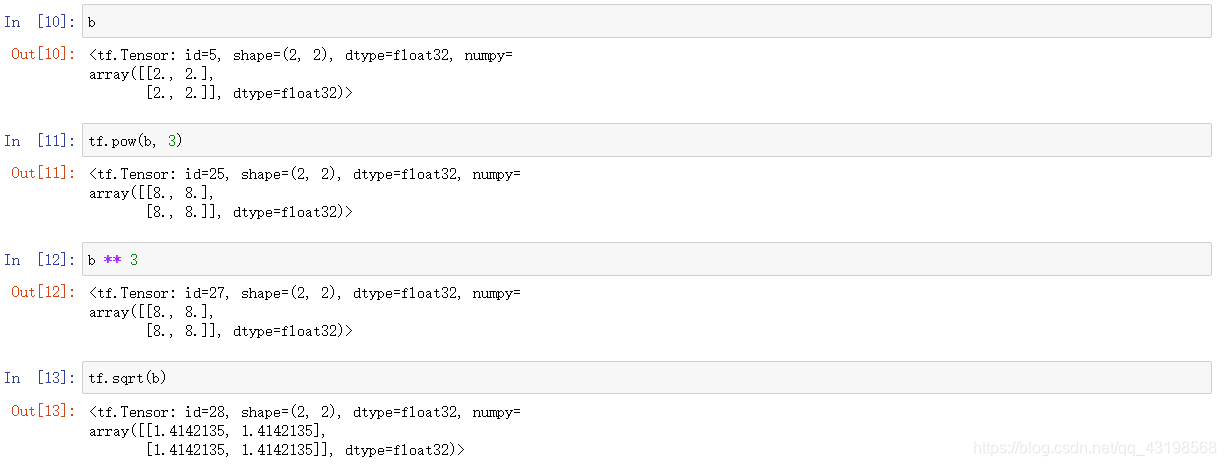
pow, sqrt
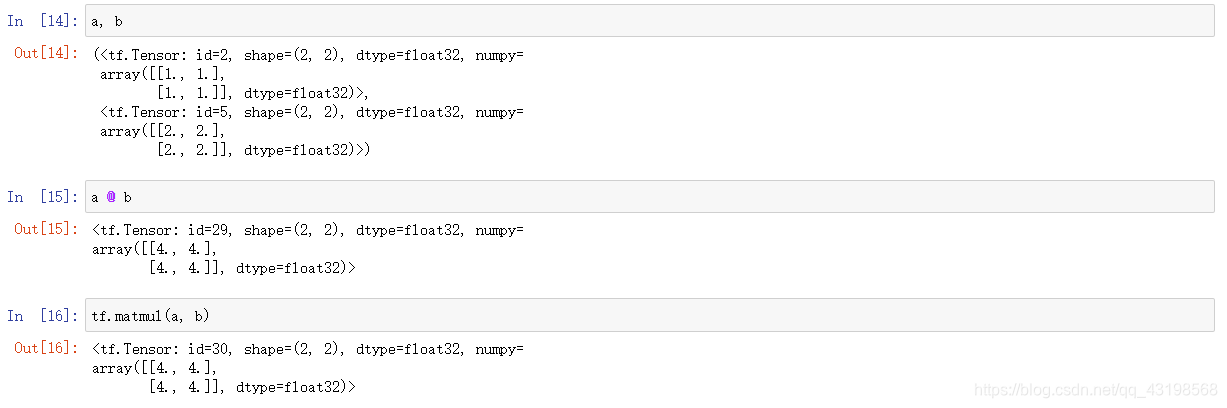
@ matmul
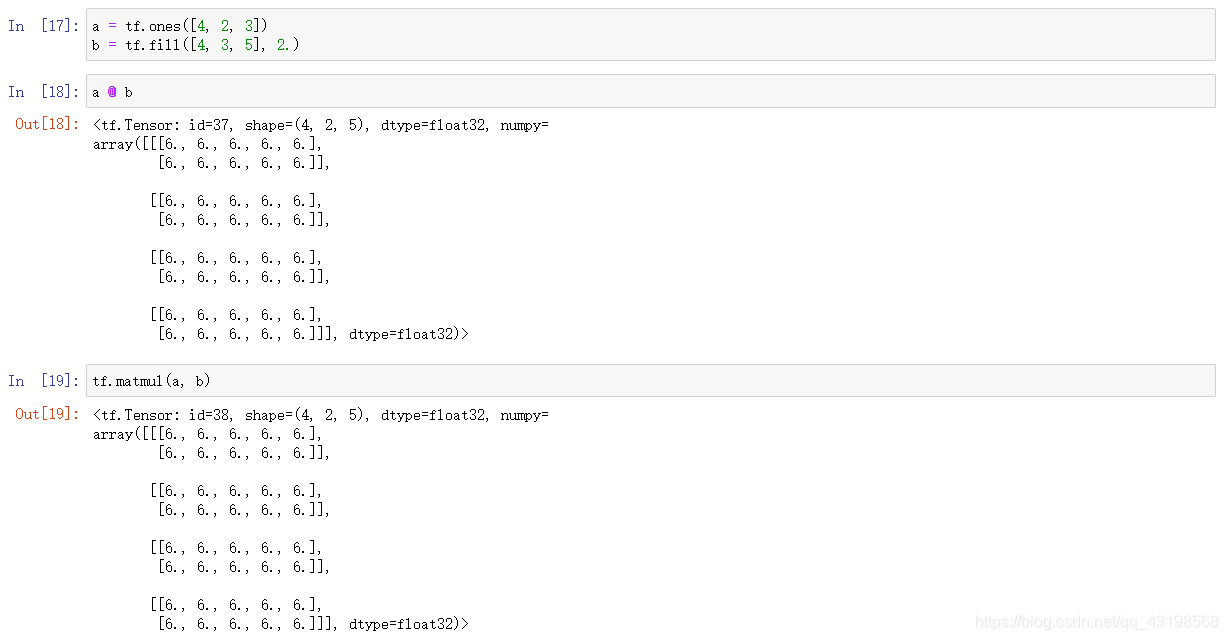
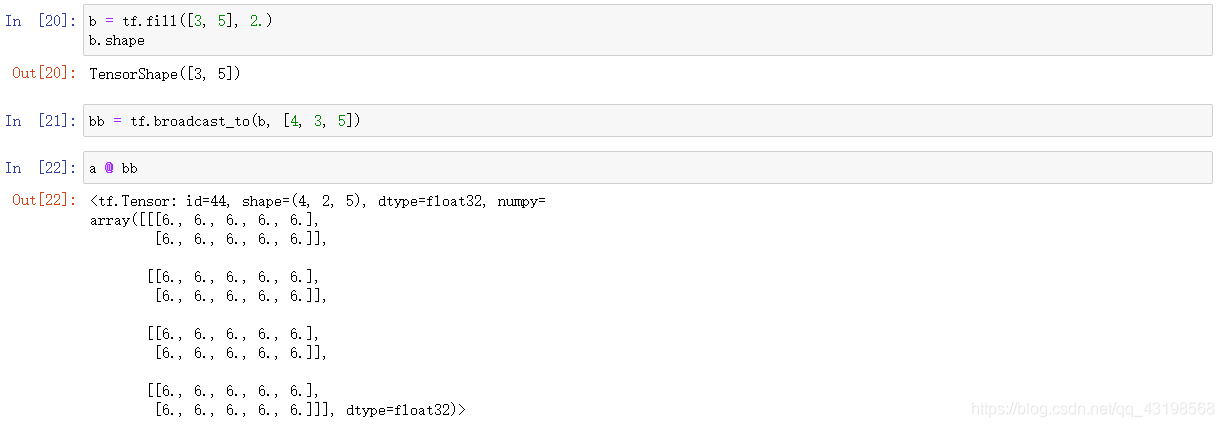
With broadcasting
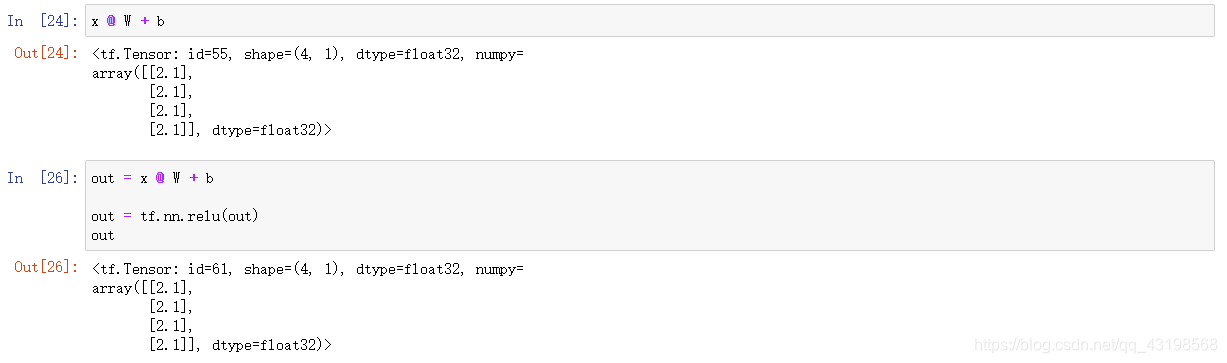
Y = X @ W + b

out = relu(X @ W + b)
合并与分割
concat

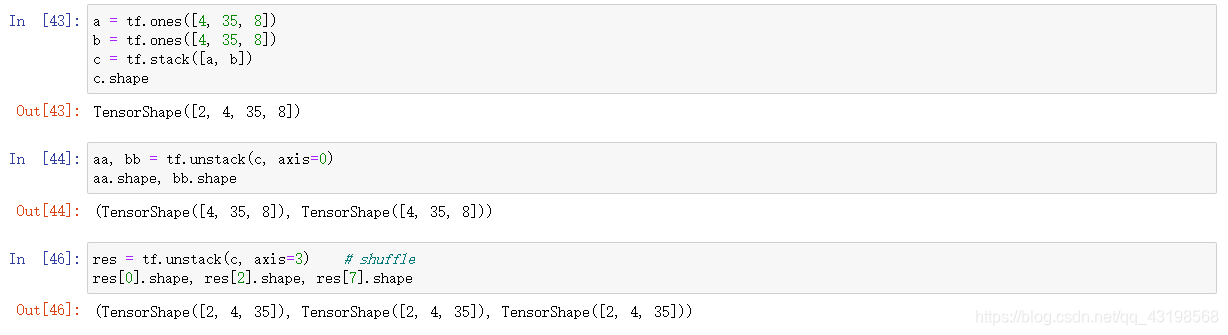
stack

unstack
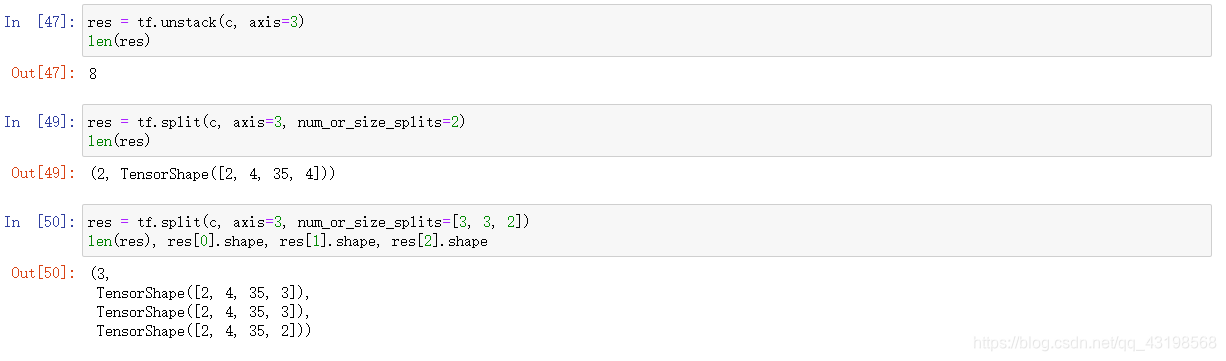
split
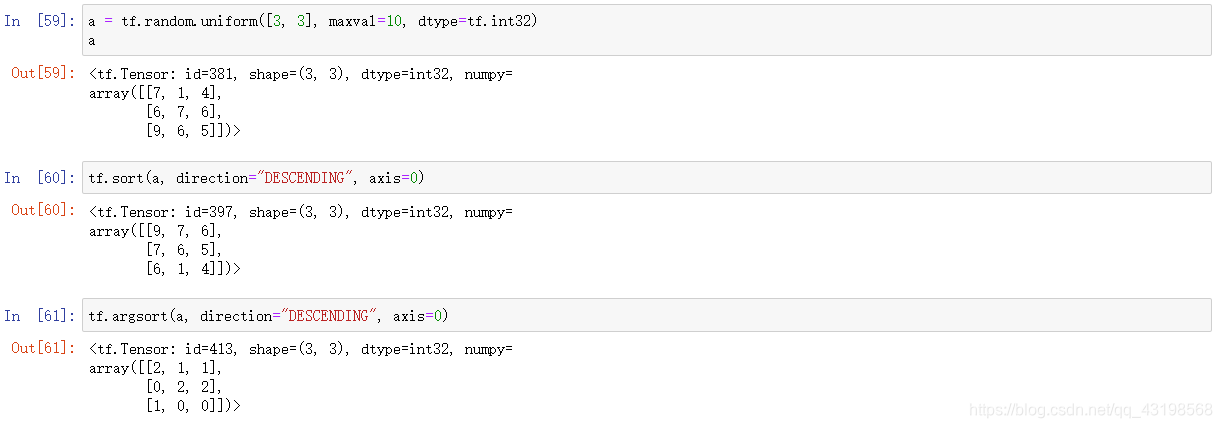
Tensor 排序
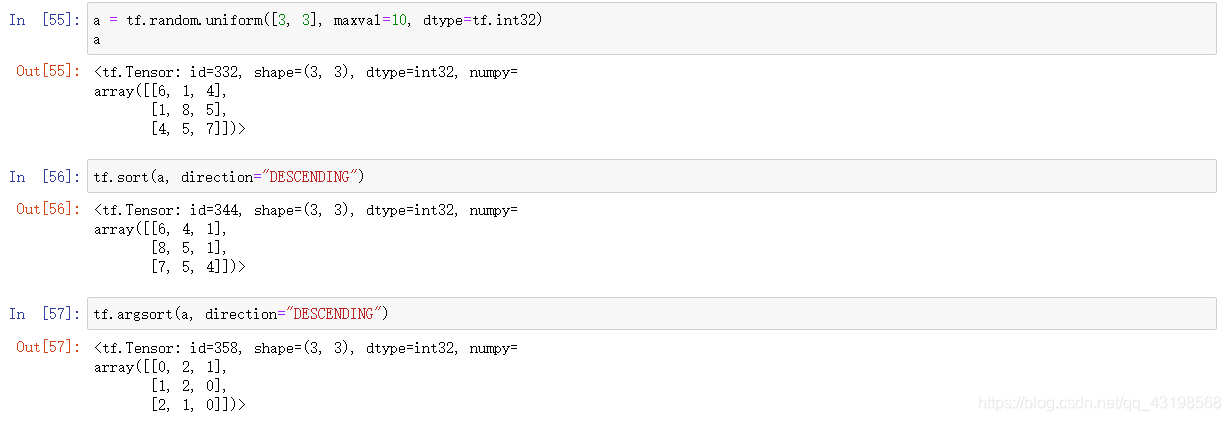
sort/argsort

行维度上排序
列维度上排序
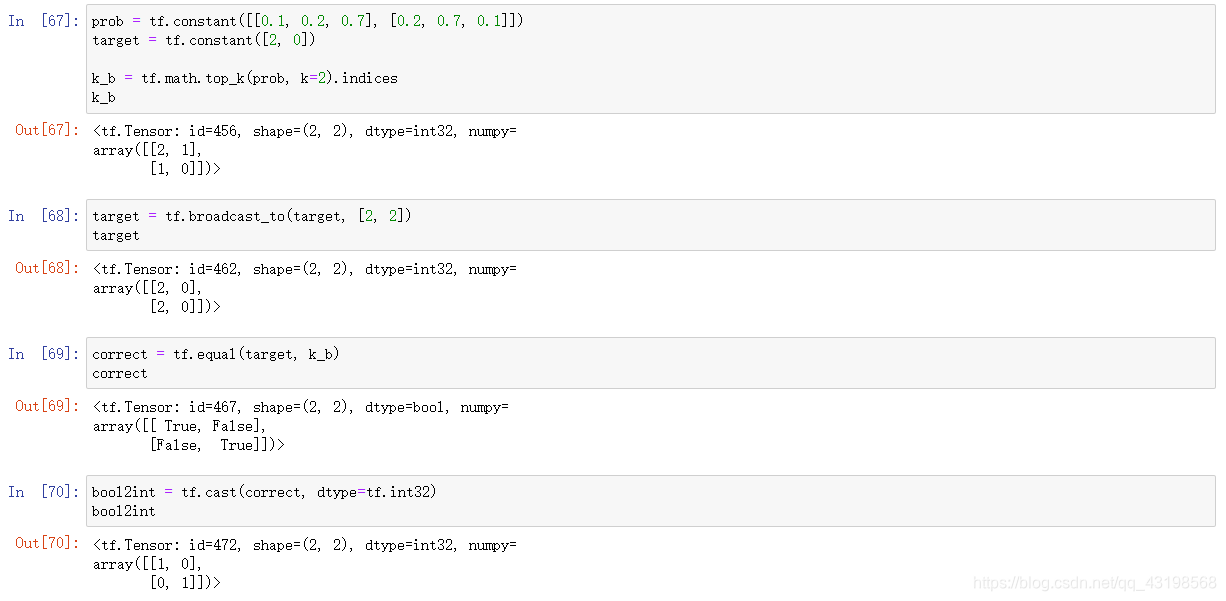
Top_k

Top_k accuracy


 578
578


 被折叠的 条评论
为什么被折叠?
被折叠的 条评论
为什么被折叠?
 到【灌水乐园】发言


