


SpringSecurity权限控制的简单实现
1.首先建立一个SpringBoot工程,并导入相关的依赖
  <!--security-->
        <dependency>
            <groupId>org.springframework.boot</groupId>
            <artifactId>spring-boot-starter-security</artifactId>
        </dependency>
        <!--web-->
        <dependency>
            <groupId>org.springframework.boot</groupId>
            <artifactId>spring-boot-starter-web</artifactId>
        </dependency>
        <!--thymeleaf-->
        <dependency>
            <groupId>org.thymeleaf.extras</groupId>
            <artifactId>thymeleaf-extras-java8time</artifactId>
        </dependency>
        <dependency>
            <groupId>org.thymeleaf</groupId>
            <artifactId>thymeleaf-spring5</artifactId>
        </dependency>
在template文件夹下面放入三个等级的页面,以便后面验证权限
如下:

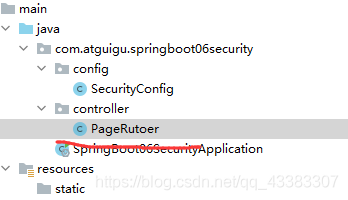
创建Controller文件夹,随后在内部创建一个路由类,方便分流
/**
 * @author 蒲成伟
 * @create 2021-07-31-15:11
 */

@Controller
public class PageRutoer {

    @GetMapping("/Leavle1/{id}")
    public String VIP1(@PathVariable("id") Integer id){
        System.out.println("id = " + id);
        return "/leavel1/hello"+id;
    }

    @GetMapping("/Leavle2/{id}")
    public String VIP2(@PathVariable("id") Integer id){
        System.out.println("id = " + id);
        return "/leavel2/hello"+id;
    }

    @GetMapping("/Leavle3/{id}")
    public String VIP3(@PathVariable("id") Integer id){
        System.out.println("id = " + id);
        return "/leavel3/hello"+id;
    }
}
随后继续创建Security配置类
/**
 * @author 蒲成伟
 * @create 2021-07-31-15:00
 */
@EnableWebSecurity
public class SecurityConfig extends WebSecurityConfigurerAdapter {
    @Override
    protected void configure(HttpSecurity http) throws Exception {
        //根据请求路径的不同,将页面分成三个等级,第一级所有人员均可以访问
        //二级页面需要vip2级可以访问,以此类推
        http.authorizeRequests()
                .antMatchers("/Leavle1/**").permitAll()
                .antMatchers("/Leavle2/**").hasRole("vip2")
                .antMatchers("/Leavle3/**").hasRole("vip3");
        http.formLogin();
    }

    @Override
    protected void configure(AuthenticationManagerBuilder auth) throws Exception {
        //设置用户权限,按正规的本来需要从数据库中获取这些信息,这里为了方便就直接定了用户信息和账号权限
        auth.inMemoryAuthentication().passwordEncoder(new BCryptPasswordEncoder())
                .withUser("puchengwei").password((new BCryptPasswordEncoder().encode("123456"))).roles("vip2")
                .and()
                .withUser("root").password(new BCryptPasswordEncoder().encode("123456")).roles("vip2","vip3");

    }
}
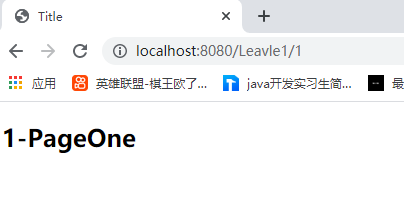
至此配置完毕可以启动应用程序验证
不登陆时。访问一级页面成功
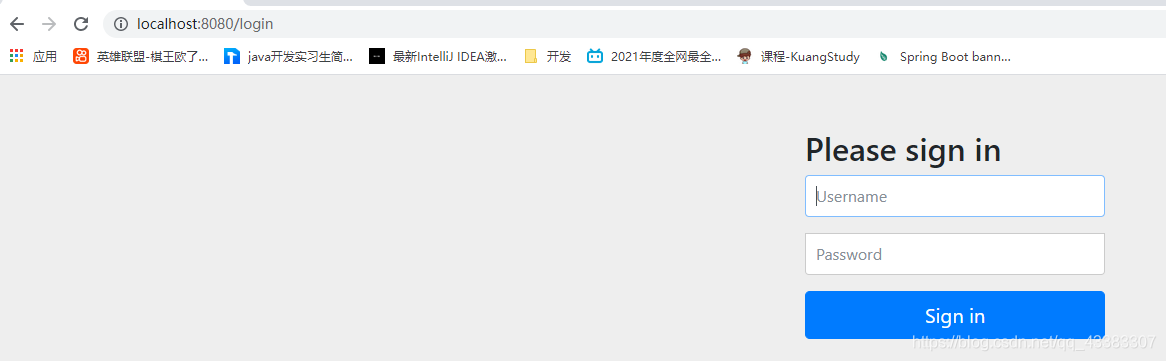
访问二级页面失败,并重定向到登录界面。
继续输入刚刚设置的用户信息:登录自己设置的root用户
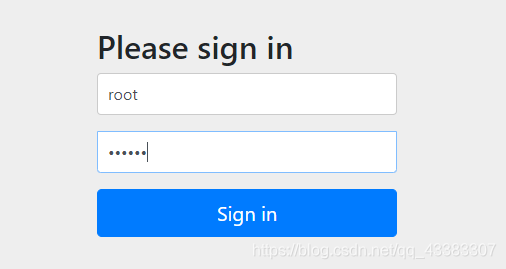
页面请求成功
页面三请求成功


 1053
1053


 被折叠的 条评论
为什么被折叠?
被折叠的 条评论
为什么被折叠?
 到【灌水乐园】发言


