


 本文介绍了如何使用ApachePOI库在Excel单元格中插入图片,并控制图片的大小和位置,以实现居中效果,同时指出了一种创建图片对象的误区。
一、需求说明
使用框架:POI
Excel版本:*.xlsx
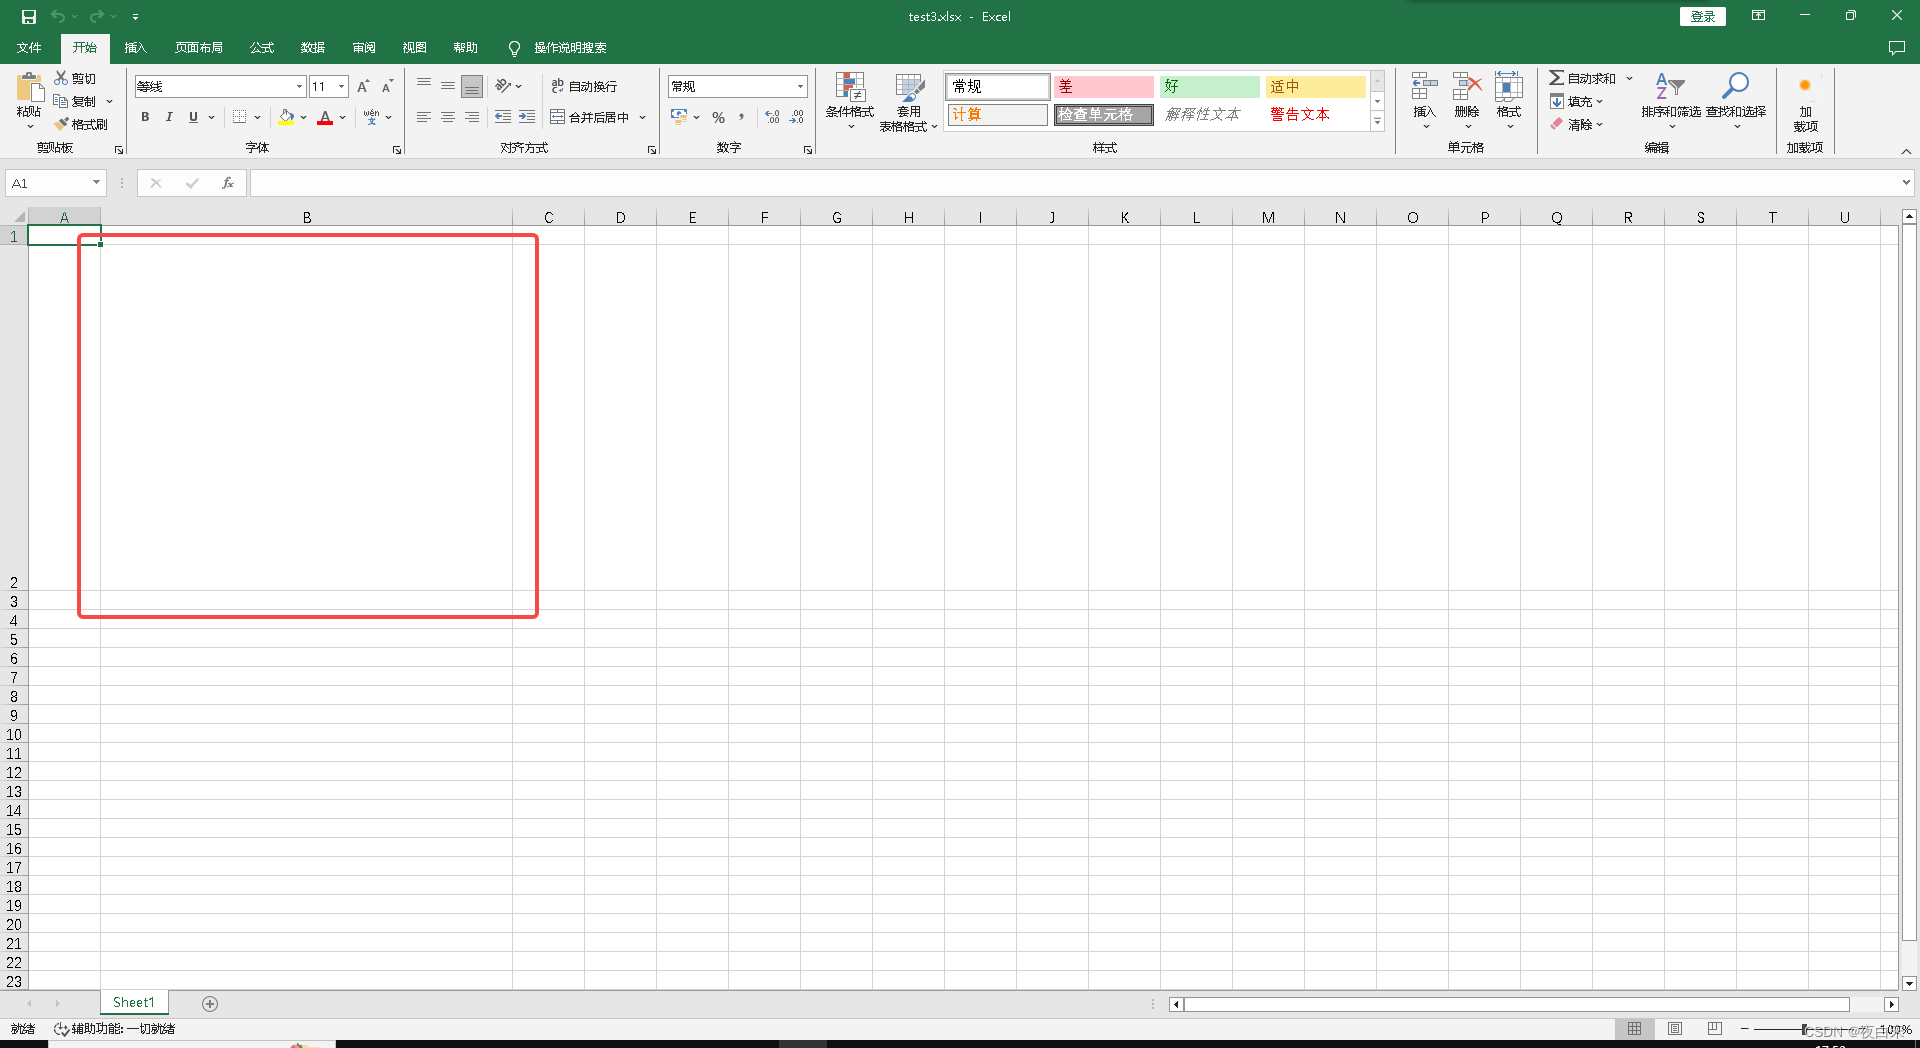
想要在Excel某个单元格中插入对应的图片,并且缩小尺寸,在单元格中居中
例如在下面这个单元格中插入对应的图片,并且要与单元格四周有间距
二、代码
import org.apache.poi.util.Units;
import org.apache.poi.xssf.usermodel.*;

import javax.imageio.ImageIO;
import java.awt.image.BufferedImage;
import java.io.*;

public class TestMain2 {
    public static void main(String[] args) {
        String outFilePath = "C:\\Users\\Administrator\\Desktop\\test4.xlsx";//生成的文件
        String templatePath = "C:\\Users\\Administrator\\Desktop\\test3.xlsx";//模板文件
        String imagePath = "C:\\Users\\Administrator\\Desktop\\redBlackTree.png";//图片
        InputStream in = null;
        FileOutputStream out = null;
        try{
            in = new FileInputStream(templatePath);
            XSSFWorkbook wb = new XSSFWorkbook(in);
            XSSFSheet sheet = wb.getSheetAt(0);
            in.close();
            sheet.setForceFormulaRecalculation(true);

            XSSFDrawing patriarch = sheet.createDrawingPatriarch();
            insertImageToCell(wb,patriarch,imagePath,(short) 1,(short)2, (short) 1,(short)2);
            out = new FileOutputStream(outFilePath);
            // 将最新的 Excel 文件写入到文件输出流中,更新文件信息!
            wb.write(out);
            // 执行 flush 操作, 将缓存区内的信息更新到文件上
            out.flush();
        } catch (Exception e) {
            e.printStackTrace();
        } finally {
            if (in != null) {
                try {
                    in.close();
                } catch (IOException e) {
                    e.printStackTrace();
                }
            }
            if (out != null) {
                try {
                    out.close();
                } catch (IOException e) {
                    e.printStackTrace();
                }
            }
        }
    }
    private static void insertImageToCell(XSSFWorkbook wb, XSSFDrawing patriarch, String imageFile, short col1, short col2, short row1, short row2) {
        BufferedImage bufferImg;
        try {
            ByteArrayOutputStream byteArrayOut = new ByteArrayOutputStream();
            File file = new File(imageFile);
            if (file.exists()) {
                bufferImg = ImageIO.read(file);
                ImageIO.write(bufferImg, "png", byteArrayOut);
                //x1,y1,x2,y2
                /**
                 * Params:
                 * dx1 – the x coordinate within the first cell. 第一单元格内的x坐标。
                 * dy1 – the y coordinate within the first cell. 第一单元格内的y坐标。
                 * dx2 – the x coordinate within the second cell. 第二个单元格内的x坐标。
                 * dy2 – the y coordinate within the second cell. 第二单元格内的y坐标。
                 * col1 – the column (0 based) of the first cell. 第一个单元格的列(基于0)
                 * row1 – the row (0 based) of the first cell. 第一个单元格的行(基于0)。
                 * col2 – the column (0 based) of the second cell. 第二个单元格的列(基于0)。
                 * row2 – the row (0 based) of the second cell. 第二个单元格的行(基于0)。
                 * 例如此处我使用的是  col1 = 1, row1 = 1, col2 = 2, row2 = 2,那就是第二行第二列的单元格 -> 第三行第三列的单元格的区域,
                 * 均以单元格左上角顶点为锚点进行作图
                 */
                XSSFClientAnchor anchors = new XSSFClientAnchor();
                anchors.setCol1(col1);
                anchors.setCol2(col2);
                anchors.setRow1(row1);
                anchors.setRow2(row2);
                /**
                 * 在Escher中,绝对距离以英制公制单位(EMU)表示,有时也称为A单位
                 * EMU_PER_PIXEL 每像素的EMU值
                 * 所以调整x,y坐标需要设置像素对应的EMU值,也就是如下所示,最终调整结果与设置的值一样
                 */
                anchors.setDx1(Units.EMU_PER_PIXEL * 20);
                anchors.setDx2(Units.EMU_PER_PIXEL *(-20));
                anchors.setDy1(Units.EMU_PER_PIXEL *20);
                anchors.setDy2(Units.EMU_PER_PIXEL *(-20));
                patriarch.createPicture(anchors, wb.addPicture(byteArrayOut.toByteArray(), XSSFWorkbook.PICTURE_TYPE_PNG));
            }
        } catch (Exception e) {
            e.printStackTrace();
        }
    }
}
三、结果如下

四、误区
XSSFPicture picture = patriarch.createPicture(anchors, wb.addPicture(byteArrayOut.toByteArray(), XSSFWorkbook.PICTURE_TYPE_PNG));
# 不要使用该方法,该方法是相对于图像的当前大小调整图像的大小。仅用来调整图像大小,且图片会自动位于单元格左上角
picture.resize();


 被折叠的 条评论
为什么被折叠?
被折叠的 条评论
为什么被折叠?
 到【灌水乐园】发言


