


目录
MongoDB是由
C++编写的
非关系型数据库,是一个
基于分布式文件存储的
开源数据库系统,其内容储存形式类似于
JSON对象。
它的字段值可以包含 其他文档、数组及文档数组。
MongoDB安装:
pymongo安装
pip install pymongo
MongoDB启动:
需要以管理员身份运行cmd
NET start MongoDB

连接数据库:
import pymongo
client = pymongo.MongoClient(host="localhost", port=27017)
等价方法:
client = pymongo.MongoClient('mongodb://localhost:27017/')
获取服务器上所有数据库名称:
dblist=client.list_database_names()
指定数据库:
db = client.test
等价方法:
db = client['test']
如果该数据库存在,则在该数据库上继续操作;
若该数据库不存在,则新建一个数据库进行操作(注意,这里新建了一个新的数据库后并不会马上显示,比如你在新建了一个数据库后就立刻去查看dblist会发现是没有这个新库名称的,只有等到你对这个数据库添加东西了以才会显示出来)
指定集合:
collection = db.students
等价方法:
collection = db['students']
同理,
如果该集合存在,则在该集合上继续操作;
若该集合不存在,则新建一个数集合进行操作(注意,这里新建了一个新的集合后并不会马上显示,只有等到你对这个集合添加东西了以才会显示出来)
插入:
插入一条数据:
result = collection.insert(student1)
print(result)


这里飙红是因为版本不一致,虽然不影响,但是还是看他不爽。
用它建议的方法实现:
student1 = {
    'name': 'student1',
    'age': 20,
}
result = collection.insert_one(student1)
print(result)
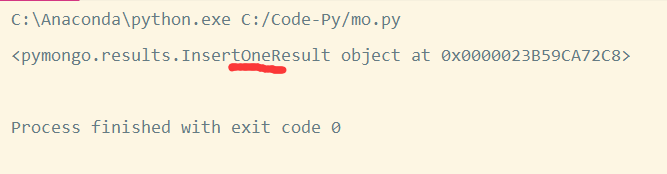
(我把上面建的那个删了,又重新添加的,得到了一样的结果)

插入多条数据:
results = collection.insert([student2,student3])
print(results)


删掉新数据后用它建议的方法:
student2 = {
'name': 'student2',
'age': 23,
}
student3 = {
'name': 'student3',
'age': 17,
}
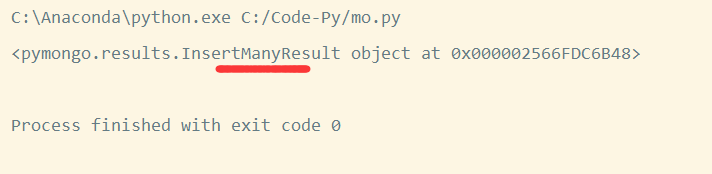
results = collection.insert_many([student2,student3])
print(results)

查看插入数据的id:
print(result.inserted_id)
print(results.inserted_ids)


查找:
查找单个结果:
根据普通属性查询:
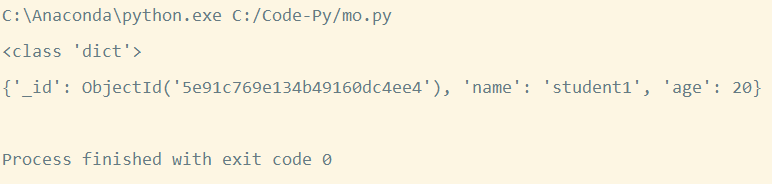
result = collection.find_one({'name': 'student1'})
print(type(result))
print(result)
根据ObjectId查询:
需要先:
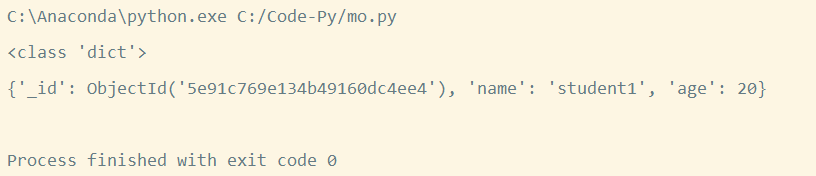
from bson import ObjectId
result = collection.find_one({'_id': ObjectId('5e91c769e134b49160dc4ee4')})
print(type(result))
print(result)
查找多个结果:
(在这之前,我先又添加一个了年龄和student3一样的student4)

普通查询:
results = collection.find({'age': 17})
print(type(results))
print(results)
for result in results:
    print(result)

条件查询:
条件查询将要查询的value也变成了一个字典,这个小字典的key是查询符号,value是条件
比如查询年龄大于18的人:
results = collection.find({'age': {'$gt':18}})
print(type(results))
print(results)
for result in results:
    print(result)

这里的{'$gt':18}就是大于18的意思,$gt就是大于的意思。
这里还有一些常用的查询符号:
| 符号 | 含义 | 示例 |
|---|---|---|
| $lt | 小于 | {‘age’: {’$lt’:18}} |
| $gt | 大于 | {‘age’: {’$gt’:18}} |
| $lte | 小于等于 | {‘age’: {’$lte’:18}} |
| $gte | 大于等于 | {‘age’: {’$gte’:18}} |
| $ne | 不等于 | {‘age’: {‘ne’:18}} |
| $in | 在范围内 | {‘age’: {’$in’:[18,20]}} |
| $nin | 不在范围内 | {‘age’: {’$nin’:[18,20]}} |
正则匹配查询:$regex
例如正则匹配名字最后一位为0-2的人:
results = collection.find({'name': {'$regex':'[0-2]$'}})
print(type(results))
print(results)
for result in results:
    print(result)

还有许多查询方式如:
| 符号 | 含义 | 示例 | 示例含义 |
|---|---|---|---|
| $exists | 属性是否存在 | {‘name’:{’$exists’:True}} | name属性存在 |
| $type | 类型判断 | {‘age’:{’$type’:‘int’}} | age为int类型 |
| $mod | 数字取模 | {‘age’:{’$mod’:[5,0]}} | 年龄模5等于0 |
| $text | 文本查询 | {’KaTeX parse error: Expected '}', got 'EOF' at end of input: text':{'search’:‘student’}} | text类型的属性中包含student字符串 |
| $where | 高级条件查询 | {’$where’: “obj.age >= 17”} | 查询年龄大于等于17的人(其实$where能做的远远不止这么点) |
偏移:
比如,我对姓名排序后,不想要前两个,就可以用skip偏移两位:
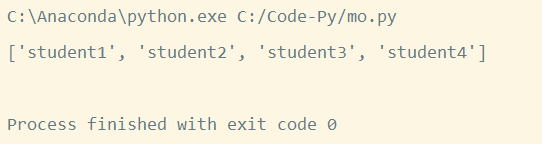
results = collection.find().sort('name').skip(2)
print([_['name'] for _ in results])
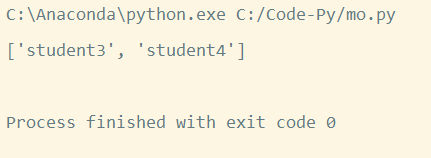
但是,如果数据量非常大的话(千万亿级别),尽量不要使用skip,这样做可能会导致内存溢出。
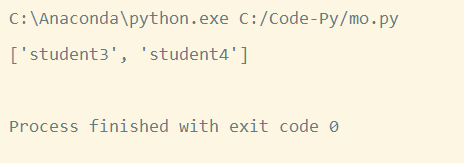
可以利用符号$查询配合ObjectId来完成:
比如我想偏移两位:
results = collection.find({'_id': {'$gt': ObjectId("5e91c769e134b49160dc4ee5")}})
print([_['name'] for _ in results])
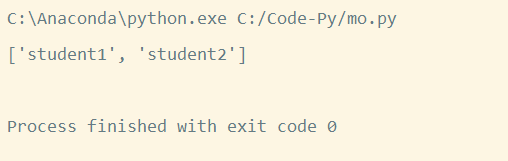
限制个数:
如果find获得的数据太多,可以用limit做限制:
results = collection.find().sort('name').limit(2)
print([_['name'] for _ in results])
默认取前n位
计数:
统计所有数据量:
count = collection.find().count()
print(count)

同样,pymongo已经不推荐这种写法了,我们用他推荐的看看:
count = collection.count_documents
print(count)

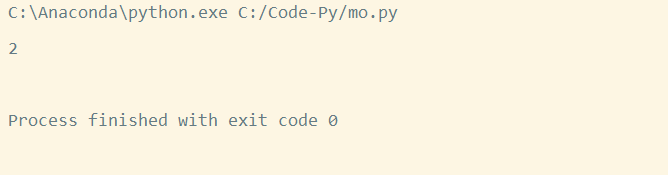
统计想要查询的数据量:
count = collection.find({'age': 17}).count()
print(count)

count = collection.count_documents({'age': 17})
print(count)
排序:
升序:
results = collection.find().sort('name', pymongo.ASCENDING)
print([_['name'] for _ in results])
降序:
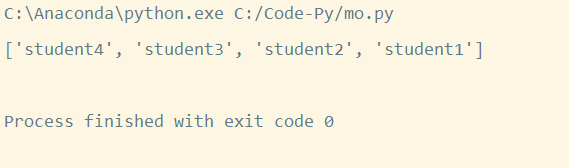
results = collection.find().sort('name', pymongo.DESCENDING)
print([_['name'] for _ in results])
条件排序:
这里对年龄大于17的人的姓名进行排序(默认升序)
results = collection.find({'age': {'$gt': 17}}).sort('name')
print([_['name'] for _ in results])

更新:
更新所有数据:

condition = {'name': 'student4'}
student = {'name': 'update_student4'}
result = collection.update(condition, student)
print(result)


可以看到,这里将student4的内容替换成了student字典。
解决这个看他不顺眼的报错:
用它推荐的方式改回来:
condition = {'name': 'update_student4'}
student = {'name': 'student4', 'age': 17}
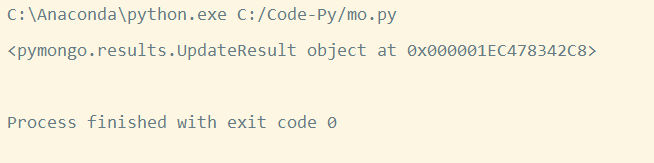
result = collection.replace_one(condition, student)
print(result)

更新部分数据:
比如我只想更新student4的name:

condition = {'name': 'student4'}
student = collection.find_one(condition)
student['name'] = 'update_student4'
result = collection.update(condition, student)
print(result)


用他建议的方式改回来:
condition = {'name': 'update_student4'}
student = collection.find_one(condition)
student['name'] = 'student4'
result = collection.replace_one(condition, student)
print(result)

还有一种更新的方式:$set
condition = {'name': 'student4'}
student = {'name': 'set_student4'}
result = collection.update(condition, {'$set': student})
print(result)


用它建议的方式改回来:
condition = {'name': 'set_student4'}
result = collection.update_one(condition, {'$set': {'name': 'student4'}})
print(result)
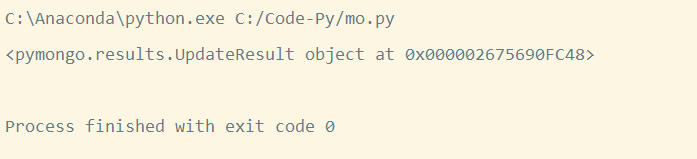

上面使用了update_one修改了一个内容,可以使用update_many修改多个内容:
condition = {'name': 'student4'}
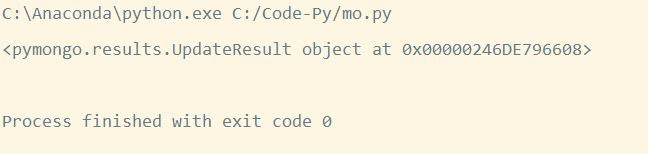
result = collection.update_many(condition, {'$set': {'name': 'set_student4', 'age': 100}})
print(result)


删除:
result = collection.remove( {'name': 'set_student4', 'age': 100})
print(result)


用它推荐的方法:
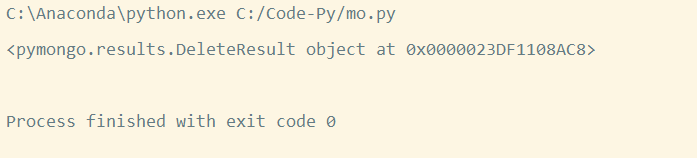
删除一条:
result = collection.delete_one({'name': 'student3'})
print(result)

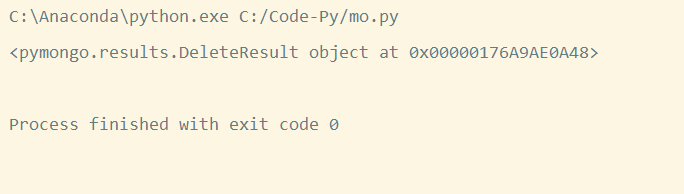
删除多条:
比如我用正则匹配删除剩余两条数据:
result = collection.delete_many({'name': {'$regex': '[1-2]$'}})
print(result)

组合方法:
查找后删除:find_one_and_delete
查找并更新:find_one_and_replace
查找并替换:find_one_and_update
…
用法和上面差不多,我就不举例了,大家可以试试
MongoDB关闭:
NET stop MongoDB


 874
874


 被折叠的 条评论
为什么被折叠?
被折叠的 条评论
为什么被折叠?
 到【灌水乐园】发言


