


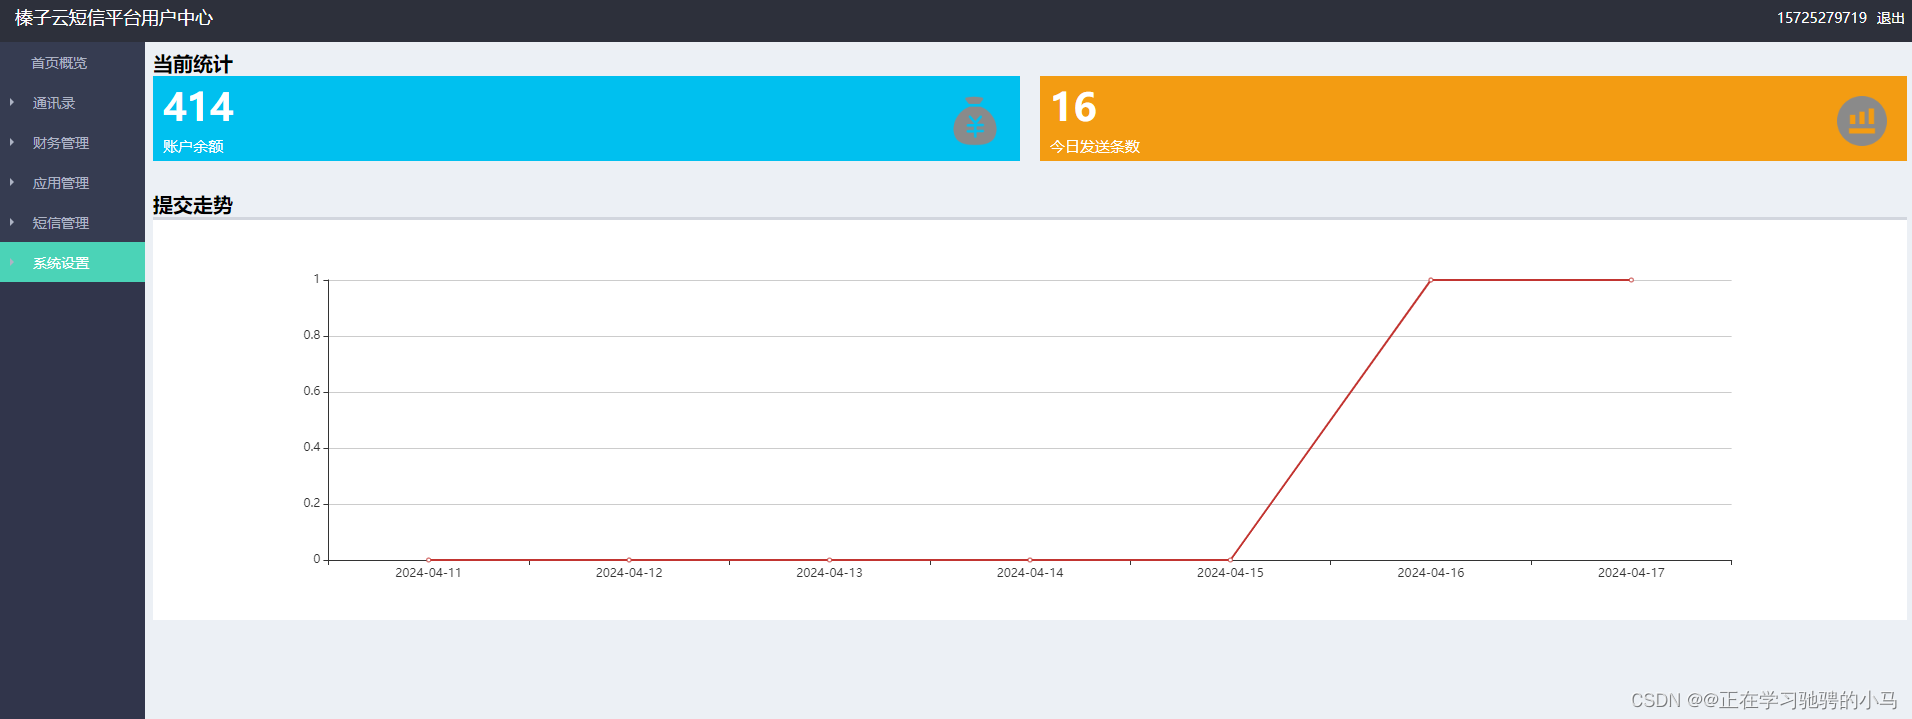
点击注册后进行登录 页面如下图所示很是简洁,也省去了很多复杂的流程
需要进行充值
价格相对公道,个人开发测试完全够用

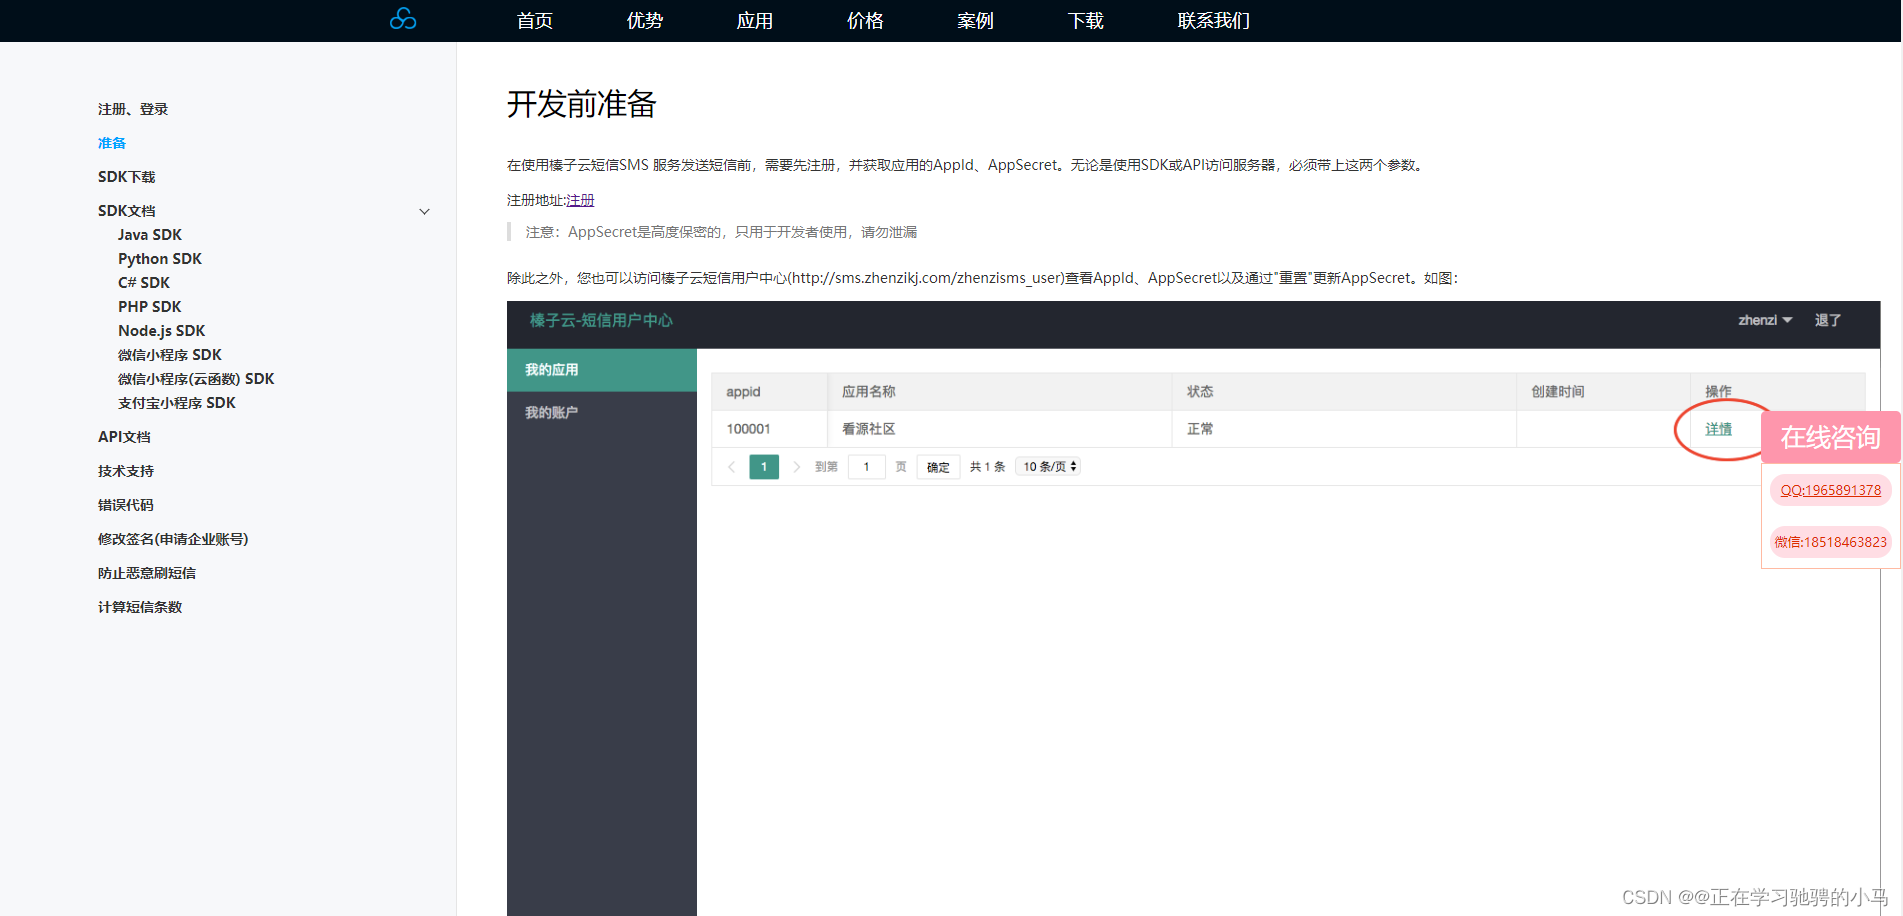
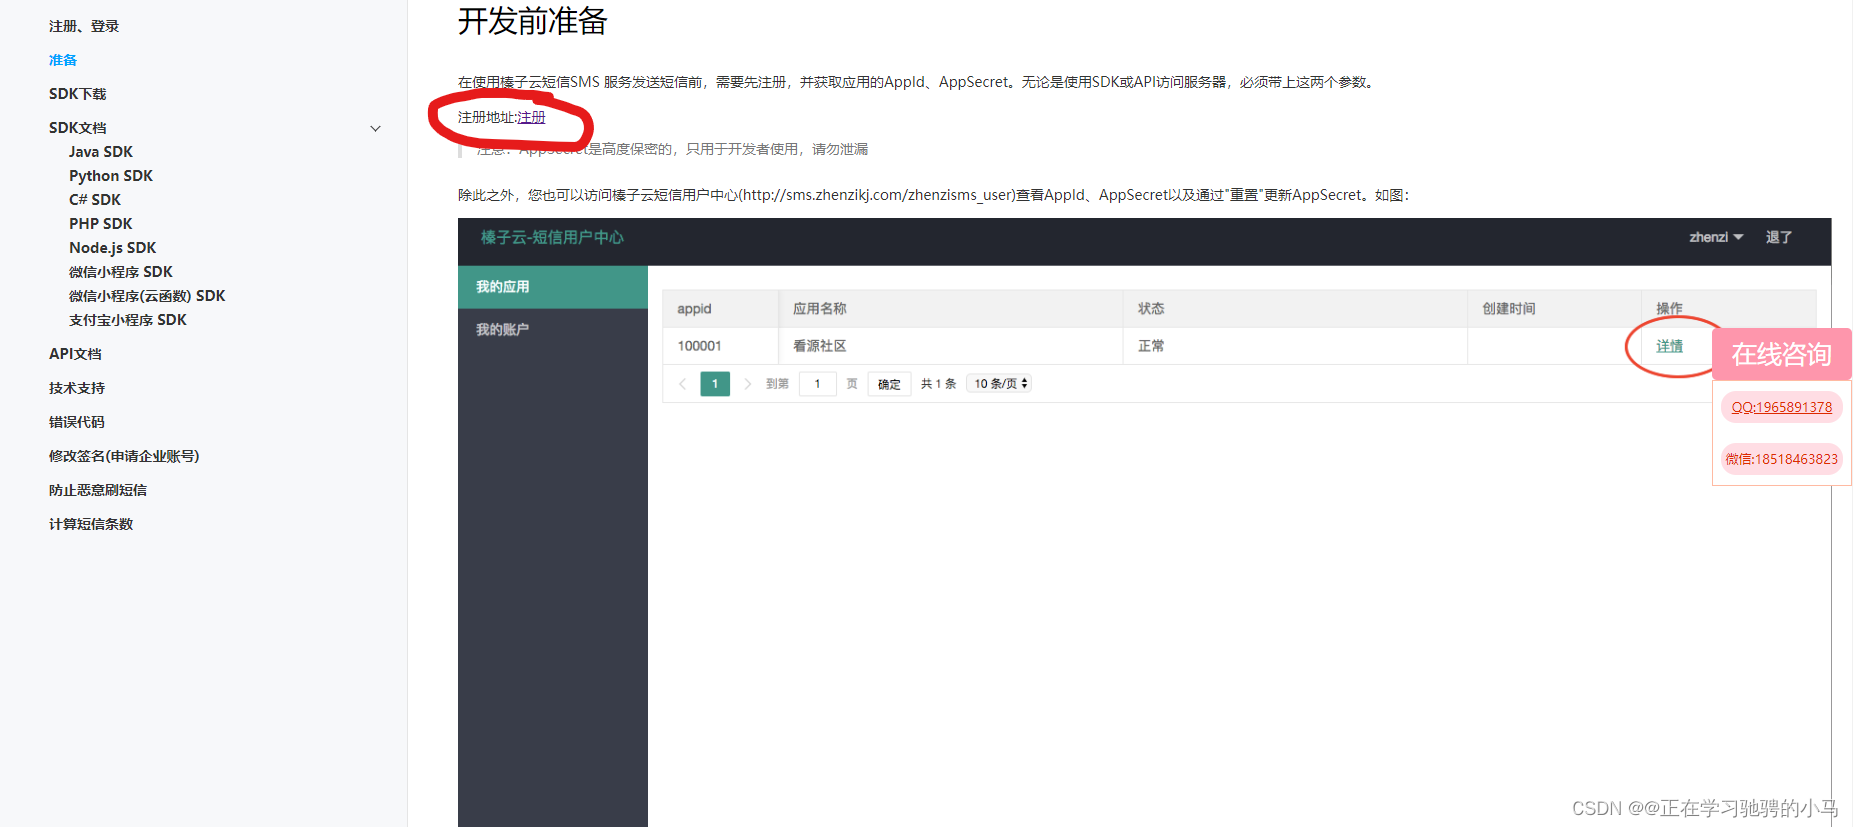
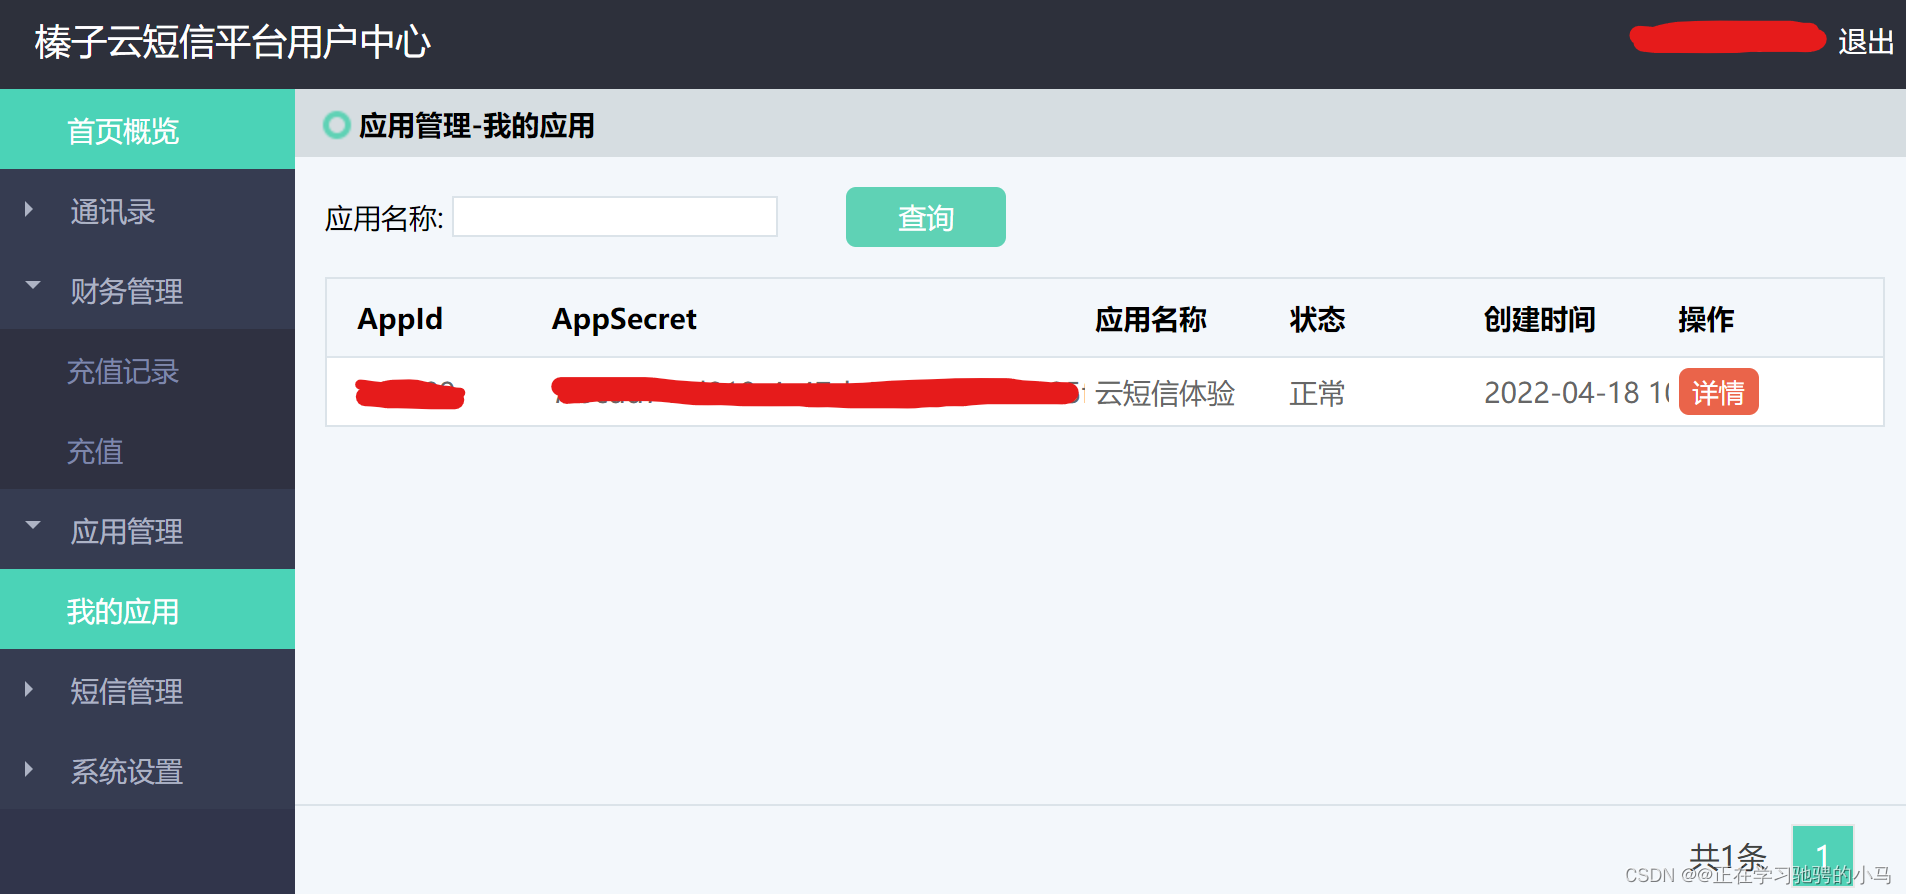
我的应用中有后续开发要用到的AppId和AppSecret
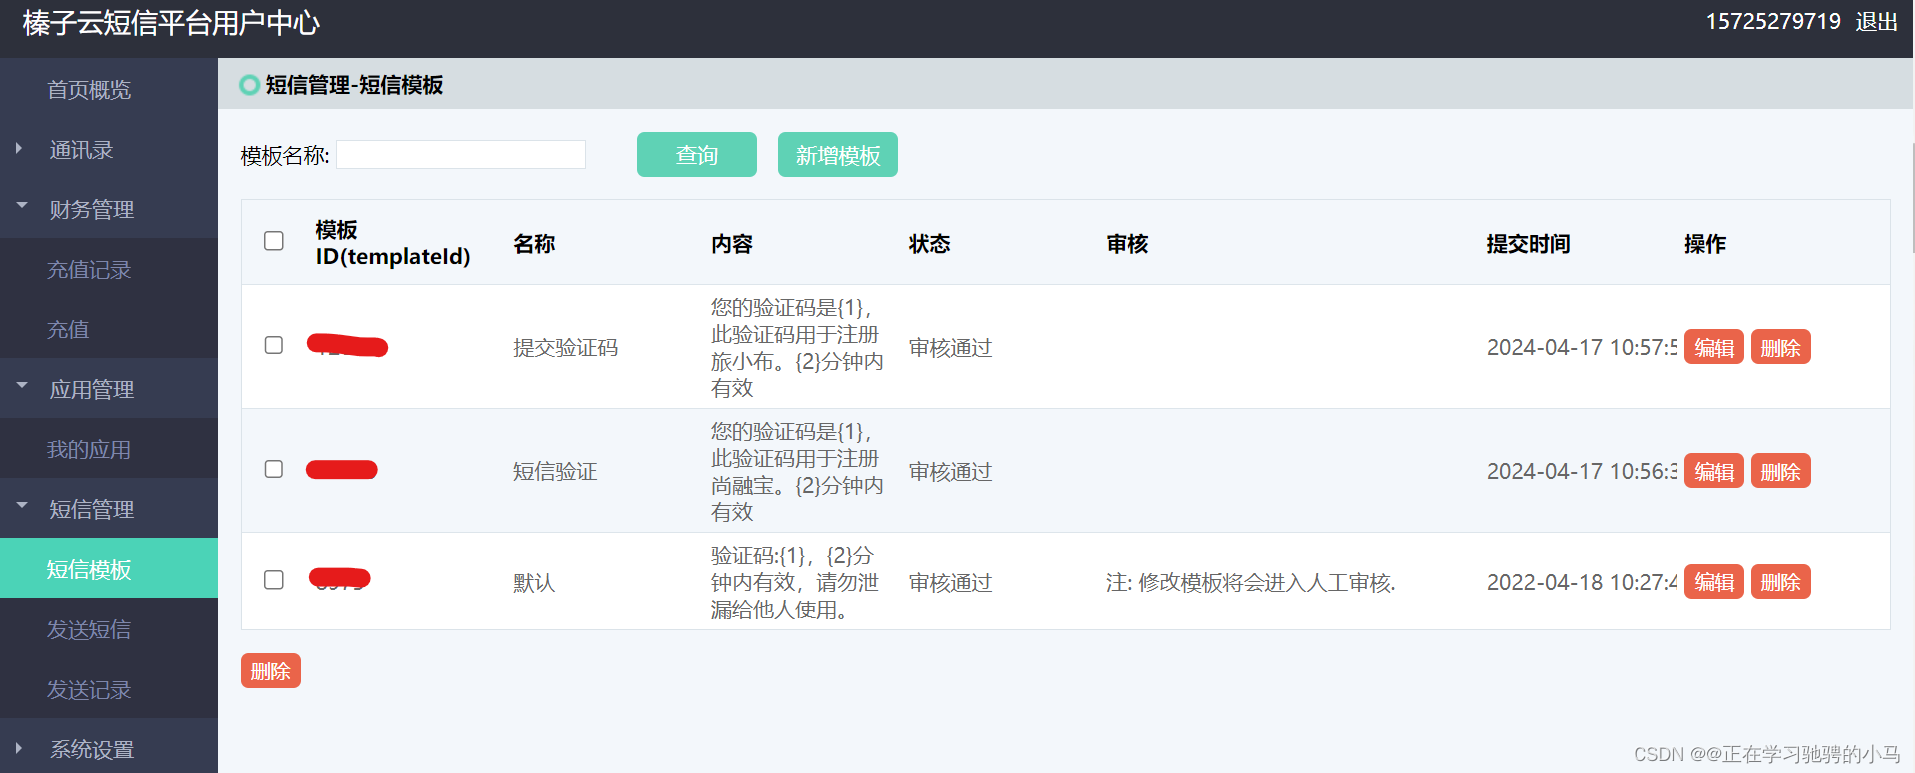
短信模板中可以根据个人需要进行编辑但是要进行审核
后续开发中需要用到模版的ID
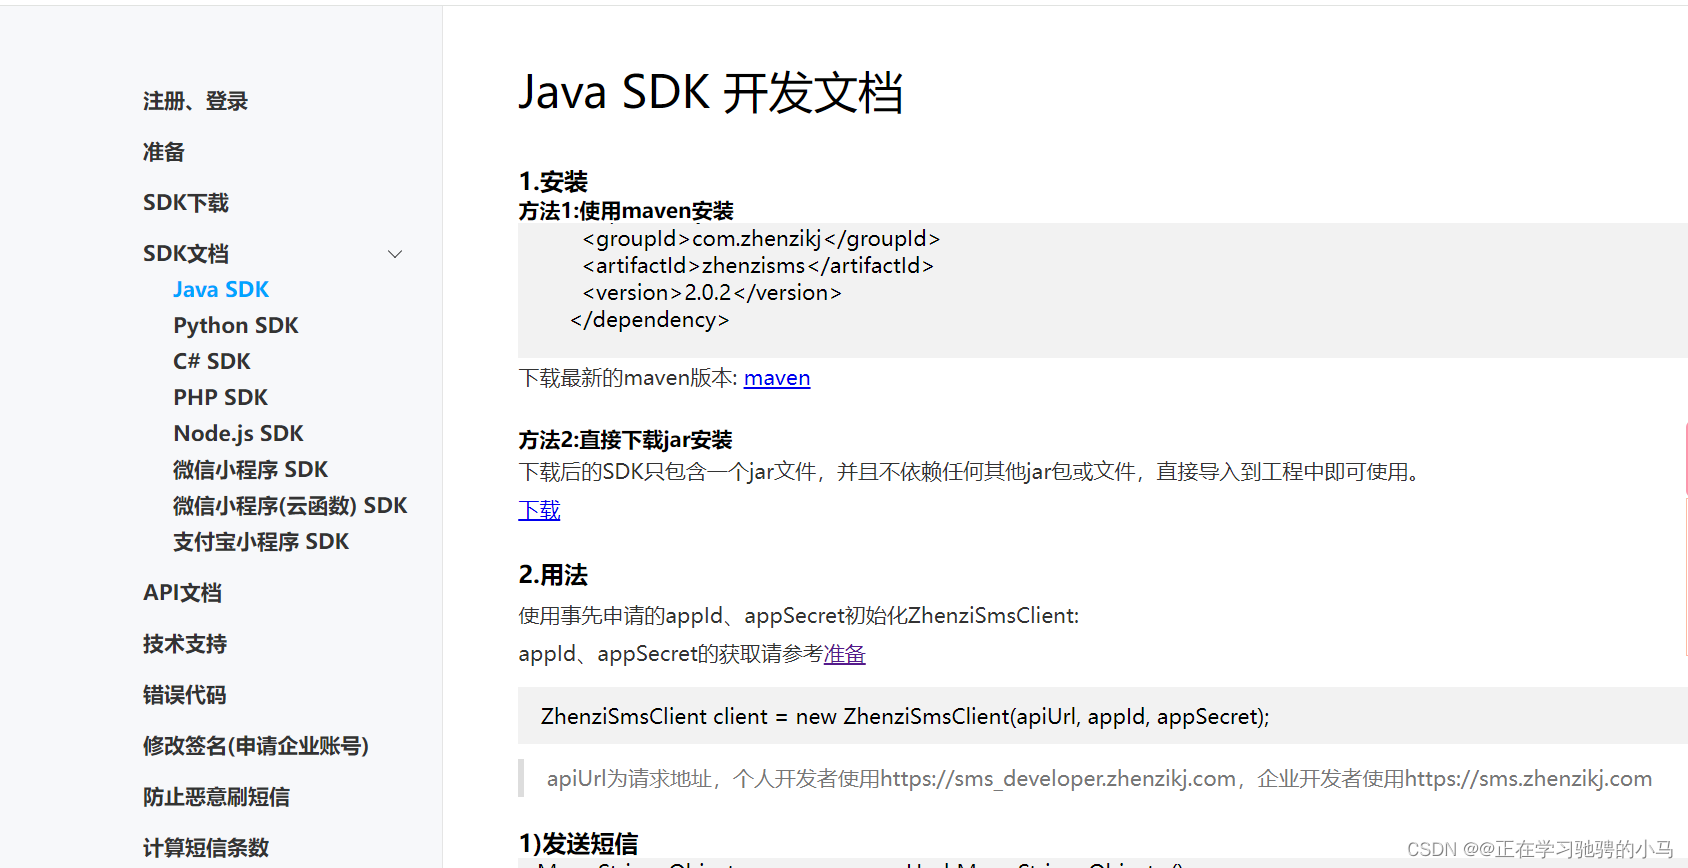
在官网的开发文档中有SDK开发文档
文章目录
一、在Spring boot工程中创建一个发送验证码的API
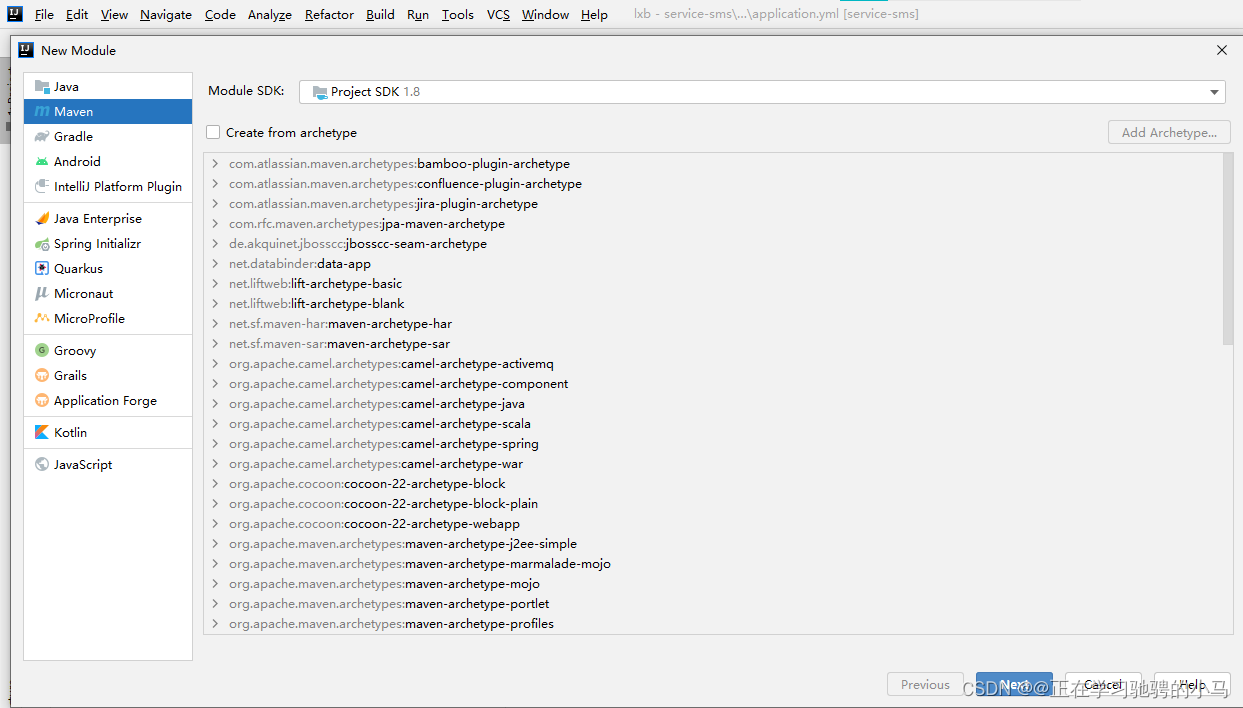
1.创建一个新的Maven 模块
2.引入相关依赖

3.编写配置文件
server:
  port: 8223
spring:
  profiles:
    active: dev
  application:
    name: service-sms
#    redis数据库配置
  redis:
    host: 127.0.0.1
    port: 6379
    timeout: 3000ms
    lettuce:
      pool:
        max-idle: 5
        min-idle: 0
#        nacos配置
  cloud:
    nacos:
      discovery:
        server-addr: localhost:8848 # nacos服务地址
#        远程服务调用
feign:
  client:
    config:
      default:
        connectTimeout: 10000  #连接超时配置
        readTimeout: 600000   #执行超时配置
   #    如果想要使用配置文件进行 榛子云配置 可以像下方这样
zhenziyun:
  sms:
     file:
        apiUrl: 你的apiUrl
        appId: 你的appId
        appSecret: 你的appSecret
        templateId: 你的短信模版
4.创建启动类以及添加随机数生成工具类
@SpringBootApplication(exclude= {DataSourceAutoConfiguration.class})
@EnableFeignClients
@ComponentScan("com.ts")
public class SmsApplication {
    public static void main(String[] args) {
        SpringApplication.run(SmsApplication.class,args);
    }

}
public class RandomUtils {

    private static final Random random = new Random();

    private static final DecimalFormat fourdf = new DecimalFormat("0000");

    private static final DecimalFormat sixdf = new DecimalFormat("000000");

    public static String getFourBitRandom() {
        return fourdf.format(random.nextInt(10000));
    }

    public static String getSixBitRandom() {
        return sixdf.format(random.nextInt(1000000));
    }

    /**
     * 给定数组,抽取n个数据
     * @param list
     * @param n
     * @return
     */
    public static ArrayList getRandom(List list, int n) {

        Random random = new Random();

        HashMap<Object, Object> hashMap = new HashMap<Object, Object>();

        // 生成随机数字并存入HashMap
        for (int i = 0; i < list.size(); i++) {

            int number = random.nextInt(100) + 1;

            hashMap.put(number, i);
        }

        // 从HashMap导入数组
        Object[] robjs = hashMap.values().toArray();

        ArrayList r = new ArrayList();

        // 遍历数组并打印数据
        for (int i = 0; i < n; i++) {
            r.add(list.get((int) robjs[i]));
            System.out.print(list.get((int) robjs[i]) + "\t");
        }
        System.out.print("\n");
        return r;
    }
}
5.Controller层
@RestController
@RequestMapping("/lxb/sms")
@Api(tags = "短信管理")
@CrossOrigin
public class ApiSmsController {
    @Resource
    private SmsService smsService;


    @Resource
    RedisTemplate redisTemplate;


    @ApiOperation("获取验证码")
    @GetMapping("/send/{mobile}")
    public Map<String,Object> SmsSend(
            @ApiParam(value = "手机号",required = true)
            @PathVariable String mobile
    ){
        //判断手机号是否已经被注册
        //Map<String, Object> byMobile = smsClient.getByMobile(mobile);
        //boolean b= (boolean) byMobile.get("data");
        HashMap<String, Object> stringObjectHashMap = new HashMap<>();


       // if(!b){
//            1.生成随机数
            String fourBitRandom = RandomUtils.getFourBitRandom();
            smsService.sendMessage(mobile,fourBitRandom);
            redisTemplate.opsForValue().set("lxb:sms:code:"+mobile,fourBitRandom,5, TimeUnit.MINUTES);
            stringObjectHashMap.put("code",0);
            stringObjectHashMap.put("message","短信发送成功");


       // }
       // else
       // {
        //    stringObjectHashMap.put("code",404);
       //     stringObjectHashMap.put("message","短信发送失败");
            //该手机号已经被认证过
       // }


        return stringObjectHashMap;

    }


}
6.Service层
public interface SmsService {
    void sendMessage(String mobile, String fourBitRandom);
}
7.Impl实现类以及从配置文件中获取Secret、Id、模版Id的工具类
@Service
public class SmsServiceImpl implements SmsService {
    @Override
    public void sendMessage(String mobile, String fourBitRandom) {
        ZhenziSmsClient client=new ZhenziSmsClient(SmsUtils.API_URL,SmsUtils.APP_ID,SmsUtils.APP_SECRET);
        HashMap<String, Object> map = new HashMap<>();
        map.put("templateId","12812");
        map.put("number",mobile);

        String[] templateParams=new String[2];
        templateParams[0]=fourBitRandom;
        templateParams[1]="3";
        map.put("templateParams",templateParams);
        try {
            String result = client.send(map);
            System.out.println(result);
        } catch (Exception e) {
            e.printStackTrace();
        }

    }
}
package com.ts.oss.util;

import org.springframework.beans.factory.InitializingBean;
import org.springframework.beans.factory.annotation.Value;
import org.springframework.stereotype.Component;

@Component
public class SmsUtils implements InitializingBean {

    @Value("${zhenziyun.sms.file.apiUrl}")
    private String apiUrl;
    @Value("${zhenziyun.sms.file.appId}")
    private String appId;
    @Value("${zhenziyun.sms.file.appSecret}")
    private String appSecret;
    @Value("${zhenziyun.sms.file.templateId}")
    private String templateId;


    //定义公开静态常量 供其他方法使用
    public static String API_URL;
    public static String APP_ID;
    public static String APP_SECRET;
    public static String TEMPLATED_ID;
    @Override
    public void afterPropertiesSet() throws Exception {
        API_URL=apiUrl;
        APP_ID=appId;
        APP_SECRET=appSecret;
        TEMPLATED_ID=templateId;
    }
}
提示:以下是本篇文章正文内容
二、Android 通过网络请求调用API实现验证码的发送?
1.权限的配置
<uses-permission android:name="android.permission.INTERNET" />
2.依赖的导入
implementation 'com.google.code.gson:gson:2.8.5'
implementation 'com.squareup.okhttp3:okhttp:4.4.1'
3.Xml文件的编写(UI界面的绘制)
<?xml version="1.0" encoding="utf-8"?>
<LinearLayout xmlns:android="http://schemas.android.com/apk/res/android"
    xmlns:app="http://schemas.android.com/apk/res-auto"
    xmlns:tools="http://schemas.android.com/tools"
    android:layout_width="match_parent"
    android:layout_height="match_parent"
    android:orientation="vertical"
    tools:context=".MainActivity">

    <EditText
android:hint="请输入手机号"
        android:id="@+id/mobile"
        android:layout_width="match_parent"
        android:layout_height="wrap_content"/>
    <Button
        android:layout_gravity="center"
        android:id="@+id/sendMessage"

        android:layout_width="wrap_content"
        android:layout_height="wrap_content"
        android:text="发送验证码"
        tools:ignore="MissingConstraints" />

</LinearLayout>
4.Activity方法的代码
public class MainActivity extends AppCompatActivity implements View.OnClickListener {

    private Button button;
    private EditText editText;

    @SuppressLint("MissingInflatedId")
    @Override
    protected void onCreate(Bundle savedInstanceState) {
        super.onCreate(savedInstanceState);
        setContentView(R.layout.activity_main);

        editText=findViewById(R.id.mobile);
        button=findViewById(R.id.sendMessage);

        button.setOnClickListener(this);
    }

    @Override
    public void onClick(View view) {
        switch (view.getId()){
            case R.id.sendMessage:
                String phonenumber=editText.getText().toString();
                //发送验证码
                OkHttpClient client= new OkHttpClient();//创建HTTP客户端
                String Url="http://你的IPv4地址:服务的端口号/lxb/sms/send"+"/"+phonenumber;
                Request request=new Request.Builder()
                        .url(Url)
                        .build();
                client.newCall(request).enqueue(new Callback() {
                    @Override
                    public void onFailure(@NonNull Call call, @NonNull IOException e) {
                        e.printStackTrace();

                    }

                    @Override
                    public void onResponse(@NonNull Call call, @NonNull Response response) throws IOException {
                        runOnUiThread(new Runnable() {
                            @Override
                            public void run() {
                                Toast.makeText(getBaseContext(),"验证码发送成功",Toast.LENGTH_LONG).show();
                            }
                        });
                    }
                });
        }
    }
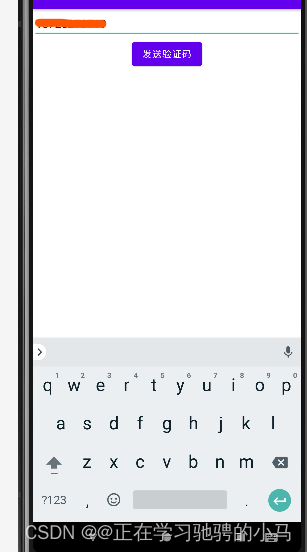
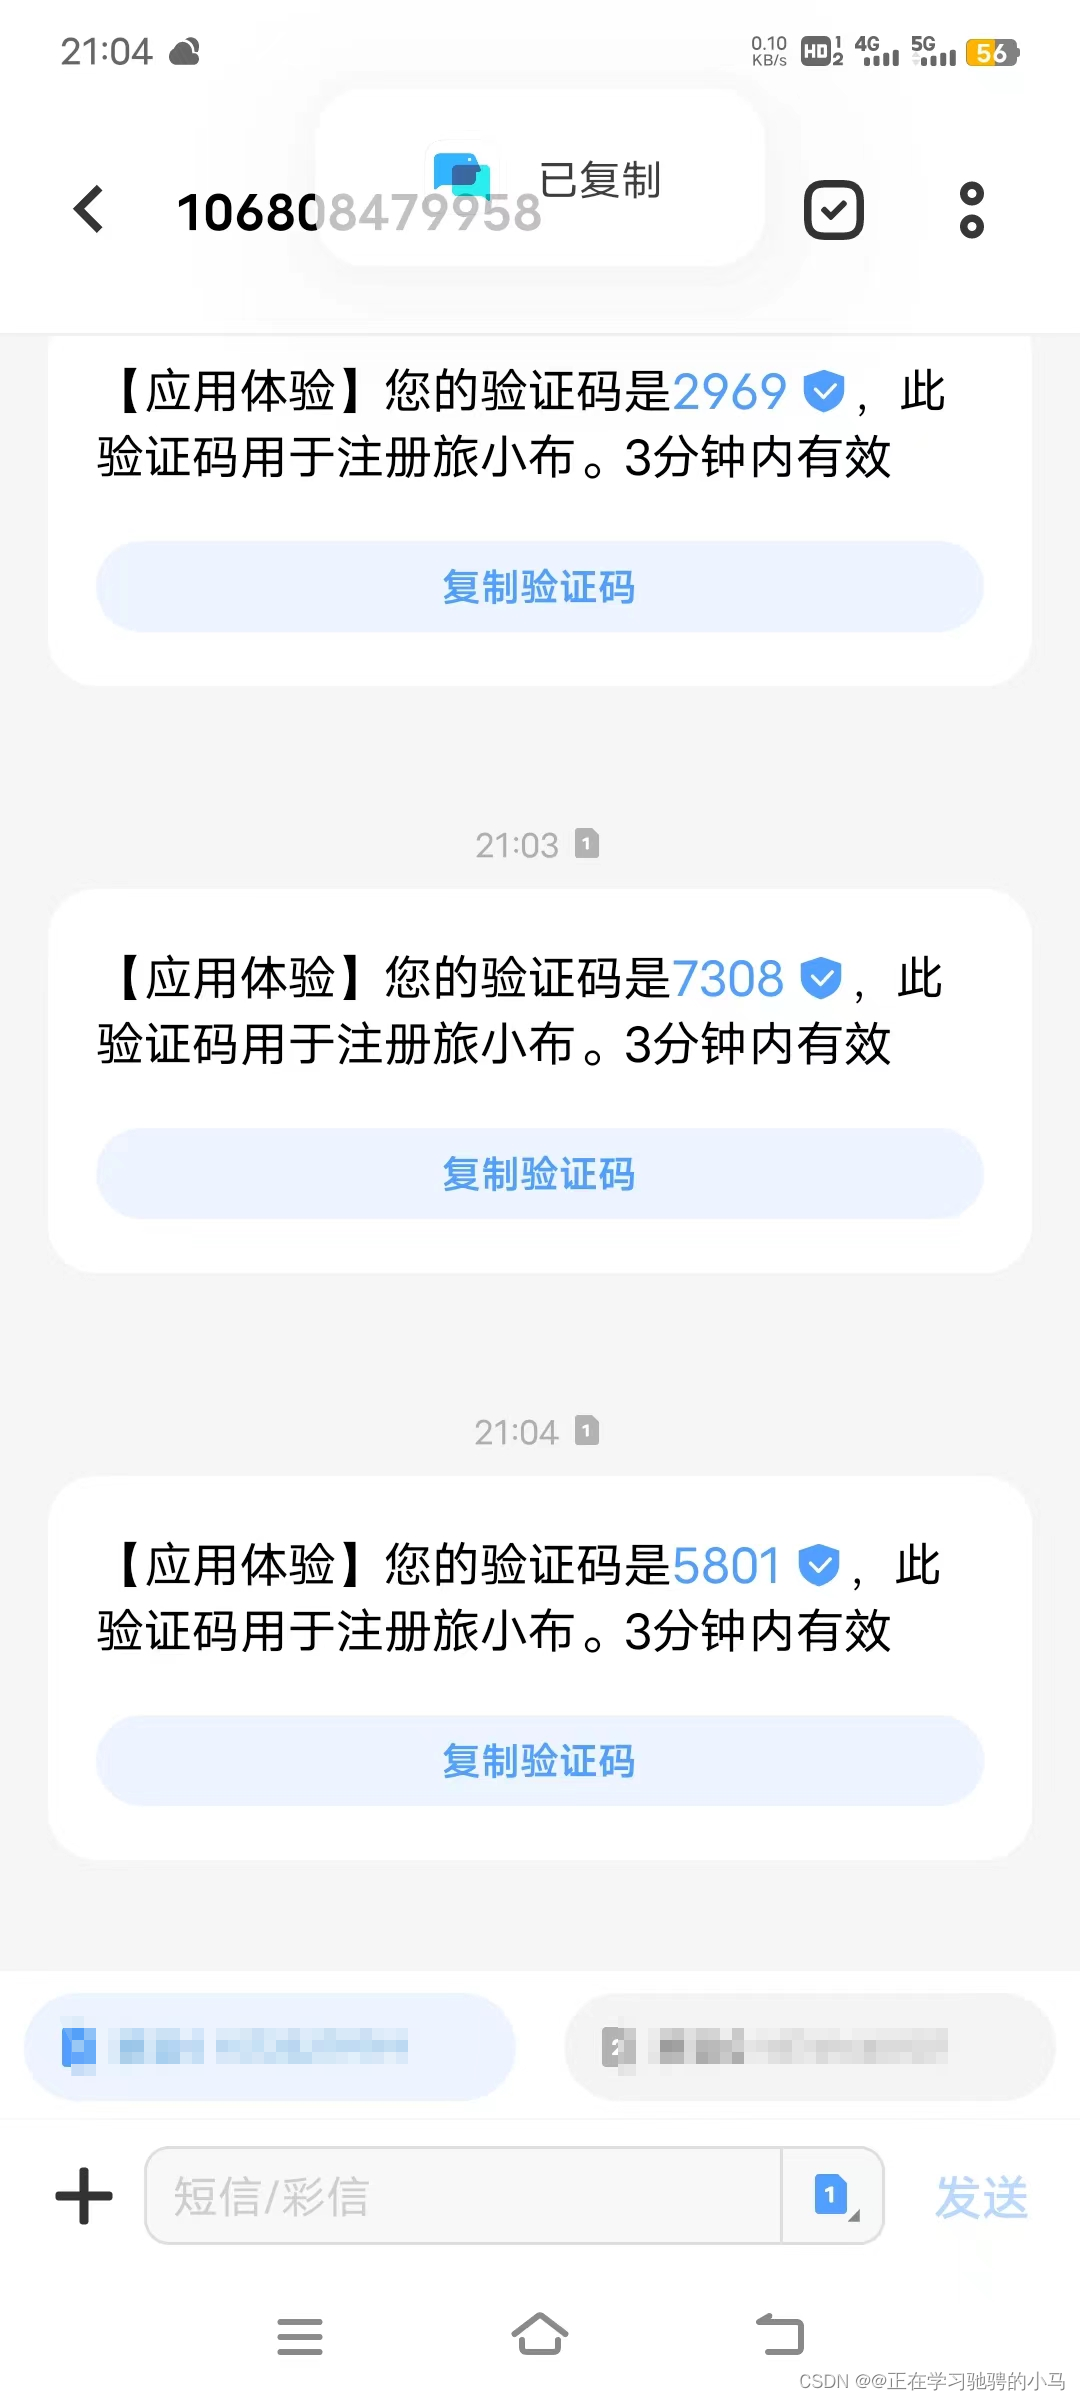
三、实现效果图


 1677
1677


 被折叠的 条评论
为什么被折叠?
被折叠的 条评论
为什么被折叠?
 到【灌水乐园】发言


