


1.相比较于restempalte比较繁琐,有兴趣的小伙伴可以尝试去了解一下
2.今天这个笔记是使用微服务中常用的方式,实现拦截器中RequestInterceptor 的apply方法
本人笔记懒,于是在之前学习其他的项目里面写了几个测试代码,如下:
实现这个方法代码网上也有很多,也可以按照自己的项目需求进行更改
@Configuration
public class FeignConfiguration implements RequestInterceptor {
    @Override
    public void apply(RequestTemplate template) {
        ServletRequestAttributes attributes = (ServletRequestAttributes)RequestContextHolder.getRequestAttributes();
        HttpServletRequest request = attributes.getRequest();
        Enumeration<String> headerNames = request.getHeaderNames();
        if (headerNames != null) {
            while (headerNames.hasMoreElements()) {
                String name = headerNames.nextElement();
                String values = request.getHeader(name);
                template.header(name, values);
            }
        }
    }
}
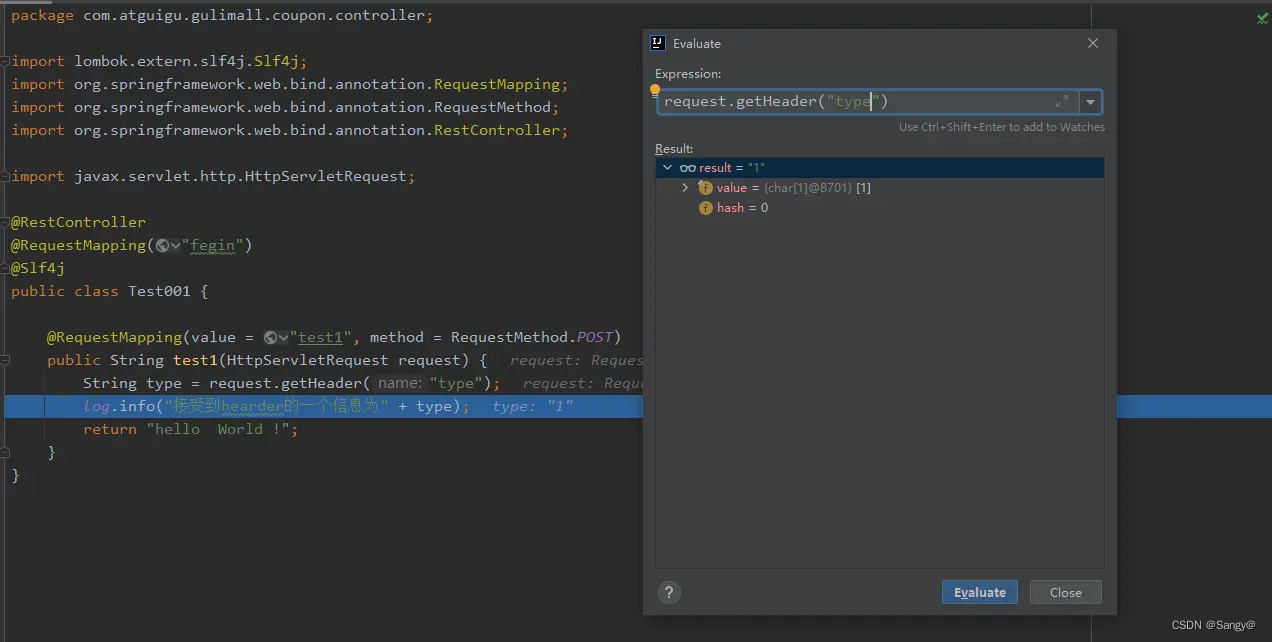
2.1微服务1的接口 端口7000
@RestController
@RequestMapping("fegin")
@Slf4j
public class Test001 {

    @RequestMapping(value = "test1", method = RequestMethod.POST)
    public String test1(HttpServletRequest request) {
        String type = request.getHeader("type");
        log.info("接受到hearder的一个信息为" + type);
        return "hello  World !";
    }
}
2.2调用微服务1接口的fegin,就是在这个地方加上之前写的FeignConfiguration
@FeignClient(value = "gulimall-coupon",configuration = FeignConfiguration.class)
public interface feginTest {

    @RequestMapping(value = "/fegin/test1", method = RequestMethod.POST)
    String test001();
}
2.3微服务2的接口 端口10000
@RestController
@RequestMapping("fegin2")
@Slf4j
public class Test002 {
    @Resource
    feginTest test;

    @RequestMapping(value = "test2", method = RequestMethod.POST)
    public String test1(HttpServletRequest request) {
        String type = request.getHeader("type");
        log.info("接受到hearder的一个信息为" + type);
        return test.test001();
    }
}
3最后的测试效果 由微服务2调用微服务1

在微服务接口1中端口验证


 934
934


 被折叠的 条评论
为什么被折叠?
被折叠的 条评论
为什么被折叠?
 到【灌水乐园】发言


