


安装element-ui
npm i element-ui生成vue模板,文件-首选项-配置用户代码片段-新建全局代码片段文件-输入vue.json
{
	"生成 vue 模板": {
		"prefix": "vue",
		"body": [
			"<template>",
			"<div></div>",
			"</template>",
			"",
			"<script>",
			"//这里可以导入其他文件(比如:组件,工具 js,第三方插件 js,json 文件,图片文件等等)",
			"//例如:import 《组件名称》 from '《组件路径》';",
			"",
			"export default {",
			"//import 引入的组件需要注入到对象中才能使用",
			"components: {},",
			"props: {},",
			"data() {",
			"//这里存放数据",
			"return {",
			"",
			"};",
			"},",
			"//计算属性 类似于 data 概念",
			"computed: {},",
			"//监控 data 中的数据变化",
			"watch: {},",
			"//方法集合",
			"methods: {",
			"",
			"},",
			"//生命周期 - 创建完成(可以访问当前 this 实例)",
			"created() {",
			"",
			"},",
			"//生命周期 - 挂载完成(可以访问 DOM 元素)",
			"mounted() {",
			"",
			"},",
			"beforeCreate() {}, //生命周期 - 创建之前",
			"beforeMount() {}, //生命周期 - 挂载之前",
			"beforeUpdate() {}, //生命周期 - 更新之前",
			"updated() {}, //生命周期 - 更新之后",
			"beforeDestroy() {}, //生命周期 - 销毁之前",
			"destroyed() {}, //生命周期 - 销毁完成",
			"activated() {}, //如果页面有 keep-alive 缓存功能,这个函数会触发 ",
			"}",
			"</script>",
			"<style  scoped>",
			"$4",
			"</style>"
		],
		"description": "生成 vue 模板"
	}
}
alt+shift+f 格式化代码,使用vue模板的代码,写vue回车
三级分类
/**
 * 商品三级分类
 *
 * @author ahei
 * @email ahei@gmail.com
 * @date 2022-08-01 18:30:12
 */
public interface CategoryService extends IService<CategoryEntity> {

    PageUtils queryPage(Map<String, Object> params);
    List<CategoryEntity> listWithTree();
}
@Override
public List<CategoryEntity> listWithTree() {
//1.首先查出所有分类
List<CategoryEntity> entities = baseMapper.selectList(null);
//2.组装成父子的树形结构
return entities;
}CategoryServiceImpl extends ServiceImpl<CategoryDao, CategoryEntity>,所有可以直接使用baseMapper,可以用注入CategoryDao,
@RestController
@RequestMapping("product/category")
public class CategoryController {
@Autowired
private CategoryService categoryService;
/**
* 查询所有商品类型,并以树形的方式显示列表
*/
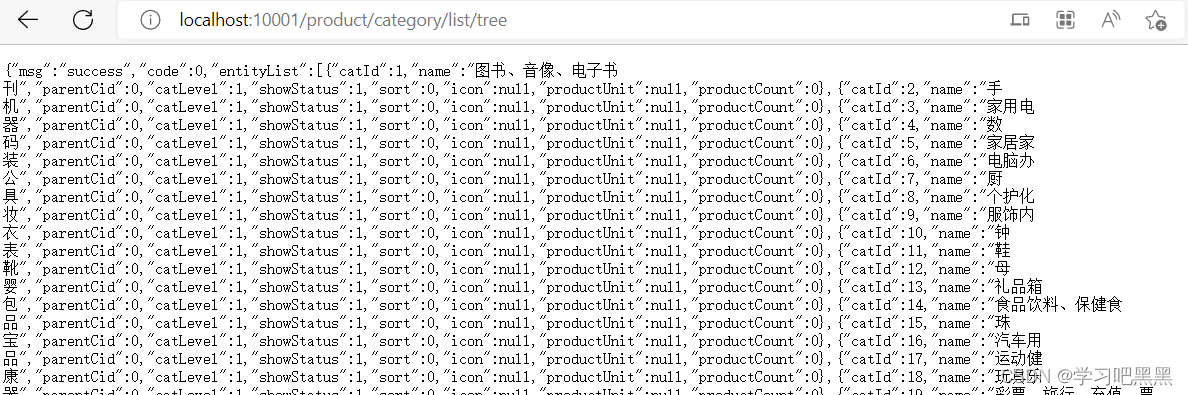
@RequestMapping("/list/tree")
public R list(){
List<CategoryEntity> entityList = categoryService.listWithTree();
return R.ok().put("entityList", entityList);
} 
在 CategoryEntity添加属性
/**
* 添加分类的子分类
* @TableField(exist = false)
* 不是表的字段
*/
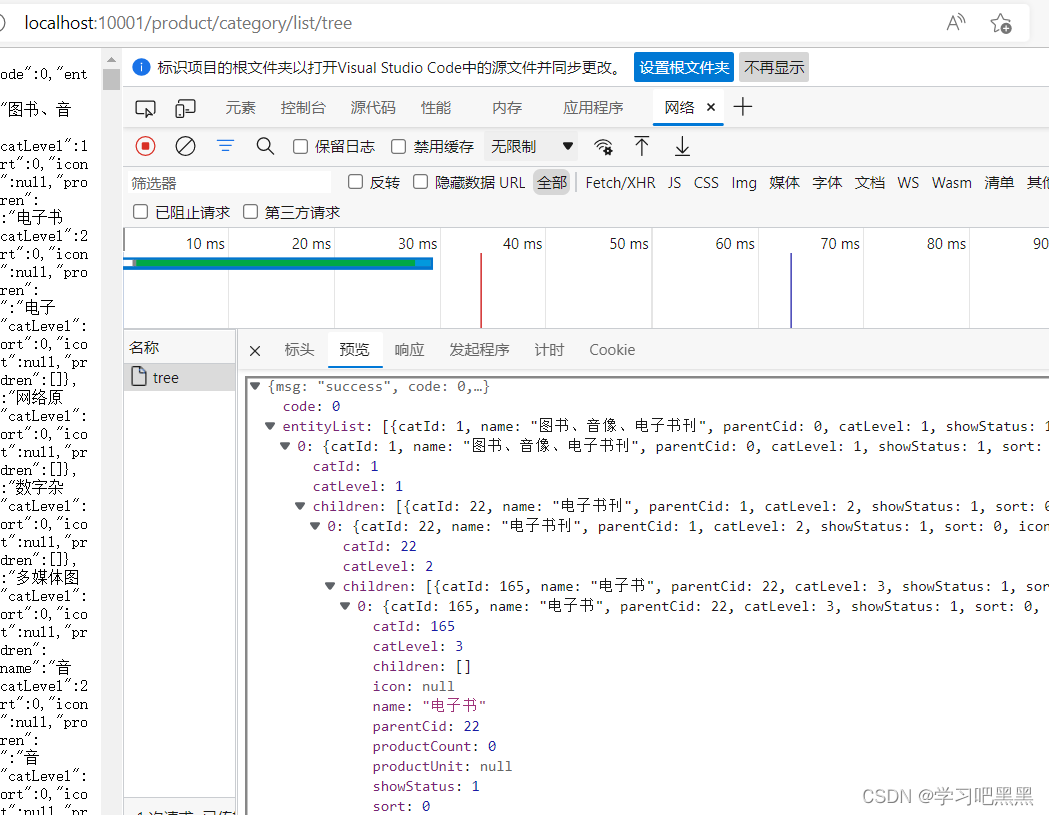
@TableField(exist = false)
private List<CategoryEntity> children;CategoryServiceImpl实现树形结构显示的业务逻辑
  @Override
    public List<CategoryEntity> listWithTree() {
        //1.首先查出所有分类
        List<CategoryEntity> entities = baseMapper.selectList(null);
        //2.组装成父子的树形结构
        //2.1找到所有一级分类
       List<CategoryEntity> levelMenus =  entities.stream().filter(
       //getParentCid()==0  一级菜单
         categoryEntity -> categoryEntity.getParentCid()==0
        ).map((menu)->{ //重新更改菜单
            //在所有菜单中找到子菜单,采用递归
            menu.setChildren((getChildrens(menu,entities)));
            return menu;
        }).sorted((menu1,menu2)->{
            //对菜单排序
            return menu1.getSort() -menu2.getSort();
            //最后将菜单收集到levelMenus
       }).collect(Collectors.toList());
        return levelMenus;
    }

    /**
     *递归查找所有菜单的子菜单
     * @param root 当前菜单
     * @param all 所有菜单
     * @return
     */
    private List<CategoryEntity> getChildrens(CategoryEntity root,List<CategoryEntity> all){
        List<CategoryEntity> children = all.stream().filter(categoryEntity ->{
            //说明当前菜单就是子菜单
          return  categoryEntity.getParentCid() == root.getCatId();
        }).map(categoryEntity -> {//菜单可能还有子菜单
            //1.找到子菜单
            categoryEntity.setChildren(getChildrens(categoryEntity,all));
            return  categoryEntity;
        }).sorted((menu1,menu2)->{
            //2.给菜单排序,可能有空的情况
            return  (menu1.getSort()==null ? 0:menu1.getSort()) - (menu2.getSort()==null ? 0:menu2.getSort());
        }).collect(Collectors.toList());
        return children;
} 
奇了怪,renren-fast必须要8080端口才肯显示验证码,因为你前端的端口设置的是8080哈哈哈笑死。
登录进不去,也不报错是神马情况呢?要等它反应过来,自己就行了。
需要刷新一下
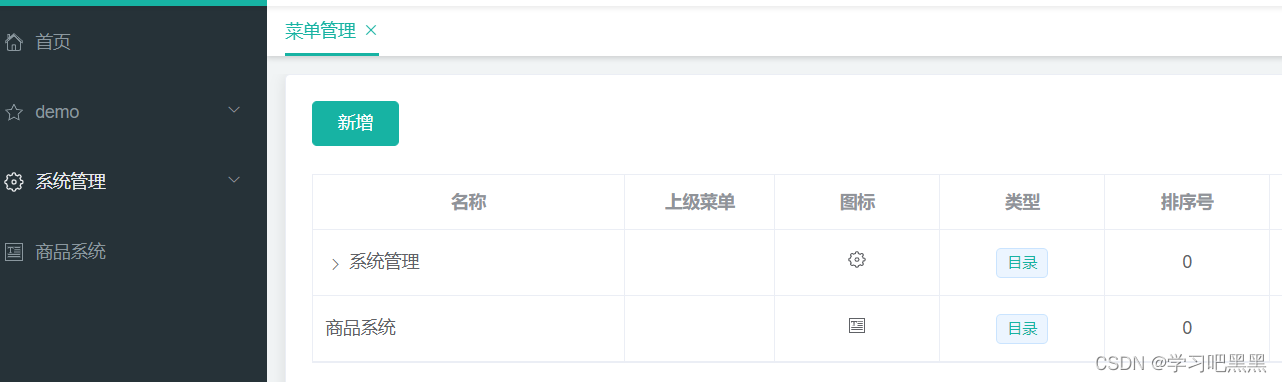
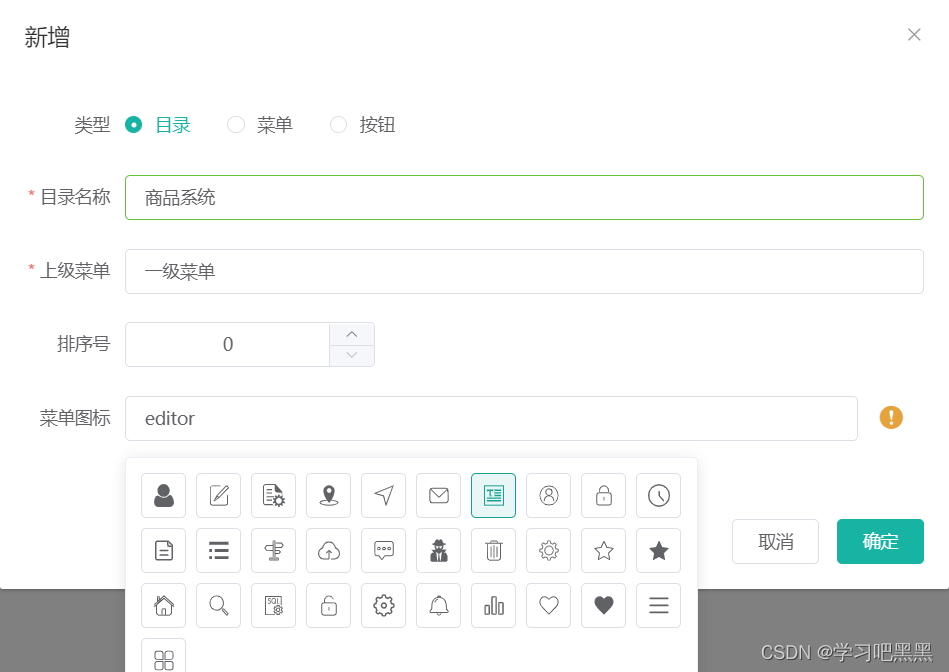
更改路由地址
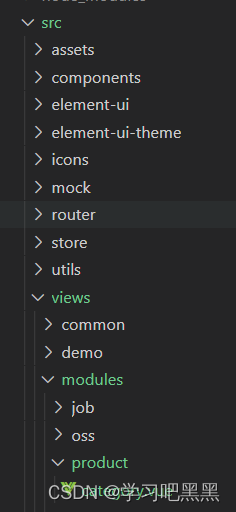
在view的modules下创建文件夹product,并在product下创建category.vue ,输入vue回车,使用模板
<template>
<el-tree :data="data" :props="defaultProps" @node-click="handleNodeClick"></el-tree>
</template>

<script>


export default {
//import 引入的组件需要注入到对象中才能使用
components: {},
props: {},
 data() {
      return {
        data: [],
        defaultProps: {
          children: 'children',
          label: 'label'
        }
      };
    },

computed: {},
//监控 data 中的数据变化
watch: {},
//方法集合
 methods: {
      handleNodeClick(data) {
        console.log(data);
      },
      getMenus(){
           this.dataListLoading = true
        this.$http({
          url: this.$http.adornUrl('/product/category/list/tree'),
          method: 'get'
        }).then(({data}) => {
         console.log("成功获取菜单数据。。。",data);

        });
      }
    },
//生命周期 - 创建完成(可以访问当前 this 实例)
created() {
this.getMenus();
},
//生命周期 - 挂载完成(可以访问 DOM 元素)
mounted() {

},
beforeCreate() {}, //生命周期 - 创建之前
beforeMount() {}, //生命周期 - 挂载之前
beforeUpdate() {}, //生命周期 - 更新之前
updated() {}, //生命周期 - 更新之后
beforeDestroy() {}, //生命周期 - 销毁之前
destroyed() {}, //生命周期 - 销毁完成
activated() {}, //如果页面有 keep-alive 缓存功能,这个函数会触发
}
</script>
<style  scoped>

</style>
记得保存再运行。
在后端,配置路由
 - id: admin_route
          uri: lb://renren-fast
          predicates:
            - Path=/api/**
          filters:
            - RewritePath=/api/(?<segment>.*),/renren-fast/$\{segment}
lb负载均衡,在匹配前端发来请求的路径/api/**,
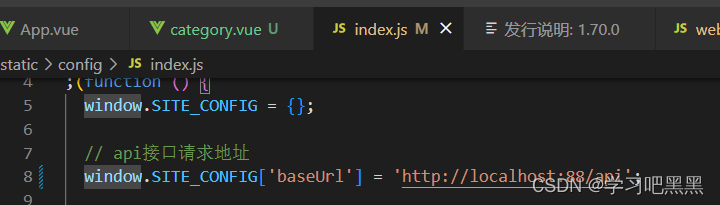
http://localhost:88/api/**.jpg ----> http://renren-fast:8080/api/**.jpg通过filters重写路径
http://localhost:8080/renren-fast/api/**.jpg
报503错误,添加loadbalance依赖到Gateway
    <dependency>
            <groupId>org.springframework.cloud</groupId>
            <artifactId>spring-cloud-starter-loadbalancer</artifactId>
        </dependency>
Gateway依赖
    <dependency>
            <groupId>org.springframework.cloud</groupId>
            <artifactId>spring-cloud-starter-gateway</artifactId>
        </dependency>


 1318
1318


 被折叠的 条评论
为什么被折叠?
被折叠的 条评论
为什么被折叠?
 到【灌水乐园】发言


