


1.下载GLFW
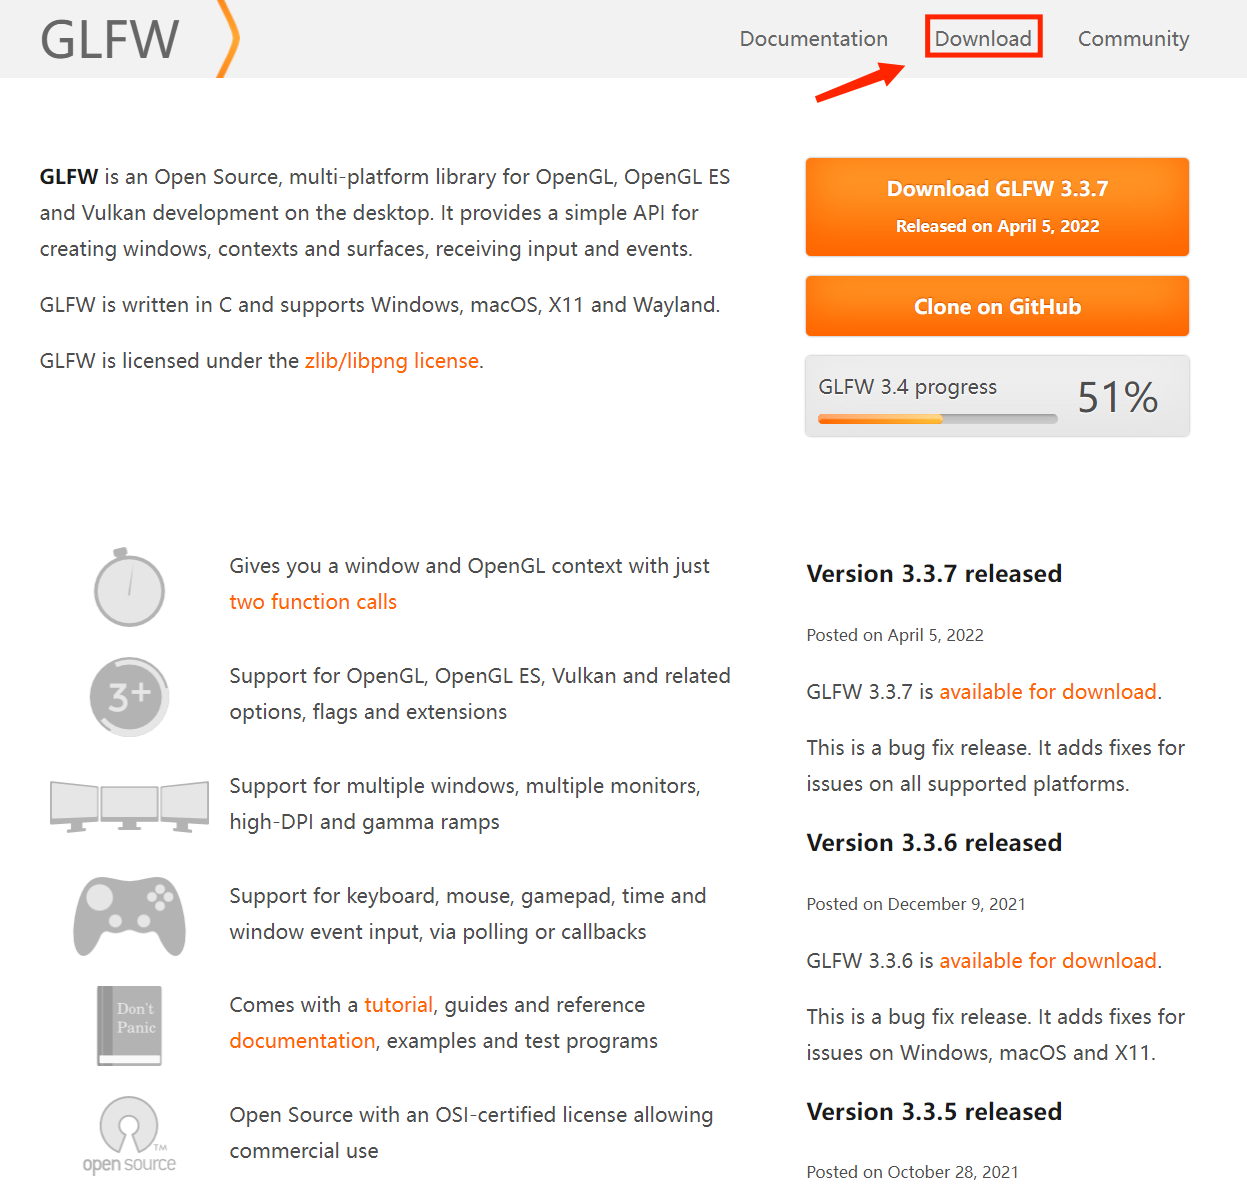
1.1登录GLFW官方网站下载GLFW安装包: An OpenGL library | GLFWGLFW project home page. https://www.glfw.org/
1.2点击 Download
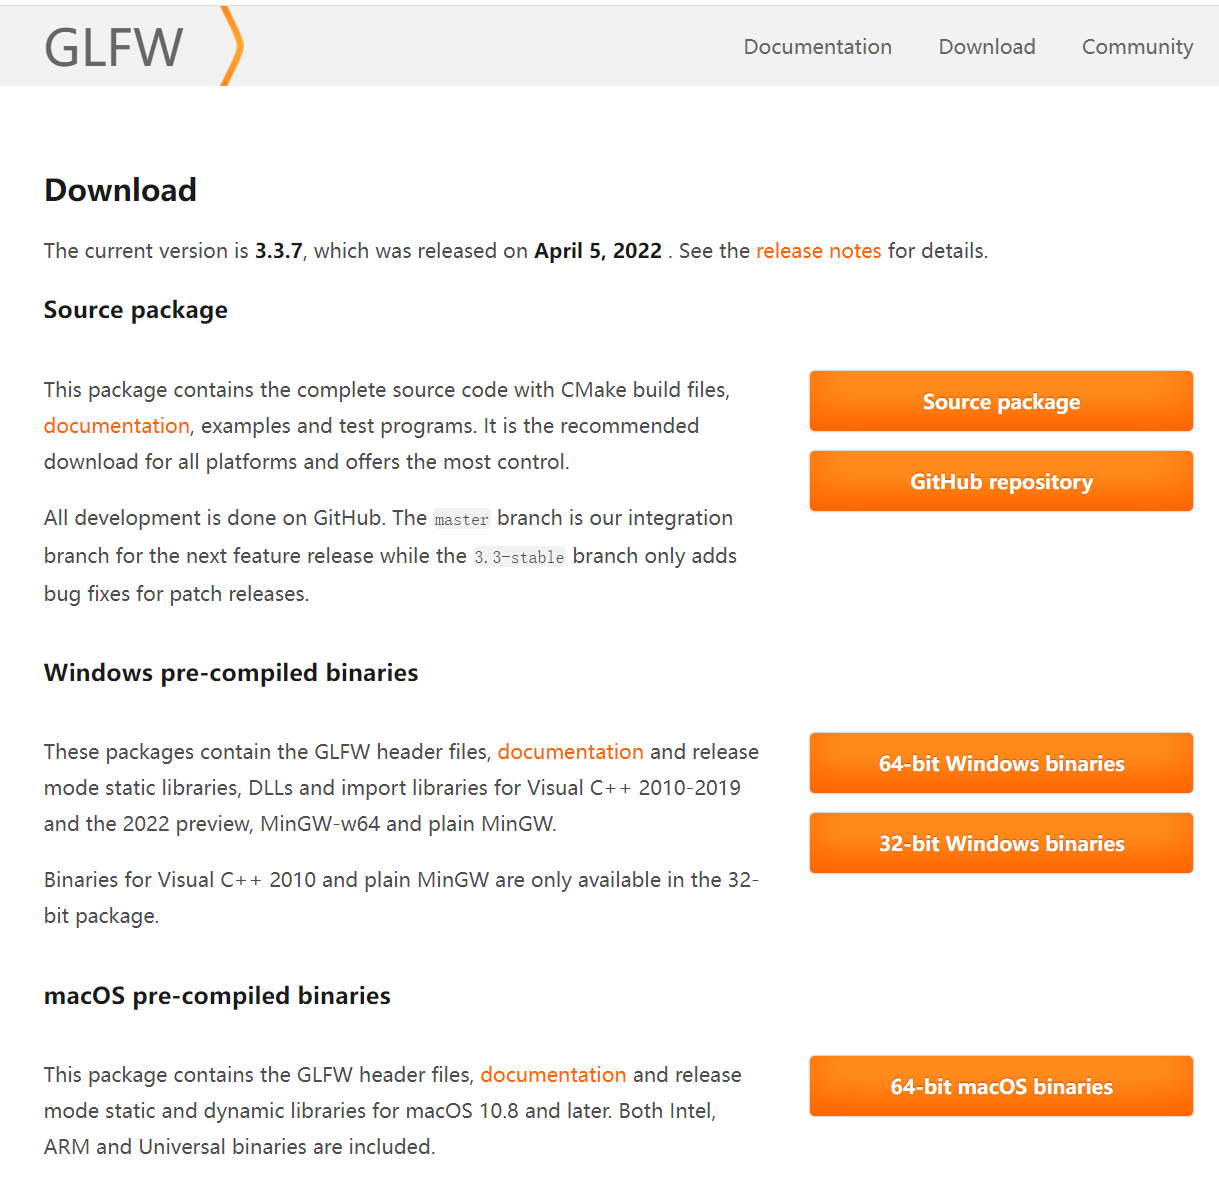
1.3选中自己系统合适的安装包,我选择的是Windows 64位安装包
1.4下载完成后解压安装包

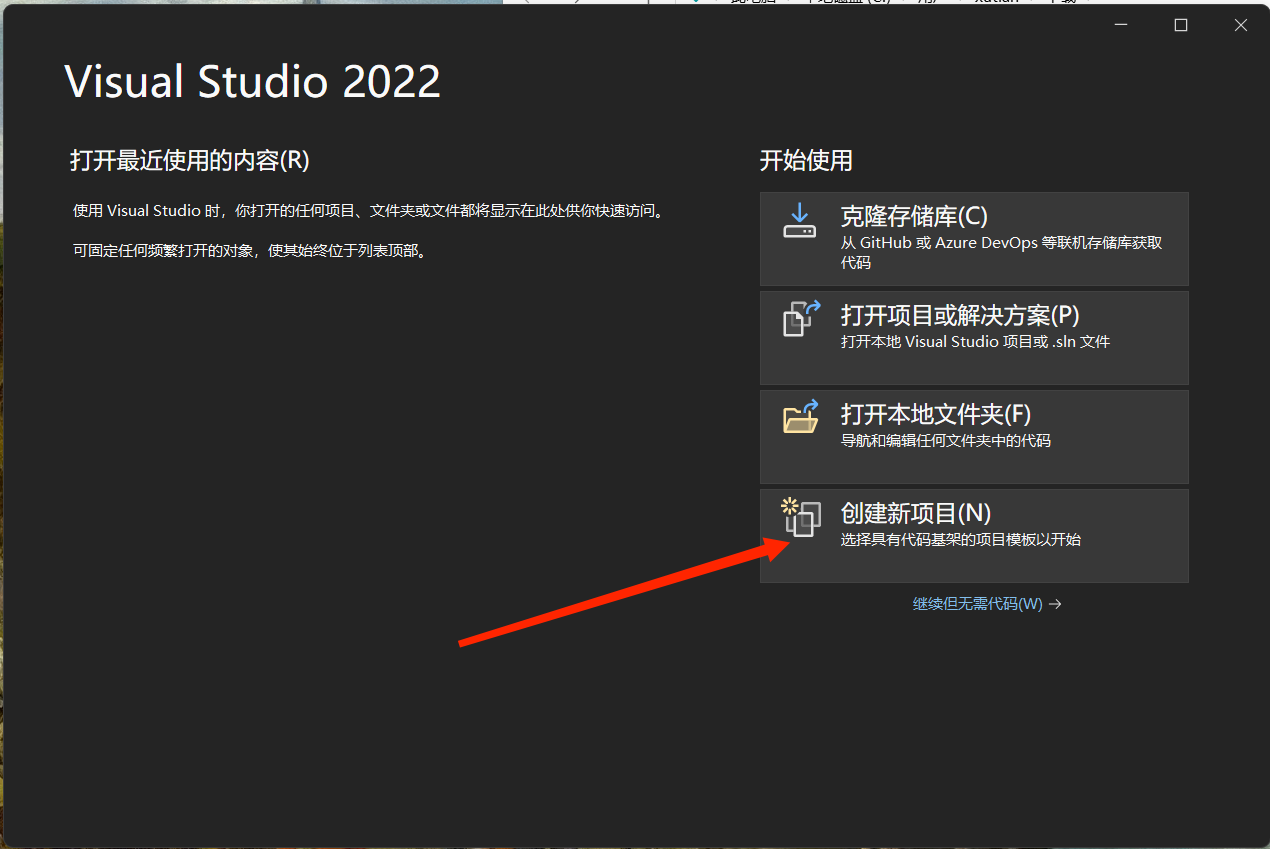
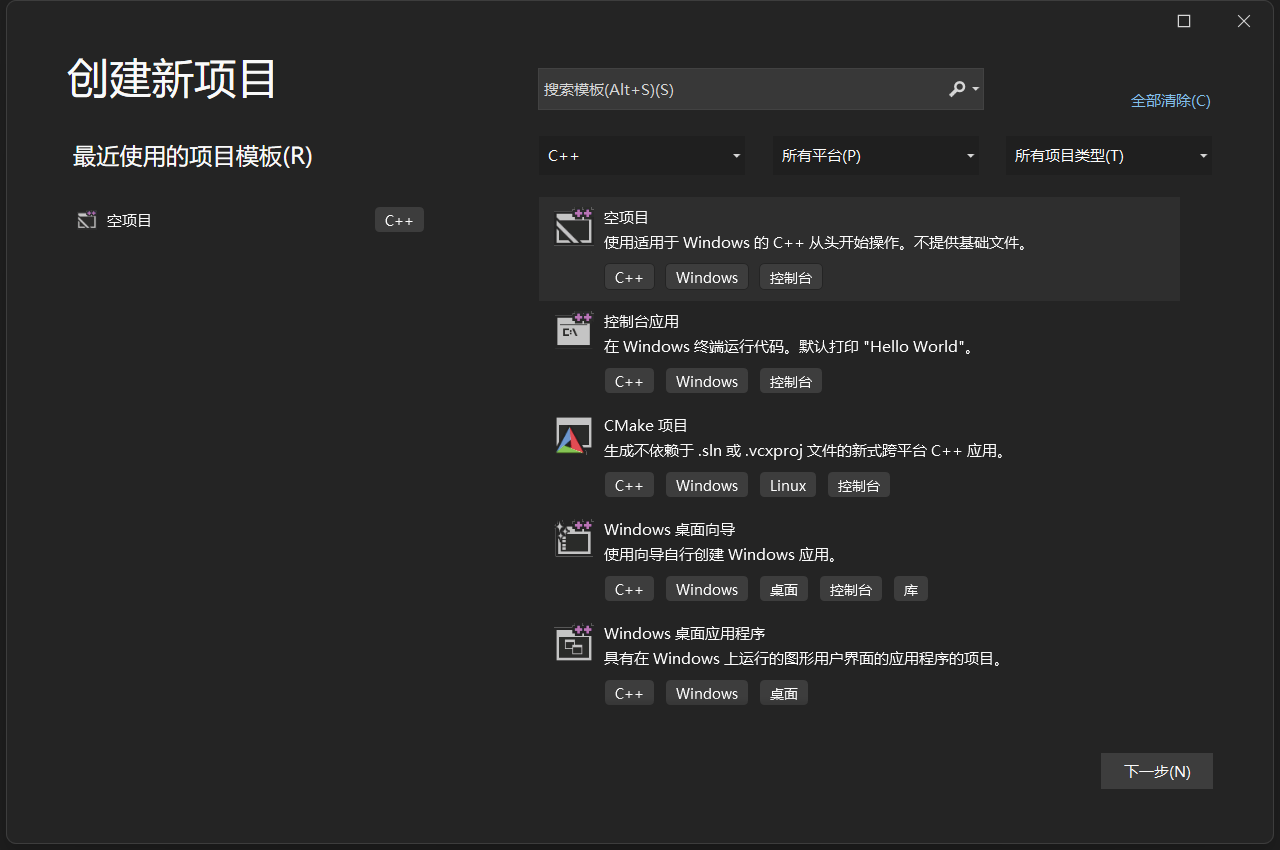
2.打开Visual Studio 2022并创建一个空项目
2.1选择C/C++语言 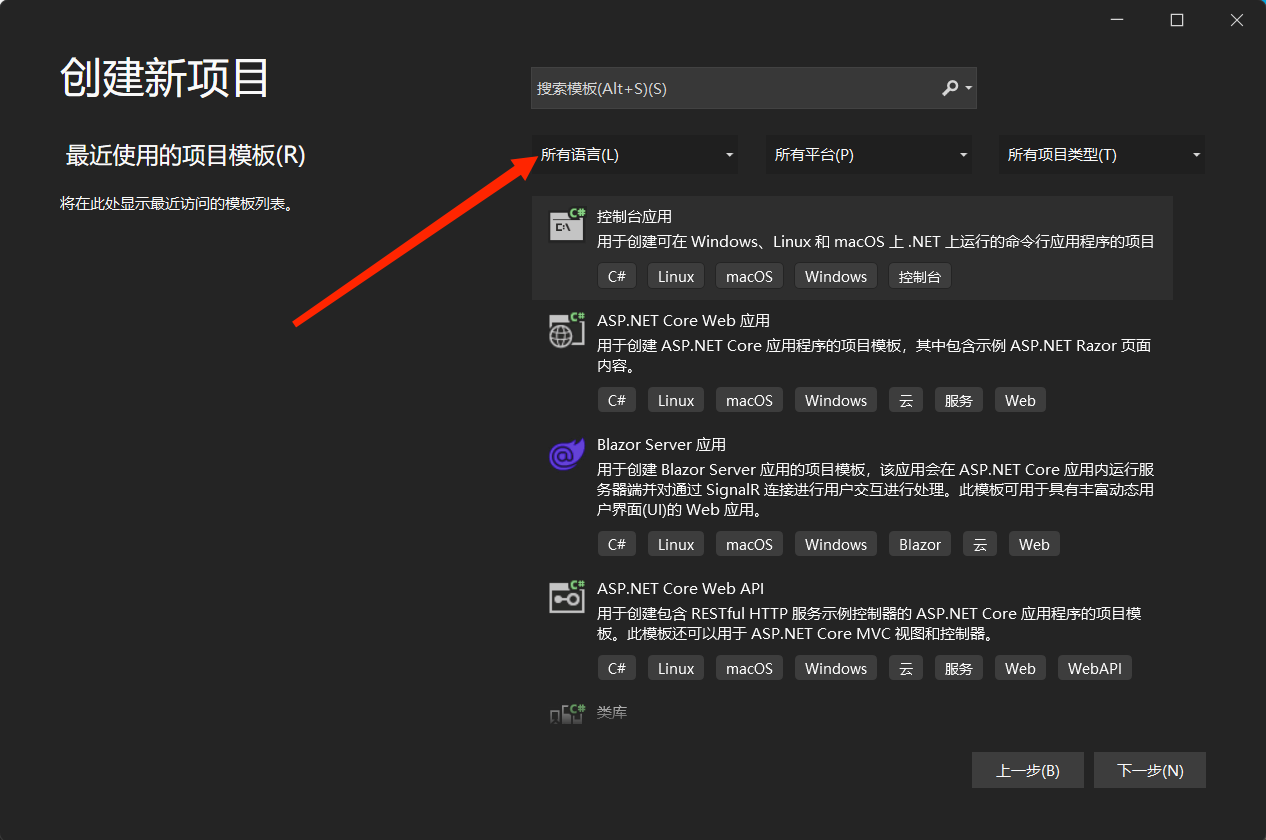
2.2创建一个空项目 后下一步
2.3点击创建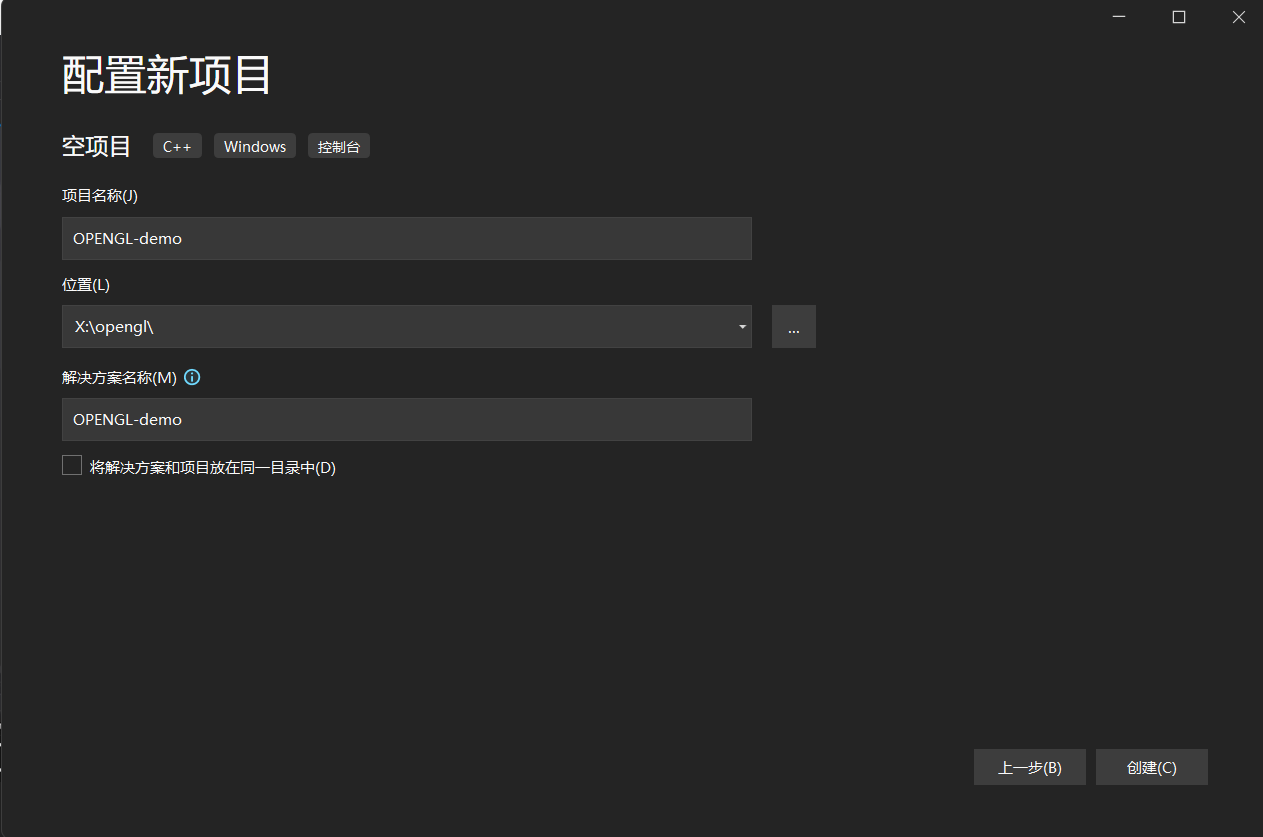
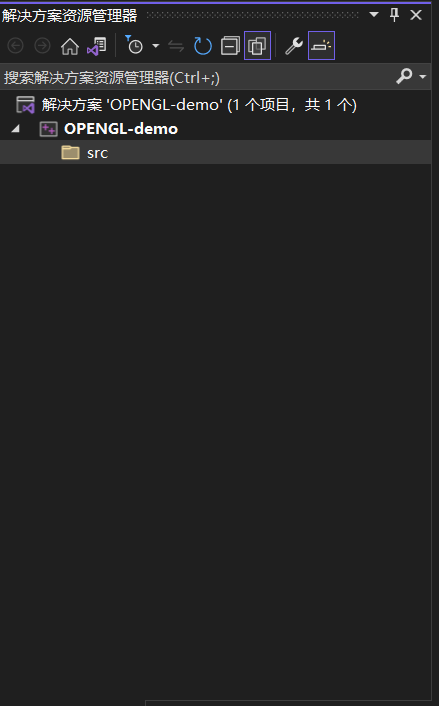
2.4点击显示所有文件夹

2.5点击鼠标右键->添加->新建文件夹src
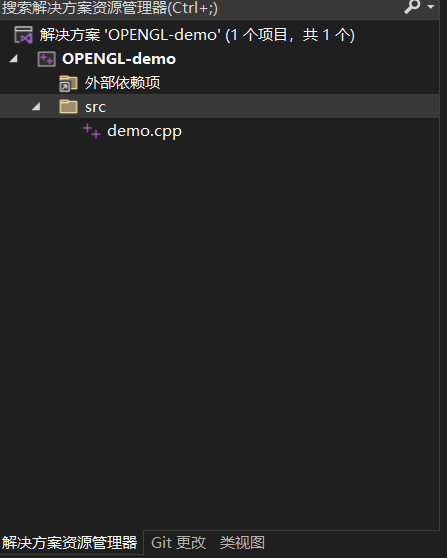
2.6鼠标在src文件夹上右键->添加->新建项目项

2.7新建demo.cpp
2.8 if(!输出||!错误列表){
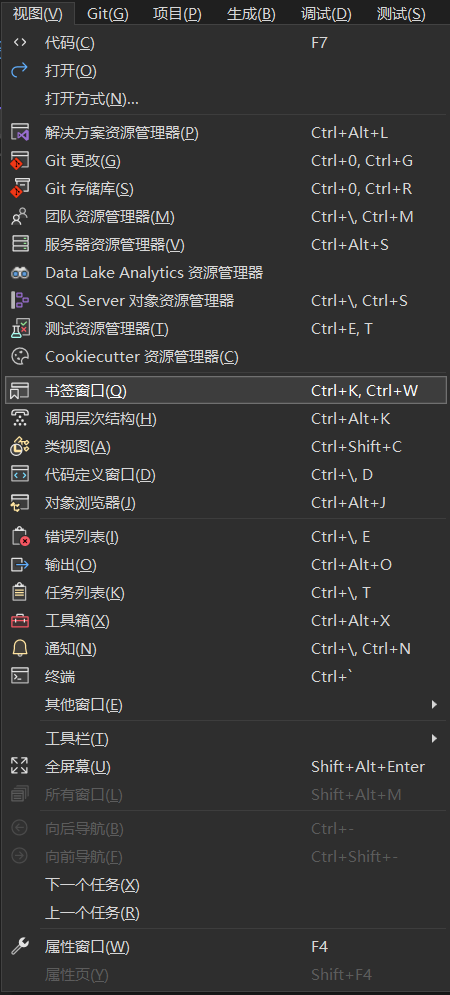
菜单栏视图打开输出表和错误列表
}
3.配置glfw文件到opengl-demo下
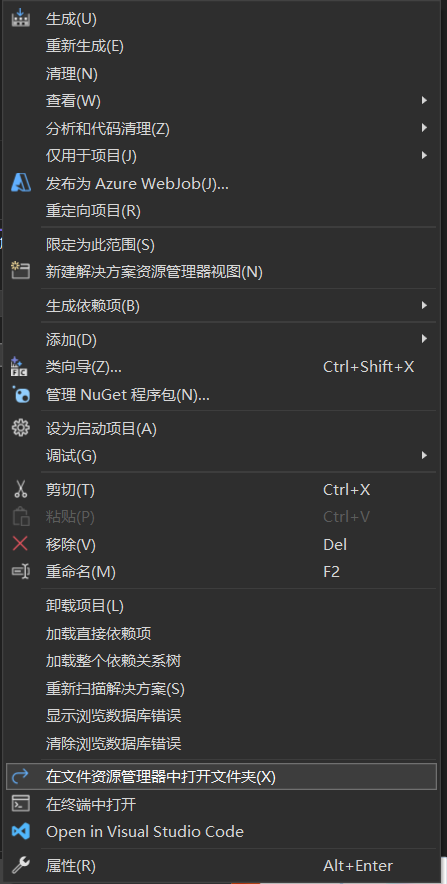
3.1在opengl-demo下鼠标右键点击在文件资源管理器中打开文件夹
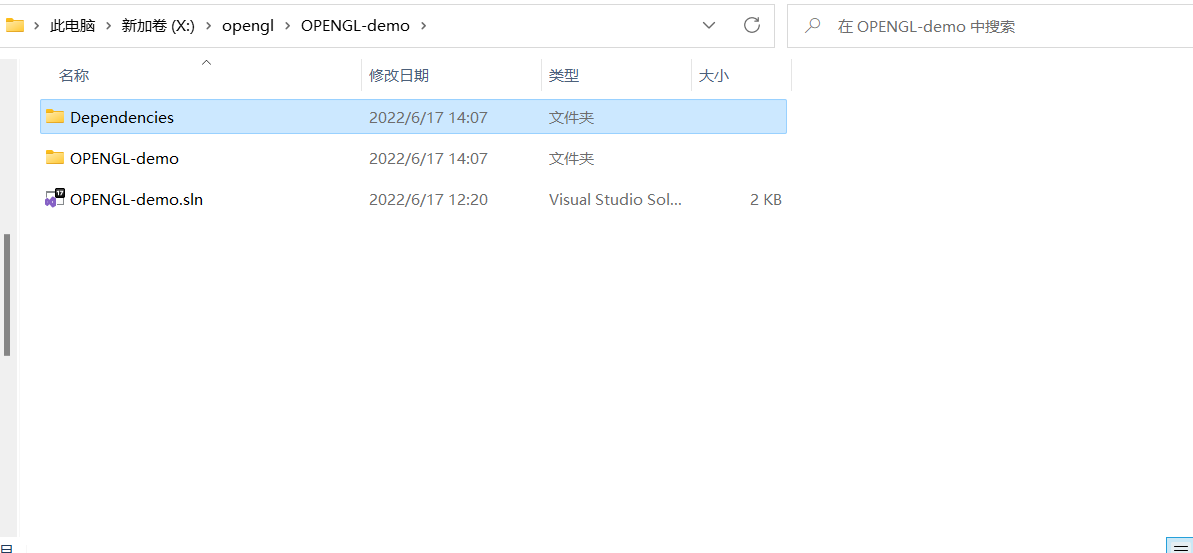
3.2打开文件夹后,在上一级文件夹中新建Dependencies文件夹->新建GLFW文件夹
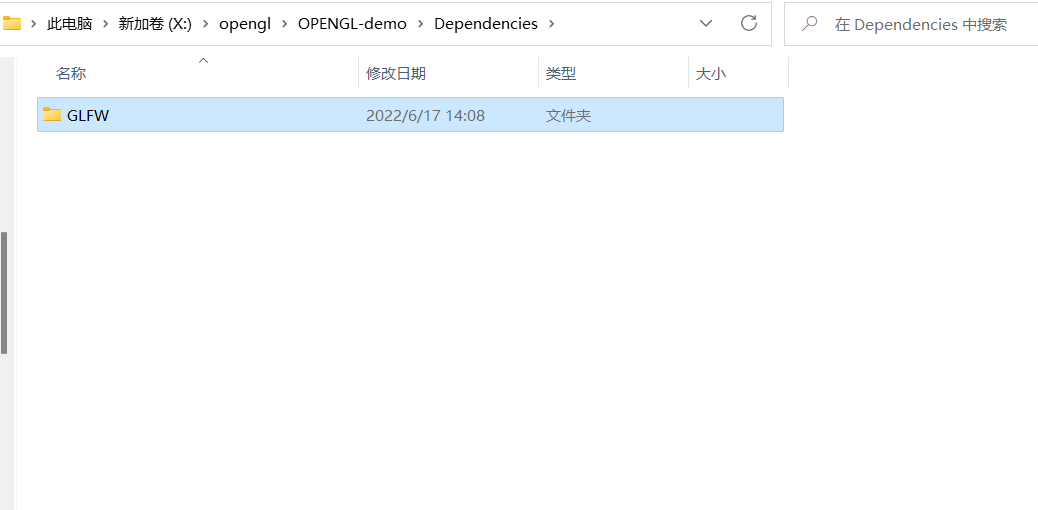
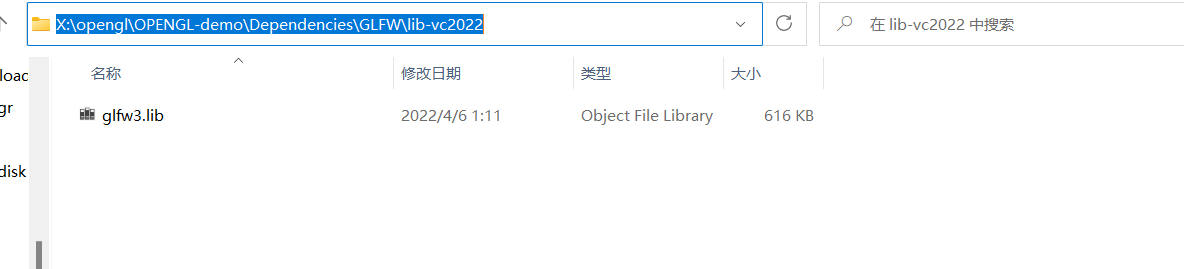
3.3把之前下载并解压的glfw文件夹中的include文件夹和lib-vc2022复制粘贴到GLFW文件夹中
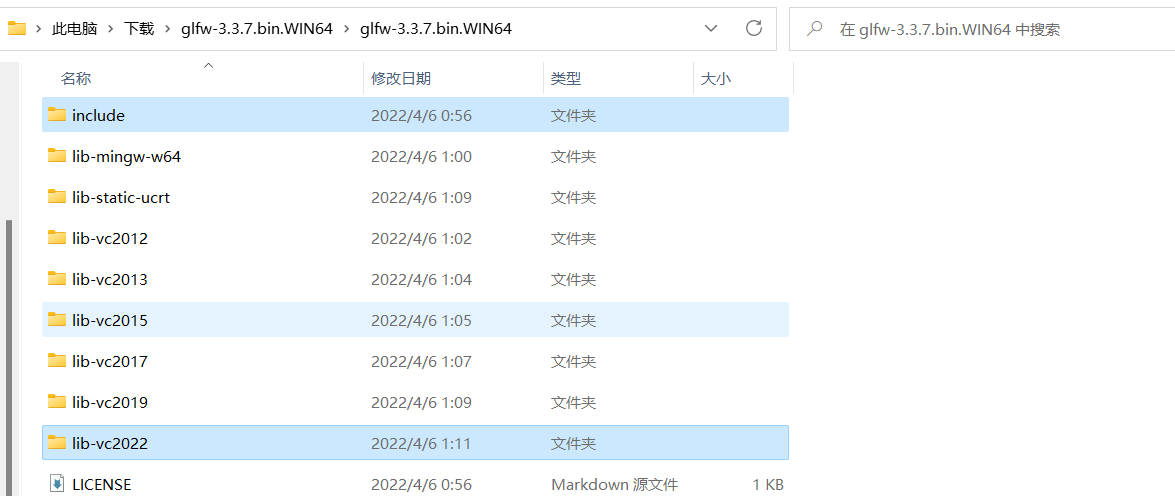
3.4 删除lib-vc2022文件夹中除了glfw3.lib文件的其他文件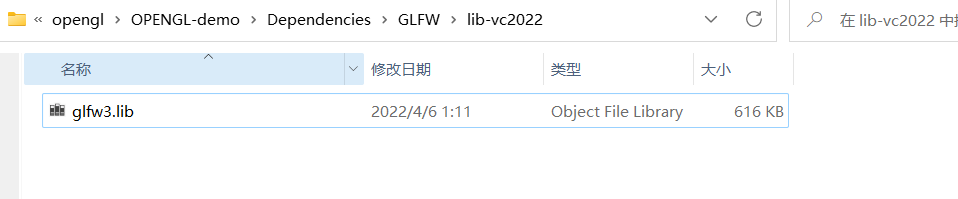
4.vs2022链接GLFW库
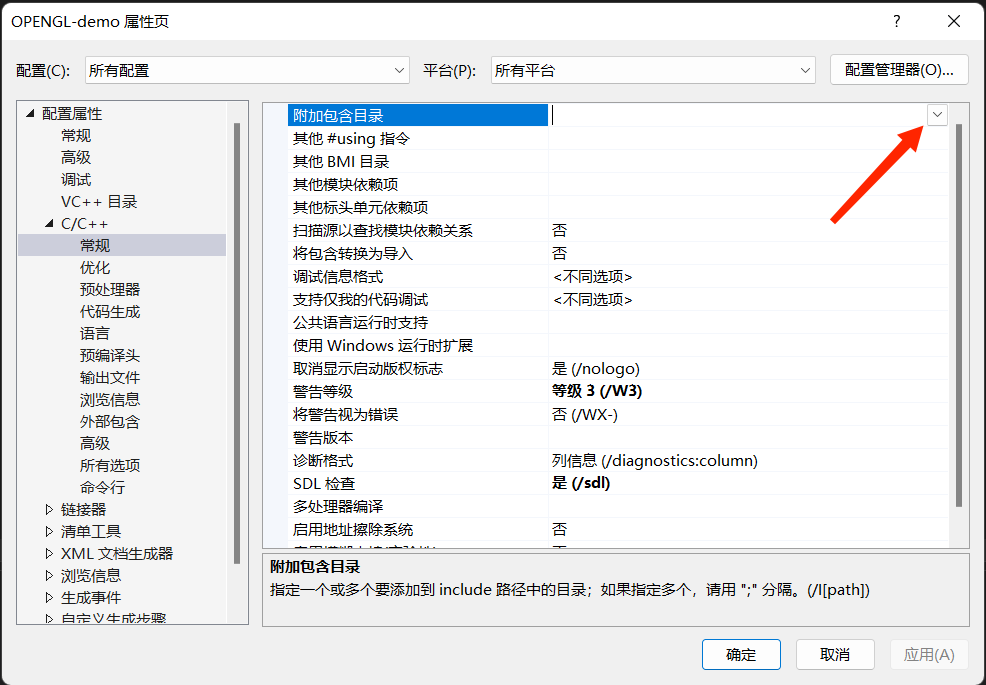
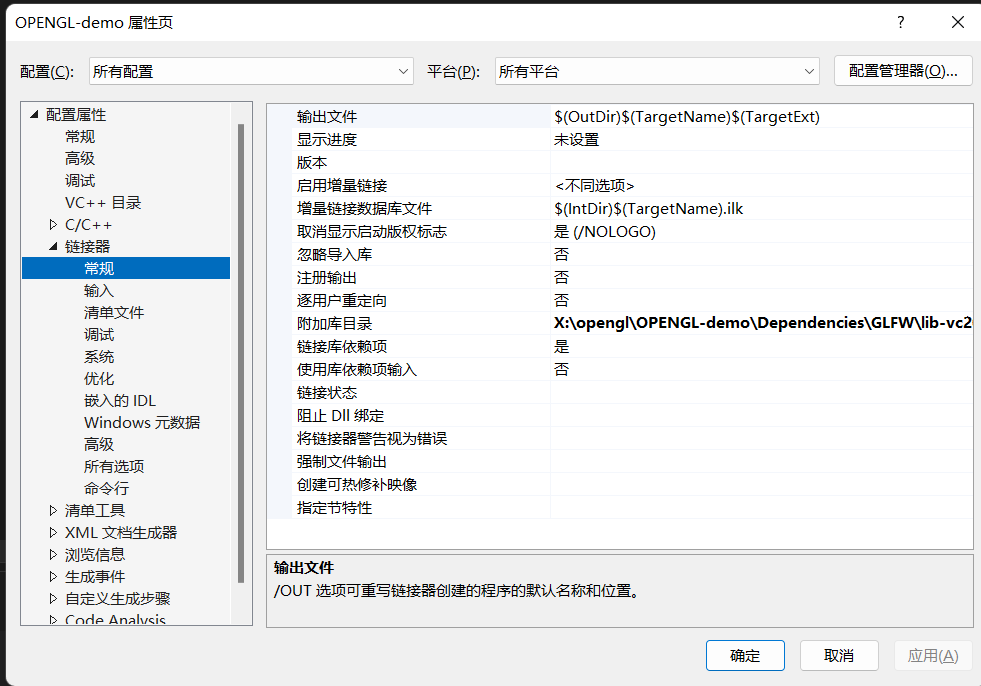
4.1 在open-demo下点击鼠标右键->属性->c++->常规 配置路径
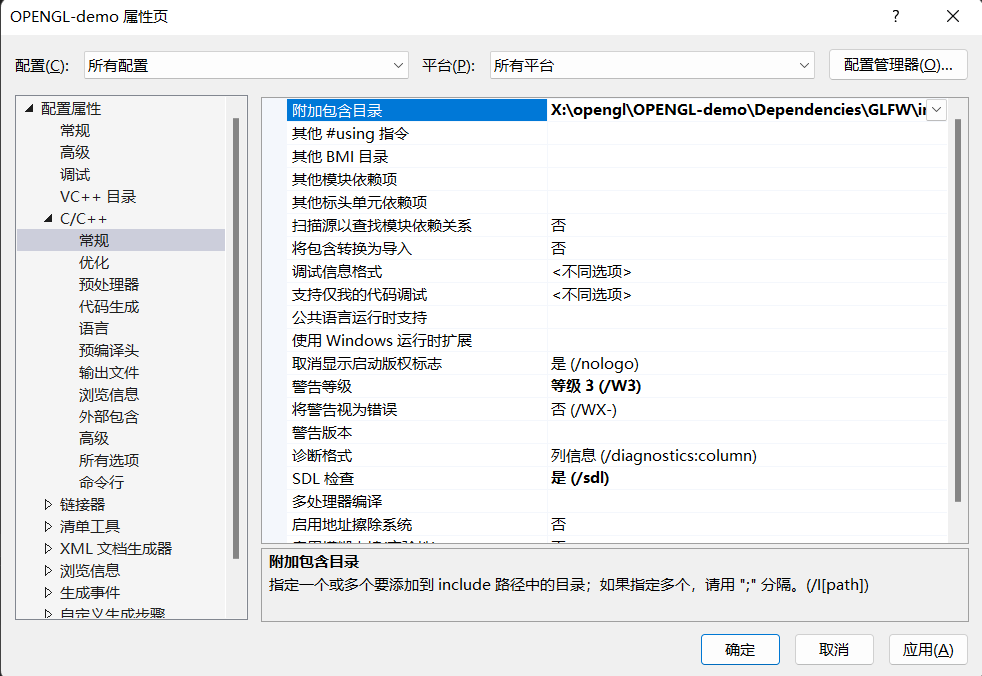
4.2 复制粘贴路径

4.3 配置链接器

4.4配置链接器的输入项
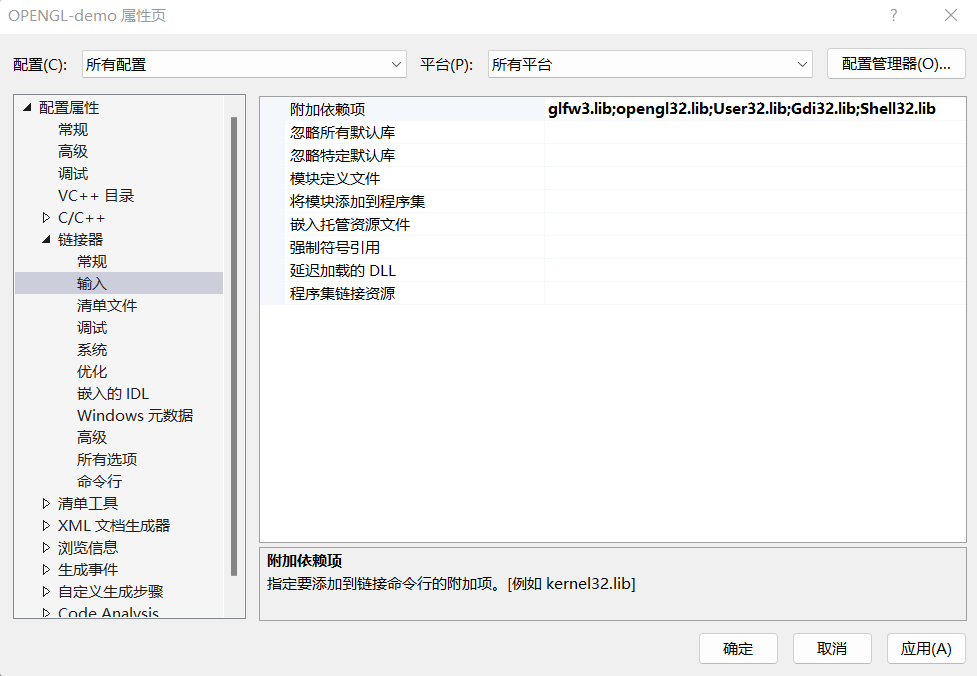
点击应用->确定
5.部署一个简单的实例
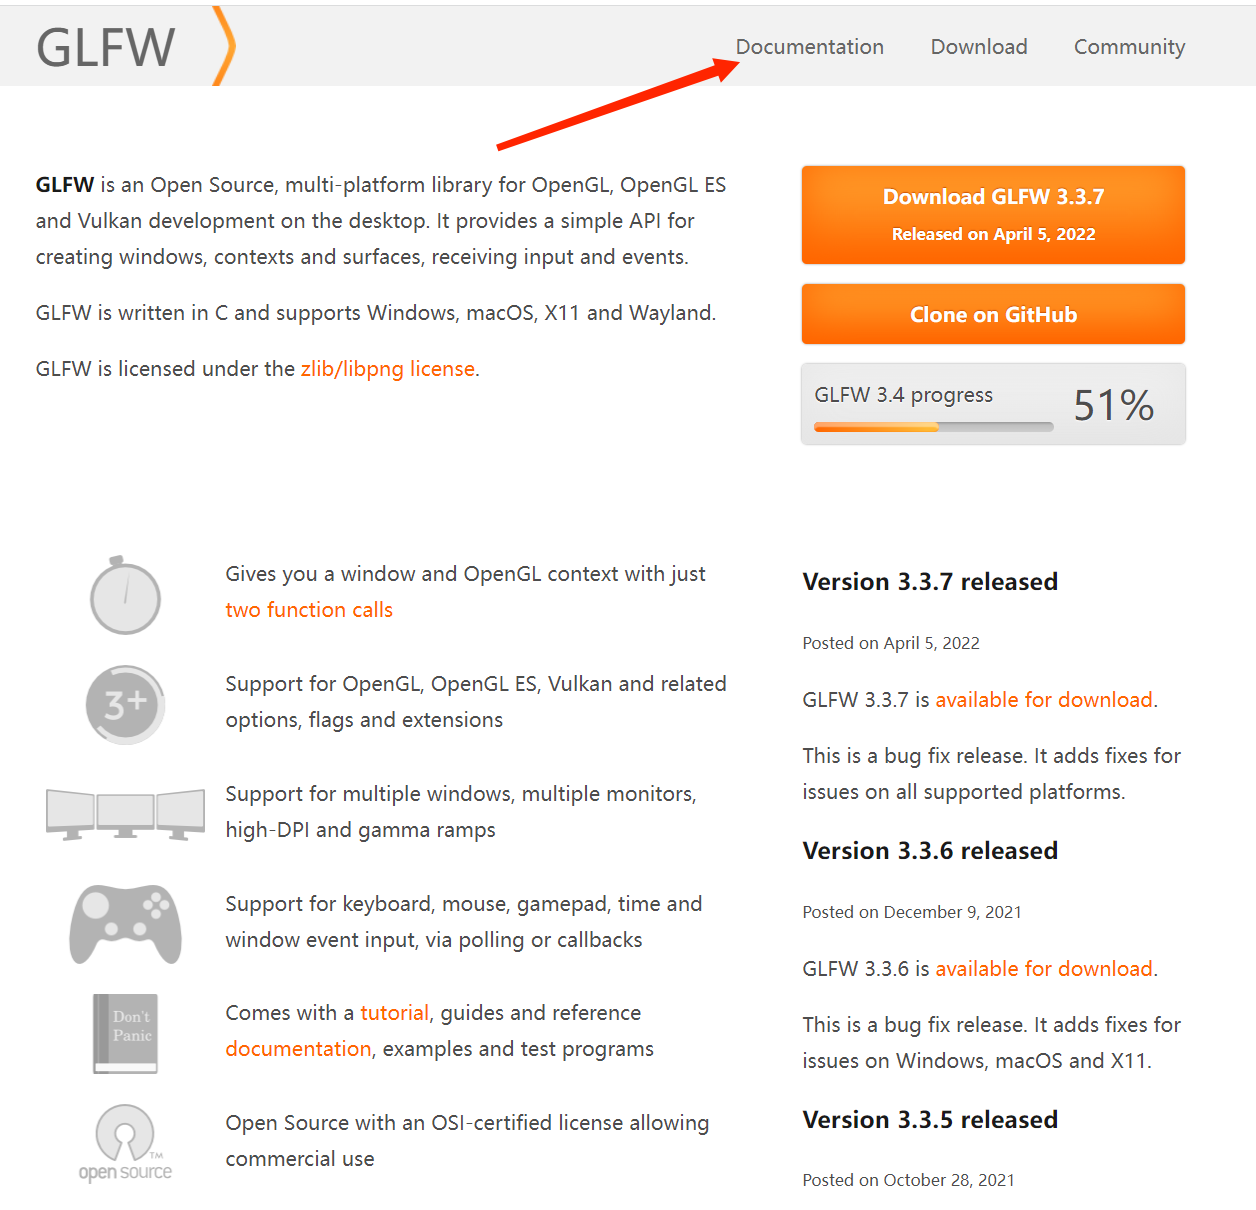
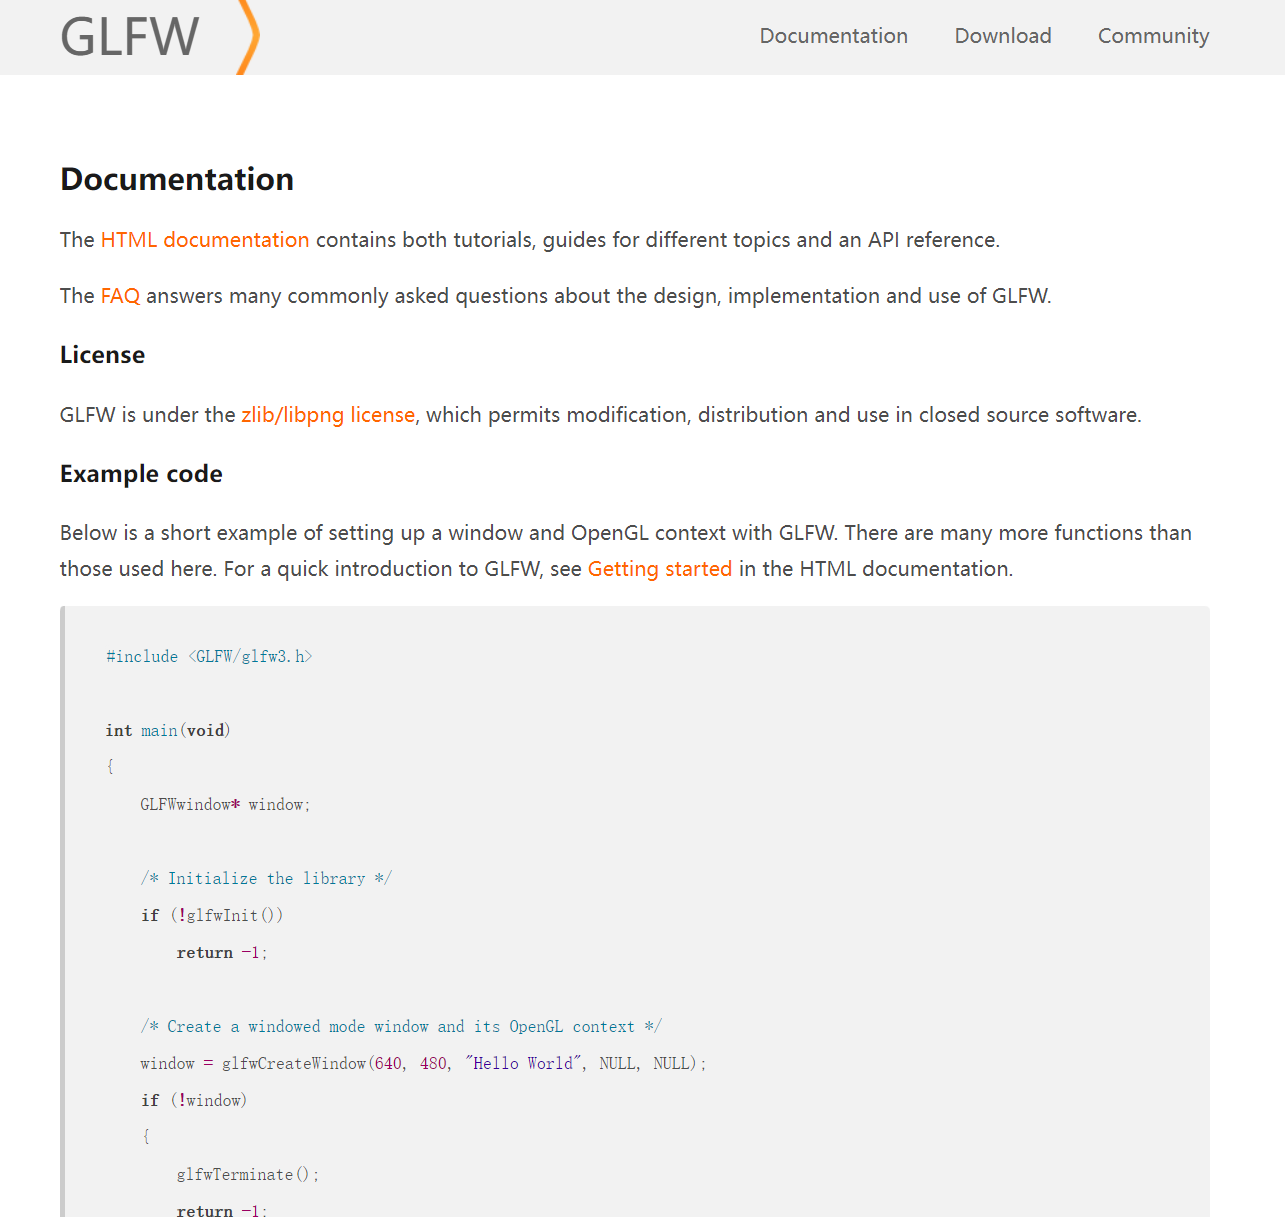
5.1打开GLFW官网,点击Documentation
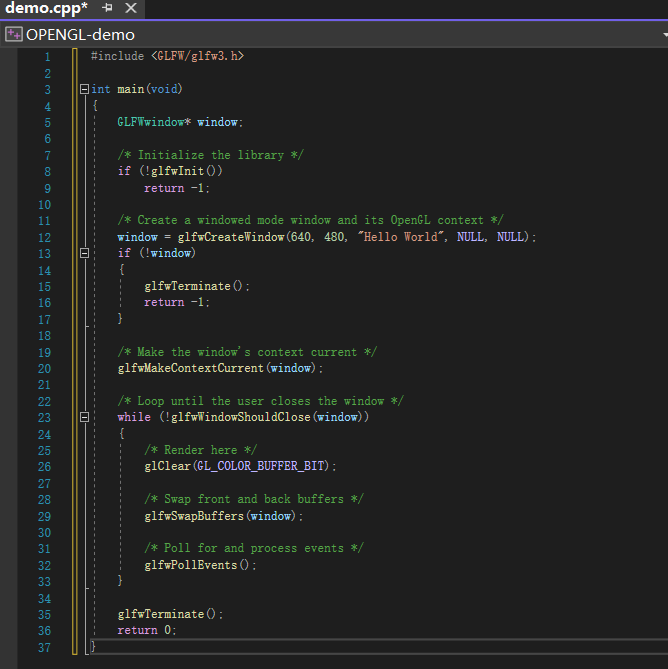
5.2 复制粘贴官方的例子到vs2022 opengl-demo/demo.cpp
#include <GLFW/glfw3.h>

int main(void)
{
    GLFWwindow* window;

    /* Initialize the library */
    if (!glfwInit())
        return -1;

    /* Create a windowed mode window and its OpenGL context */
    window = glfwCreateWindow(640, 480, "Hello World", NULL, NULL);
    if (!window)
    {
        glfwTerminate();
        return -1;
    }

    /* Make the window's context current */
    glfwMakeContextCurrent(window);

    /* Loop until the user closes the window */
    while (!glfwWindowShouldClose(window))
    {
        /* Render here */
        glClear(GL_COLOR_BUFFER_BIT);

        /* Swap front and back buffers */
        glfwSwapBuffers(window);

        /* Poll for and process events */
        glfwPollEvents();
    }

    glfwTerminate();
    return 0;
}
5.3 复制到IDE
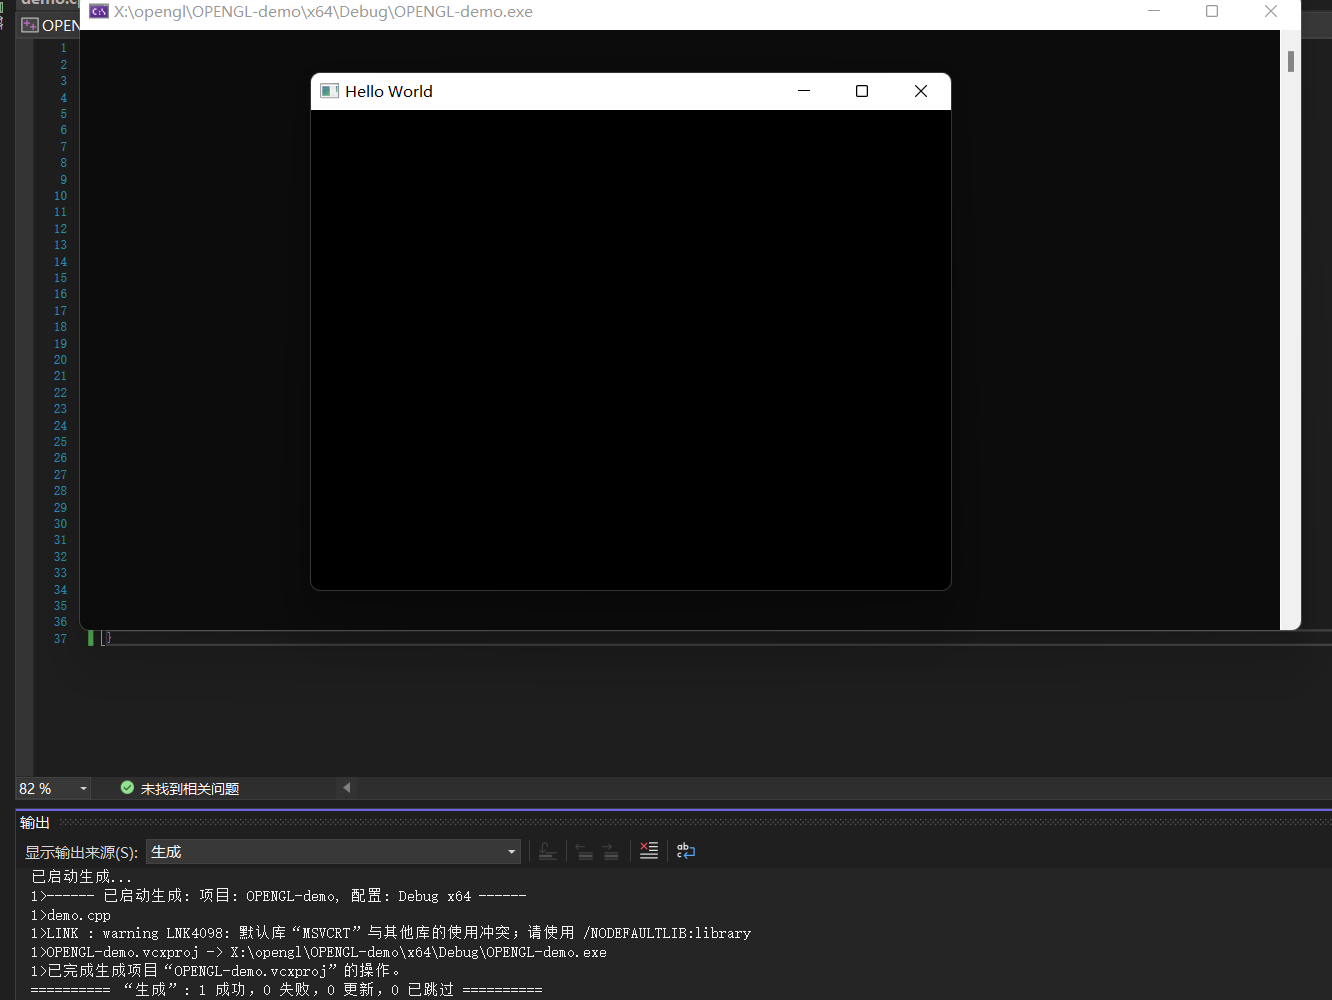
5.4运行 成功
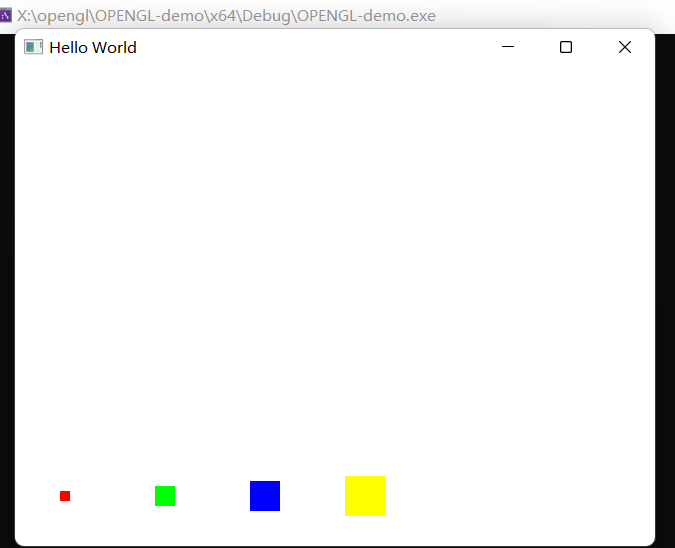
6.编写一个简单的例子(不同大小颜色的点)
#include <GLFW/glfw3.h>

int main(void)
{
    GLFWwindow* window;

    /* Initialize the library */
    if (!glfwInit())
        return -1;

    /* Create a windowed mode window and its OpenGL context */
    window = glfwCreateWindow(640, 480, "Hello World", NULL, NULL);
    if (!window)
    {
        glfwTerminate();
        return -1;
    }

    /* Make the window's context current */
    glfwMakeContextCurrent(window);

    /* Loop until the user closes the window */
    while (!glfwWindowShouldClose(window))
    {
        /* Render here */
        glClear(GL_COLOR_BUFFER_BIT);
        glClear(GL_COLOR_BUFFER_BIT);
        glClearColor(1, 1, 1, 1);
        glViewport(0, 0, 400, 100);

        glViewport(0, 0, 100, 100);
        glPointSize(10.0f); glColor3f(1, 0, 0);//点的属性
        glBegin(GL_POINTS);
        glVertex2f(0.0f, 0.0f);
        glEnd();

        glViewport(100, 0, 100, 100);
        glPointSize(20.0f); glColor3f(0, 1, 0);
        glBegin(GL_POINTS);
        glVertex2f(0.0f, 0.0f);
        glEnd();

        glViewport(200, 0, 100, 100);
        glPointSize(30.0f); glColor3f(0, 0, 1);
        glBegin(GL_POINTS);
        glVertex2f(0.0f, 0.0f);
        glEnd();

        glViewport(300, 0, 100, 100);
        glPointSize(40.0f); glColor3f(1, 1, 0);
        glBegin(GL_POINTS);
        glVertex2f(0.0f, 0.0f);
        glEnd();

        /* Swap front and back buffers */
        glfwSwapBuffers(window);

        /* Poll for and process events */
        glfwPollEvents();
    }

    glfwTerminate();
    return 0;
}
文献引用:
视频:最好的OpenGL教程之一_哔哩哔哩_bilibili
实例:OpenGL从1.0开始--点和线的属性 - 灰信网(软件开发博客聚合)
如果文章对您有帮助,请多多点赞收藏!:)


 被折叠的 条评论
为什么被折叠?
被折叠的 条评论
为什么被折叠?
 到【灌水乐园】发言


