


8.1.0版本ELK搭建,不开启xpack认证机制
部署环境安排
| ip | 部署服务 | |
|---|---|---|
| 192.168.0.121 | kibana,elasticsearch | |
| 192.168.0.83 | elasticsearch,logstash | |
| 192.168.0.84 | elasticsearch,logstash,httpd,filebeat |
下载安装包
下载elasticsearch-8-1-0
https://www.elastic.co/cn/downloads/past-releases#elasticsearch
https://www.elastic.co/cn/downloads/past-releases/elasticsearch-8-1-0
https://artifacts.elastic.co/downloads/elasticsearch/elasticsearch-8.1.0-linux-x86_64.tar.gz
下载kibana-8-1-0
https://www.elastic.co/downloads/past-releases#kibana
https://www.elastic.co/cn/downloads/past-releases/kibana-8-1-0
https://artifacts.elastic.co/downloads/kibana/kibana-8.1.0-linux-x86_64.tar.gz
下载logstash-8-1-0
https://www.elastic.co/downloads/past-releases#logstash
https://www.elastic.co/cn/downloads/past-releases/logstash-8-1-0
https://artifacts.elastic.co/downloads/logstash/logstash-8.1.0-linux-x86_64.tar.gz
下载
https://www.elastic.co/downloads/past-releases#filebeat
https://www.elastic.co/cn/downloads/past-releases/filebeat-8-1-0
https://artifacts.elastic.co/downloads/beats/filebeat/filebeat-8.1.0-linux-x86_64.tar.gz
服务器环境配置
操作所有服务器
jdk
8.1.0版本自带jdk
关闭交换空间
swapoff -a
vim /etc/fstab #注释swap行
创建运行elasticsearch的用户elastic
useradd elastic
设置elastic用户的文件最大打开数量和最大线程使用数量
ulimit -n 65535
ulimit -u 4096
vim /etc/security/limits.conf
elastic -  nofile  65535
elastic -  nproc 4096
设置虚拟内存
sysctl -w vm.max_map_count=262144
vim /etc/sysctl.conf
vm.max_map_count=262144
创建数据目录
mkdir -p /data/elastic/data
mkdir -p /data/elastic/logs
chown -R elastic:elastic /data/elastic

mkdir -p /data/kibana/data
mkdir -p /data/kibana/logs

mkdir -p /data/logstash/data
mkdir -p /data/logstash/logs

mkdir -p /data/filebeat/data
mkdir -p /data/filebeat/logs
部署elasticsearch
操作所有服务器
tar xf elasticsearch-8.1.0-linux-x86_64.tar.gz -C /data
cd elasticsearch-8.1.0
chown -R elastic:elastic /data/elasticsearch-8.1.0
cd config
#修改jvm参数
vim jvm.options
-Xms2g
-Xmx2g
操作192.168.0.121
#192.168.0.121
vim elasticsearch.yml

cluster.name: my-application
node.name: node-1
path.data: /data/elastic/data
path.logs: /data/elastic/log
network.host: 192.168.0.121
http.port: 9200
discovery.seed_hosts: ["192.168.0.121", "192.168.0.83", "192.168.0.84"]
cluster.initial_master_nodes: ["192.168.0.121", "192.168.0.83", "192.168.0.84"]

#false 表示不开启xpack认证机制
xpack.security.enabled: false

#false 表示不开启xpack认证机制
xpack.security.enrollment.enabled: false

#上方false 下方的配置不生效
xpack.security.http.ssl:
  enabled: true
  keystore.path: certs/http.p12

xpack.security.transport.ssl:
  enabled: true
  verification_mode: certificate
  keystore.path: certs/transport.p12
  truststore.path: certs/transport.p12
操作192.168.0.83
#192.168.0.83
vim elasticsearch.yml
cluster.name: my-application
node.name: node-2
path.data: /data/elastic/data
path.logs: /data/elastic/log
network.host: 192.168.0.83
http.port: 9200
discovery.seed_hosts: ["192.168.0.121", "192.168.0.83", "192.168.0.84"]
cluster.initial_master_nodes: ["192.168.0.121", "192.168.0.83", "192.168.0.84"]


xpack.security.enabled: false

xpack.security.enrollment.enabled: false
操作192.168.0.84
#192.168.0.84
vim elasticsearch.yml
cluster.name: my-application
node.name: node-3
path.data: /data/elastic/data
path.logs: /data/elastic/log
network.host: 192.168.0.84
http.port: 9200
discovery.seed_hosts: ["192.168.0.121", "192.168.0.83", "192.168.0.84"]
cluster.initial_master_nodes: ["192.168.0.121", "192.168.0.83", "192.168.0.84"]


xpack.security.enabled: false

xpack.security.enrollment.enabled: false
操作所有服务器
cd ..
#配置启动文件
echo "nohup bin/elasticsearch > /data/elastic/log/elastic.log &" > start.sh
chmod a+x start.sh
#依次启动elasticsearch
./start.sh
tail -200f /data/elastic/log/elastic.log
#查看验证
curl 192.168.0.121:9200
{
  "name" : "node-1",
  "cluster_name" : "my-application",
  "cluster_uuid" : "wnh3f7iARXuJvA0UbFPlwg",
  "version" : {
    "number" : "8.1.0",
    "build_flavor" : "default",
    "build_type" : "tar",
    "build_hash" : "3700f7679f7d95e36da0b43762189bab189bc53a",
    "build_date" : "2022-03-03T14:20:00.690422633Z",
    "build_snapshot" : false,
    "lucene_version" : "9.0.0",
    "minimum_wire_compatibility_version" : "7.17.0",
    "minimum_index_compatibility_version" : "7.0.0"
  },
  "tagline" : "You Know, for Search"
}

curl 192.168.0.83:9200
{
  "name" : "node-2",
  "cluster_name" : "my-application",
  "cluster_uuid" : "wnh3f7iARXuJvA0UbFPlwg",
  "version" : {
    "number" : "8.1.0",
    "build_flavor" : "default",
    "build_type" : "tar",
    "build_hash" : "3700f7679f7d95e36da0b43762189bab189bc53a",
    "build_date" : "2022-03-03T14:20:00.690422633Z",
    "build_snapshot" : false,
    "lucene_version" : "9.0.0",
    "minimum_wire_compatibility_version" : "7.17.0",
    "minimum_index_compatibility_version" : "7.0.0"
  },
  "tagline" : "You Know, for Search"
}

curl 192.168.0.84:9200
{
  "name" : "node-3",
  "cluster_name" : "my-application",
  "cluster_uuid" : "wnh3f7iARXuJvA0UbFPlwg",
  "version" : {
    "number" : "8.1.0",
    "build_flavor" : "default",
    "build_type" : "tar",
    "build_hash" : "3700f7679f7d95e36da0b43762189bab189bc53a",
    "build_date" : "2022-03-03T14:20:00.690422633Z",
    "build_snapshot" : false,
    "lucene_version" : "9.0.0",
    "minimum_wire_compatibility_version" : "7.17.0",
    "minimum_index_compatibility_version" : "7.0.0"
  },
  "tagline" : "You Know, for Search"
}

curl 192.168.0.121:9200/_cat/nodes?v
ip            heap.percent ram.percent cpu load_1m load_5m load_15m node.role   master name
192.168.0.121           10          38   4    0.05    0.06     0.04 cdfhilmrstw -      node-1
192.168.0.84             7          78   4    0.12    0.10     0.05 cdfhilmrstw -      node-3
192.168.0.83            11          78   6    0.12    0.10     0.05 cdfhilmrstw *      node-2
部署kibana
操作服务器192.168.0.121
tar xf kibana-8.1.0-linux-x86_64.tar.gz -C /data
cd kibana-8.1.0/config
vim kibana.yml
server.port: 5601
server.host: "192.168.0.121"
elasticsearch.hosts: ["http://192.168.0.121:9200", "http://192.168.0.83:9200", "http://192.168.0.84:9200"]
path.data: /data/kibana/data
cd ..
echo "nohup bin/kibana --allow-root > /data/kibana/log/kibana.log &
" > start.sh
chmod a+x start.sh
./start.sh
tail -200f /data/kibana/log/kibana.log
#打开页面
部署logstash
操作服务器192.168.0.83 192.168.0.84
tar xf  logstash-8.1.0-linux-x86_64.tar.gz -C /data
cd logstash-8.1.0/config
cp logstash-sample.conf logstash.conf
vim logstash.conf
input {
  beats {
    port => 5044
  }
}

output {
  elasticsearch {
    hosts => ["http://192.168.0.121:9200", "http://192.168.0.83:9200", "http://192.168.0.83:9200"]
    index => "%{[@metadata][beat]}-%{[@metadata][version]}-%{+YYYY.MM.dd}"
    #user => "elastic"
    #password => "changeme"
  }
}
cd ..
echo "nohup bin/logstash -f config/logstash.conf  > /data/logstash/log/logstash.log &" > start.sh
chmod a+x start.sh
./start.sh
tail -200f /data/logstash/log/logstash.log
部署httpd,filebeat
操作服务器192.168.0.84
yum -y install httpd
systemctl start httpd.service
systemctl status httpd.service
● httpd.service - The Apache HTTP Server
   Loaded: loaded (/usr/lib/systemd/system/httpd.service; disabled; vendor preset: disabled)
   Active: active (running) since Fri 2023-05-19 09:37:00 CST; 17s ago

ll /var/log/httpd/
total 4
-rw-r--r-- 1 root root   0 May 19 09:37 access_log
-rw-r--r-- 1 root root 679 May 19 09:37 error_log
tar xf filebeat-8.1.0-linux-x86_64.tar.gz -C /data
cd filebeat-8.1.0
vim filebeat.yml
egrep -v "^\s*$|^\s*#" filebeat.yml
filebeat.inputs:
- type: filestream
  enabled: true
  paths:
    - /var/log/httpd/*_log
filebeat.config.modules:
  path: ${path.config}/modules.d/*.yml
  reload.enabled: false
setup.template.settings:
  index.number_of_shards: 3
setup.kibana:
output.logstash:
  hosts: ["192.168.0.83:5044", "192.168.0.84:5044"]
processors:
  - add_host_metadata:
      when.not.contains.tags: forwarded
  - add_cloud_metadata: ~
  - add_docker_metadata: ~
  - add_kubernetes_metadata: ~
logging.level: info
echo "nohup ./filebeat -e -c filebeat.yml > /data/filebeat/log/filebeat.log &
" > start.sh
chmod a+x start.sh
./start.sh
tail -200f /data/filebeat/log/filebeat.log
访问http服务
curl 192.168.0.84
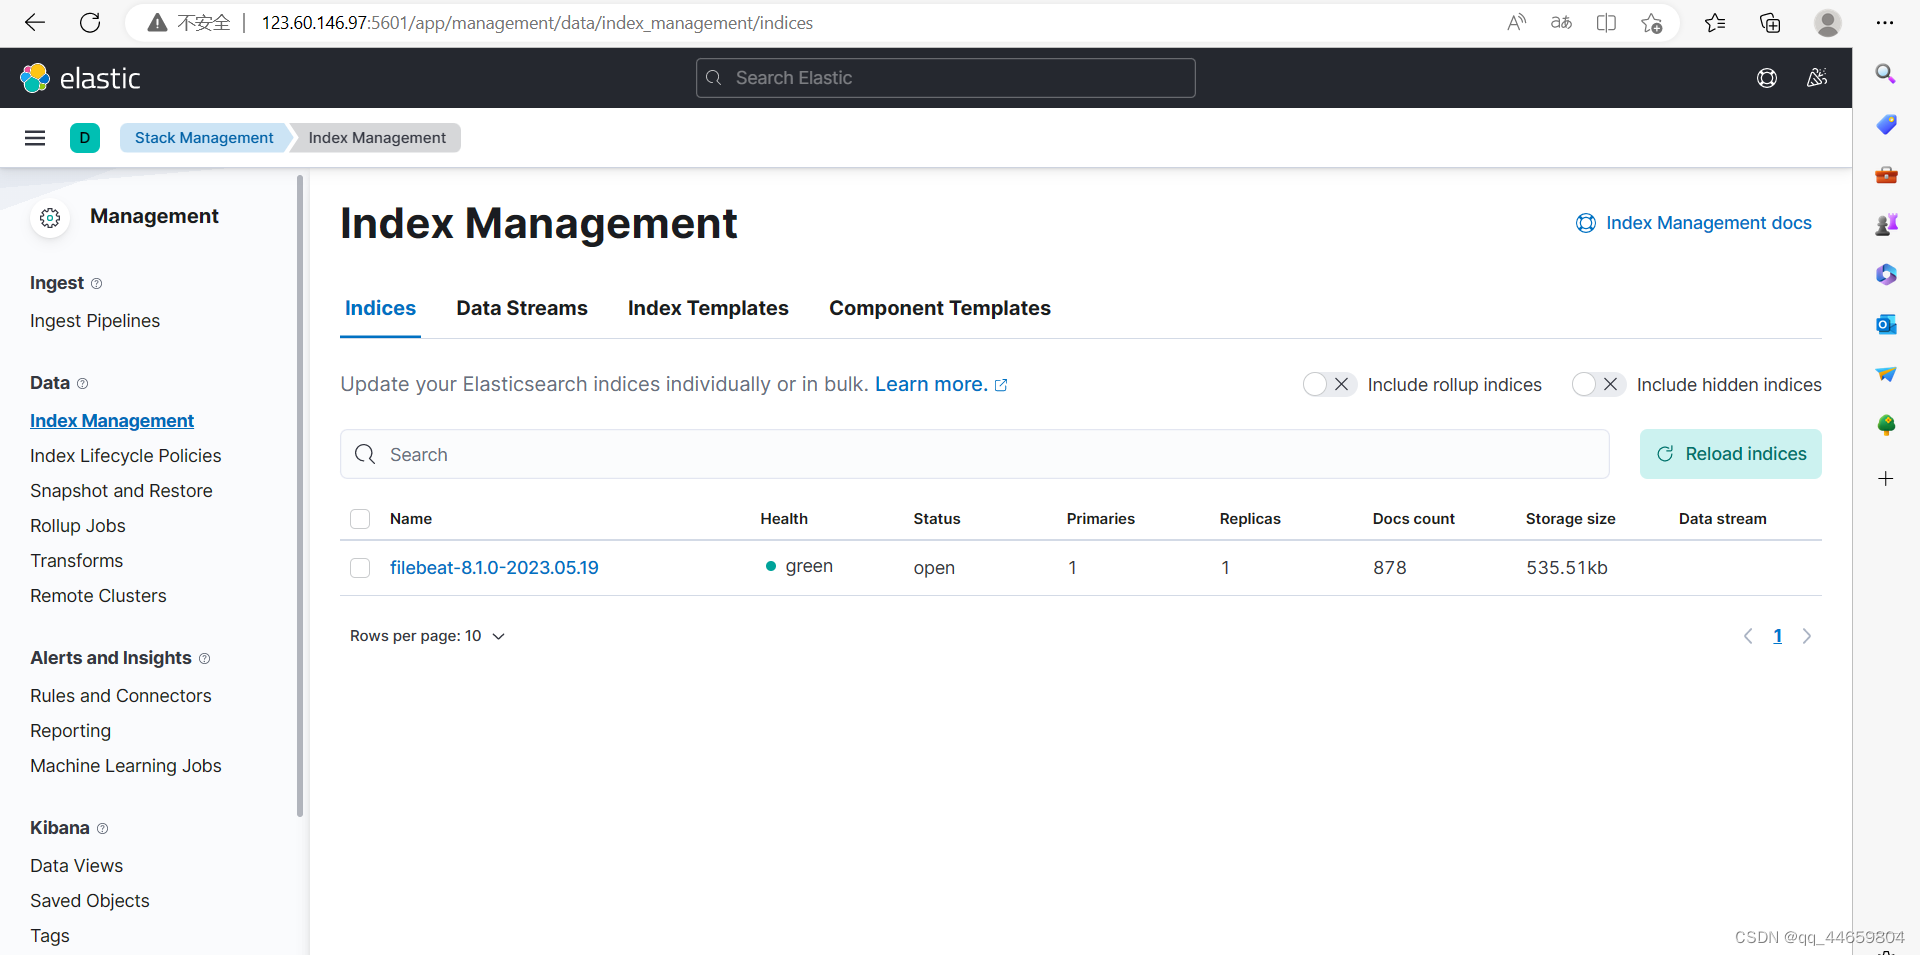
kibana可以看到filebeat的索引
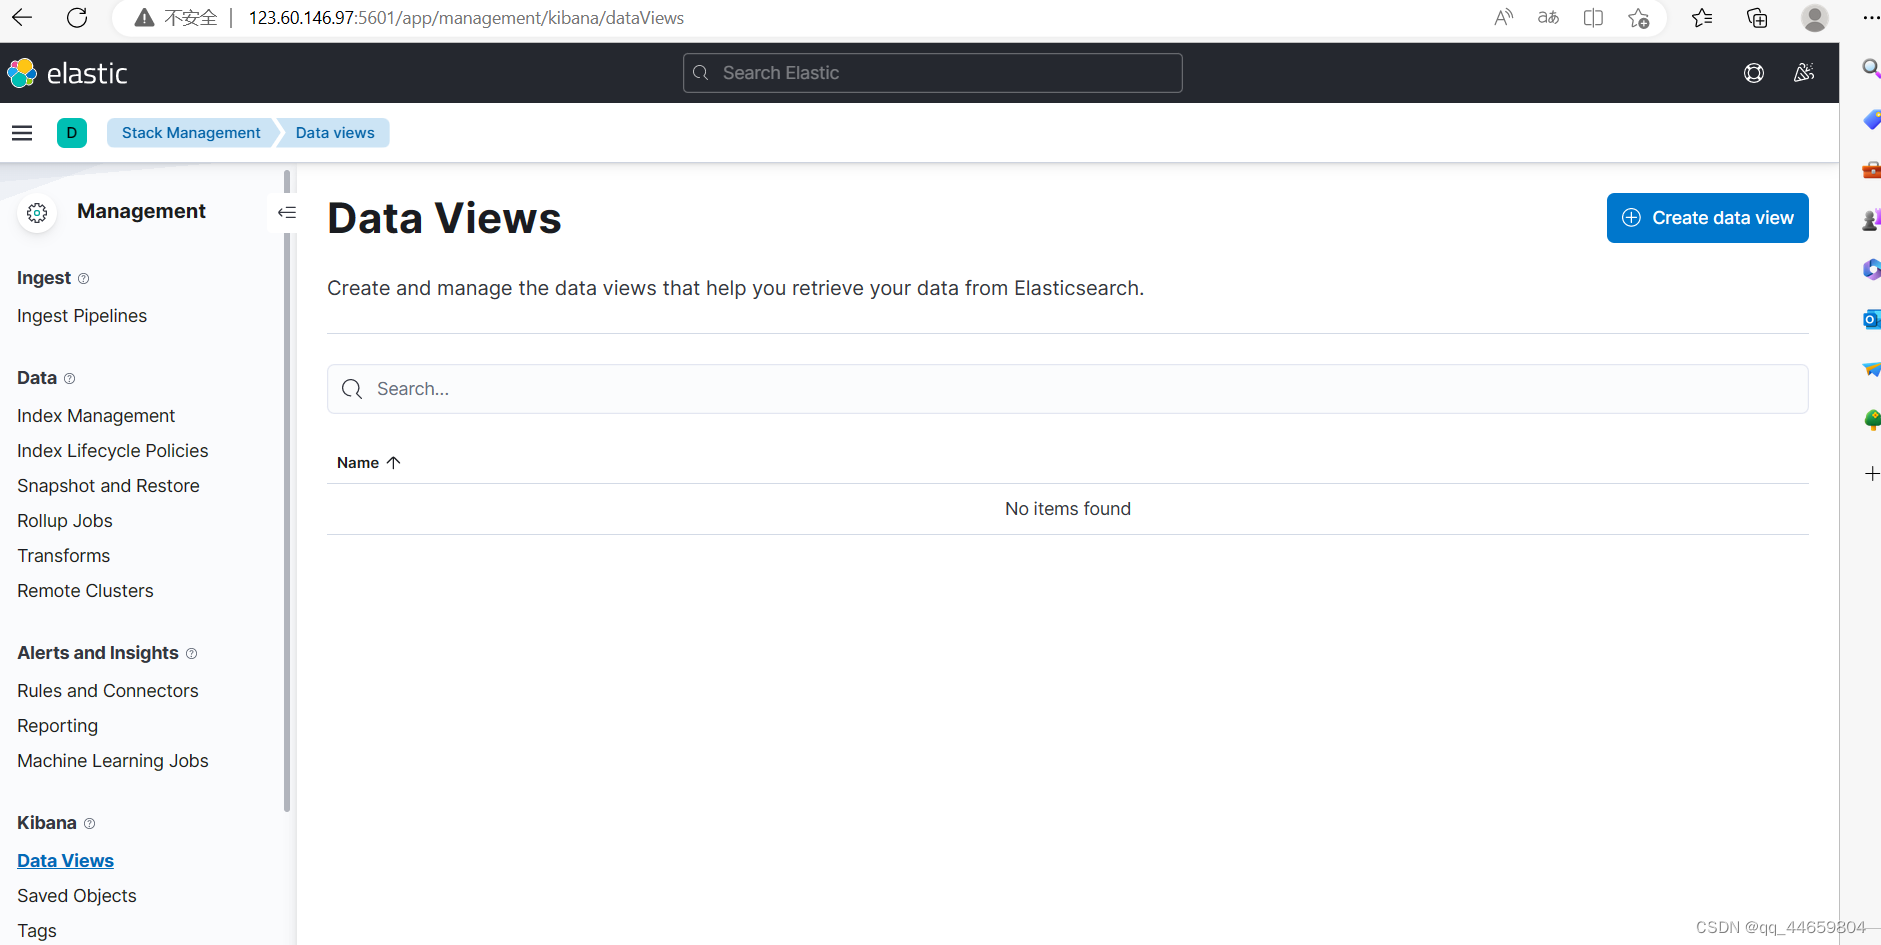
配置kibana页面
选择kibana下方的创建视图Data Views
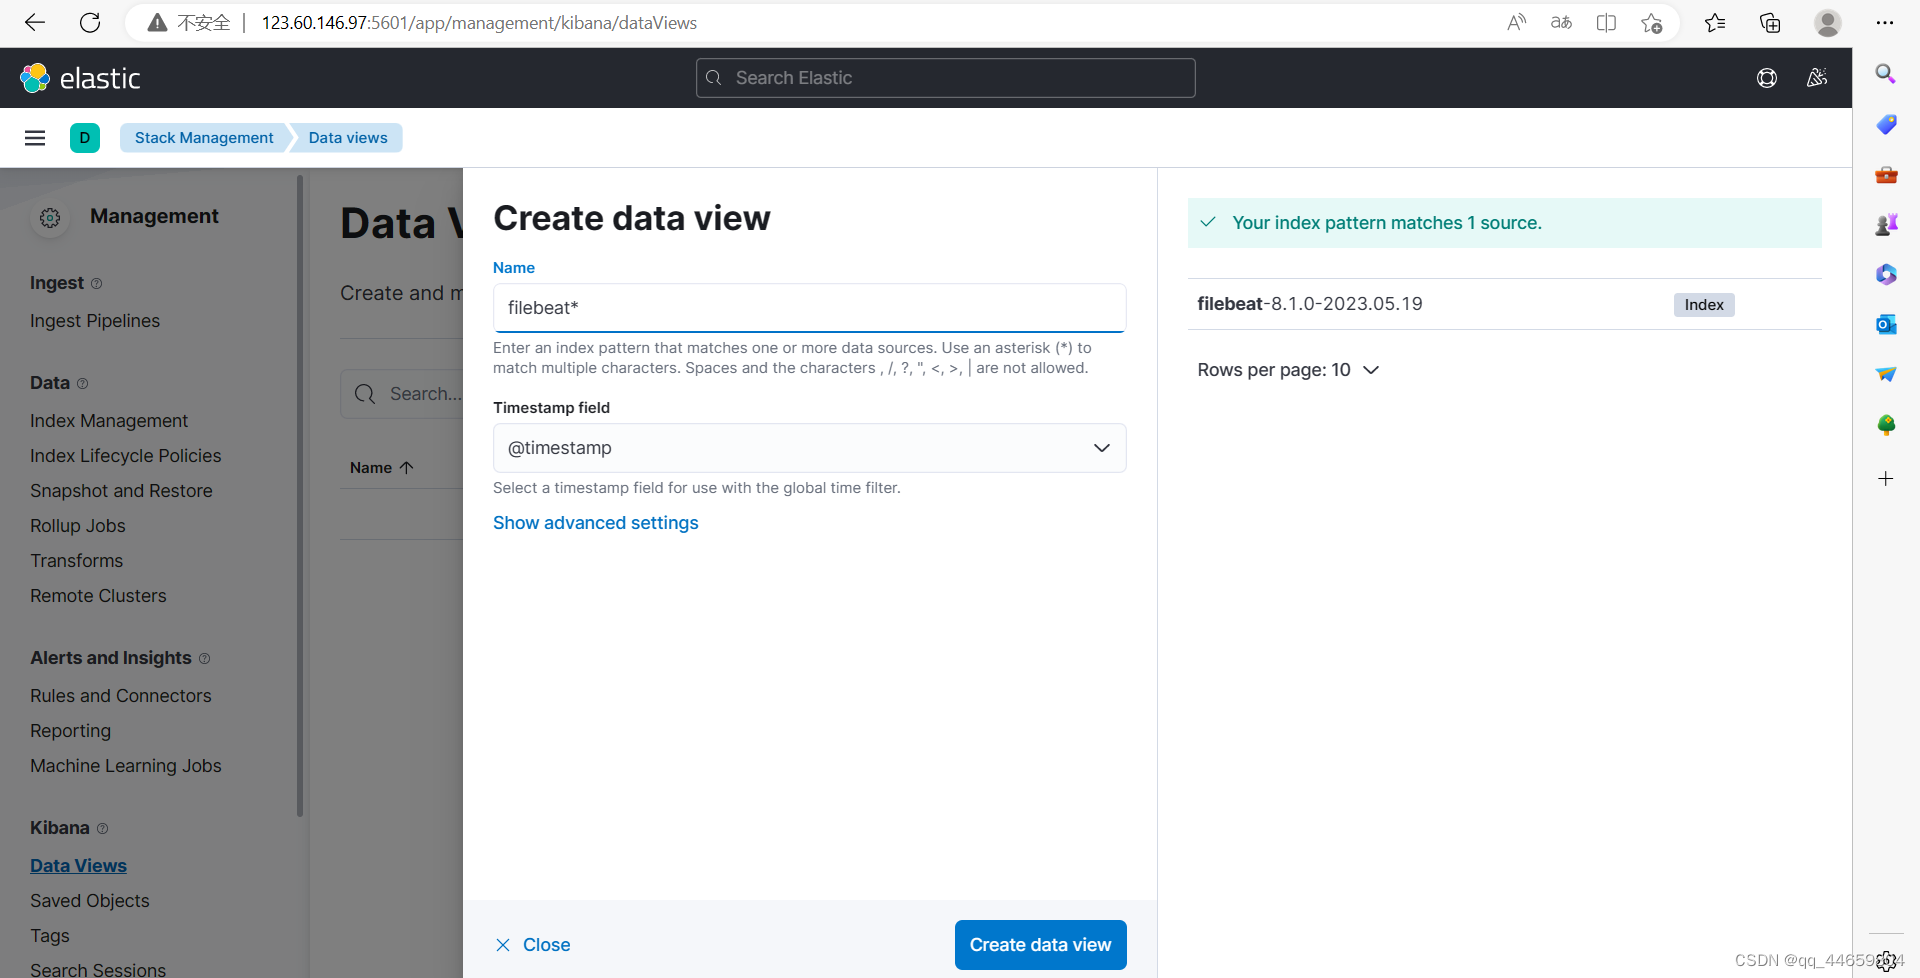
创建视图,输入filebeat的索引名称,选择时间戳@timestamp
发现discover可以看到新添加的视图


 3336
3336


 被折叠的 条评论
为什么被折叠?
被折叠的 条评论
为什么被折叠?
 到【灌水乐园】发言


