


 这篇博客介绍了如何利用OpenCV和MediaPipe库在Python中实现人脸识别。首先,确保安装了opencv-python和mediapipe库。接着,通过示例代码展示了如何处理静态图片和从摄像头捕获实时视频进行人脸检测。在运行代码时,要注意根据实际摄像头设备调整参数。最后,成功运行代码会在VSCode中显示人脸检测结果,并提供了一个调整摄像头输入的提示。
硬件准备:一个USB摄像头
必备库:
1.安装opencv-python库(win下安装opencv非常简单,此处不再赘述)
2.安装mediapipe库
pip install mediapipe打开vscode,随便新建一个空的.py文件,将示例代码复制进去,这里以face_detection举例:
示例代码网址 :Face Detection | mediapipe (google.github.io)
代码内容如下:
import cv2
import mediapipe as mp
mp_face_detection = mp.solutions.face_detection
mp_drawing = mp.solutions.drawing_utils
# For static images:
IMAGE_FILES = []
with mp_face_detection.FaceDetection(
model_selection=1, min_detection_confidence=0.5) as face_detection:
for idx, file in enumerate(IMAGE_FILES):
image = cv2.imread(file)
# Convert the BGR image to RGB and process it with MediaPipe Face Detection.
results = face_detection.process(cv2.cvtColor(image, cv2.COLOR_BGR2RGB))
# Draw face detections of each face.
if not results.detections:
continue
annotated_image = image.copy()
for detection in results.detections:
print('Nose tip:')
print(mp_face_detection.get_key_point(
detection, mp_face_detection.FaceKeyPoint.NOSE_TIP))
mp_drawing.draw_detection(annotated_image, detection)
cv2.imwrite('/tmp/annotated_image' + str(idx) + '.png', annotated_image)
# For webcam input:
cap = cv2.VideoCapture(0)
with mp_face_detection.FaceDetection(
model_selection=0, min_detection_confidence=0.5) as face_detection:
while cap.isOpened():
success, image = cap.read()
if not success:
print("Ignoring empty camera frame.")
# If loading a video, use 'break' instead of 'continue'.
continue
# To improve performance, optionally mark the image as not writeable to
# pass by reference.
image.flags.writeable = False
image = cv2.cvtColor(image, cv2.COLOR_BGR2RGB)
results = face_detection.process(image)
# Draw the face detection annotations on the image.
image.flags.writeable = True
image = cv2.cvtColor(image, cv2.COLOR_RGB2BGR)
if results.detections:
for detection in results.detections:
mp_drawing.draw_detection(image, detection)
# Flip the image horizontally for a selfie-view display.
cv2.imshow('MediaPipe Face Detection', cv2.flip(image, 1))
if cv2.waitKey(5) & 0xFF == 27:
break
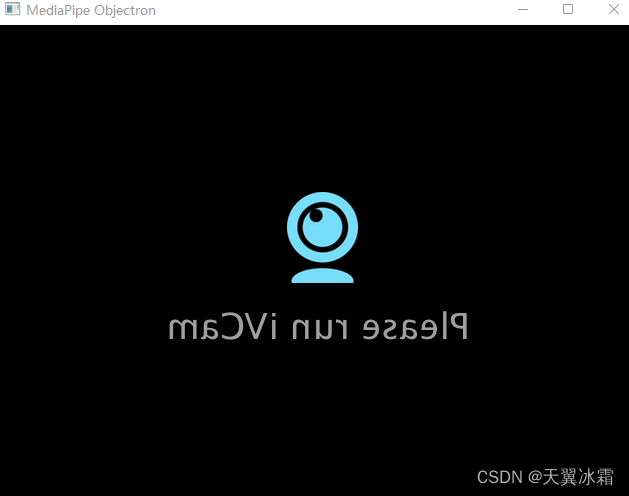
cap.release()注意代码中间有一行需要选择摄像头(这是唯一可能需要修改的地方)

(括号内参数默认为0,表示第一个视频设备),如果代码运行后显示如下图所示(此处为我的虚拟摄像头软件,它占用了设备0),说明需要改,改成1大概率可以解决(其顺序为电脑设备管理器中的视频设备的顺序):
完成,选择合适的解释器运行该Python文件即可(Run Python file)
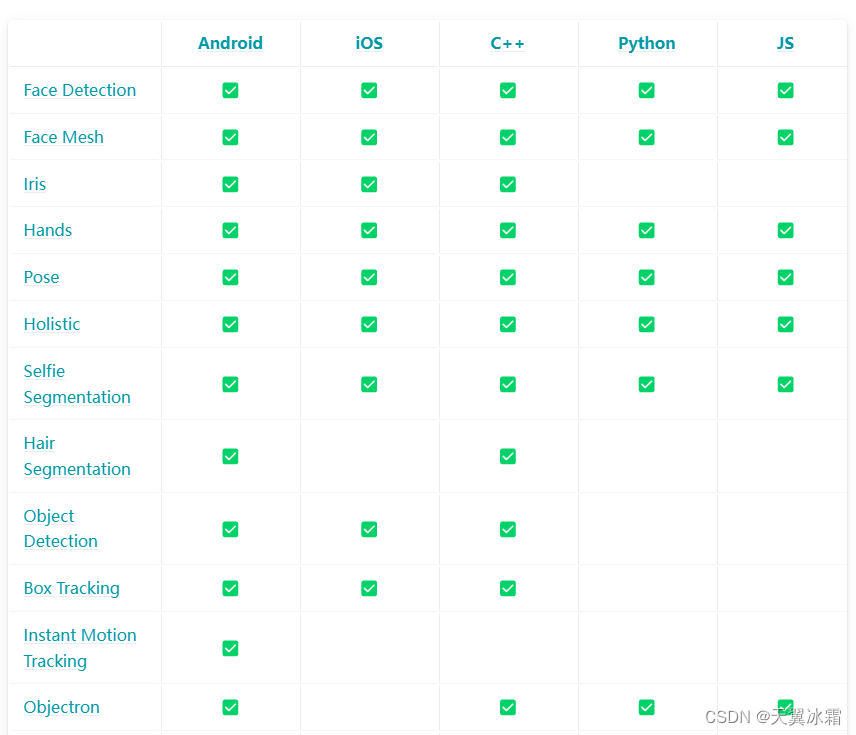
文档地址如下:Python只能运行所选的7个应用
Solutions | mediapipe (google.github.io)


 被折叠的 条评论
为什么被折叠?
被折叠的 条评论
为什么被折叠?
 到【灌水乐园】发言


