


文章目录
Spring Security是什么
官网介绍 https://spring.io/projects/spring-security
Spring Security is a powerful and highly customizable authentication and access-control framework. It is the de-facto standard for securing Spring-based applications.
Spring Security is a framework that focuses on providing bothauthentication and authorization to Java applications. Like all Spring projects, the real power of Spring Security is found in how easily it can be extended to meet custom requirements
Spring Security是一个功能强大且高度可定制的身份验证和访问控制框架。它是保护基于Spring的应用程序的事实标准。
Spring Security是一个专注于为Java应用程序提供身份验证和授权的框架。与所有Spring项目一样,Spring安全性的真正威力在于它可以很容易地扩展以满足定制需求
功能:认证(Authentication)和 授权(Authorization)
一、初探Spring Security
1、新建一个springboot项目
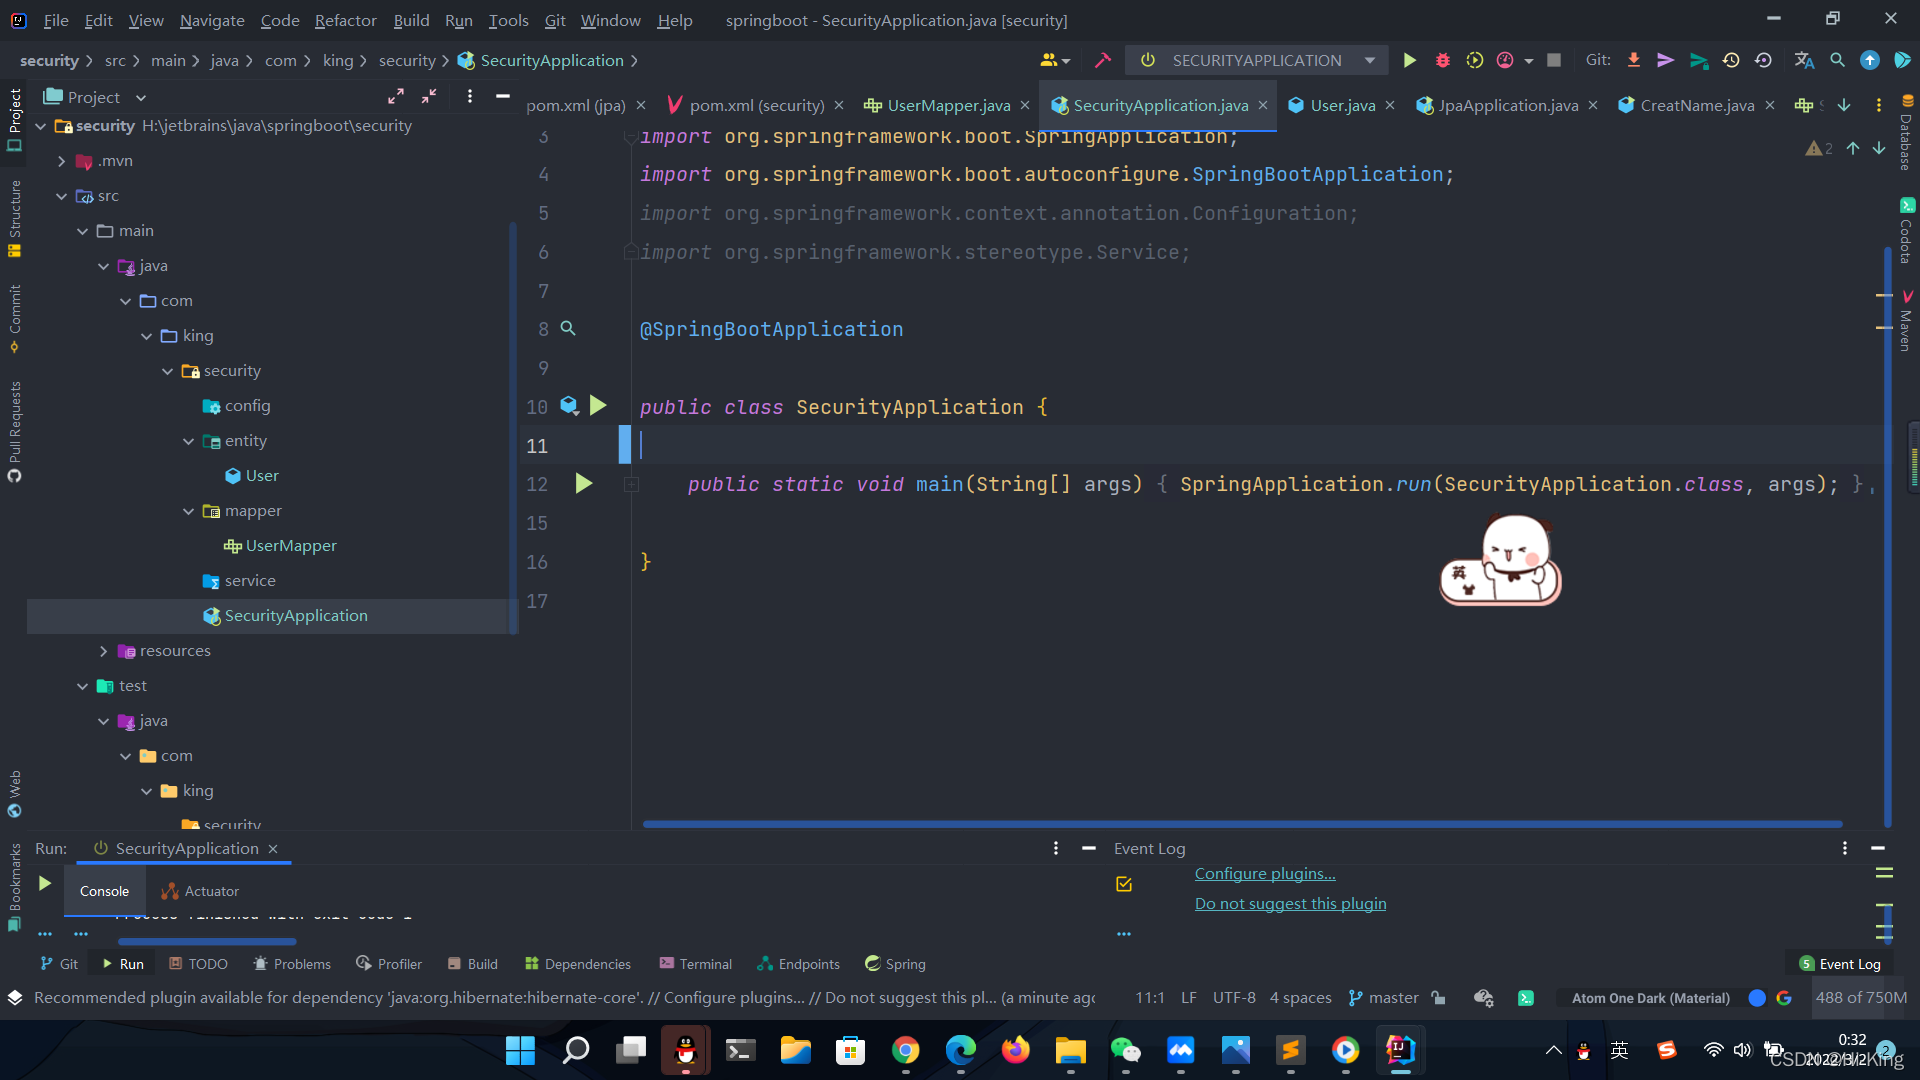
新建一个Controller类
import org.springframework.web.bind.annotation.RequestMapping;
import org.springframework.web.bind.annotation.RestController;
@RestController
public class HelloController {
@RequestMapping("/hello")
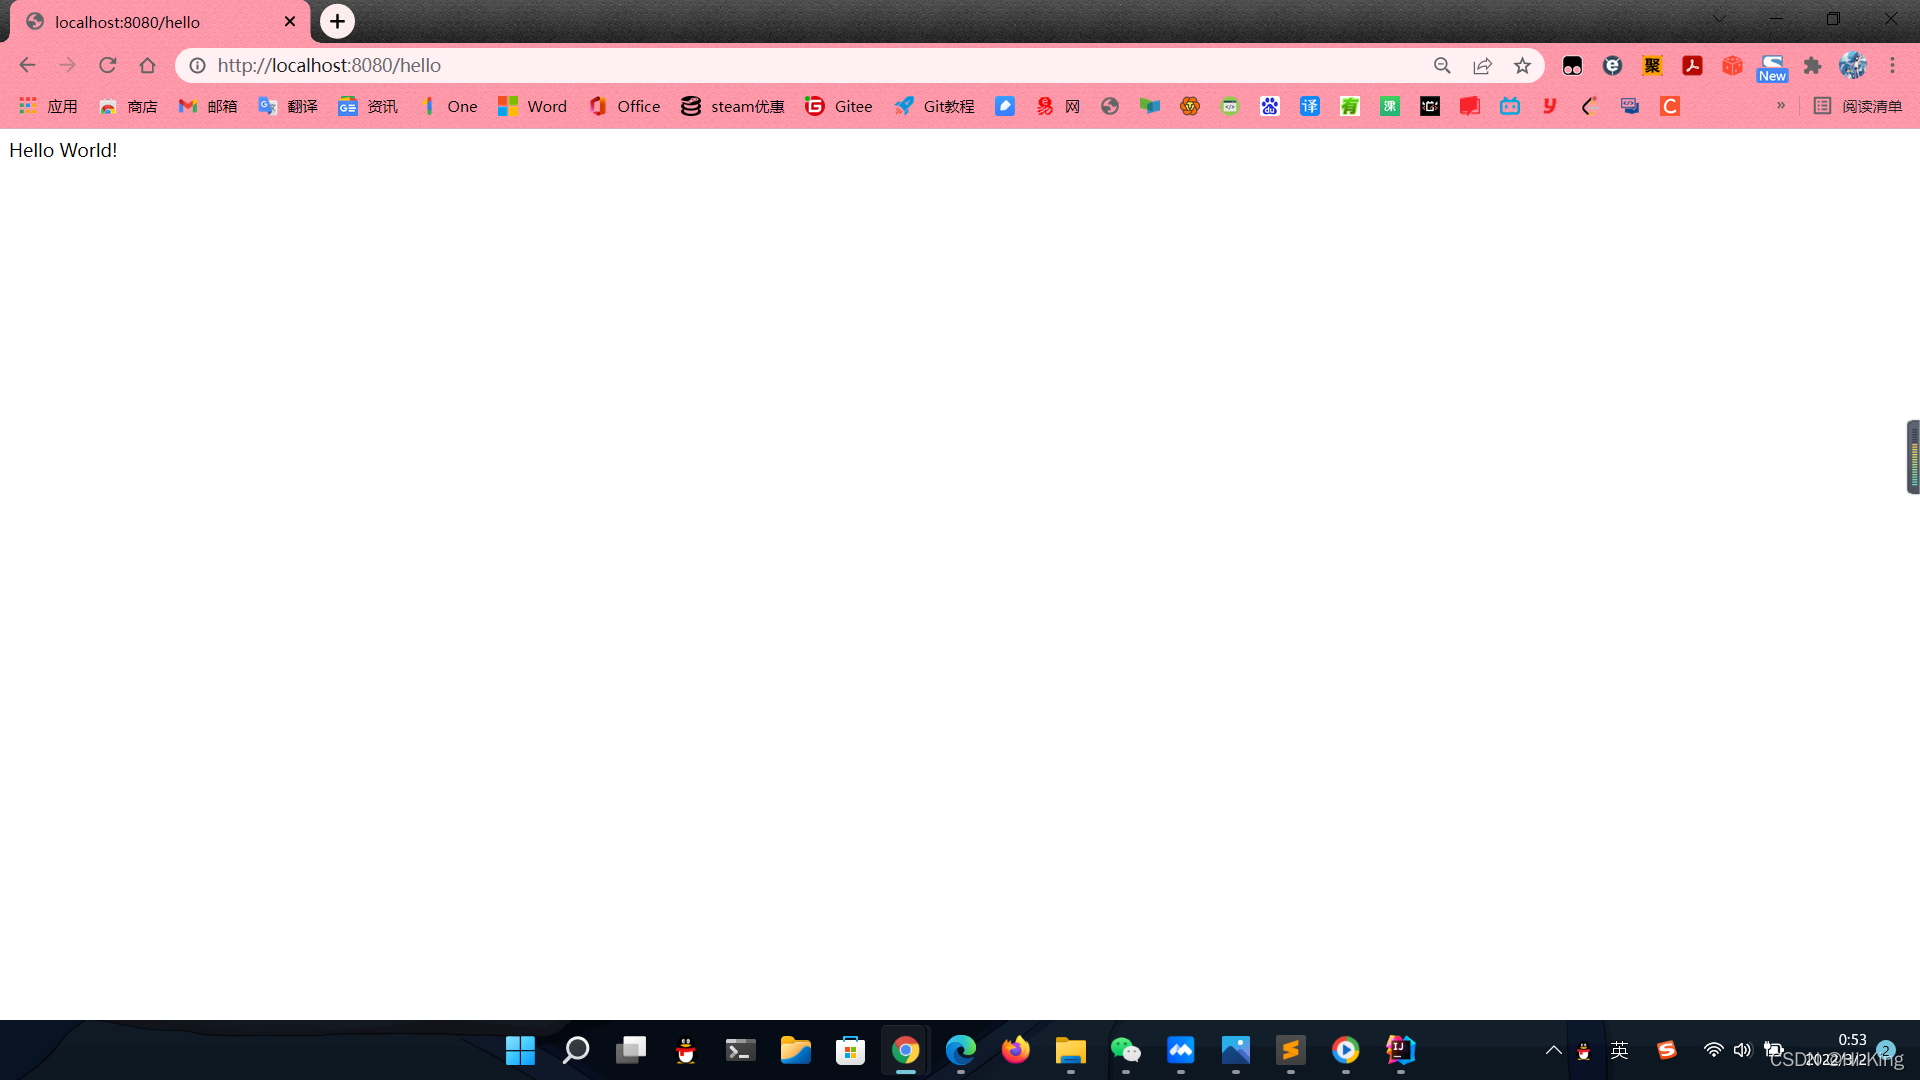
public String hello(){
return "Hello World!";
}
}
源码地址
GitHub https://github.com/KingJin-web/springboot
Gitee https://gitee.com/KingJin-web/springboot
2、引入Spring Security
  		<dependency>
            <groupId>org.springframework.boot</groupId>
            <artifactId>spring-boot-starter-security</artifactId>
        </dependency>
3、直接启动springboot

启动的时候会在控制台显示随机生成的密码。
这时访问http://localhost:8080/hello会重定向到http://localhost:8080/login,这个页面是Spring Security默认的。
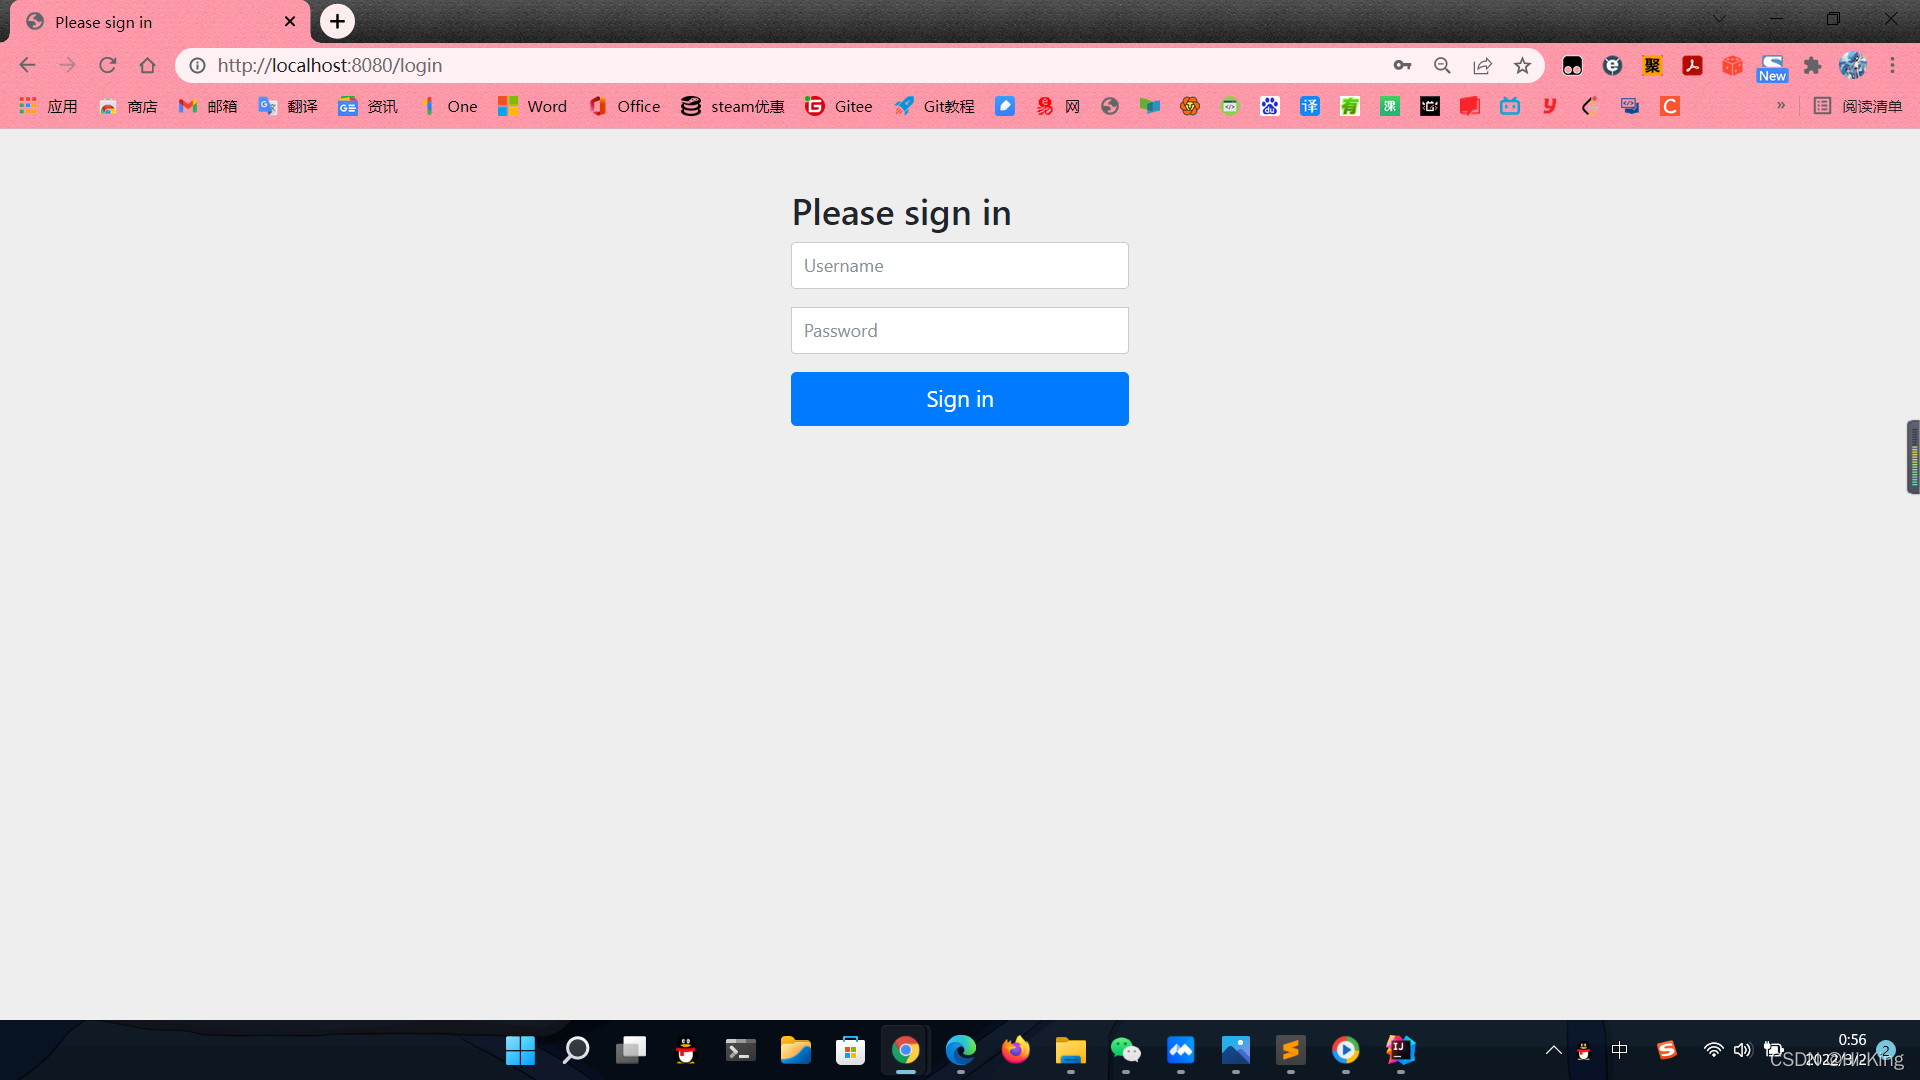
4、登录
使用默认用户和随机生成的密码登录
spring security 默认的用户名是user,spring security启动的时候会生成默认密码(在启动日志中可以看到)。
我们填入user 和 上图显示的9b0c45dc-4f7e-4b0c-ae1a-007dea7dbcc5,那么就会正常的访问/hello。
5、在yml 文件中设置自定义密码实现登录
在application.yml中定义用户名密码:
spring:
  security:
    user:
      name: admin
      password: aaaa
使用自定义用户名和密码登录,可以正常访问/hello。
6、 使用代码中指定的用户名、密码登录
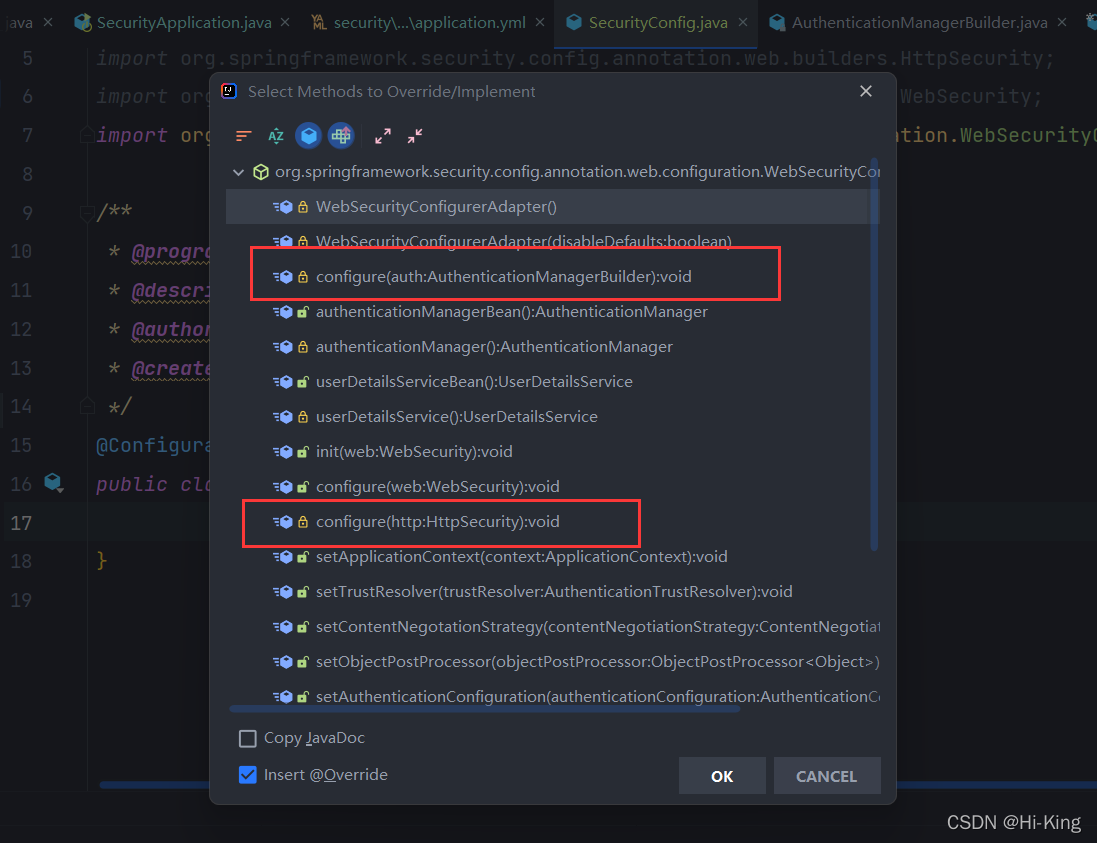
新建SecurityConfig 配置类继承 WebSecurityConfigurerAdapter
使用configure(AuthenticationManagerBuilder) 添加认证。
使用configure(httpSecurity) 添加权限
package com.king.security.config;

import org.springframework.context.annotation.Configuration;
import org.springframework.security.config.annotation.authentication.builders.AuthenticationManagerBuilder;
import org.springframework.security.config.annotation.web.builders.HttpSecurity;
import org.springframework.security.config.annotation.web.builders.WebSecurity;
import org.springframework.security.config.annotation.web.configuration.WebSecurityConfigurerAdapter;

@Configuration
public class SecurityConfig extends WebSecurityConfigurerAdapter {

    @Override
    protected void configure(AuthenticationManagerBuilder auth) throws Exception {
        auth.inMemoryAuthentication()
                .withUser("admin") // 添加用户admin
                .password("{noop}aaaa")  // 不设置密码加密
                .roles("ADMIN", "USER")// 添加角色为admin,user
                .and()
                .withUser("user") // 添加用户user
                .password("{noop}bbbb")
                .roles("USER")
                .and()
                .withUser("temp") // 添加用户temp
                .password("{noop}cccc")
                .roles(); // 没有角色
    }

    @Override
    protected void configure(HttpSecurity http) throws Exception {
        http.authorizeRequests()
                .antMatchers("/user/**").hasRole("USER") //添加/user/** 下的所有请求只能由user角色才能访问
                .antMatchers("/admin/**").hasRole("ADMIN") //添加/admin/** 下的所有请求只能由admin角色才能访问
                .anyRequest().authenticated() // 没有定义的请求,所有的角色都可以访问(temp也可以)。
                .and()
                .formLogin().and()
                .httpBasic();
    }


}
添加AdminController、UserController
import org.springframework.web.bind.annotation.RequestMapping;
import org.springframework.web.bind.annotation.RestController;

@RestController
@RequestMapping("/admin")
public class AdminController {
    @RequestMapping("/hello")
    public String hello(){
        return "Hello Admin!";
    }
}
import org.springframework.web.bind.annotation.RequestMapping;
import org.springframework.web.bind.annotation.RestController;

@RestController
@RequestMapping("/user")
public class UserController {
    @RequestMapping("/hello")
    public String hello(){
        return "Hello User!";
    }
}
通过上面的设置,访问http://localhost:8080/admin/hello只能由admin访问,http://localhost:8080/user/hello admin和user都可以访问,http://localhost:8080/hello 所有用户(包括temp)都可以访问。
这里就很简易的实现了 Spring Security 的认证和授权功能,下面介绍如何结合数据库来实现
二、使用数据库的用户名、密码登录
这里数据库持久层使用spring data jpa 有兴趣的可以看看 SpringBoot整合Spring Data JPA访问MySQL
1、添加依赖
  		<dependency>
            <groupId>org.springframework.boot</groupId>
            <artifactId>spring-boot-starter-data-jpa</artifactId>
        </dependency>
        <dependency>
            <groupId>mysql</groupId>
            <artifactId>mysql-connector-java</artifactId>
            <scope>runtime</scope>
        </dependency>
2、配置Spring Security认证和授权
SecurityConfig.java
先改一下配置类
import com.king.security.service.UserServiceImpl;
import org.springframework.beans.factory.annotation.Autowired;
import org.springframework.context.annotation.Configuration;
import org.springframework.security.config.annotation.authentication.builders.AuthenticationManagerBuilder;
import org.springframework.security.config.annotation.web.builders.HttpSecurity;
import org.springframework.security.config.annotation.web.builders.WebSecurity;
import org.springframework.security.config.annotation.web.configuration.WebSecurityConfigurerAdapter;
import org.springframework.security.crypto.password.NoOpPasswordEncoder;
import org.springframework.security.crypto.password.PasswordEncoder;

/**
 * @program: springboot
 * @description:
 * @author: King
 * @create: 2022-03-02 11:53
 */
@Configuration
public class SecurityConfig extends WebSecurityConfigurerAdapter  {

    @Autowired
    private UserServiceImpl userService;

    @Override
    protected void configure(AuthenticationManagerBuilder auth) throws Exception {
        auth.userDetailsService(userService)// 设置自定义的userDetailsService
                .passwordEncoder(passwordEncoder());
    }

    private PasswordEncoder passwordEncoder() {
        return NoOpPasswordEncoder.getInstance();// 使用不使用加密算法密码
    }


    @Override
    protected void configure(HttpSecurity http) throws Exception {
        http.authorizeRequests()
                .antMatchers("/admin/**").hasRole("ADMIN")
                .antMatchers("/user/**").hasAnyRole("USER","ADMIN")
                .anyRequest().authenticated()
                .and()
                .formLogin()
                .and()
                .httpBasic()
                .and()
                .logout().logoutUrl("/logout"); //退出登录
    }

}
User.java
定义一个实体类 建表语句就省略了 因为jpa会自动建表
import lombok.Builder;
import lombok.Data;
import org.junit.runner.RunWith;
import org.junit.runners.Parameterized;

import javax.persistence.*;
import javax.persistence.criteria.Root;

@Entity
@Builder
@Data
public class User {
    @Id
    @GeneratedValue(strategy = GenerationType.IDENTITY)
    private Long id;//主键自增
    private String name;
    //密码
    private String password;
    //角色枚举 这个注解表示使用枚举类中的int
    @Enumerated(EnumType.ORDINAL)
    private Role role;

    public User() {

    }

    //@builder默认用的是全参数构造函数  没有这个会报错 也可以加@AllArgsConstructor
    public User(Long id, String name, String password, Role role) {
        this.id = id;
        this.name = name;
        this.password = password;
        this.role = role;
    }
}
Role.java
public enum Role {
    //这里为啥要加 ROLE_ ?
    ADMIN(1, "ROLE_ADMIN"),
    USER(2, "ROLE_USER"),
    TEMP(3, "ROLE_TEMP");


    private final Integer status;
    private final String text;

    Role(Integer status, String text) {
        this.status = status;
        this.text = text;
    }


    public Integer getStatus() {
        return status;
    }

    public String getText() {
        return text;
    }
}
这里为啥要加 ROLE_ ? 我们可以看看 SecurityConfig 中 hashRole 的源码
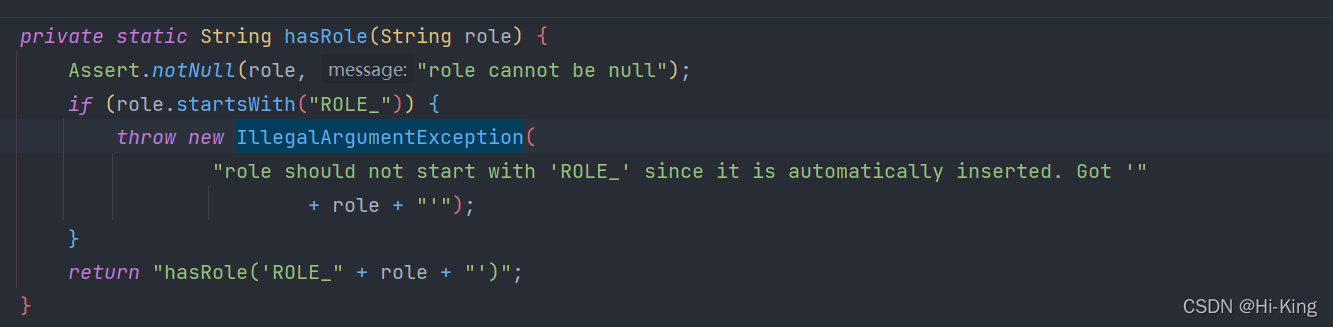
可见我们配置文件中设置角色都会自动加上 ROLE_ 前缀 然后如果你数据库里面的角色是ADMIN,网页里面写的也是admin, 在这个就会用admin和ROLE_admin 匹配, 然后就不行 所以需要加
UserMapper.java
这里使用的jpa 的方法名查询 就是根据用户名查一个用户出来 感兴趣可以看之前的文章
SpringBoot整合Spring Data JPA–进阶
import com.king.security.entity.User;
import org.springframework.data.jpa.repository.JpaRepository;

public interface UserMapper  extends JpaRepository<User, Integer> {
    User findOneByName(String name);
}
UserServiceImpl.java
import com.king.security.entity.Role;
import com.king.security.entity.User;
import com.king.security.mapper.UserMapper;
import org.springframework.beans.factory.annotation.Autowired;
import org.springframework.data.domain.Example;
import org.springframework.security.core.GrantedAuthority;
import org.springframework.security.core.authority.SimpleGrantedAuthority;
import org.springframework.security.core.userdetails.UserDetails;
import org.springframework.security.core.userdetails.UserDetailsService;
import org.springframework.security.core.userdetails.UsernameNotFoundException;
import org.springframework.security.crypto.bcrypt.BCryptPasswordEncoder;
import org.springframework.stereotype.Service;

import java.util.ArrayList;
import java.util.Collection;
import java.util.List;


@Service
public class UserServiceImpl implements UserDetailsService {
    @Autowired
    private UserMapper userMapper;
    private final BCryptPasswordEncoder encoder = new BCryptPasswordEncoder();
    private Example<User> em;

    /**
     * 注册用户
     *
     * @param name
     * @param pwd
     * @return
     */
    public User register(String name, String pwd, Role role) {
        if (isUserName(name)) {
            System.out.println("此昵称已经被占用");
            return null;
        }
        return userMapper.save(User.builder().name(name).password(pwd).role(role).build());
    }

    /**
     * 注册 密码为加密后的
     *
     * @param name
     * @param pwd
     * @return
     */
    public User registerByEncode(String name, String pwd, Role role) {
     	if (isUserName(name)) {
            System.out.println("此昵称已经被占用");
            return null;
        }
        pwd = encoder.encode(pwd);
        return userMapper.save(User.builder().name(name).password(pwd).role(role).build());
    }

    /**
     * 判断用户名是否被使用
     *
     * @param name
     * @return
     */
    public boolean isUserName(String name) {

        em = Example.of(User.builder().name(name).build());
        return userMapper.findAll(em).size() >= 1;
    }

    @Override
    public UserDetails loadUserByUsername(String name) throws UsernameNotFoundException {
        User user = userMapper.findOneByName(name);
        if (user == null){
            throw new UsernameNotFoundException("此用户不存在");

        }

        Collection<GrantedAuthority> grantedAuthorities = new ArrayList<>();
        GrantedAuthority grantedAuthority = new SimpleGrantedAuthority(user.getRole().getText());
        grantedAuthorities.add(grantedAuthority);

        return new org.springframework.security.core.userdetails.User(name,
                user.getPassword(), grantedAuthorities);
    }


}
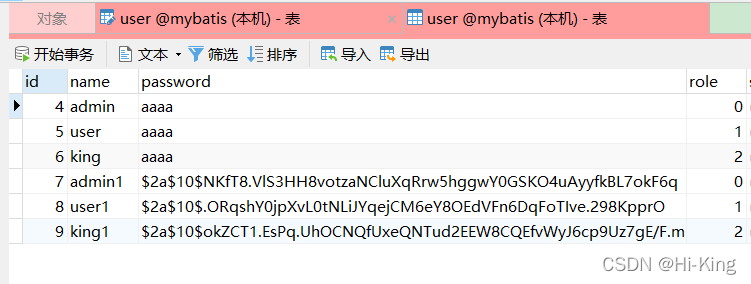
3、添加用户
import com.king.security.entity.Role;
import org.junit.Test;
import org.junit.runner.RunWith;
import org.springframework.beans.factory.annotation.Autowired;
import org.springframework.boot.test.context.SpringBootTest;
import org.springframework.test.context.junit4.SpringJUnit4ClassRunner;

@SpringBootTest
@RunWith(SpringJUnit4ClassRunner.class)
public class UserServiceImplTest {

    @Autowired
    private UserServiceImpl userService;

    @Test
    public void register() {
        userService.register("admin","aaaa", Role.ADMIN);
        userService.register("user","aaaa", Role.USER);
        userService.register("king","aaaa", Role.TEMP);
    }

	//生成三个密码加密了的用户名
    @Test
    public void registerByEncode() {
        userService.registerByEncode("admin1","aaaa", Role.ADMIN);
        userService.registerByEncode("user1","aaaa", Role.USER);
        userService.registerByEncode("king1","aaaa", Role.TEMP);
    }

}
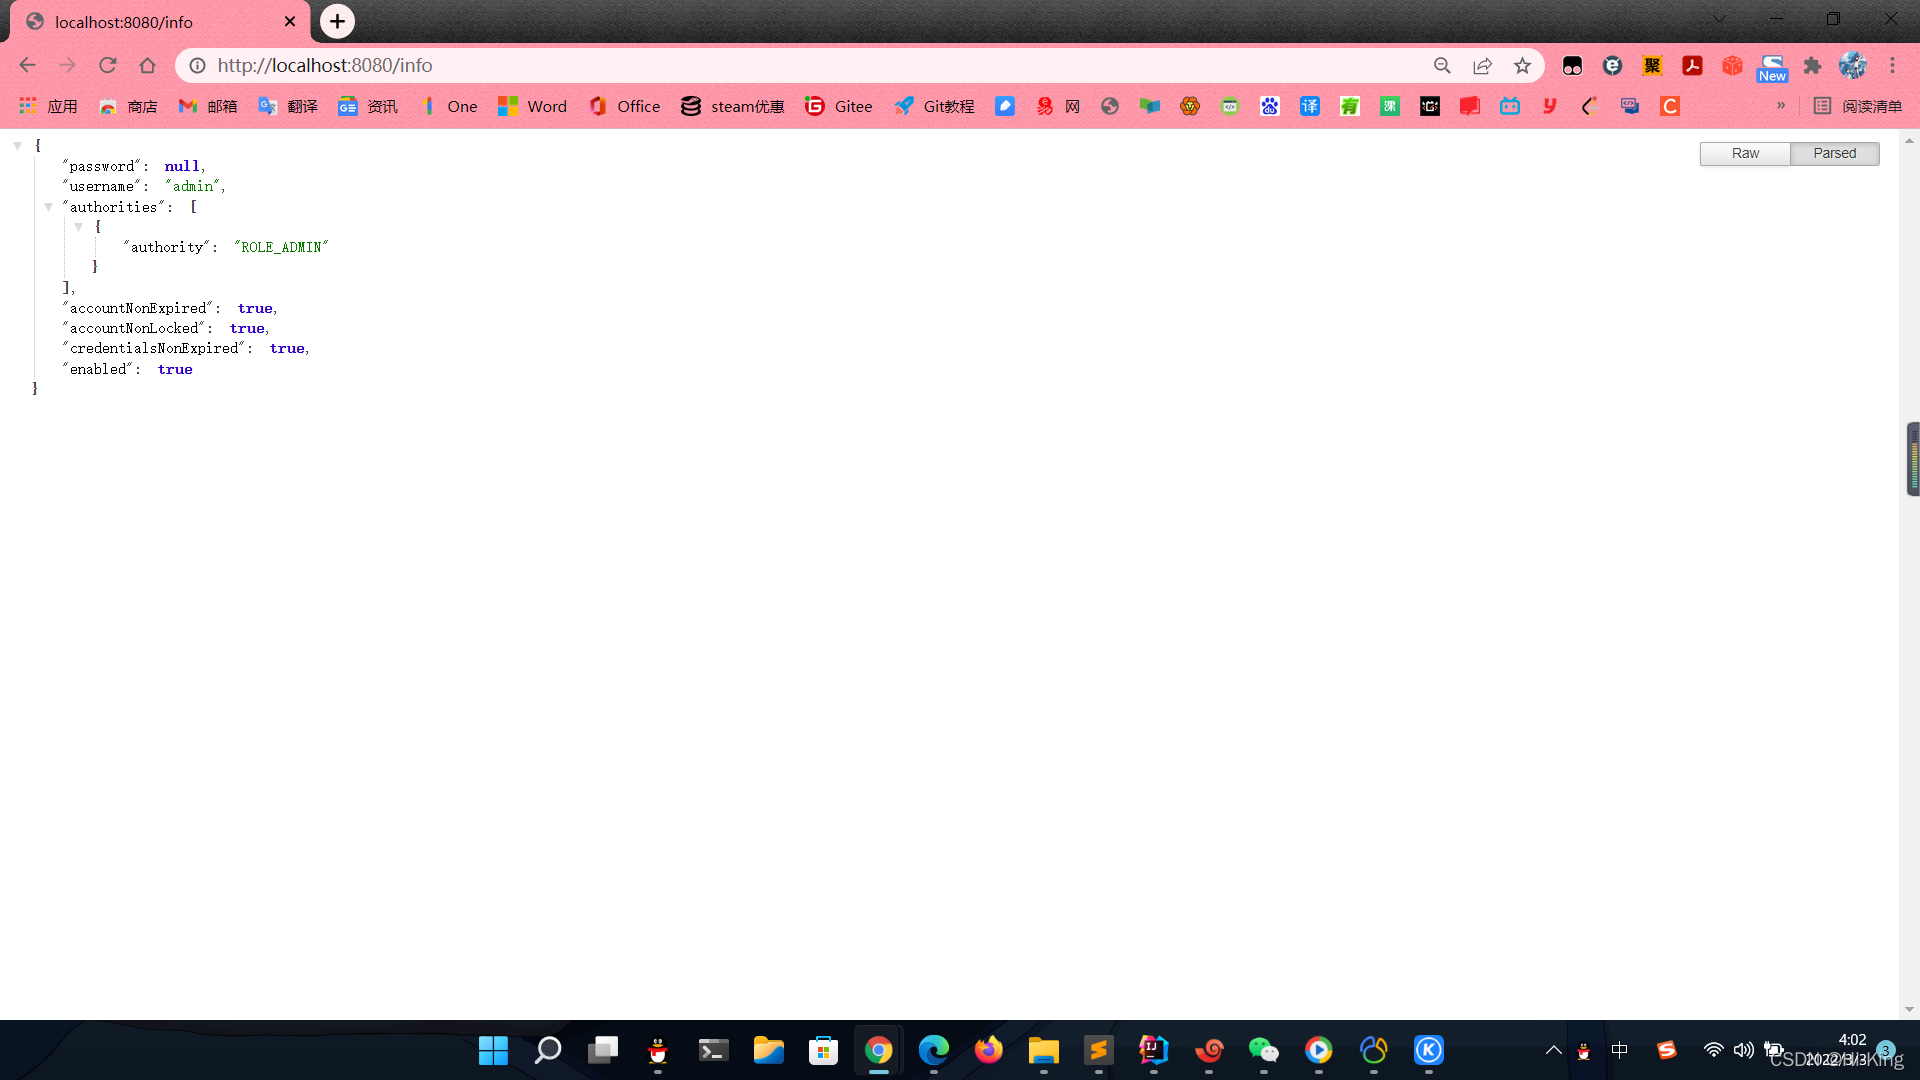
4、获取登录信息
我们在上文的 HelloController 加入这个方法 来在浏览器获取登录信息
使用SecurityContextHolder.getContext().getAuthentication().getPrincipal();获取当前的登录信息。
    /**
     * 获得用户登录信息
     * @return
     */
    @RequestMapping("/info")
    public Object info(){
        return SecurityContextHolder.getContext().getAuthentication().getPrincipal();
    }
登录后就可通过 http://localhost:8080/info 来获取登录信息
这里通过数据库来实现用户名和密码登录就基本完成了
5、Spring Security 密码加密
只需要修改 配置类 SecurityConfig.java 中的 passwordEncoder 方法即可
当然登录的账号数据库存储的密码也需要是加密后的
    private PasswordEncoder passwordEncoder() {
        //return NoOpPasswordEncoder.getInstance();// 使用不使用加密算法保持密码
        return new BCryptPasswordEncoder();
    }
最后附上我的演示例源码
Github https://github.com/KingJin-web/springboot
Gitee https://gitee.com/KingJin-web/springboot
以上内容属于个人笔记整理,如有错误,欢迎批评指正!


 2万+
2万+


 被折叠的 条评论
为什么被折叠?
被折叠的 条评论
为什么被折叠?
 到【灌水乐园】发言


