


本文的主要结构
第一部分:UnitTest简介
第二部分:基本概念的介绍
第三部分:各个概念详解
第四部分:程序的运行
第五部分:测试报告的输出
一、UnitTest简介
UnitTest是Python自带的测试框架,主要适用于单元测试,并对多个测试用例进行管理和封装。
二、基本概念介绍
(一)测试用例-testcase
测试用例是测试框架最底层的内容(类似,砖是房子最基本的东西)
每一条用例的设计,和功能用例一样,可以尽量包含多个测试点
(二)测试固件-testfixture
测试固件=固定的测试代码(即:测试代码中相同的部分)
eg:测试一个接口,接口地址可以通过setup()进行初始化,然后各个测试用例直接调用初始化的接口地址就可以了
例如通过teardown()来结束测试工作。
(三)测试套件-testsuit
测试套件吧多个测试用例集合在一起,可以理解为测试用例的集合。
(四)测试运行器-testrunner
测试运行器是给测试用例提供运行环境的,通过它的run()方法来执行测试用例,并在执行完后将测试结果输出。
三、各个概念详解
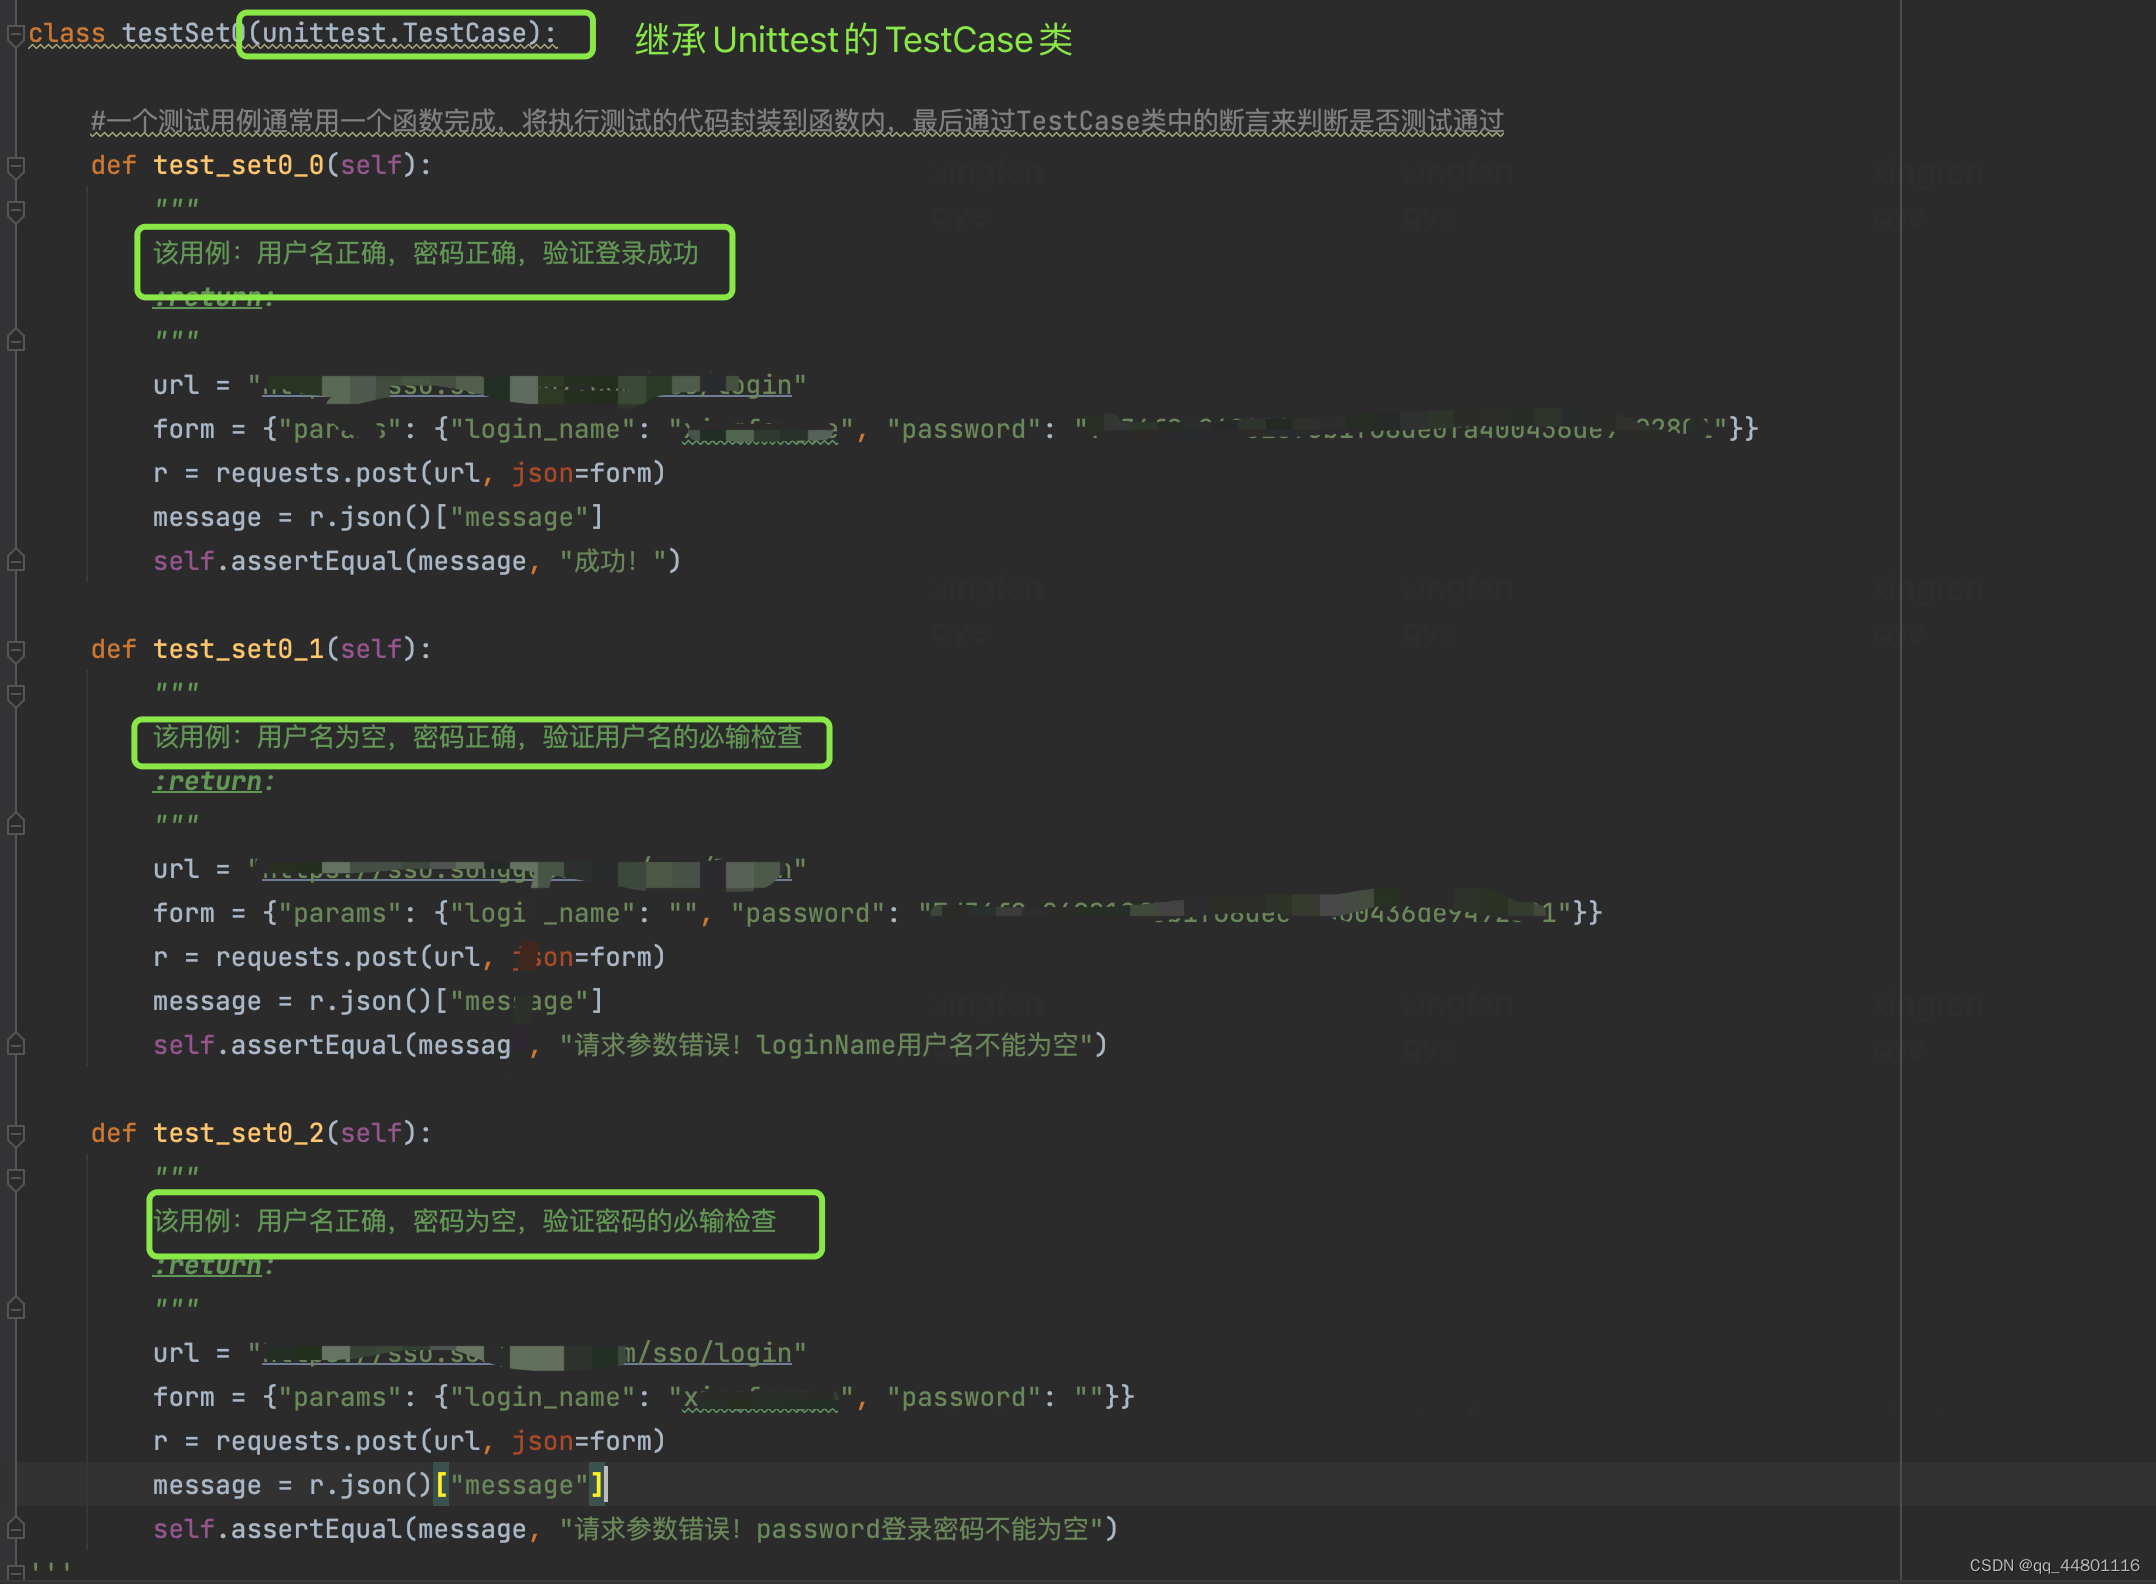
(一)测试用例
导入Unittest模块;
定义一个测试类(继承unittest.TestCase基类),一个测试用例封装到一个函数中
一个测试类中可以包含多个测试用例。
(二)测试固件
将重复的代码放在一起,
起到的作用:减少冗余代码;便于后期代码维护
例如上面的登录检查,每个用例中都使用到url,
我们可以通过setup()将url进行初始化
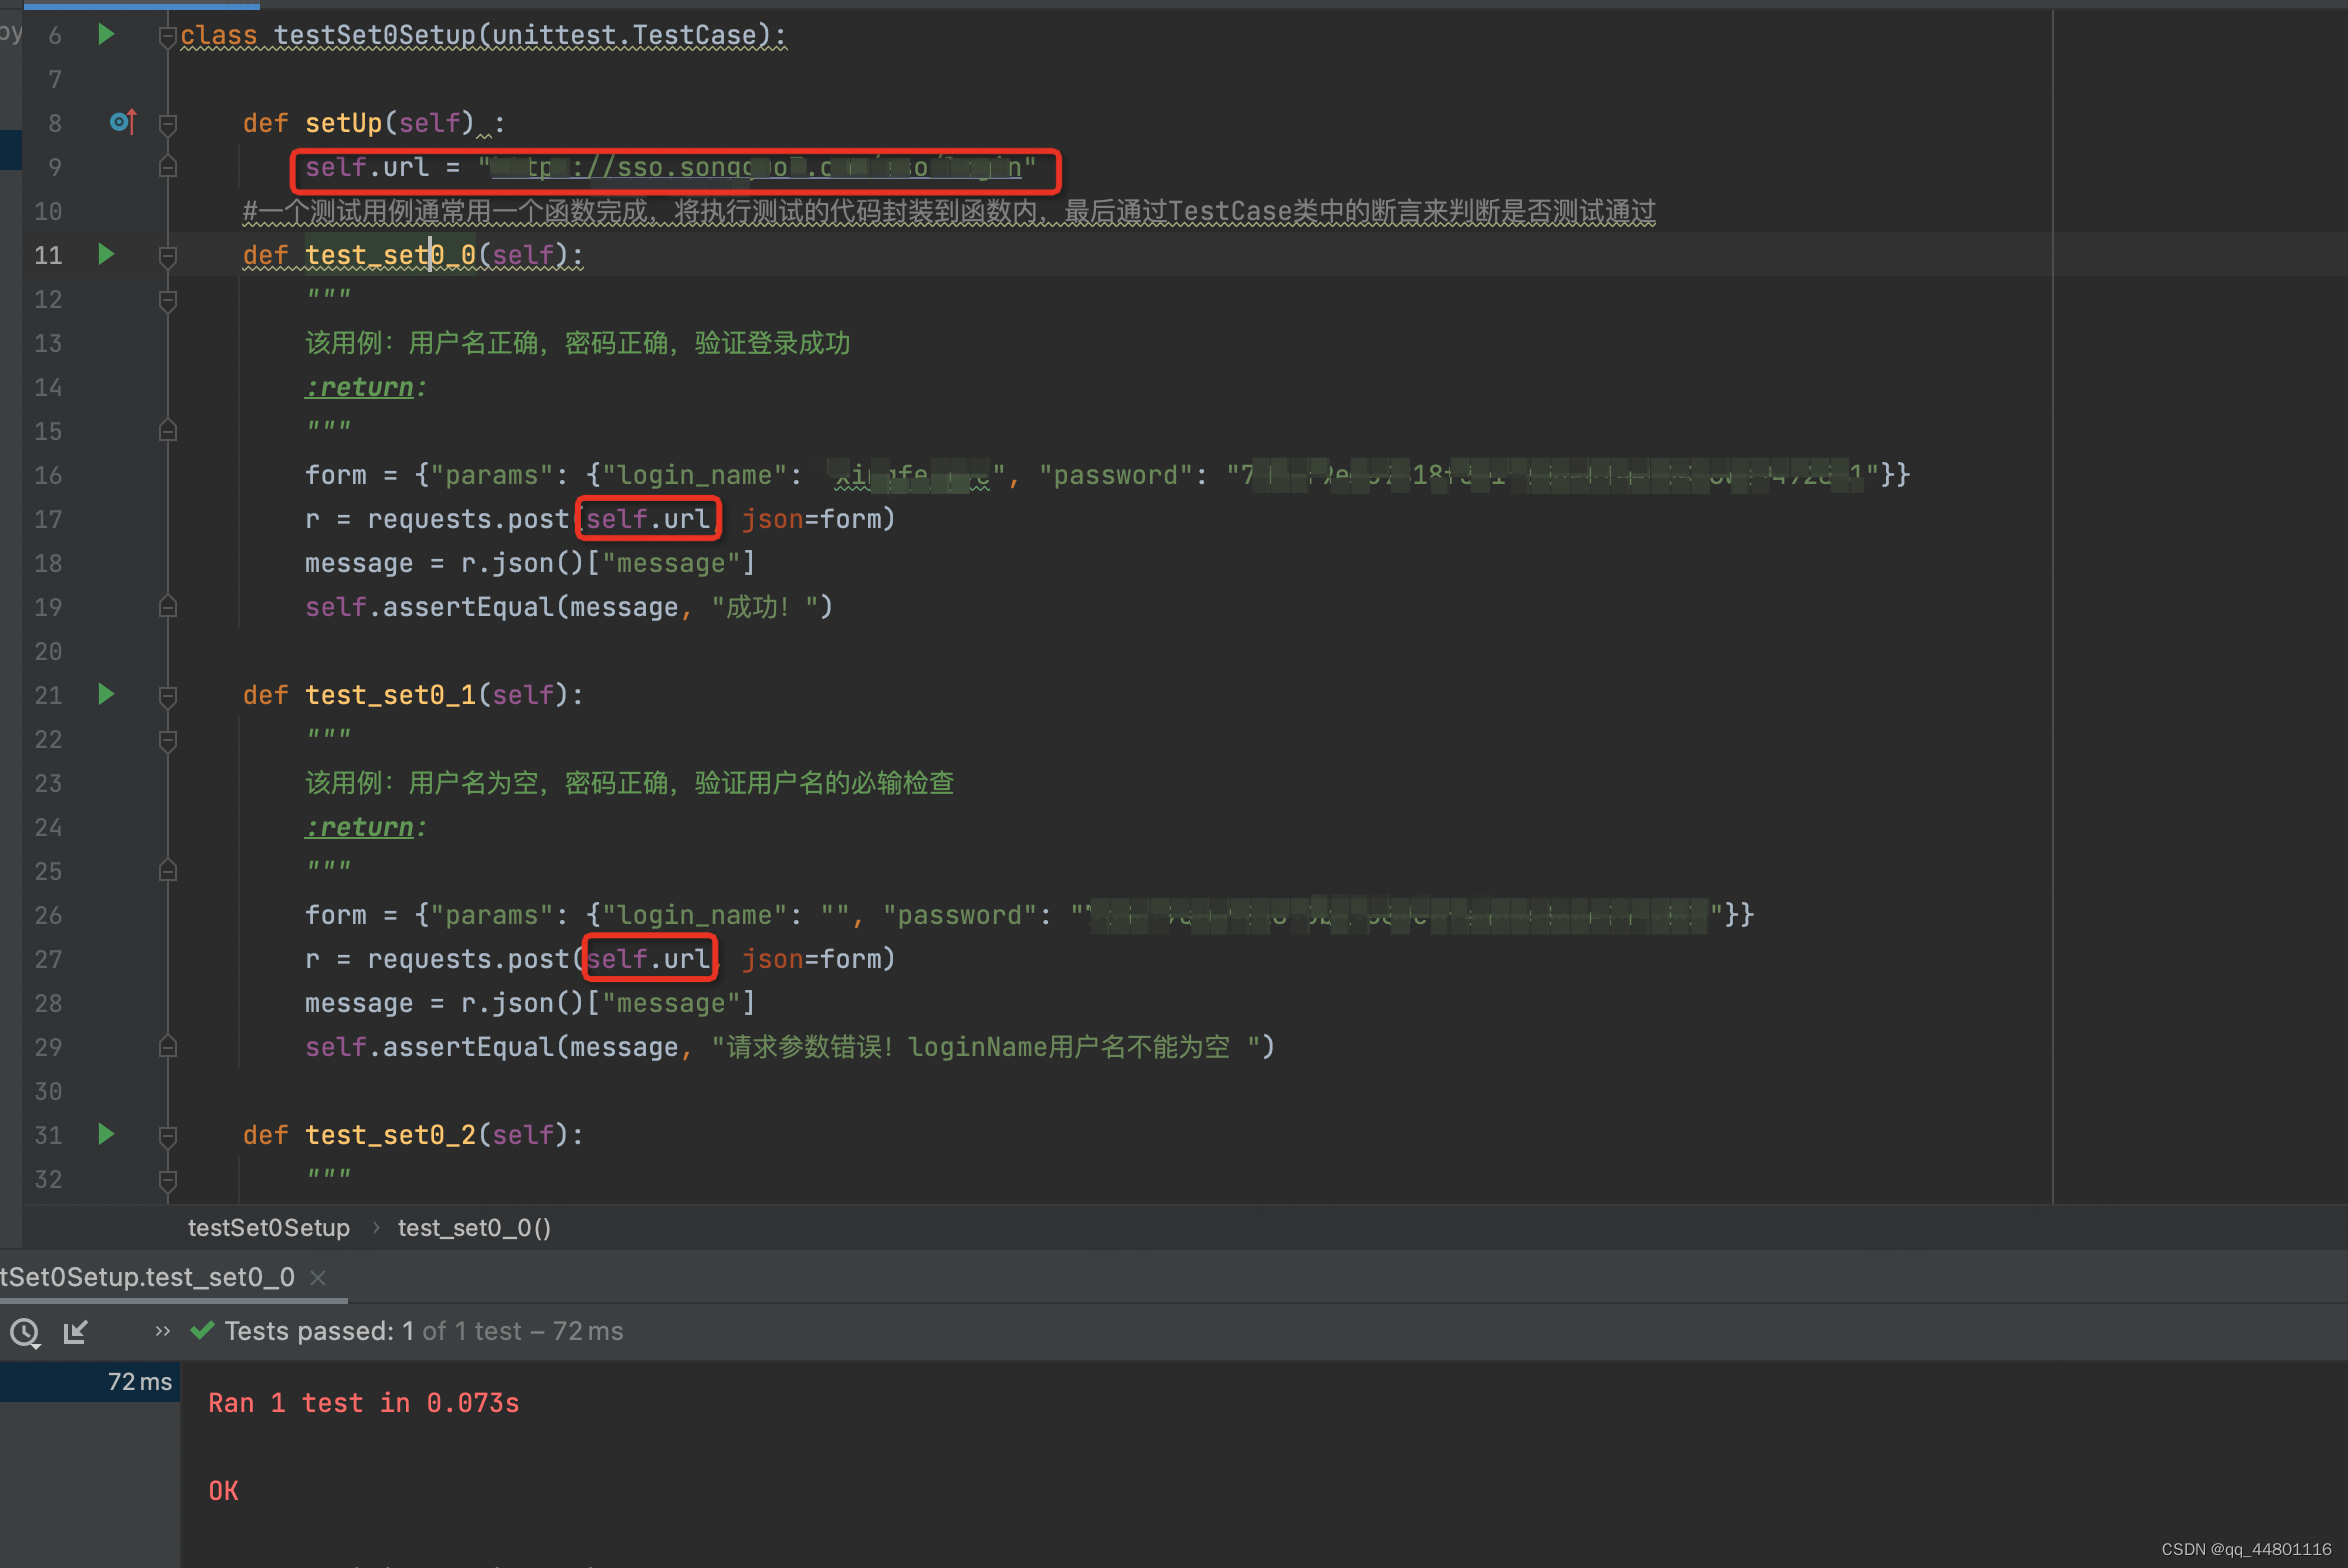
        r = requests.post(self.url, json=form)
        message = r.json()["message"]
        self.assertEqual(message, "成功!")
setUp函数是测试用例的公共部分,类似一个全局变量,供其他函数调用,其他函数不用再重复定义,直接通过变量self.url调用。
(三)测试套件
测试套件主要用来添加测试用例,添加用例的方式,本文主要介绍三种:
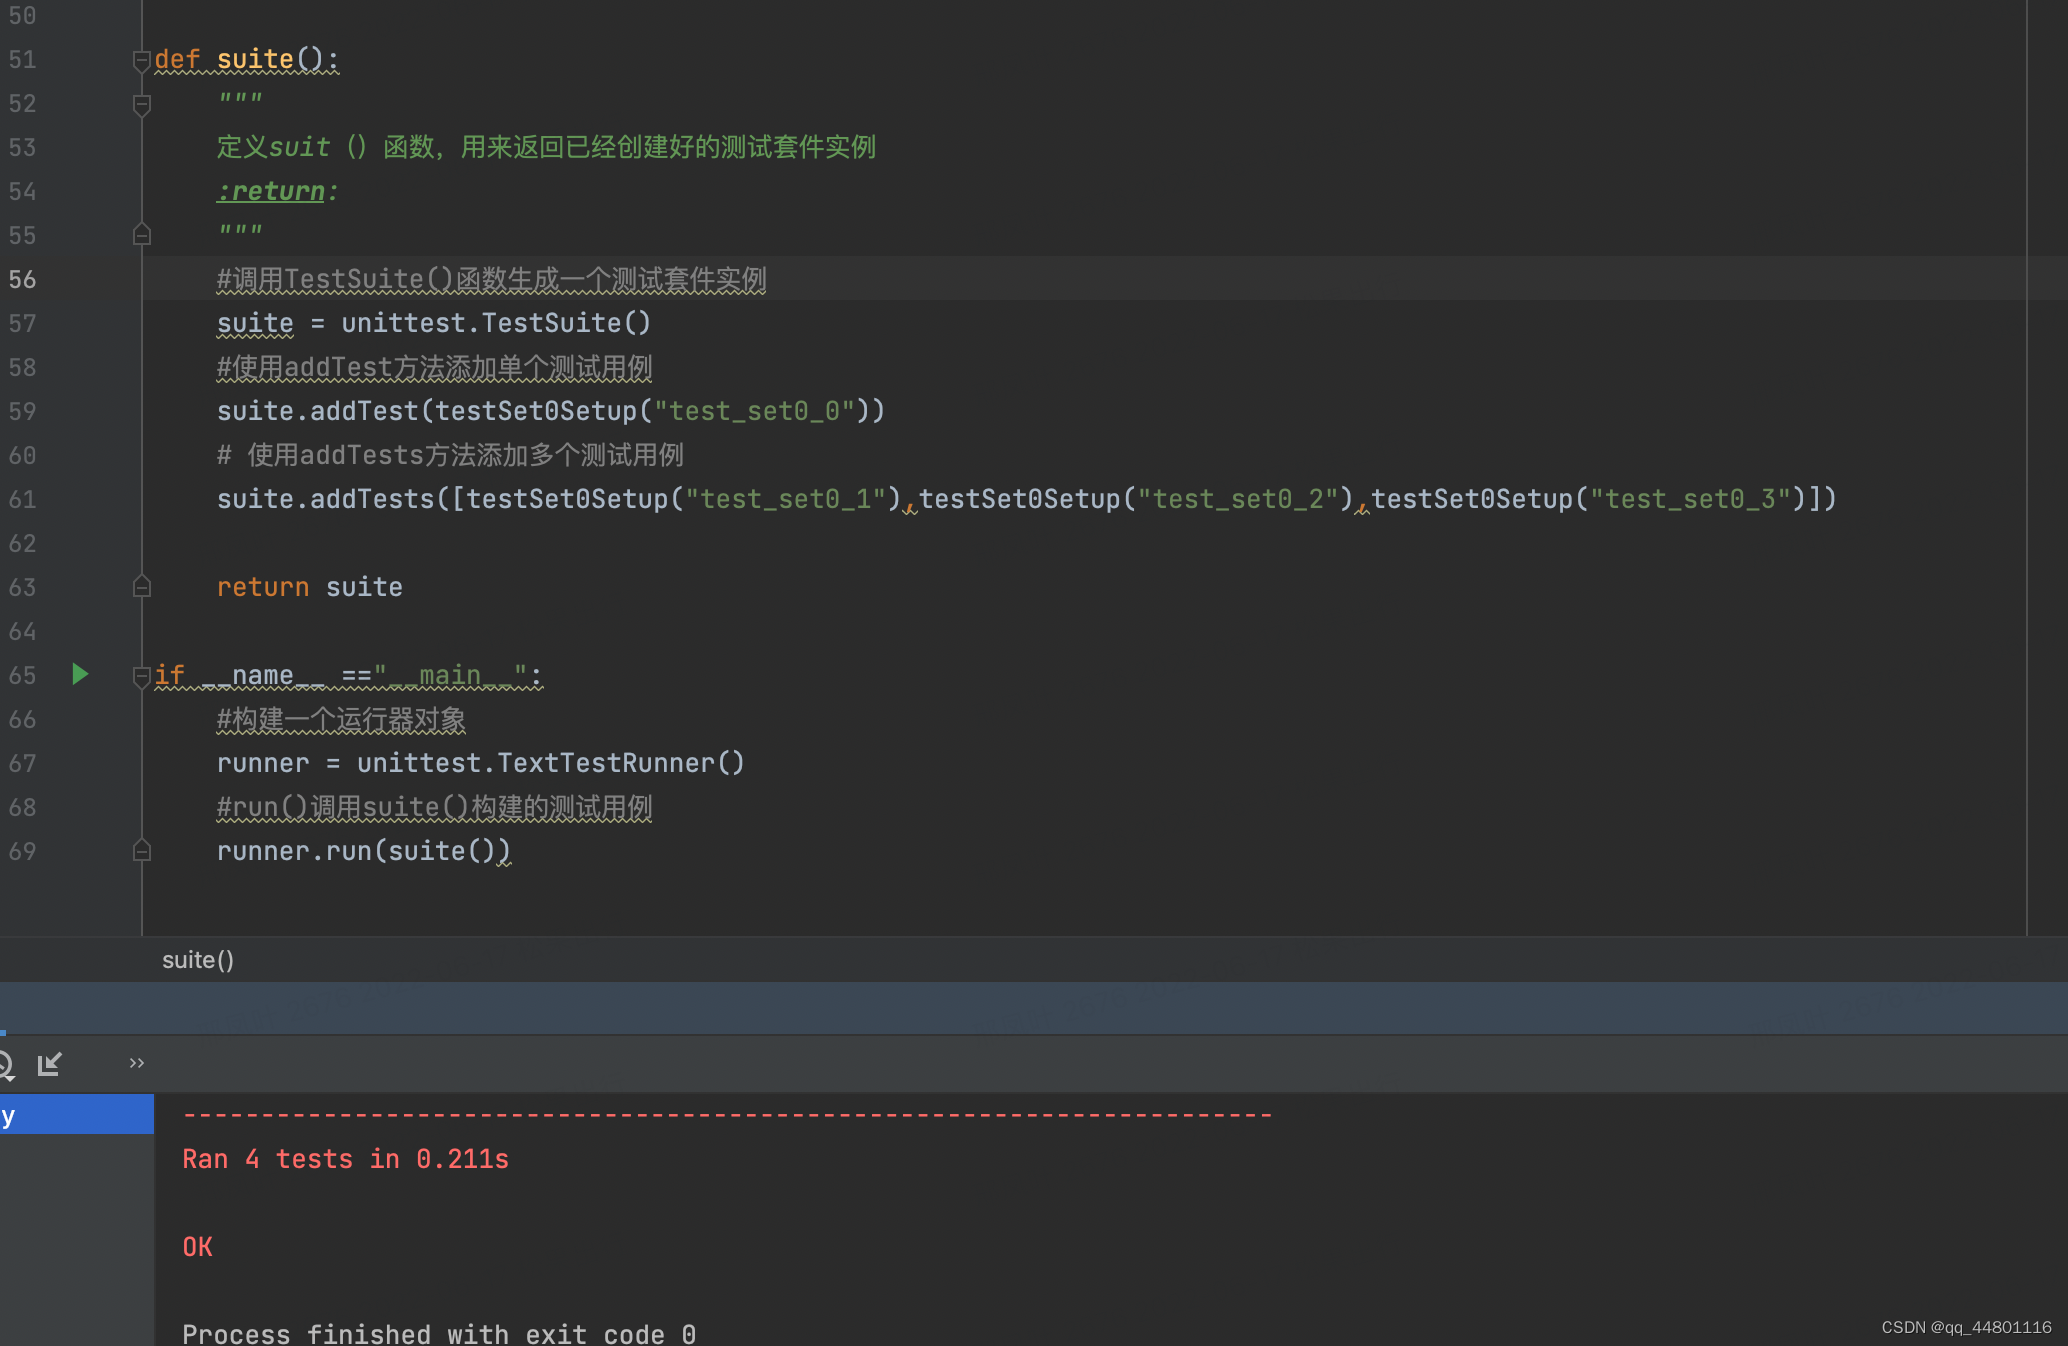
1.通过TestSuite()添加用例
def suite():
    """
    定义suit()函数,用来返回已经创建好的测试套件实例
    :return:
    """
    #调用TestSuite()函数生成一个测试套件实例
    suite = unittest.TestSuite()
    #使用addTest方法添加单个测试用例
    suite.addTest(testSet0Setup("test_set0_0"))
    # 使用addTests方法添加多个测试用例
    suite.addTests([testSet0Setup("test_set0_1"),testSet0Setup("test_set0_2"),testSet0Setup("test_set0_3")])

    return suite
运行代码
if __name__ =="__main__":
    #构建一个运行器对象
    runner = unittest.TextTestRunner()
    #run()调用suite()构建的测试用例
    runner.run(suite())
通过addTest添加用例,适合测试用例比较少的情况,如果用例比较多,可以考虑其他方式。
2.通过makeSuite()添加用例
def suite():
    #makeSuite()可以直接表明某个类下面,用例名已test开头的测试用例添加到测试套件中
    suite =unittest.makeSuite(testSet0Setup,"test")
    return suite
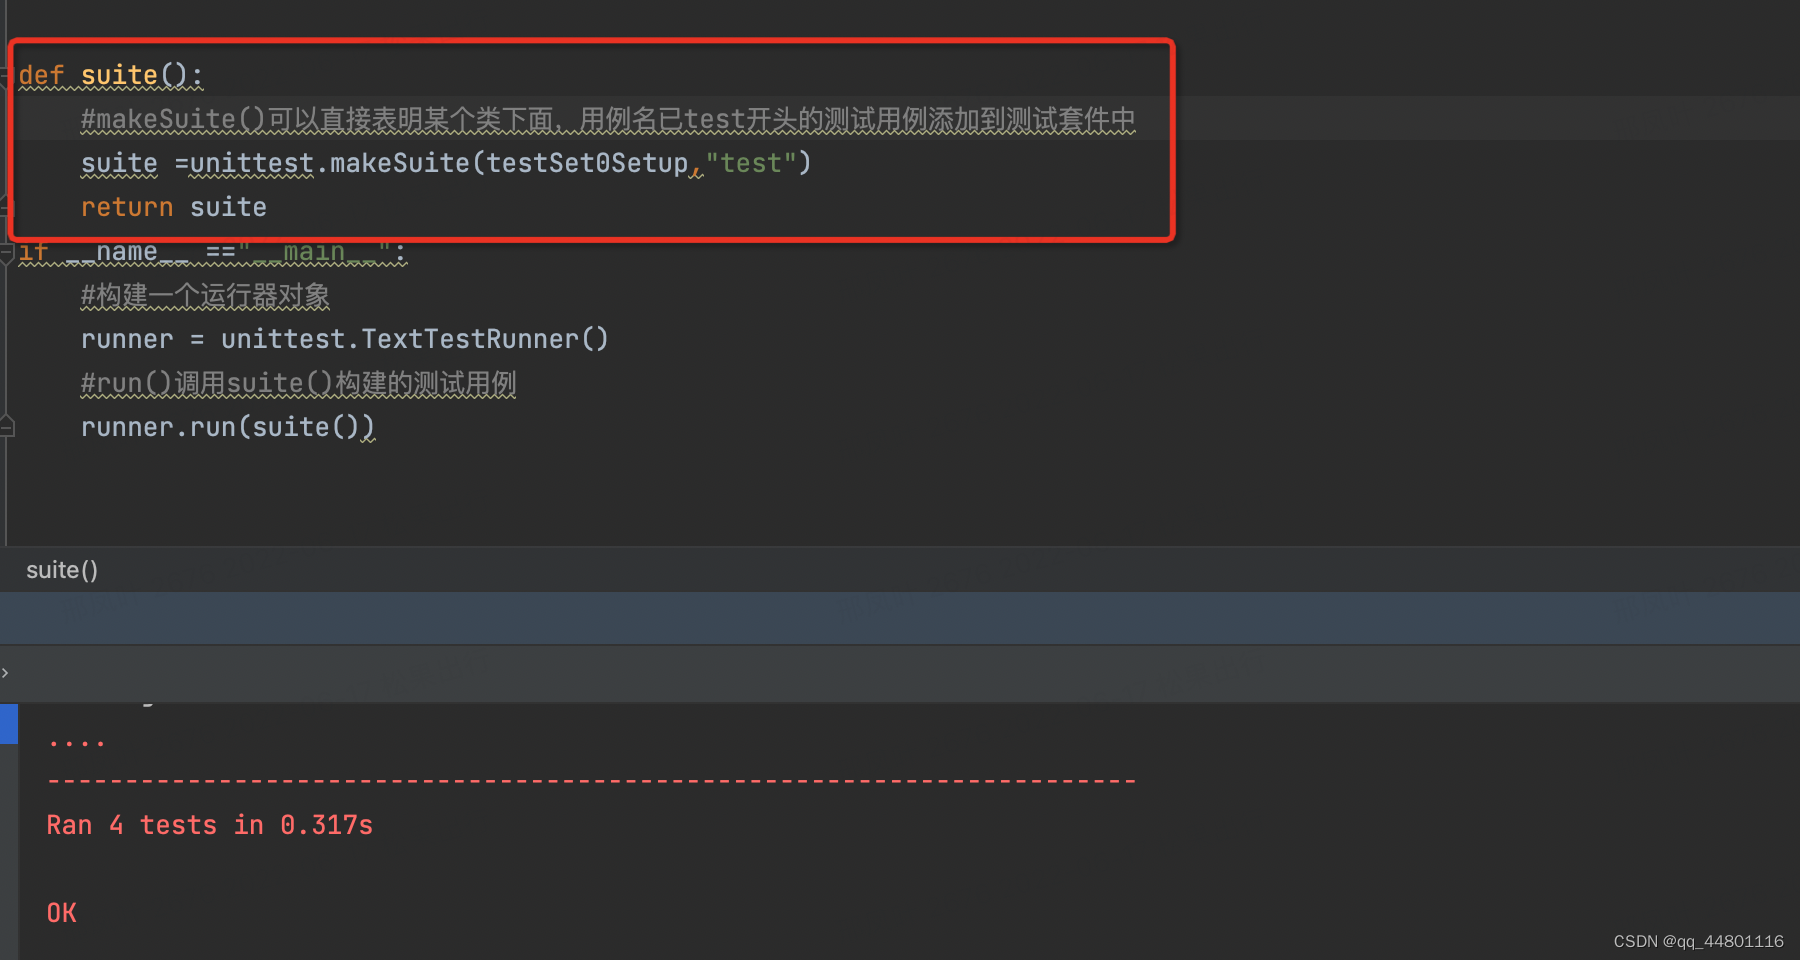
makeSuite(testSet0Setup,“test”)将testSet0Setup中所有以“test”开头的测试用例添加到测试套件中
显然:一行代码就可以添加所有符合要求的用例
但是:不灵活,只能添加全部
测试用例可以分别从多个文件中取,然后通过TestSuite(suite0,suite1)将多个套件合成一个测试套件实例
def suite():
    suite0 =unittest.makeSuite(testSet0Setup,"test")
    suite1 = unittest.makeSuite(testSet0, "test")

    suite = unittest.TestSuite(suite0,suite1)
    return suite
3.通过defaultTestLoader.discover()添加测试覆盖范围
(四)测试运行
方式一:
runner = unittest.TextTestRunner()
#run()调用suite()构建的测试用例
runner.run(suite())
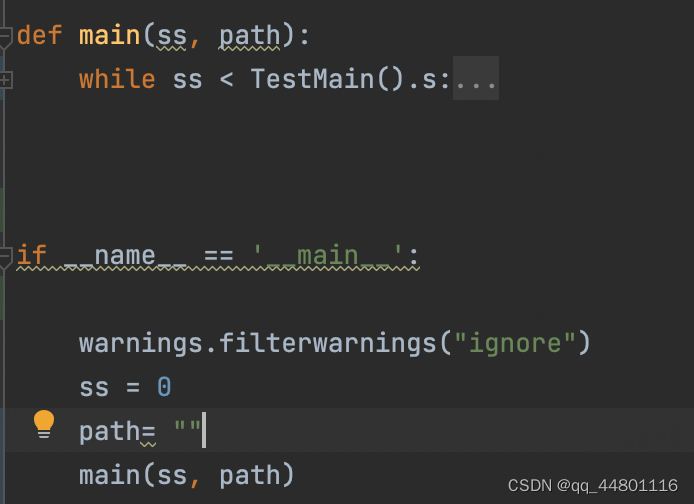
方式二:还可以将所有操作都封装到一个main(),运行unittest.main()即可
(五)测试报告
unittest测试框架是python内置的框架,但是并没有测试报告输出,需要下载导入一个第三方模块HTMLTestRunner,以HTML形式存放测试结果,并会以报告的形式保存。
HTMLTestRunner扩展模块无法通过pip进行安装,下载地址如下:
http://tungwaiyip.info/software/HTMLTestRunner.html
将py文件放到python安装的目录ilb文件夹下面,由于是基于python2开发,为兼容python3语法,需要将文件进行如下修改:
| 行号 | 修改前 | 修改后 |
|---|---|---|
| 94 | import StringIO | import io |
| 539 | StringIO.StringIO() | io.StringIO() |
| 631 | print >>sys.stderr, ‘\nTime Elapsed: %s’ % (self.stopTime-self.startTime) | print(sys.stderr, ‘\nTime Elapsed: %s’ % (self.stopTime-self.startTime)) |
| 642 | if not rmap.has_key(cls): | if not cls in rmap : |
| 766 | uo = o.decode(‘latin-1’) | uo =e |
| 772 | ue = e.decode(‘latin-1’) | uo =e |
| 778 | output = saxutils.escape(uo+ue) | output = saxutils.escape(str(uo)+str(ue)), |
我使用的HTMLTestRunner文件链接如下
链接: https://pan.baidu.com/s/1vHjiHqaqJkeUWKMl6mwy1g 提取码: mqen
if __name__ == "__main__":
    filepath = "./htmlreport.html"
    fp = open(filepath,"wb")
    suite = unittest.TestSuite()
    suite.addTest(TestAssert("testAssertIn"))

    runner = HTMLTestRunner(stream= fp,title= "测试报告",description="期待成功哈")
    runner.run(suite)
    fp.close()
运行文件可以生成如下报告:

在生成测试报告部分时,遇到不可以生成测试报告的情况,具体解决方法可参考如下文章:
https://blog.csdn.net/qq_44801116/article/details/125444133?spm=1001.2014.3001.5501


 3389
3389


 被折叠的 条评论
为什么被折叠?
被折叠的 条评论
为什么被折叠?
 到【灌水乐园】发言


