


关于RabbitMQ的介绍以及工作流程,还有Direct Exchange的相关使用大家可以看下前两篇文章,本篇主要介绍Topic Exchange,下面直接进入正题。
Topic Exchange
上文简单介绍了主题交换机,是根据一定规则将消息投递给对应队列。接下来我们简单通俗的说一下这个规则是什么?
上文我们将交换机和队列进行绑定的时候有一个 routing key,在 Direct Exchange(直连交换机) 中这个路由键是可以由任意规则组成的,而在我们今天介绍的主题交换机中,routing key 必须是由点号分开的一串单词,这些单词可以是任意的,大家可以根据业务自行命名。而交换机和队列的绑定也多了两个通配符。
通配符介绍
编写RabbitMQ示例
- 生产者项目创建主题交换机
package com.chentawen.rabbitmqprovider.config;

import org.springframework.amqp.core.*;
import org.springframework.context.annotation.Bean;
import org.springframework.context.annotation.Configuration;

/**
 * @Author: CTW
 * @Date: create in 2021/8/3 21:03
 */
@Configuration
public class TopicExchangeConfig {
    /**
     * 声明主题交换机
     *
     * @return
     */
    @Bean
    TopicExchange MyTopicExchange() {
        return new TopicExchange("MyTopicExchange", true, false);
    }

    /**
     * 声明队列A
     *
     * @return
     */
    @Bean
    Queue MyTopicQueueA() {
        return new Queue("MyTopicQueueA", true);
    }

    /**
     * 声明队列B
     *
     * @return
     */
    @Bean
    Queue MyTopicQueueB() {
        return new Queue("MyTopicQueueB", true);
    }

    /**
     * 将交换机和队列进行绑定1
     *
     * @return
     */
    @Bean
    Binding bindingDirect1() {
        return BindingBuilder.bind(MyTopicQueueA()).to(MyTopicExchange()).with("MyTopicQueue.A");
    }

    /**
     * 将交换机和队列进行绑定2
     *
     * @return
     */
    @Bean
    Binding bindingDirect2() {
        return BindingBuilder.bind(MyTopicQueueB()).to(MyTopicExchange()).with("MyTopicQueue.#");
    }
}
- 生产者项目创建消息发送接口
/**
* 发送消息至主题交换机-- 方法1
* @return
*/
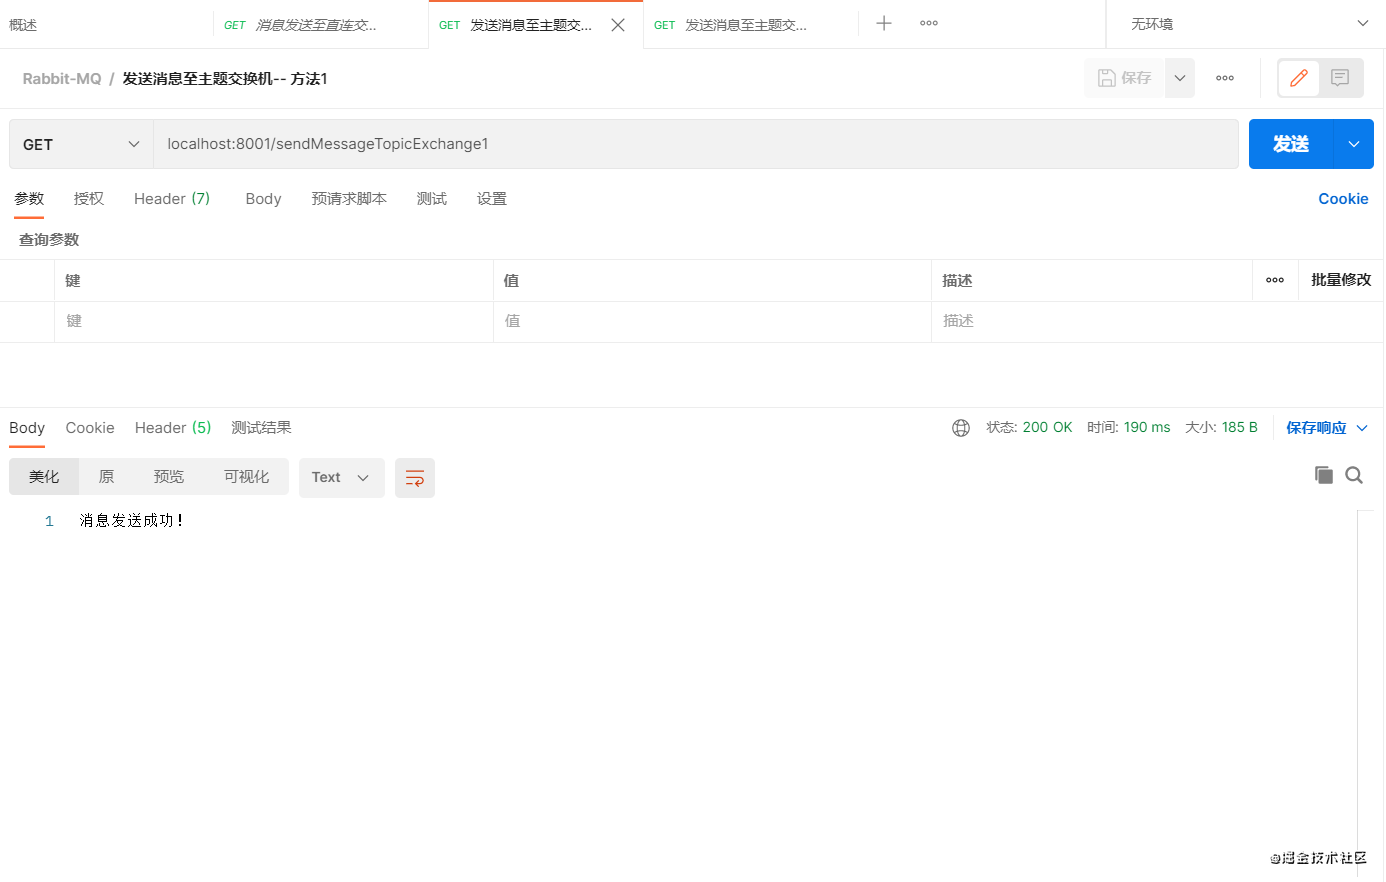
@GetMapping("sendMessageTopicExchange1")
public String sendMessageTopicExchange1() {
String messageId = String.valueOf(UUID.randomUUID());
String messageData = "Hello World! sendMessageTopicExchange1";
String createTime = LocalDateTime.now().format(DateTimeFormatter.ofPattern("yyyy年MM月dd日 HH:mm:ss"));
Map<String, Object> map = new HashMap<>(16);
map.put("messageId", messageId);
map.put("messageData", messageData);
map.put("createTime", createTime);
/**
* exchange 交换机名称
* routingKey 路由key
* map 发送的消息内容
*/
rabbitTemplate.convertAndSend("MyTopicExchange", "MyTopicQueue.A", map);
return "消息发送成功!";
}
/**
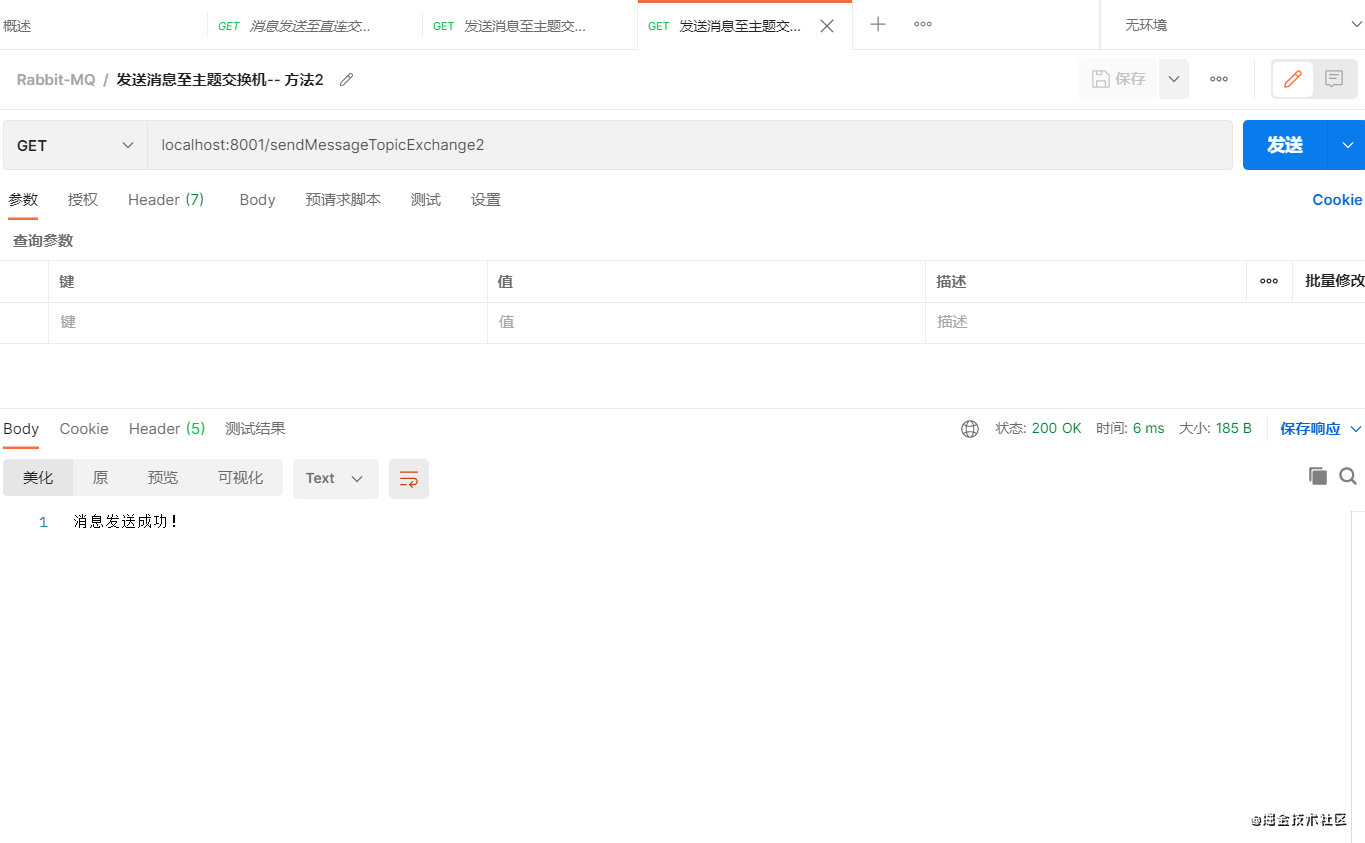
* 发送消息至主题交换机-- 方法2
* @return
*/
@GetMapping("sendMessageTopicExchange2")
public String sendMessageTopicExchange2() {
String messageId = String.valueOf(UUID.randomUUID());
String messageData = "Hello World! sendMessageTopicExchange2";
String createTime = LocalDateTime.now().format(DateTimeFormatter.ofPattern("yyyy年MM月dd日 HH:mm:ss"));
Map<String, Object> map = new HashMap<>(16);
map.put("messageId", messageId);
map.put("messageData", messageData);
map.put("createTime", createTime);
/**
* exchange 交换机名称
* routingKey 路由key
* map 发送的消息内容
*/
rabbitTemplate.convertAndSend("MyTopicExchange", "MyTopicQueue.B", map);
return "消息发送成功!";
}
- 消费者项目创建消息接收监听类(监听队列:MyTopicQueue.A)
package com.chentawen.rabbitmqconsumer.listener;//package com.chentawen.springbootall.config.rabbitlistener;
import org.springframework.amqp.rabbit.annotation.RabbitHandler;
import org.springframework.amqp.rabbit.annotation.RabbitListener;
import org.springframework.stereotype.Component;
import java.util.Map;
/**
* @Author: CTW
* @Date: create in 2021/8/2 22:23
*/
@Component
@RabbitListener(queues = "MyTopicQueue.A")
public class TopicReceiver {
@RabbitHandler
public void process(Map MessageData) {
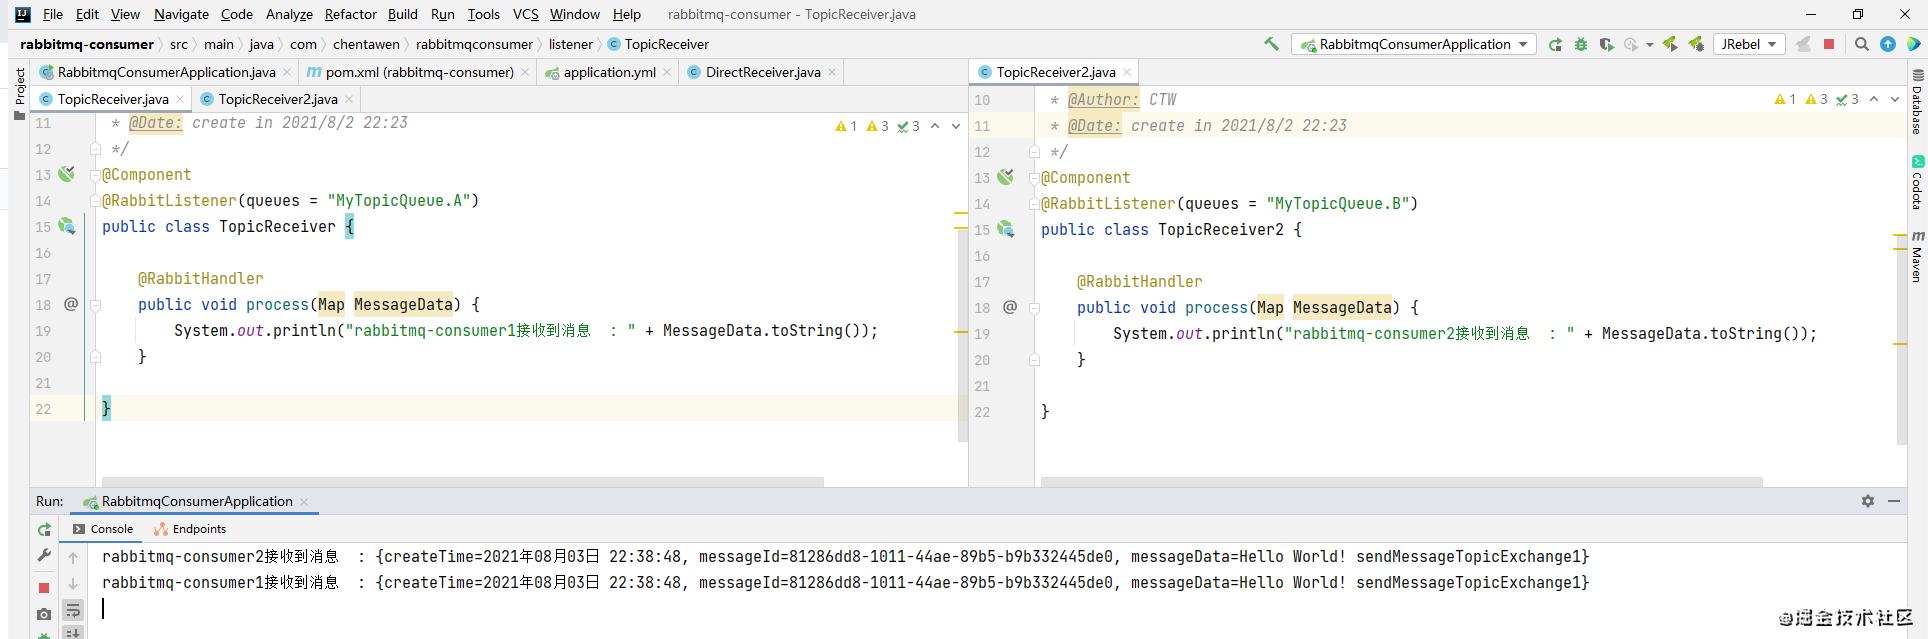
System.out.println("rabbitmq-consumer1接收到消息 : " + MessageData.toString());
}
}
- 消费者项目创建消息接收监听类(监听队列:MyTopicQueue.B)
package com.chentawen.rabbitmqconsumer.listener;//package com.chentawen.springbootall.config.rabbitlistener;
import org.springframework.amqp.rabbit.annotation.RabbitHandler;
import org.springframework.amqp.rabbit.annotation.RabbitListener;
import org.springframework.stereotype.Component;
import java.util.Map;
/**
* @Author: CTW
* @Date: create in 2021/8/2 22:23
*/
@Component
@RabbitListener(queues = "MyTopicQueue.B")
public class TopicReceiver2 {
@RabbitHandler
public void process(Map MessageData) {
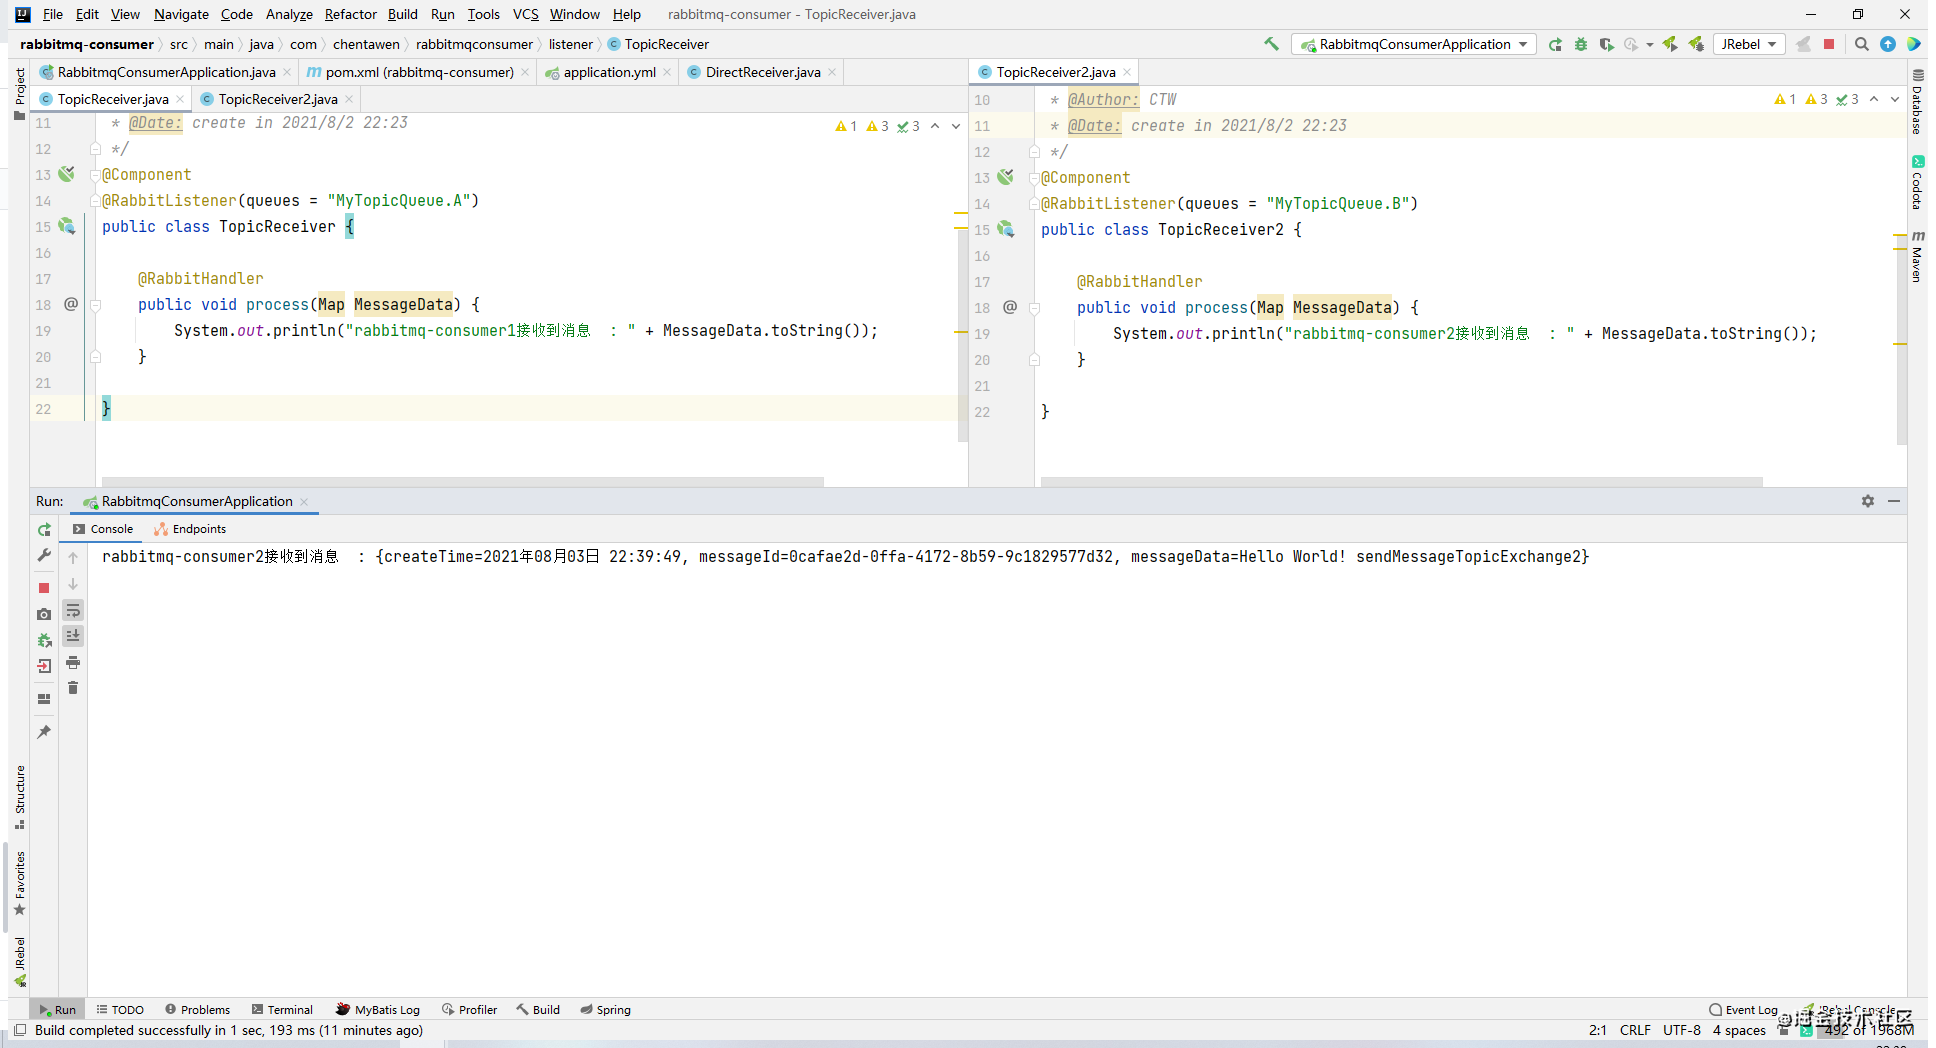
System.out.println("rabbitmq-consumer2接收到消息 : " + MessageData.toString());
}
}
- 启动项目,使用postman访问接口发送消息,观察消费者项目控制台
访问接口1:可以看到消费者均接收到了队列A和队列B的消息
多次频繁去发送消息,只有消费的顺序可能不一样
不知道大家是否能理解,我这里再给大家分析一下。
接口1的路由键为:MyTopicQueue.A,对应交换机与队列A绑定的路由键值MyTopicQueue.A ,所以队列A能接收到 BindingBuilder.bind(MyTopicQueueA()).to(MyTopicExchange()).with(“MyTopicQueue.A”)
而交换机与队列B绑定的路由键值MyTopicQueue.#,上文有介绍#表示匹配任意一个或多个单词,所以队列B能接收到
BindingBuilder.bind(MyTopicQueueB()).to(MyTopicExchange()).with(“MyTopicQueue.#”)
访问接口2:可以看到消费者只收到了队列B的消息
交换机与队列B绑定的路由键值MyTopicQueue.#,上文有介绍#表示匹配任意一个或多个单词,所以队列B能接收到
BindingBuilder.bind(MyTopicQueueB()).to(MyTopicExchange()).with(“MyTopicQueue.#”)
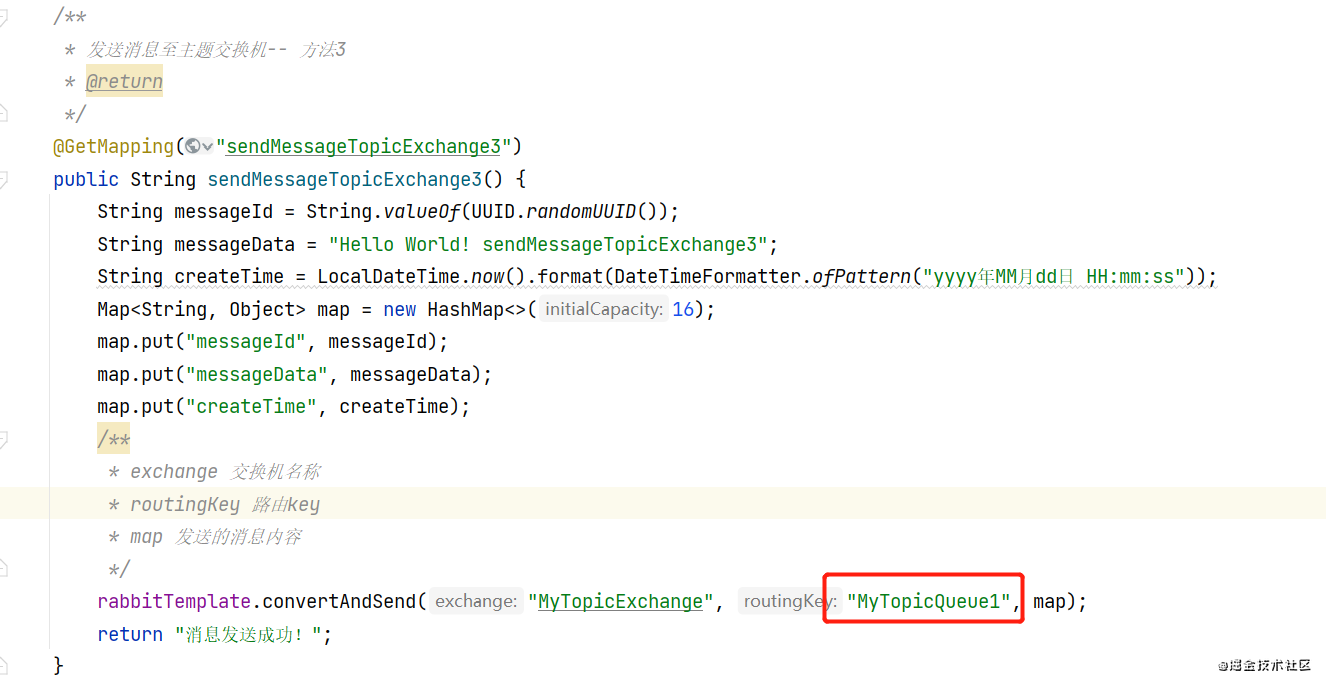
- 如果发送匹配不到的路由键会怎么样
请求此接口,消费者是没法接收到消息的,因为消息找不到对应的路由键,所以这条消息后续会被废弃
以上就是本期内容,后续内容持续更新


 510
510


 被折叠的 条评论
为什么被折叠?
被折叠的 条评论
为什么被折叠?
 到【灌水乐园】发言


