


Apache服务器的安装与配置
环境centos8.5(此版本为目前最新版本,其他版本应该都是一样的)
Apache(音译为阿帕奇)是世界使用排名第一的Web服务器软件。它可以运行在几乎所有广泛使用的计算机平台上,由于其跨平台和安全性被广泛使用,是最流行的Web服务器端软件之一。它快速、可靠并且可通过简单的API扩充,将Perl/Python等解释器编译到服务器中。
注意所有的配置文件当中的注释都不要在配置过程中出现,否则可能会报错(文章中出现的注释只是方便大家理解)
安装apache
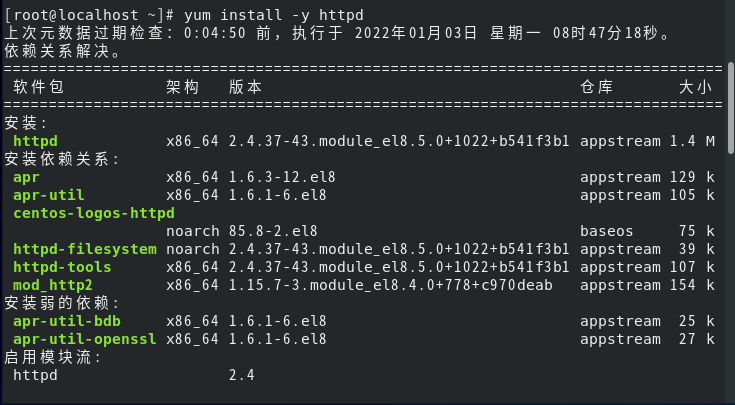
用yum来安装apache
yum install -y httpd
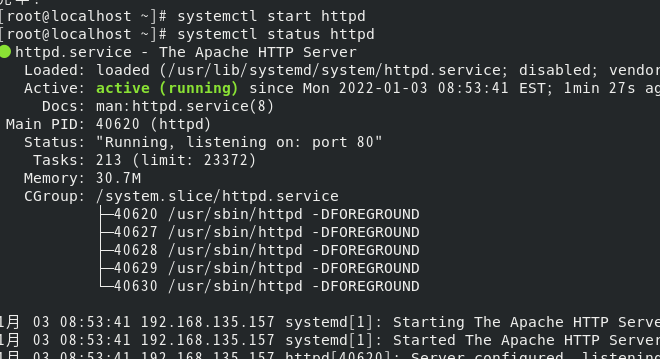
systemctl start httpd # 启动httpd服务
systemctl status httpd # 查看httpd服务
防火墙管理
此时查看防火墙的状态(如果不关闭防火墙就无法用浏览器来访问web服务器)
systemctl status firewalld.service

(active(running))显示防火墙处于激活状态
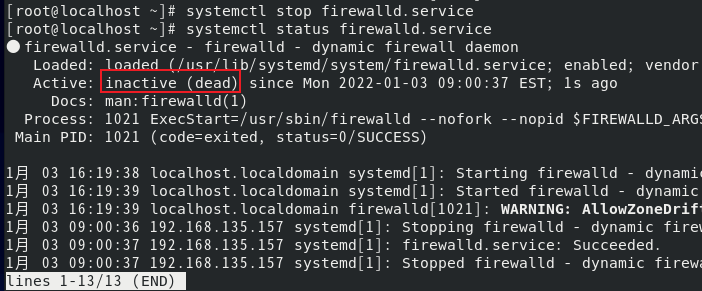
systemctl stop firewalld.service #执行停止运行防火墙命令
systemctl status firewalld.service
框中(inactive(dead))防火墙进程处于未激活状态,停止服务成功
防火墙的其他命令
systemctl disable firewalld.service #禁止防火墙自启动
systemctl start firewalld.service  #开启防火墙
systemctl enable firewalld.service #防火墙随系统开启启动
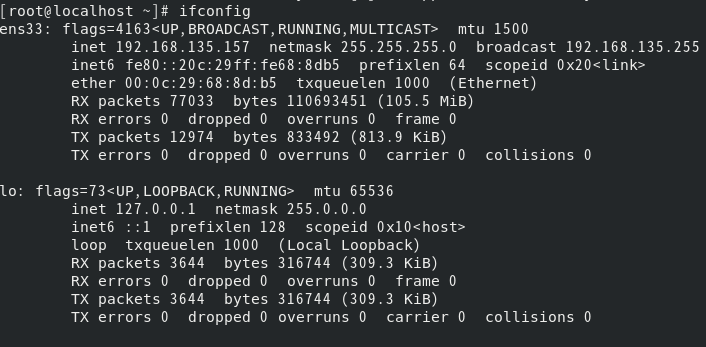
查看centos的ip
ifconfig
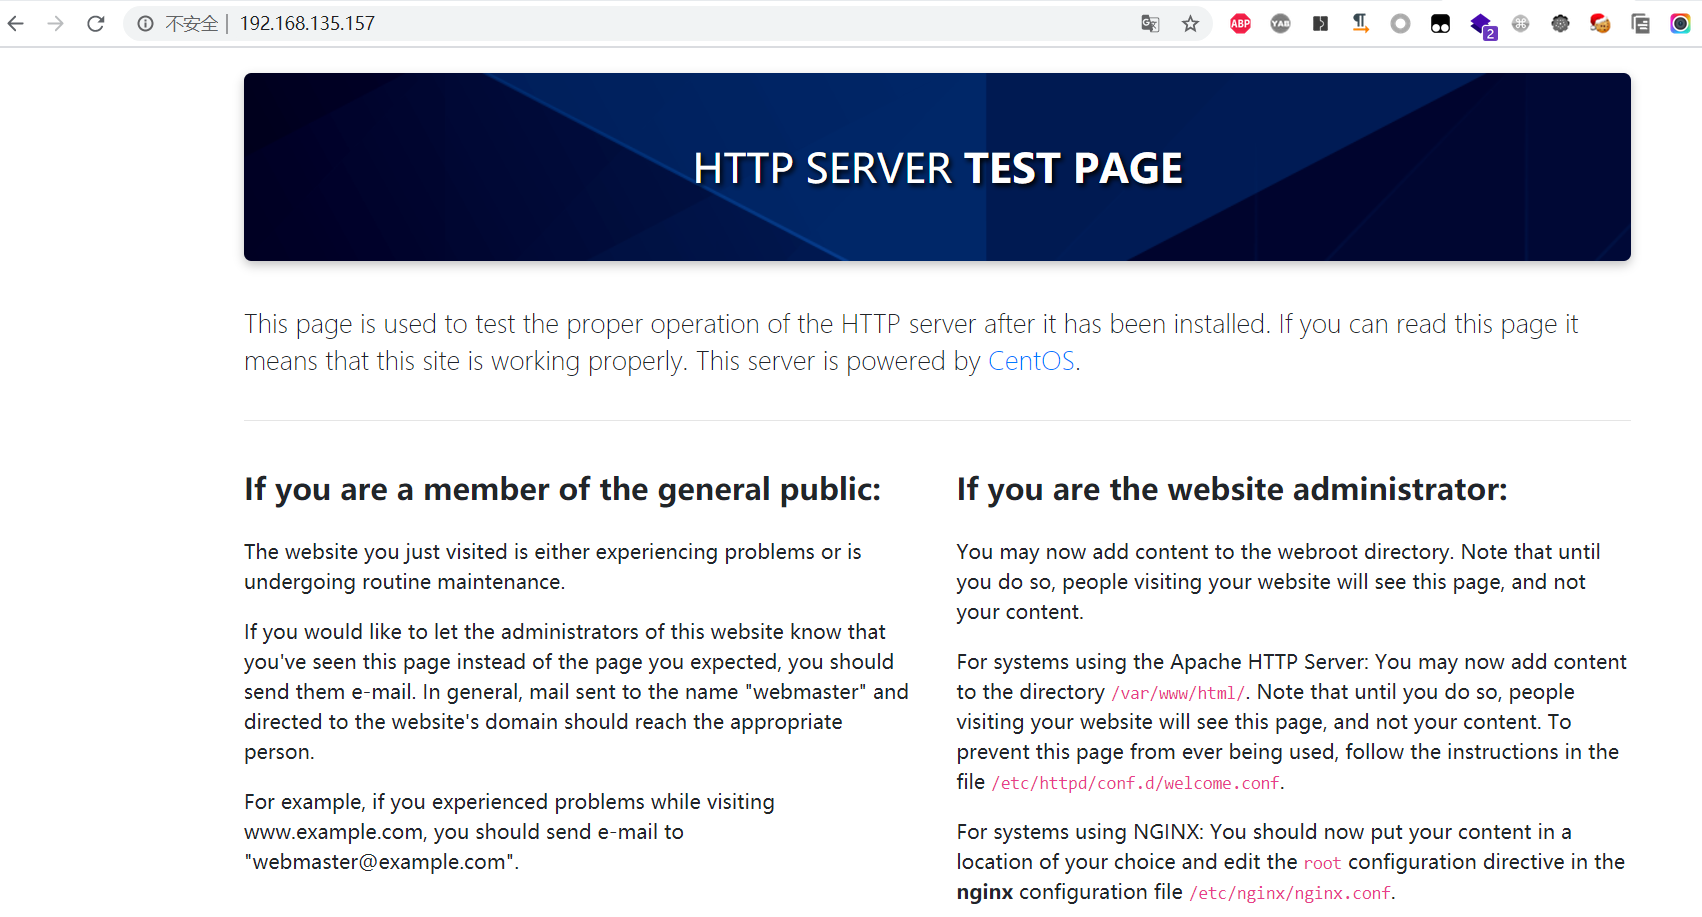
用浏览器访问
Apache配置文件介绍
httpd的默认配置文件为:/etc/httpd/conf/httpd.conf,它主要包含三大部分,如下:
[root@localhost~]# grep '\<Section\>' /etc/httpd/conf/httpd.conf -n
33:### Section 1: Global Environment
245:### Section 2: 'Main' server configuration
977:### Section 3: Virtual Hosts
其中:1)Global Environment——全局配置,决定Apache服务器的全局参数。
其中:1)Global Environment——全局配置,决定Apache服务器的全局参数。
2)Main server configuration——主服务配置,相当于是Apache的默认web站点,如果我们的服务器中只有一个站点,那么就只需要在这里配置就可以了。
3)Virtual Hosts——虚拟主机,虚拟主机不能与Main Server主服务器共存,当启用了虚拟主机之后,Main Server就不能使用了。
ServerRoot “/etc/httpd” 用于指定Apache的运行目录
Listen 80 监听端口
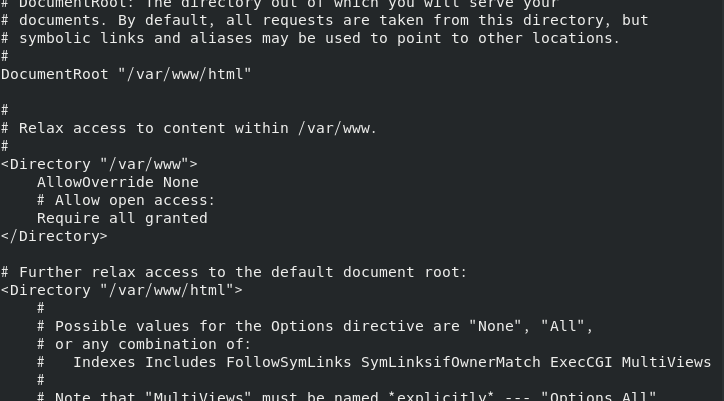
DocumentRoot “/var/www/html” 网页文件的存放目录
 <Directory "/var/www/html">
    Require all granted    自定义目录权限
 </Directory>
ErrorLog “logs/error_log” 错误日志存放位置
DirectoryIndex index.html 默认主页名称
测试:在本地发布一个测试页,并在浏览器中测试
在/var/www/html/新建一个index.html并编辑:
hello world

浏览器测试
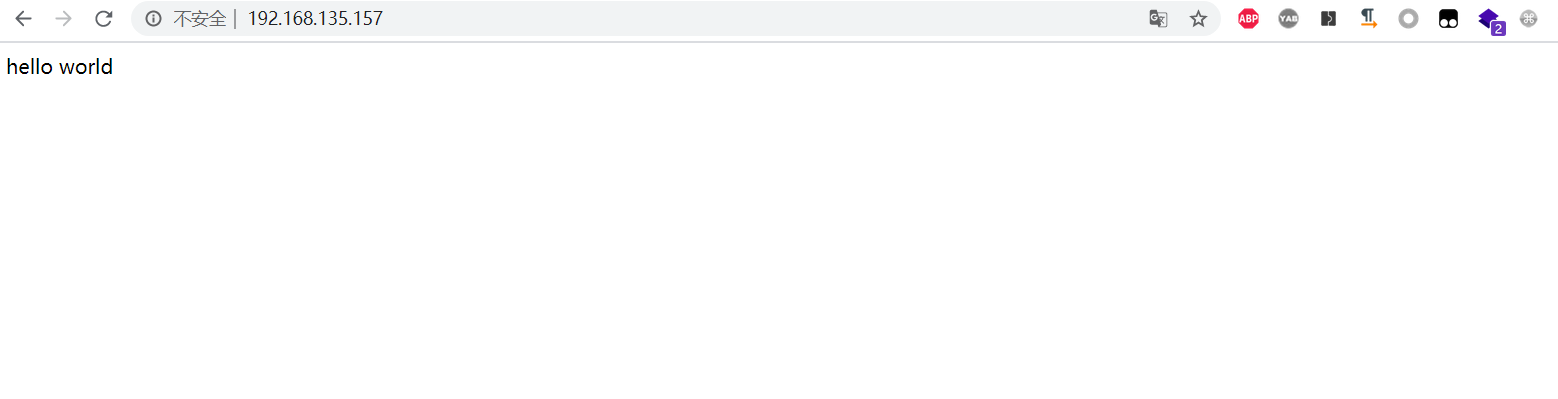
测试成功
虚拟主机配置
虚拟主机(Virtual Host),又称虚拟服务器、主机空间或是网页空间,是一种网络技术,可以让多个主机名称,在一个单一的服务器上运作,而且可以分开支持每个单一的主机名称。虚拟主机可以运行多个网站或服务。虚拟并非指不存在,而是指空间是由实体的服务器延伸而来,其硬件系统可以是基于服务器群,或者单个服务器。其技术是互联网服务器采用的节省服务器硬件成本的技术,虚拟主机技术主要应用于HTTP、FTP、EMAIL等多项服务,将一台服务器的某项或者全部服务内容逻辑划分为多个服务段位,对外表现为多个服务器,从而充分利用服务器硬件资源。——Wiki中对虚拟主机的解释。
虚拟主机的实现方式主要有三种:基于域名的方法(Name-based)、基于IP的方法(IP-based)以及基于端口的方法(Port-based)。下面将结合apache的配置来讲解虚拟主机的各种配置及应用场景。
基于域名的多站点配置
编写/etc/httpd/conf.d/domain1.conf
<VirtualHost 192.168.135.157:80>
ServerName www.domain1.com         # 域名
DocumentRoot "/var/www/domain1/html"  # 网页的路径 (所有的注释不要在配置文件中出现,这里加上是为了方便理解)
customlog "logs/domain1.log" combined
</VirtualHost>
<directory /var/www/domain1/html>
    require all granted
</directory>
在/var/www/domain1/html/index.html写上测试网页

编写/etc/httpd/conf.d/domain2.conf
<VirtualHost 192.168.135.157:80>
ServerName www.domain2.com
DocumentRoot "/var/www/domain2/html"
customlog "logs/domain2.log" combined
</VirtualHost>
<directory /var/www/domain2/html>
    require all granted
</directory>
在/var/www/domain2/html/index.html写上测试网页

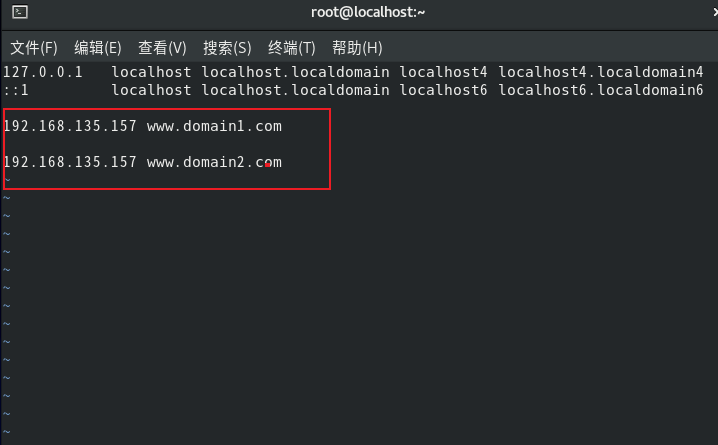
编辑本地域名解析文件 /etc/hosts(关于DNS的解析过程是先访问本地的hosts文件,然后是本地DNS服务器,最后是远程DNS服务器,因为这个时候我们没有搭建DNS服务器,就先修改hosts来使DNS解析生效,DNS解析过程这里不再讲述,可以自行补充这方面的知识)
vim /etc/hosts
加上这两句
修改完配置文件后重启apache使配置文件生效
systemctl restart httpd
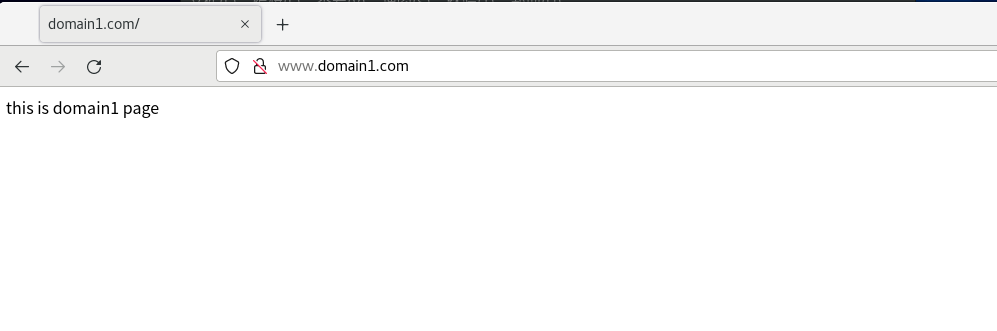
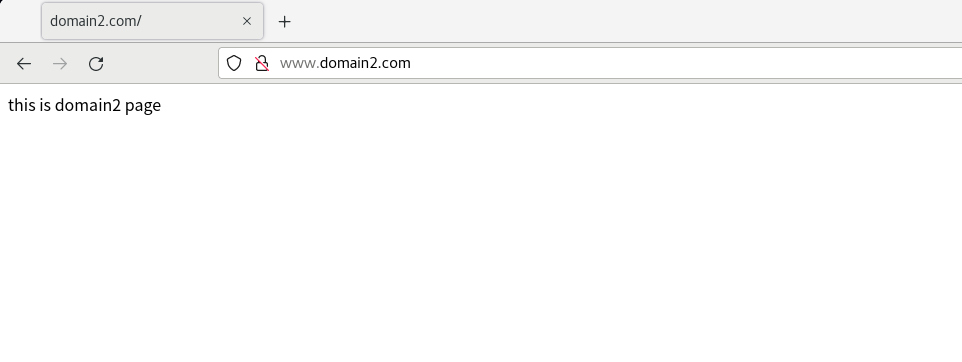
打开虚拟机的浏览器依次输入www.domain1.com 和 www.domain2.com
如果在apache重启的时候出现这种情况,输入httpd -t查看出错的原因,出错的原因一般是配置文件的问题,找找是否配置文件的格式不对之类的

基于ip的多站点配置
添加临时ip
[root@localhost www]# ifconfig ens33:1 192.168.135.158 netmask 255.255.255.0 up
[root@localhost www]# ifconfig ens33:2 192.168.135.159 netmask 255.255.255.0 up

编写/etc/httpd/conf.d/ip1.conf
<VirtualHost 192.168.135.158:80>
DocumentRoot "/var/www/ip1/html"  # 网页的路径
customlog "logs/ip1.log" combined
</VirtualHost>
<directory /var/www/ip1/html>
    require all granted
</directory>
在/var/www/ip1/html/index.html写上测试网页

编写/etc/httpd/conf.d/ip2.conf
<VirtualHost 192.168.135.159:80>
DocumentRoot "/var/www/ip2/html"  # 网页的路径(注意这些注释不要在配置文件中出现,要不然会报错)
customlog "logs/ip2.log" combined
</VirtualHost>
<directory /var/www/ip2/html>
    require all granted
</directory>
在/var/www/ip2/html/index.html写上测试网页

重启Apache使配置文件生效 systemctl restart httpd
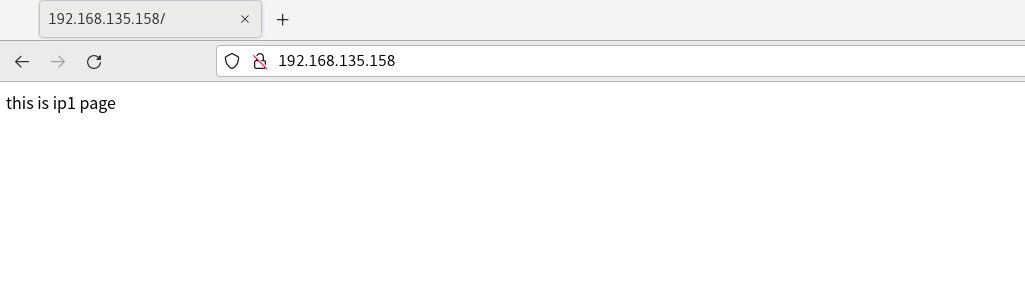
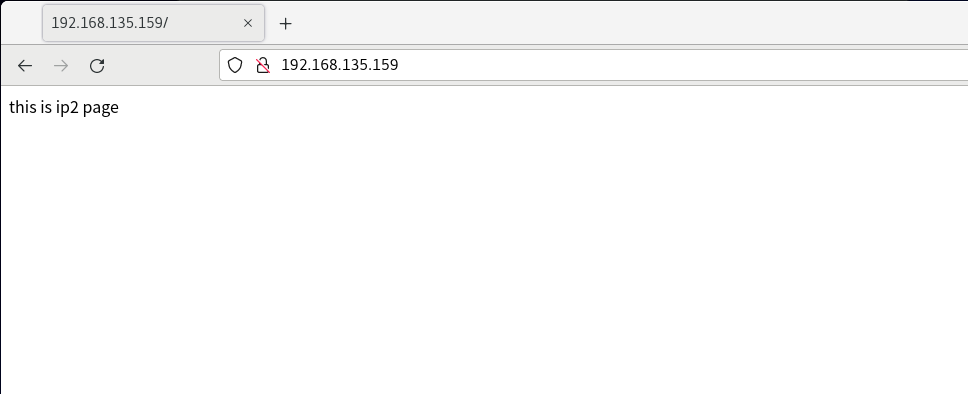
分别访问192.168.135.158 和 192.168.135.159 (这两个ip是我们加上的临时ip)
基于端口的多站点配置
我们使用8080和8081端口作为网站的端口
编写/etc/httpd/conf.d/port1.conf
Listen 8080
<VirtualHost 192.168.135.157:8081>
DocumentRoot "/var/www/port1/html"
customlog "logs/port1.log" combined
</VirtualHost>
<directory /var/www/port1/html>
    require all granted
</directory>
在/var/www/port1/html/index.html写上测试网页

编写/etc/httpd/conf.d/port2.conf
Listen 8081
<VirtualHost 192.168.135.157:8081>
DocumentRoot "/var/www/port2/html"
customlog "logs/port2.log" combined
</VirtualHost>
<directory /var/www/port2/html>
    require all granted
</directory>
在/var/www/port2/html/index.html写上测试网页

我们此时重启Apache可能会报错,这可能不是由于配置文件的错误。
在我们监听端口的过程中,由于centos8中的Selinux机制,可能操作系统不让我们监听一些特定的端口,我们需要把他关掉
sentenforce 0 #临时关闭,重启恢复

重启
systemctl restart httpd
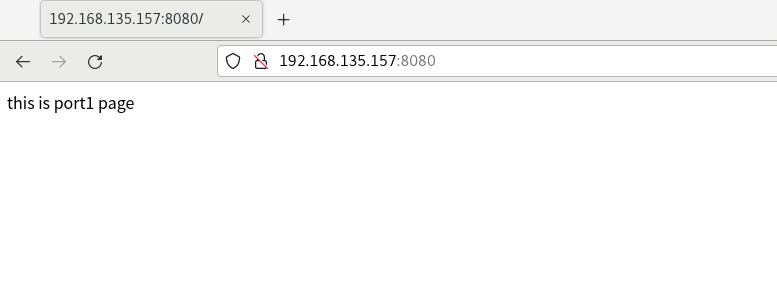
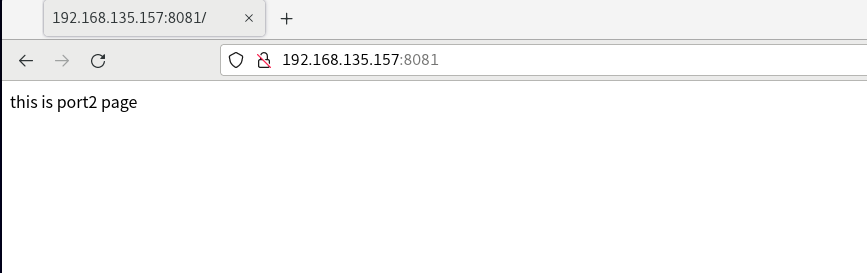
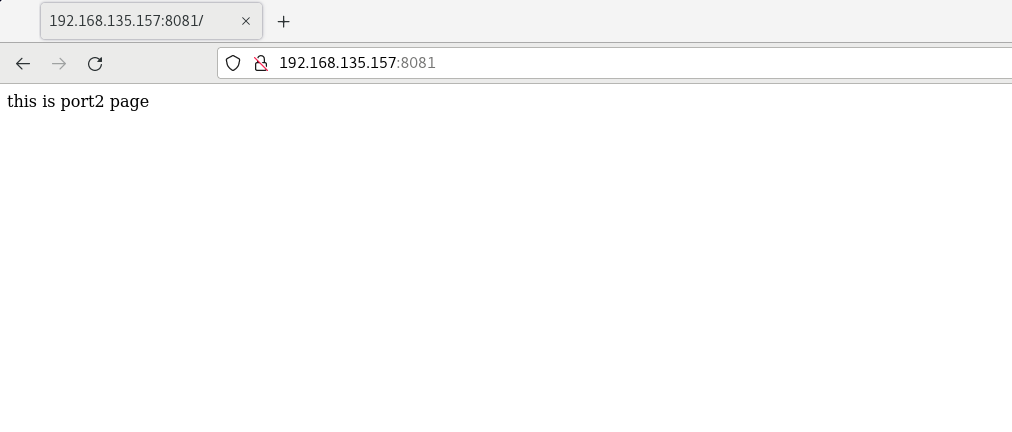
分别访问http://192.168.135.157:8080/ 和 http://192.168.135.157:8081/
Nginx服务器的安装与配置
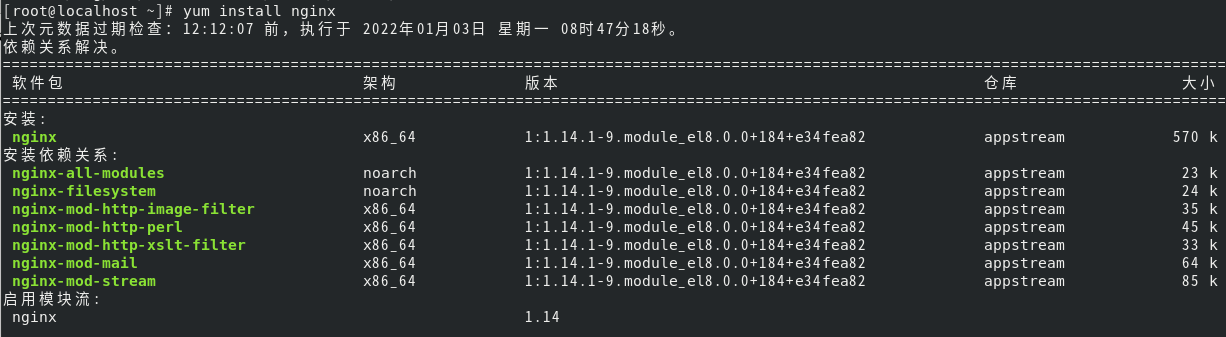
安装nginx
[root@localhost ~]# yum install nginx
查看nginx版本
nginx -v

/etc/nginx/conf.d/ 默认配置目录
网站默认路径是 /usr/share/nginx/html
错误日志 /var/log/nginx/error.log
访问日志 /var/log/nginx/access.log
虚拟主机配置
基于域名的多站点配置
创建/etc/nginx/conf.d/domain1.conf并写上
server {
    listen      80;
    server_name  www.domain1.com;

    #charset koi8-r;
    #access_log  /var/log/nginx/host.access.log  main;

    location / {
        root   /usr/share/nginx/domain1;  #网站的位置
        index  index.html index.htm; #网站默认首页
    }
    }
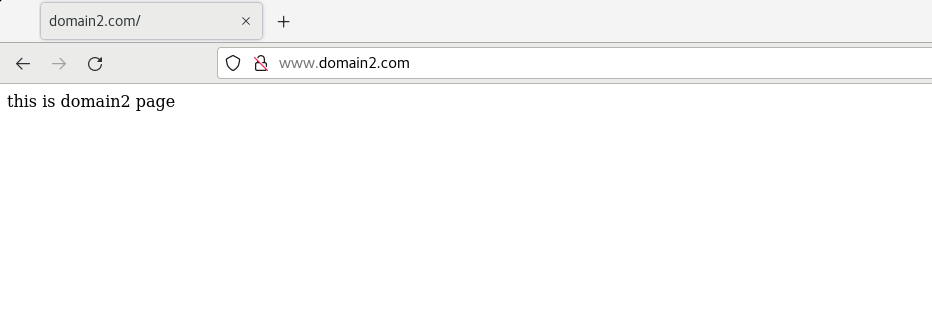
创建/etc/nginx/conf.d/domain2.conf并写上
server {
    listen      80;
    server_name  www.domain2.com;

    #charset koi8-r;
    #access_log  /var/log/nginx/host.access.log  main;

    location / {
        root   /usr/share/nginx/domain2;  #网站的位置
        index  index.html index.htm; #网站默认首页
    }
    }
/etc/hosts文件修改

重启nginx ,使配置文件生效
systemctl restart nginx
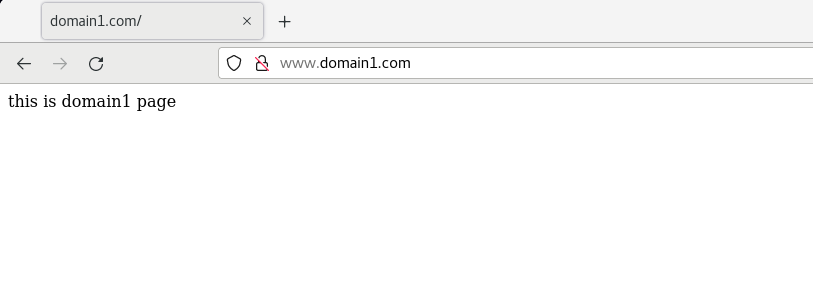
并在/usr/share/nginx/domain1 和/usr/share/nginx/domain2 分别创建index.html测试网页,用浏览器访问
基于多ip的多站点配置
添加虚拟ip
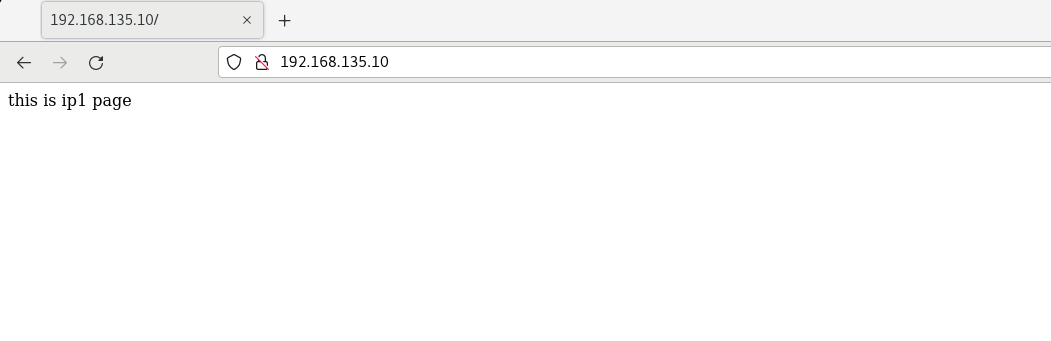
ifconfig ens33:1 192.168.135.10 netmask 255.255.255.0 up
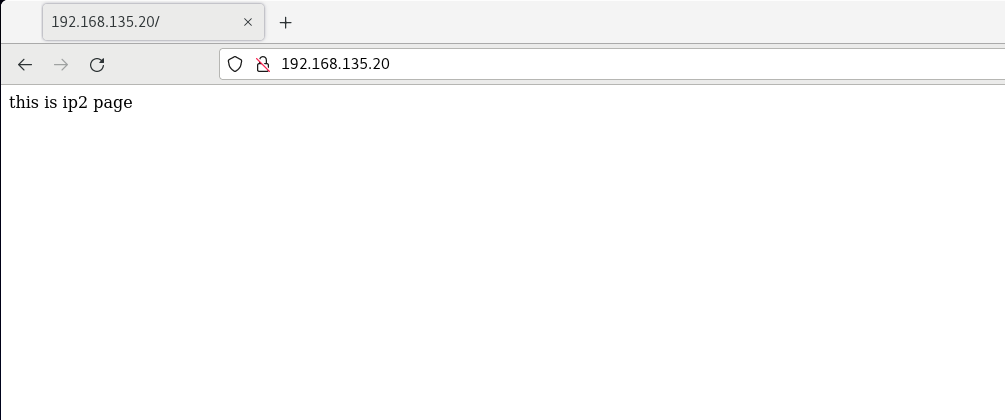
ifconfig ens33:2 192.168.135.20 netmask 255.255.255.0 up
创建/etc/nginx/conf.d/ip1.conf并写上
server {
    listen      192.168.135.10:80;
    #charset koi8-r;
    #access_log  /var/log/nginx/host.access.log  main;

    location / {
        root   /usr/share/nginx/ip1;  #网站的位置
        index  index.html index.htm; #网站默认首页
    }
    }
创建/etc/nginx/conf.d/ip2.conf并写上
server {
    listen      192.168.135.20:80;
    #charset koi8-r;
    #access_log  /var/log/nginx/host.access.log  main;

    location / {
        root   /usr/share/nginx/ip2;  #网站的位置
        index  index.html index.htm; #网站默认首页
    }
    }
重启nginx ,使配置文件生效
systemctl restart nginx
并在/usr/share/nginx/ip1 和/usr/share/nginx/ip2 分别创建index.html测试网页,用浏览器访问
基于多端口的多站点配置
把8080和8081作为nginx服务器的端口
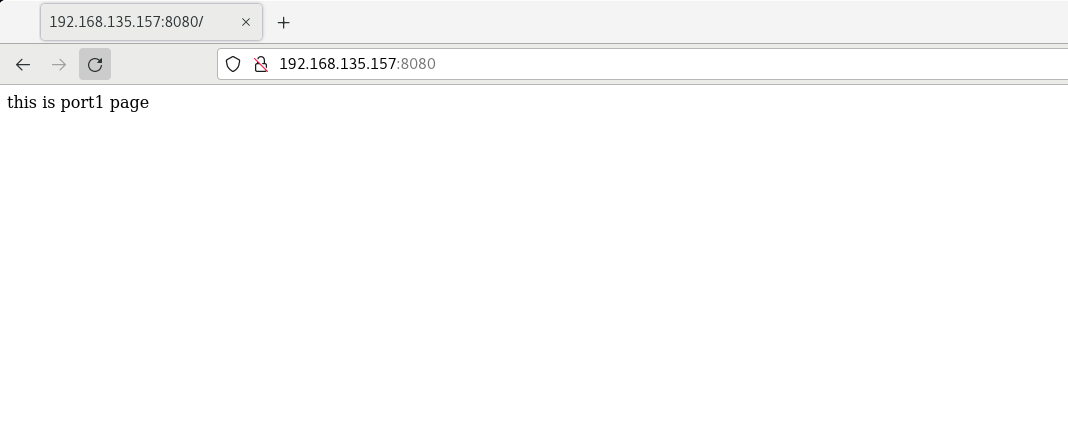
创建/etc/nginx/conf.d/port1.conf并写上
server {
    listen      192.168.135.157:8080;

    #charset koi8-r;
    #access_log  /var/log/nginx/host.access.log  main;

    location / {
        root   /usr/share/nginx/port1;  #网站的位置
        index  index.html index.htm; #网站默认首页
    }
    }
创建/etc/nginx/conf.d/port2.conf并写上
server {
    listen      192.168.135.157:8081;

    #charset koi8-r;
    #access_log  /var/log/nginx/host.access.log  main;

    location / {
        root   /usr/share/nginx/port2;  #网站的位置
        index  index.html index.htm; #网站默认首页
    }
    }
并在/usr/share/nginx/port1 和/usr/share/nginx/port2 分别创建index.html测试网页,用浏览器访问


 1543
1543


 被折叠的 条评论
为什么被折叠?
被折叠的 条评论
为什么被折叠?
 到【灌水乐园】发言


