


gitblit的创建下载和自启(linux)
下载
wget https://github.com/gitblit-org/gitblit/releases/download/v1.9.3/gitblit-1.9.3.tar.gz
下载不下来就科学上网去https://github.com/gitblit-org/gitblit/releases找版本下载后传至服务器
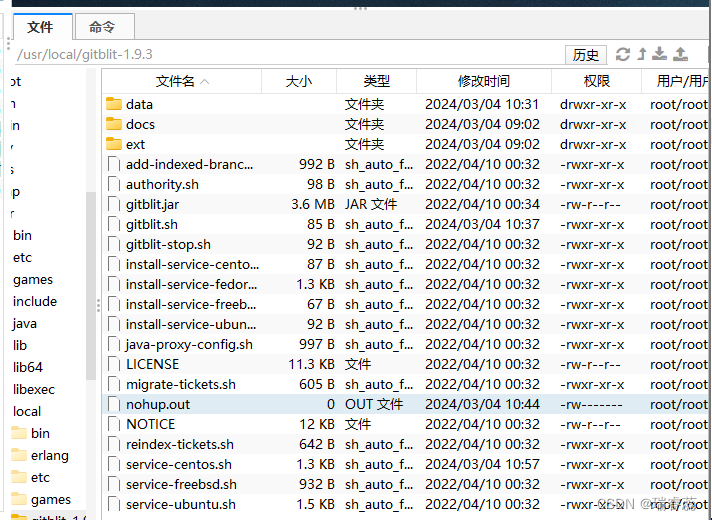
安装
tar -xzf gitblit-1.9.3.tar.gz
配置
设置项目地址
/app/deploy是我设置的项目地址
vi /usr/local/gitblit-1.9.3/data/gitblit.properties
#
# GITBLIT.PROPERTIES
#
# Define your custom settings in this file and/or include settings defined in
# other properties files.
#

# Include Gitblit's 'defaults.properties' within your configuration.
#
# NOTE: Gitblit will not automatically reload "included" properties.  Gitblit
# only watches the 'gitblit.properties' file for modifications.
#
# Paths may be relative to the ${baseFolder} or they may be absolute.
#
# COMMA-DELIMITED
# SINCE 1.7.0
include = defaults.properties

#
# Define your overrides or custom settings below
#
#

# SINCE 0.5.0

# RESTART REQUIRED

# BASEFOLDER

git.repositoriesFolder = /app/deploy
端口配置
vi /usr/local/gitblit-1.9.3/data/gitblit.properties
然后按esc后键盘输入2069gg
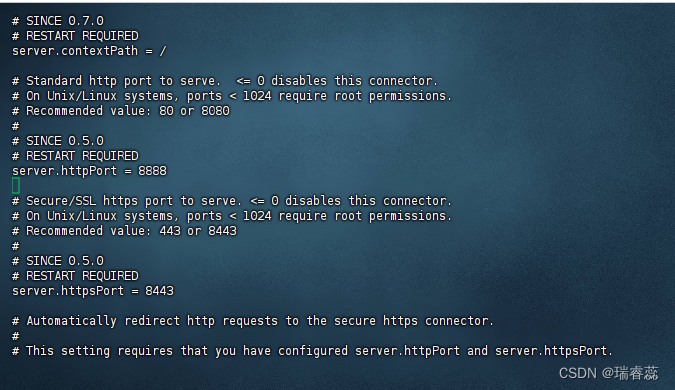
改http和https的端口号
自启文件设置,看你的机器是什么就配置这里的什么文件

我的是os就编辑这个文件

这是我的下载地址是/usr/local/gitblit-1.9.3就改成这样
GITBLIT_PATH=/usr/local/gitblit-1.9.3
GITBLIT_BASE_FOLDER=/usr/local/gitblit-1.9.3/data
GITBLIT_HTTP_PORT=8888
GITBLIT_HTTPS_PORT=8443
设置自启
测试是否启动
sh /usr/local/gitblit-1.9.3/service-centos.sh start
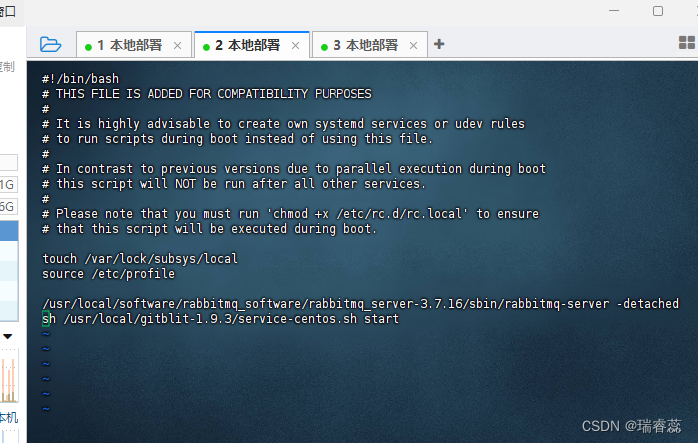
成功启动有界面后将其加入自启列表
vi /etc/rc.local
加到末尾!!别删了里面的东西!!
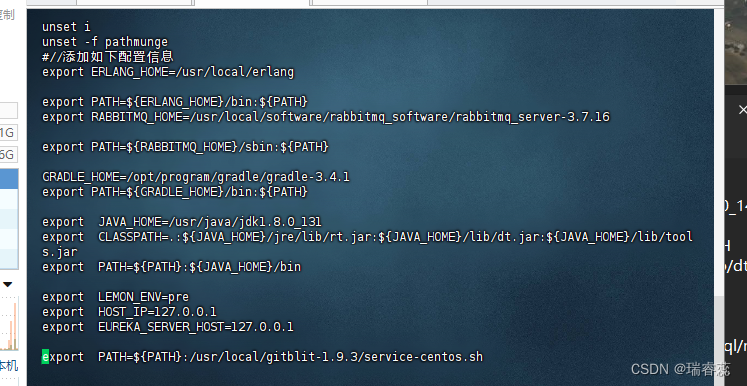
你要是嫌麻烦记不住路径就设置一个路径在/etc/profile文件中自启配置这个文件就有路径了
一样加在文件最后别把里面的东西删了!!
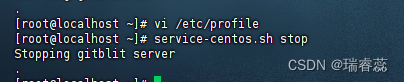
vi /etc/profile
export PATH=${PATH}:/usr/local/gitblit-1.9.3/service-centos.sh
然后停服务就用这个就行了
service-centos.sh stop


 4534
4534


 被折叠的 条评论
为什么被折叠?
被折叠的 条评论
为什么被折叠?
 到【灌水乐园】发言


