


Brief Steps:
- Setup your git and connect to the repo (test: create your folder and push to the target repo)
- Install VS Code and LeetCode extension (register at LeetCode, install extensions, install node.js, login, set the code to repo)
- Start coding, then commit!
默认条件
- 拥有Github账户并且创建了准备上传的repository
- 拥有LeetCode账户
- 使用VS Code
- 已安装Git
准备本地文件夹
情况一:仓库为自己建立,需要本地连接到仓库
具体操作见之前的BlogWindows下配置Git连接上github, 并将本地文件夹同步(加入了个人注释)_顾溪风的博客-CSDN博客_github本地项目同步
情况二:仓库为他人建立, 自己作为Contributor加入
$ git clone [ssh] # 仓库ssh的路径,为下图红色框内的内容
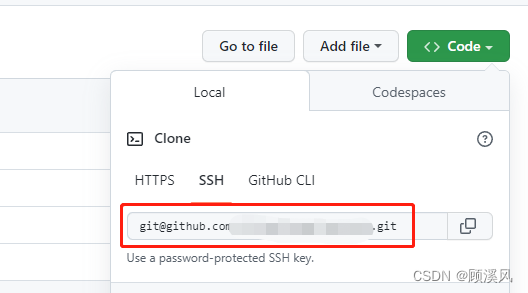
这一步可以直接将原仓库clone过来,之后正常编写代码提交即可。
在VS Code上配置LeetCode
1. 在VS Code的extentions里面下载 LeetCode extension
直接搜索LeetCode,第一个插件就是。
LeetCode插件中提到 Requirements: 1. VS Code 1.20.1+ 2.Node.js 10+
2. 检查环境中是否已经安装 Node.js
若有,可跳过
若无,在Anaconda cloud 里面查找node.js 的安装命令,安装即可
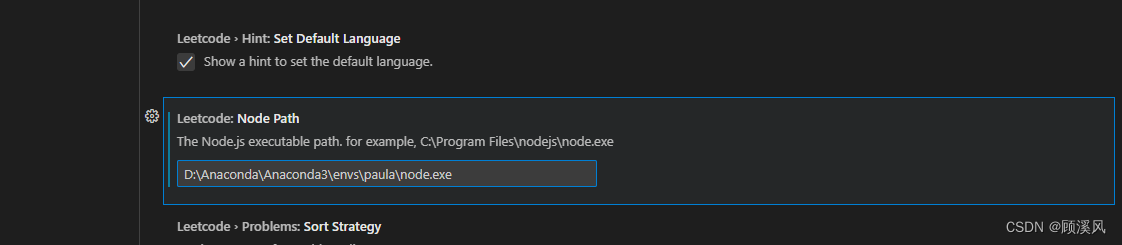
conda install -c conda-forge nodejs3. 设置node.exe路径(path)
找到自己安装 node.js的位置(安装这个package的虚拟环境所在的文件夹下)
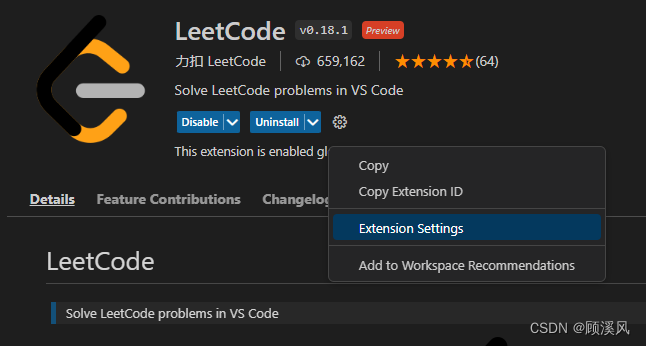
- 在LeetCode插件里面右键找到extension settings
- 找到LeetCode: Node Path 这一项,将node.exe 所在路径复制过来 (记得结尾是node.exe)
完成之后再VS Code左侧边栏选择LeetCode extension,应该就可以显示以下画面:
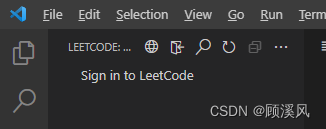
4. 登录LeetCode
当上一步成功之后,我们就需要Sign in to LeetCode,点击后弹出命令框
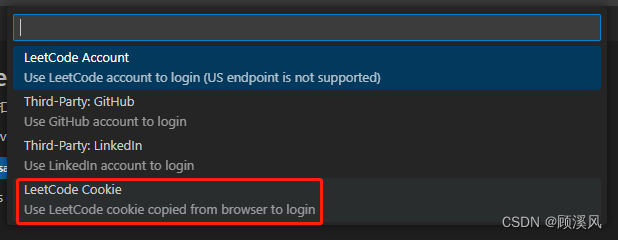
若LeetCode是国内版,选择第一个LeetCode Account,按后续提示进行即可。(用Github或LinkedIn登录也选择对应的选项,后续按提示进行)
若LeetCode是国际版,需要选择第四个LeetCode Cookie通过Cookie登录
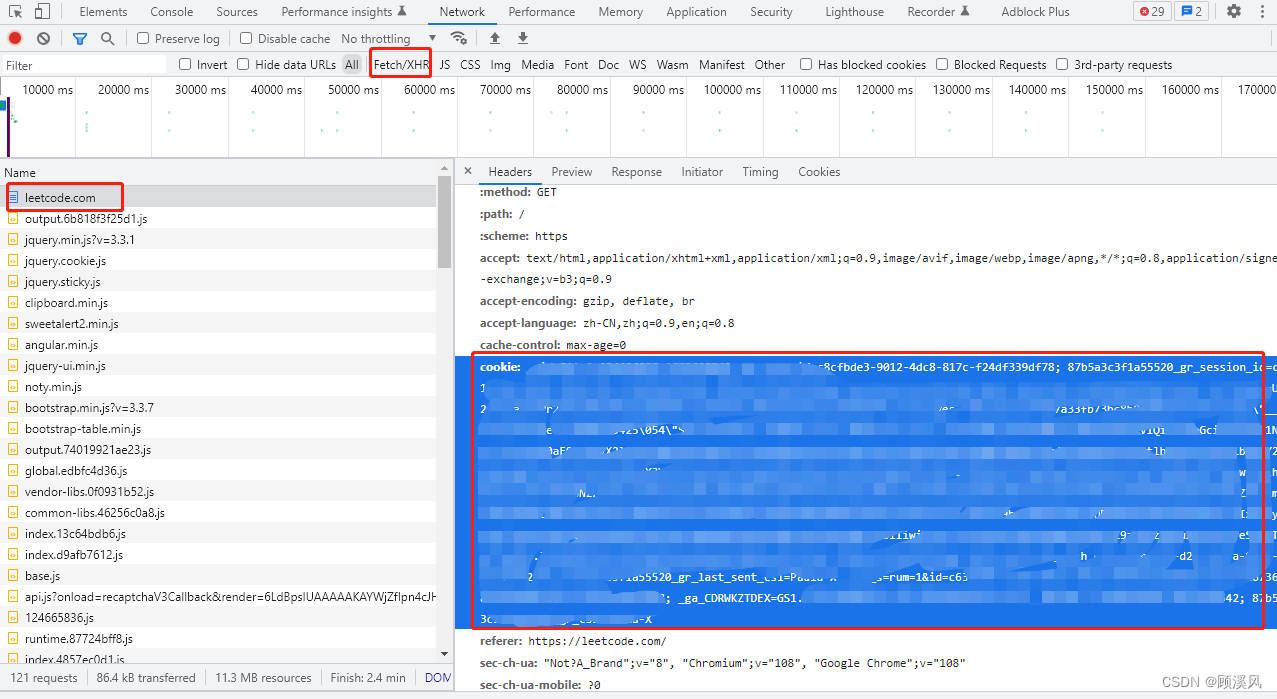
具体步骤为:
- 导航到 leetcode.com 网站
- 页面空白处邮件选择“检查” 或者直接按F12
- 在开发者工具中,找到Network tab,选择XHR
- 在网页中随便点击一个链接(目的是触发进程,或者其他操作都行)
- 找到名称为LeetCode.com 的行
- 在Headers里面找到对应的Cookie (如果此时登录了自己的账号,Cookie结尾会是自己的账户名),复制即可
- 回到VS code,选择 LeetCode Cookie选项
- 输入自己的username,粘贴cookie的值
- 完成!(VS Code右下角会产出 Successfully sign in ...)
然后大家就可以开始刷题啦!
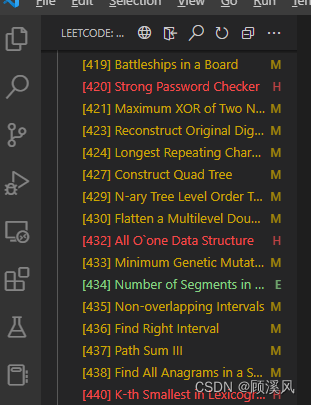
点击题目会有题目详情
- 右键选择要刷的题目
- select problem
- select the language you want to use
之后就可以编程,Submit| Test 验证自己的代码
Test: 只验证题目里给出的例子 输出是否正确
Submit: 验证所有情况下结果是否正确
注:可能在整个操作过程中会提示让你选择文件打开/存储位置,我们选择之前建好的准备同步的文件夹即可(文章开始提到的本地文件夹)。
参考:
[1] https://betterprogramming.pub/work-on-leetcode-problems-in-vs-code-5fedf1a06ca1


 2777
2777


 被折叠的 条评论
为什么被折叠?
被折叠的 条评论
为什么被折叠?
 到【灌水乐园】发言


