


CSDN话题挑战赛第2期
参赛话题:学习笔记
前言
在实际开发中,我们会有很多处理不同用途的服务器。例如:
应用服务器:负责部署我们的应用;
数据库服务器:运行我们的数据库;
文件服务器:负责存储用户上传的服务器。

常见的图片存储的方案:
方案一:使用web(nginx、tomcat、apache)服务器搭建图片服务器。
方案二:使用开源的分布式文件存储系统。例如:HDFS、FastDFS…等等。
方案三:使用第三方平台的云存储。例如阿里云的oss、腾讯云cos、七牛云存储、华为云obs、天翼云ct-oos、百度云bos、金山云ks3、京东云oss、Ucloud us3…等等。
优缺点:
第一种:使用web服务器搭建图片服务器。
优点:使用比较简单,只需要将图片放置到web服务器指定的目录中;图片的名字是已经确定的,然后只需要知道图片的名字,放到相应的页面中就可以了;它可以作为图片数量不多的或学习项目的用法。
缺点:是安全性低,扩展需要自己加硬盘,图片加载速度不高。
第二种:搭建分布式文件系统,可以进行文件,图片等的上传下载等。
优点:高容错性,一台宕机没有什么问题,不会造成一个数据整体丢失;丢失的部分数据丢失会很快从其他节点拉取并回复。存储大数据量文件;数量级GB、TB、PB都支持件规模适合存储百万规模的数据。其中硬件选型可控,可以使用廉价的物理机。
缺点 不适合存储小文件、需要自己搭建、搭建成本高。
第三种:是使用云厂商的对象存储服务。
优点:价格比自己搭建的成本便宜,有存储服务的控制台;不仅可以通过api操作文件,还可以通过提供的控制台视觉化操作文件,可以一键扩展容量但需要付费。
缺点:数据在对应云厂商的IDC上。
一、注册账号
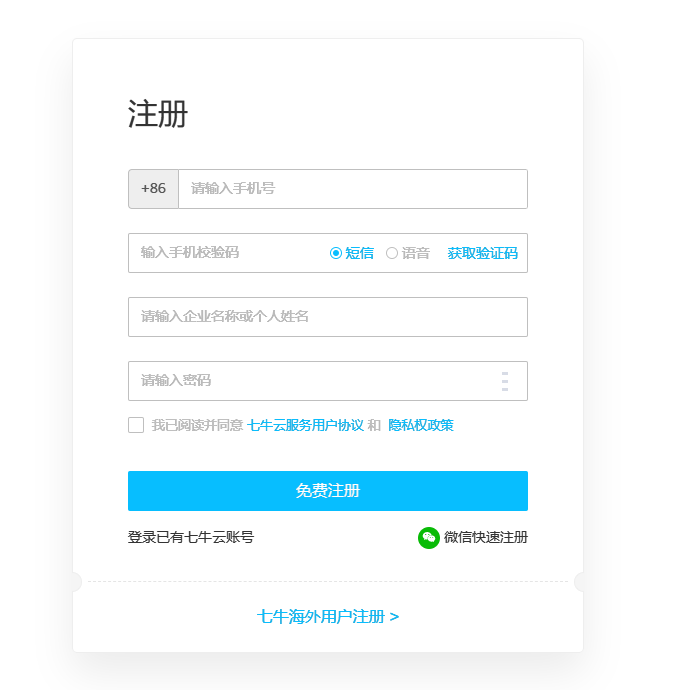
本次我们使用的是七牛云,我们主要使用的是七牛云提供的对象存储服务来存储图片。要使用七牛云的服务,首先需要注册成为会员。
1.注册地址:https://portal.qiniu.com/signup
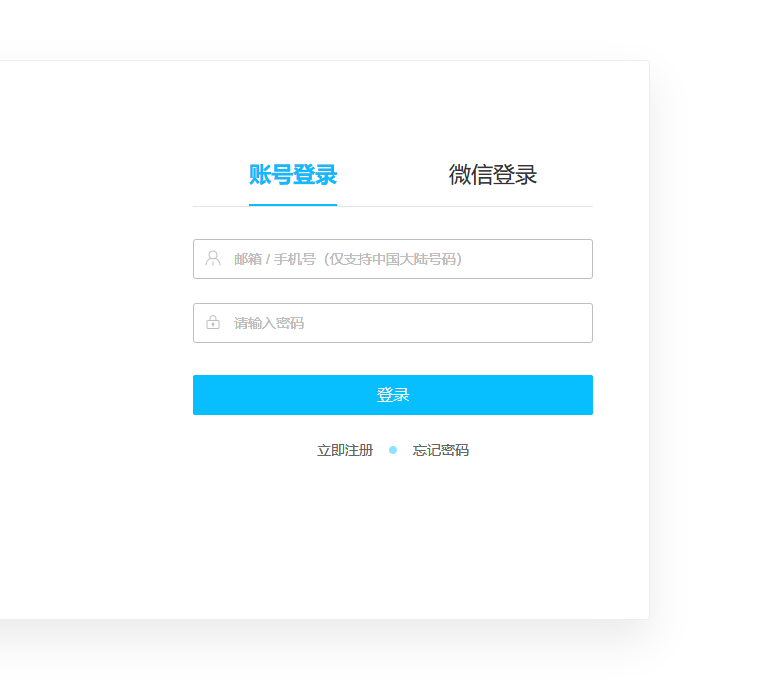
2.注册完成后就可以使用刚刚注册的账号登录到七牛云:
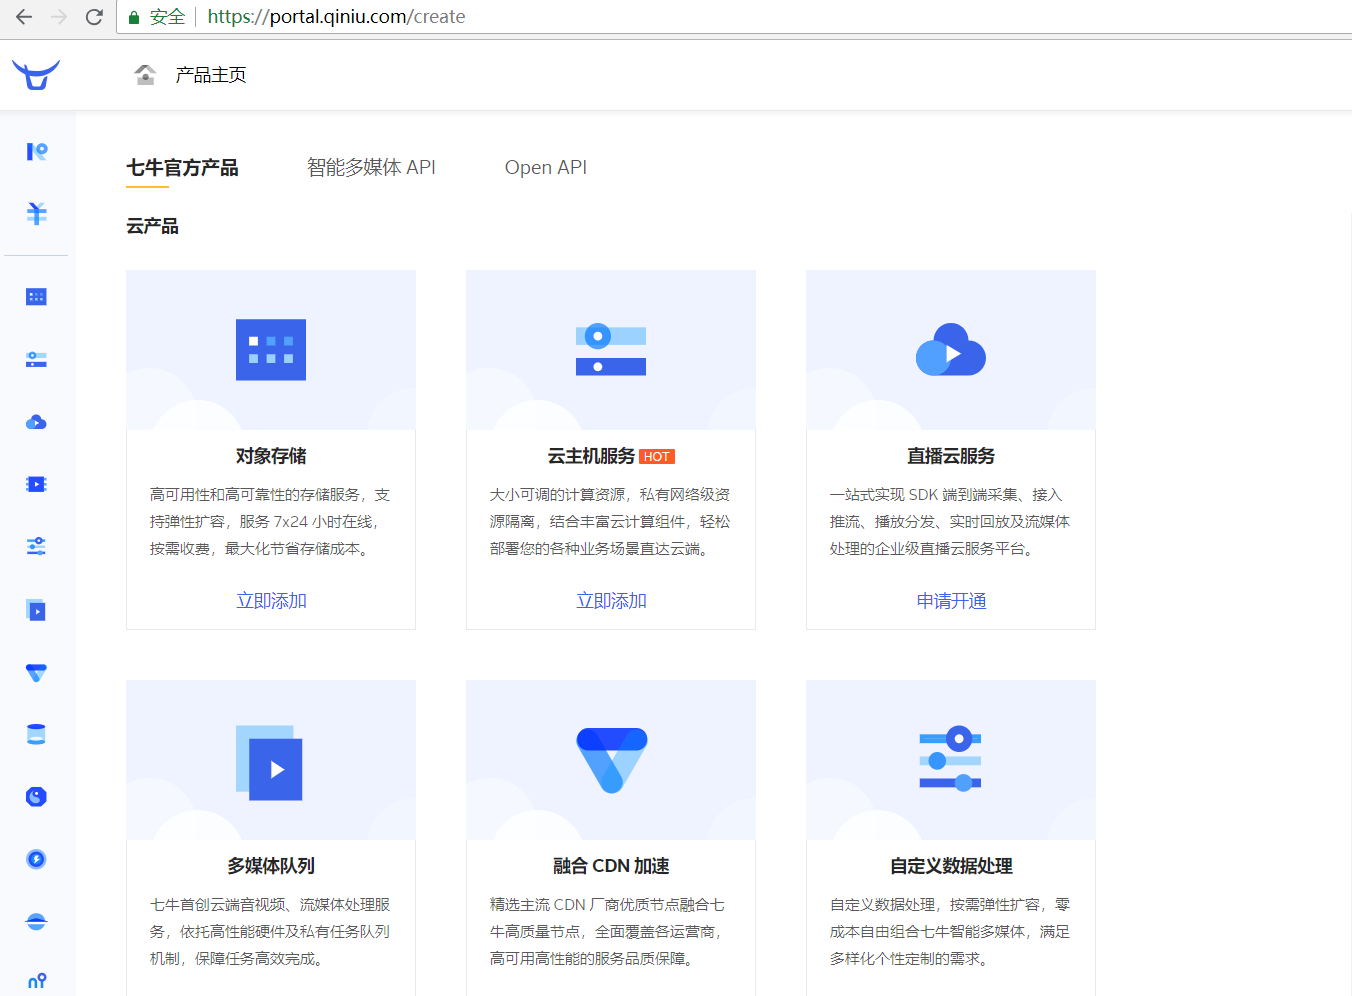
3.登录成功后点击页面右上角管理控制台:
二、使用步骤
1.新建存储空间
要进行图片存储,我们需要在七牛云管理控制台新建存储空间。点击管理控制台首页对象存储下的立即添加按钮,页面跳转到新建存储空间页面:
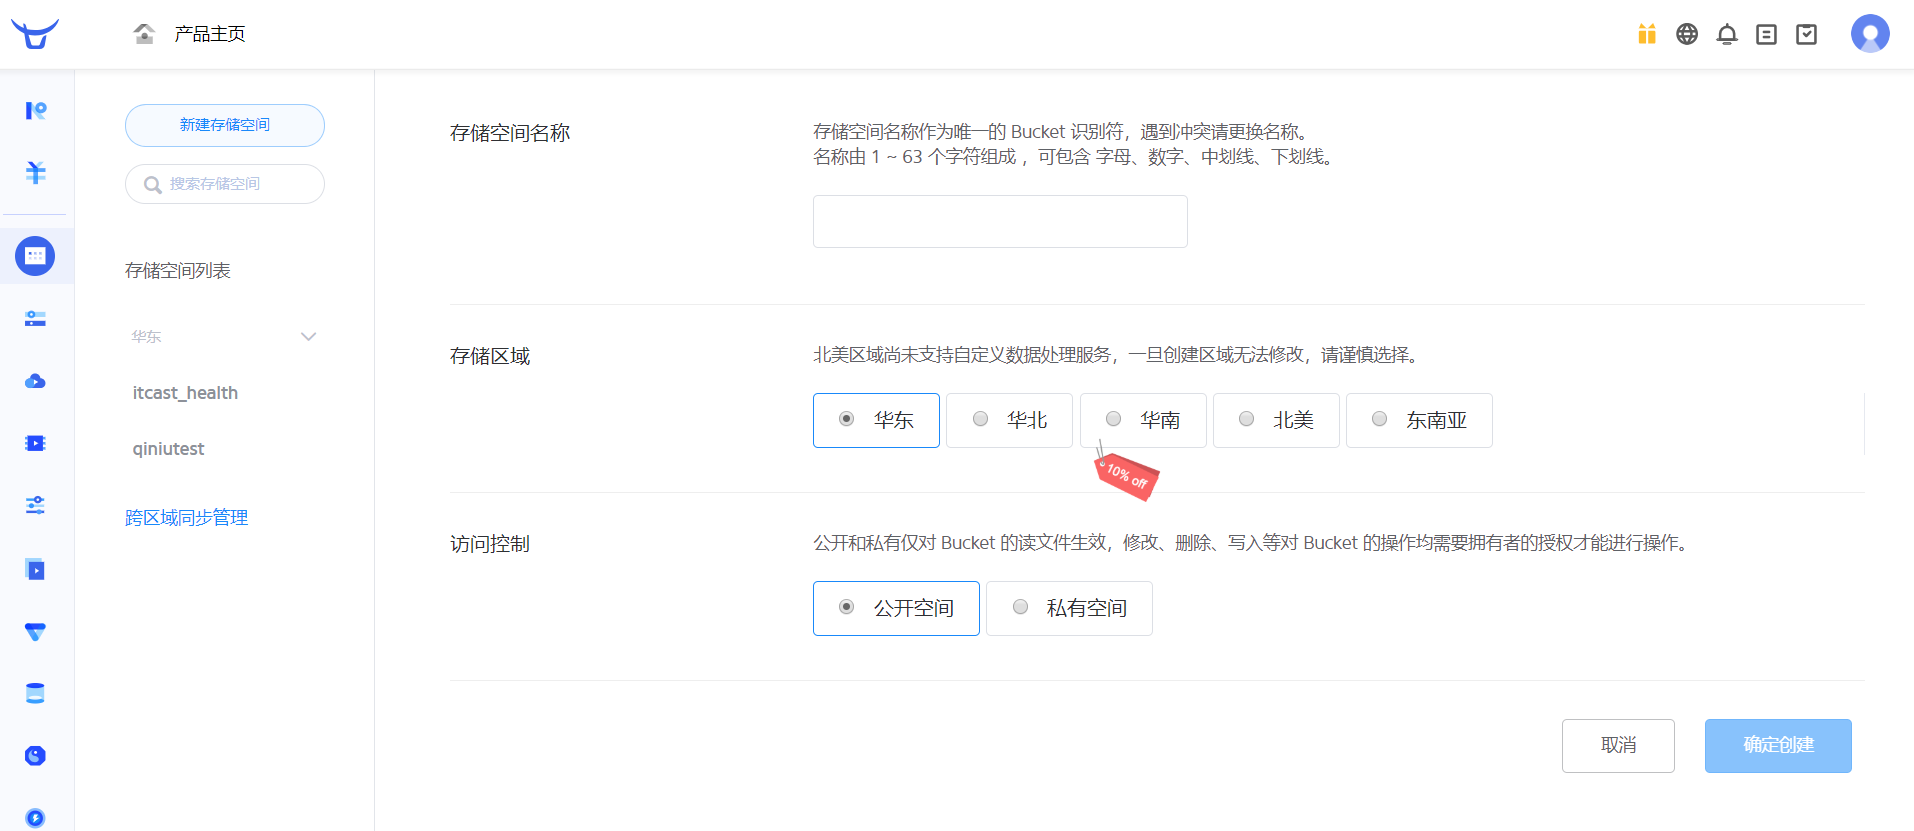
2.查看存储空间信息
存储空间创建后,会在左侧的存储空间列表菜单中展示创建的存储空间名称,点击存储空间名称可以查看当前存储空间的相关信息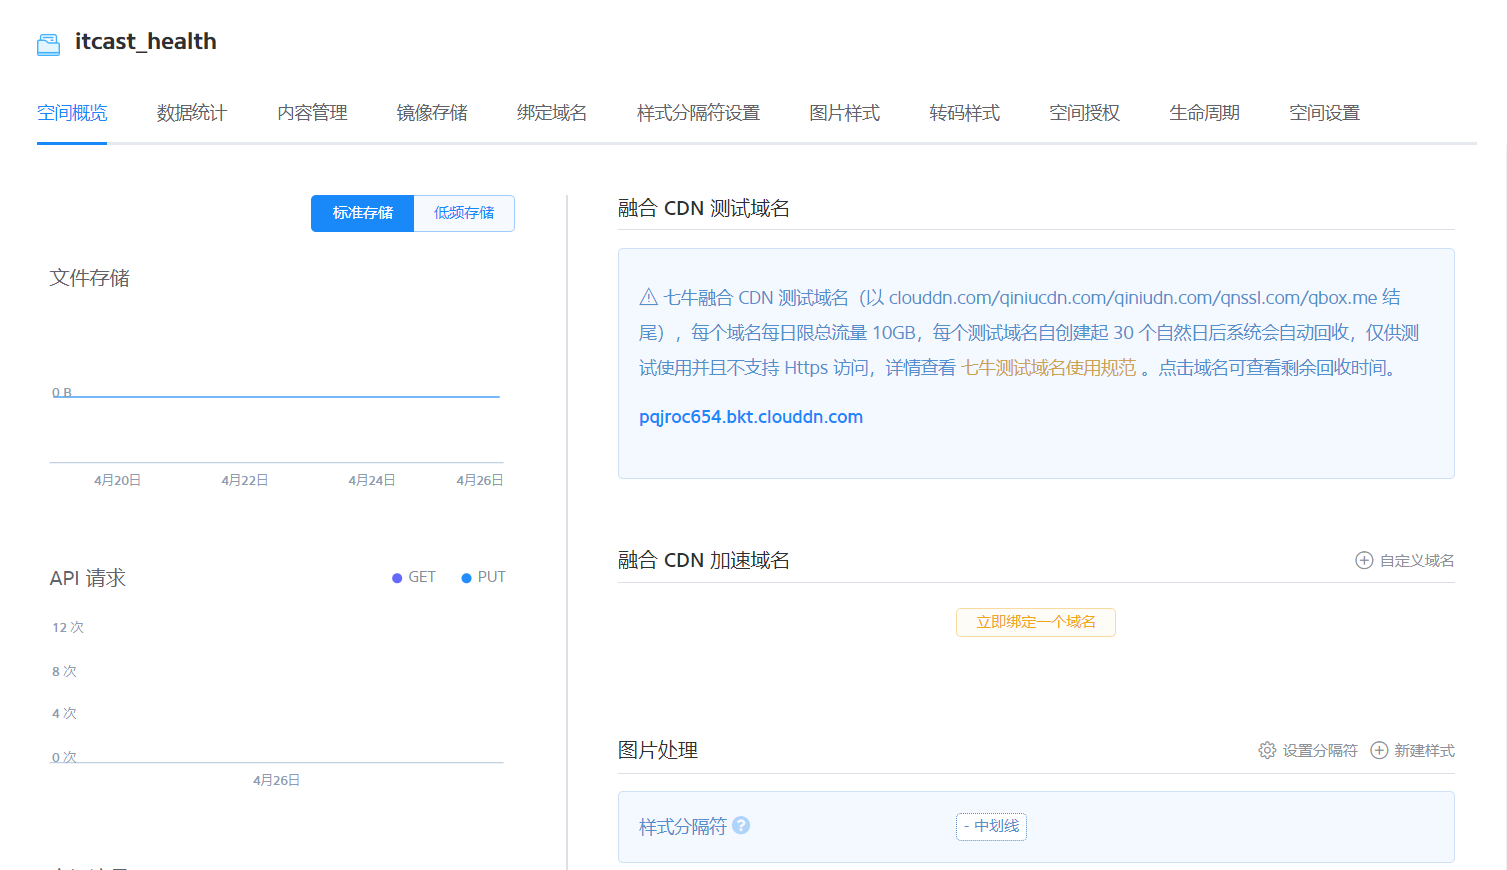
3.开发者中心
3.1:可以通过七牛云提供的开发者中心学习如何操作七牛云服务,地址:https://developer.qiniu.com/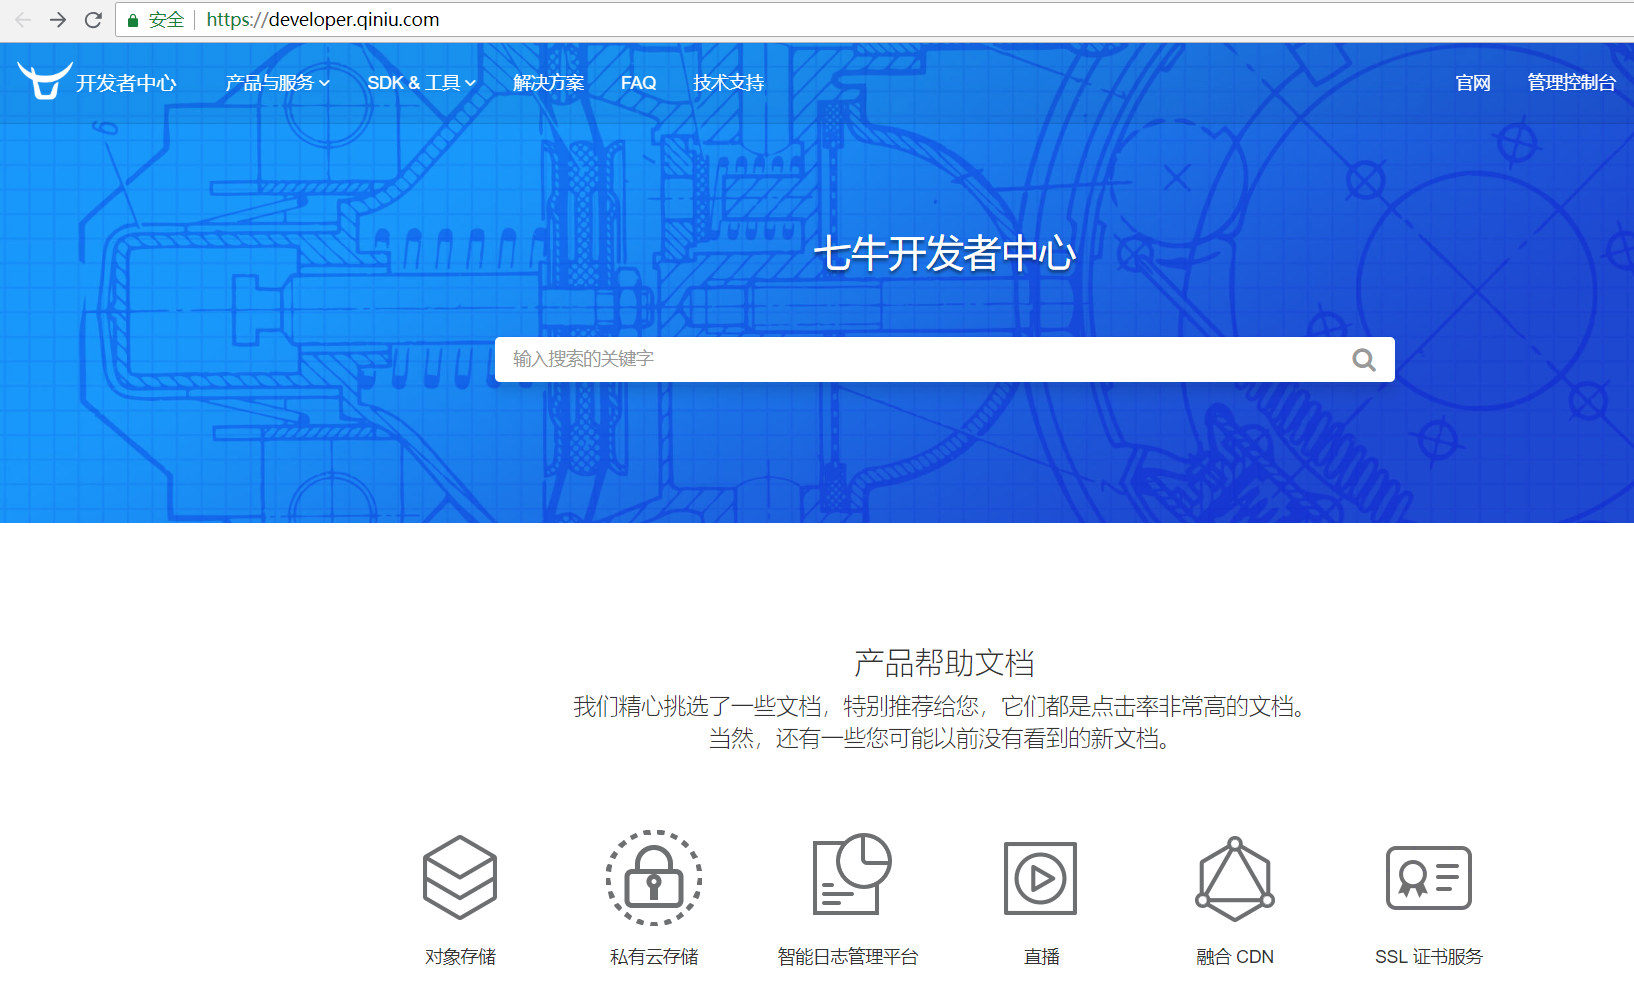
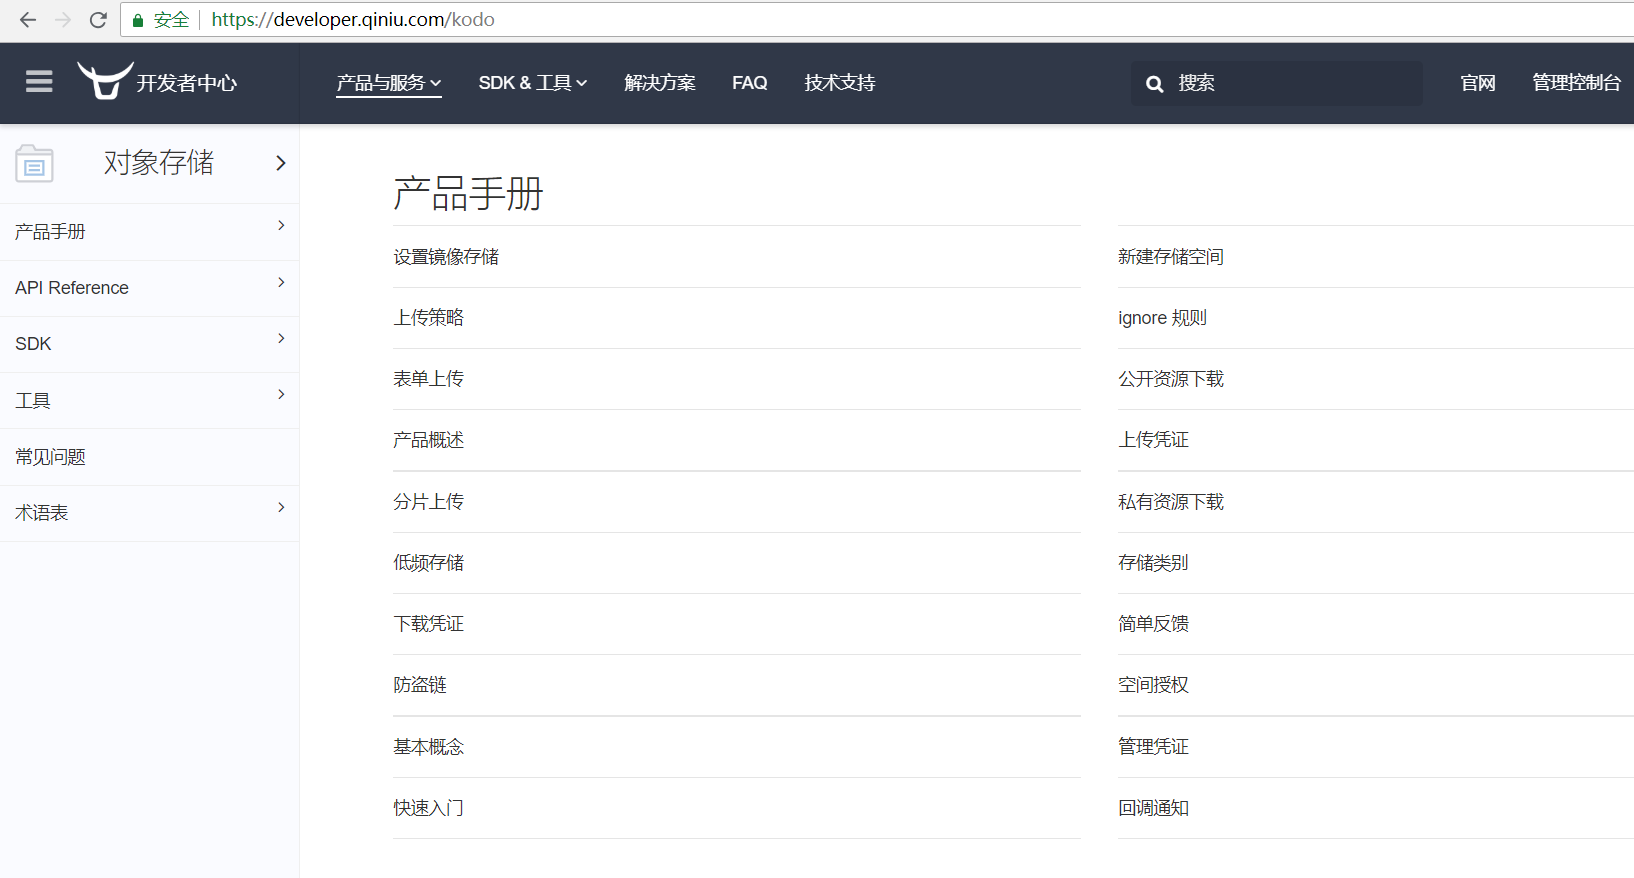
3.2:点击对象存储,跳转到对象存储开发页面,地址:https://developer.qiniu.com/kodo
3.3:七牛云提供了多种方式操作对象存储服务,本项目采用Java SDK方式,地址:https://developer.qiniu.com/kodo/sdk/1239/java
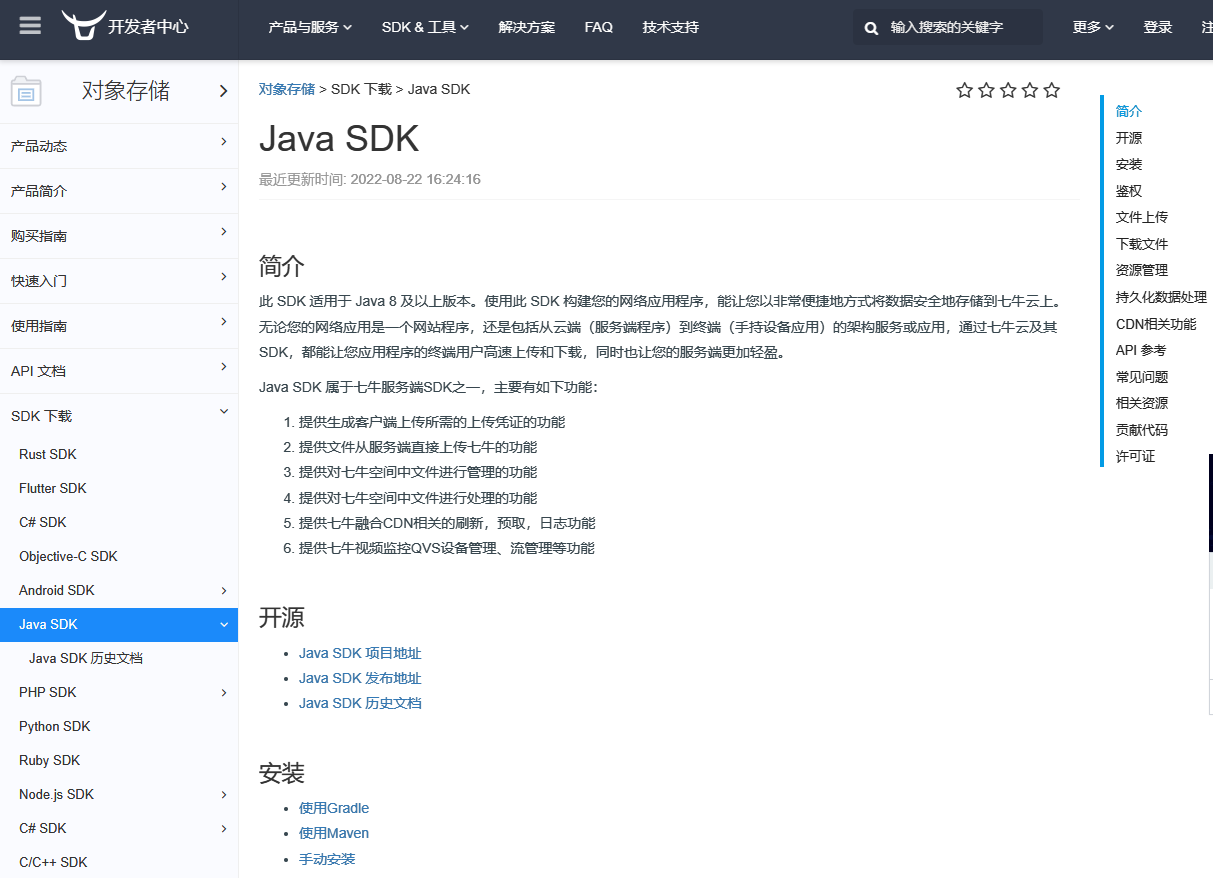
3.4:使用七牛云Java SDK需要导入如下pom依赖:
<!--下载区间内的最新版本-->
<dependency>
  <groupId>com.qiniu</groupId>
  <artifactId>qiniu-java-sdk</artifactId>
  <version>[7.7.0, 7.10.99]</version>
</dependency>
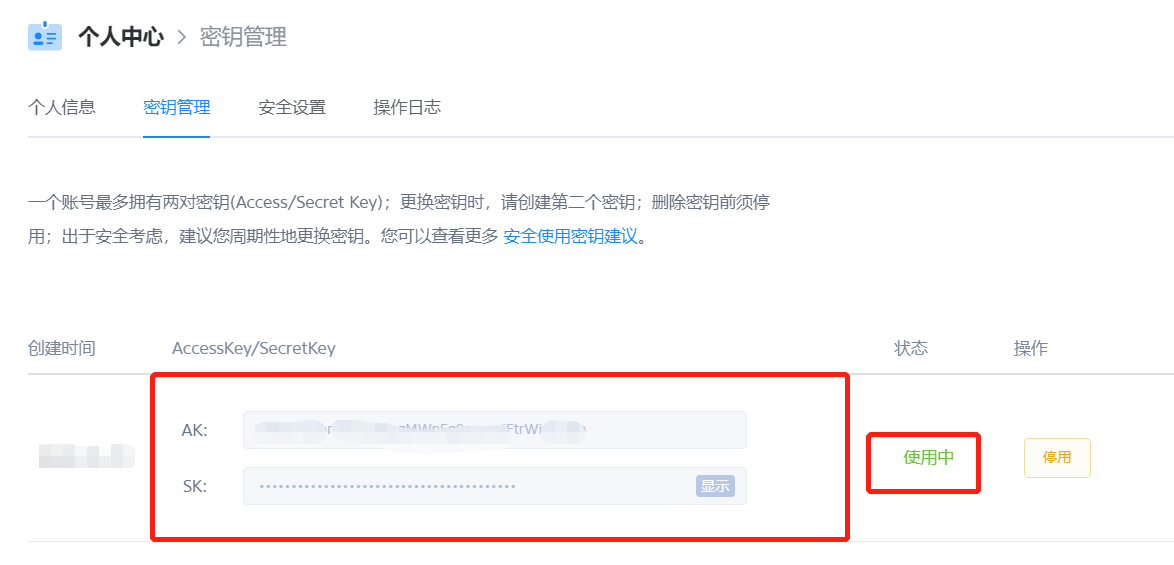
3.5:获取授权凭证;需要登入的七牛账号下一对有效的Access Key和Secret Key
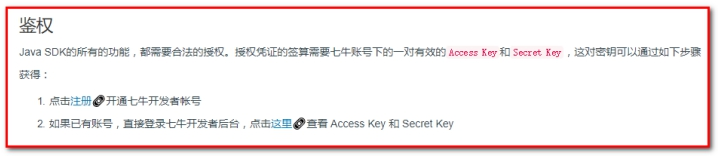
这对密钥可以在七牛云管理控制台的个人中心(https://portal.qiniu.com/user/key)获得,如下图:
4.JAVA代码操作七牛云Kodo
4.1:上传文件代码:
//构造一个带指定Zone对象的配置类
Configuration cfg = new Configuration(Zone.zone0());
//...其他参数参考类注释
UploadManager uploadManager = new UploadManager(cfg);
//...生成上传凭证,然后准备上传
String accessKey = "your access key";
String secretKey = "your secret key";
String bucket = "your bucket name";
//如果是Windows情况下,格式是 D:\\qiniu\\test.png
String localFilePath = "/home/qiniu/test.png";
//默认不指定key的情况下,以文件内容的hash值作为文件名
String key = null;
Auth auth = Auth.create(accessKey, secretKey);
String upToken = auth.uploadToken(bucket);
try {
    Response response = uploadManager.put(localFilePath, key, upToken);
    //解析上传成功的结果
    DefaultPutRet putRet = new Gson().fromJson(response.bodyString(), DefaultPutRet.class);
    System.out.println(putRet.key);
    System.out.println(putRet.hash);
} catch (QiniuException ex) {
    Response r = ex.response;
    System.err.println(r.toString());
    try {
        System.err.println(r.bodyString());
    } catch (QiniuException ex2) {
        //ignore
    }
}
4.2:删除文件代码:
//构造一个带指定Zone对象的配置类
Configuration cfg = new Configuration(Zone.zone0());
//...其他参数参考类注释
String accessKey = "your access key";
String secretKey = "your secret key";
String bucket = "your bucket name";
String key = "your file key";
Auth auth = Auth.create(accessKey, secretKey);
BucketManager bucketManager = new BucketManager(auth, cfg);
try {
bucketManager.delete(bucket, key);
} catch (QiniuException ex) {
//如果遇到异常,说明删除失败
System.err.println(ex.code());
System.err.println(ex.response.toString());
}
4.3:将两个操作封装成工具类:
package com.wolf.utils;
import com.google.gson.Gson;
import com.qiniu.common.QiniuException;
import com.qiniu.common.Zone;
import com.qiniu.http.Response;
import com.qiniu.storage.BucketManager;
import com.qiniu.storage.Configuration;
import com.qiniu.storage.UploadManager;
import com.qiniu.storage.model.DefaultPutRet;
import com.qiniu.util.Auth;
import java.io.File;
import java.io.FileInputStream;
import java.io.InputStream;
/**
* 七牛云工具类
*/
public class QiniuUtils {
// accessKey
public static String accessKey = "dulF9Wze9bxujtuRvu3yyYb9JX1Sp23jzd3tO708";
// secretKey
public static String secretKey = "vZkhW7iot3uWwcWz9vXfbaP4JepdWADFDHVLMZOe";
public static String bucket = "qiniutest";
// 上传文件
public static void upload2Qiniu(String filePath,String fileName){
//构造一个带指定Zone对象的配置类
Configuration cfg = new Configuration(Zone.zone0());
UploadManager uploadManager = new UploadManager(cfg);
Auth auth = Auth.create(accessKey, secretKey);
String upToken = auth.uploadToken(bucket);
try {
Response response = uploadManager.put(filePath, fileName, upToken);
//解析上传成功的结果
DefaultPutRet putRet =
new Gson().fromJson(response.bodyString(), DefaultPutRet.class);
} catch (QiniuException ex) {
Response r = ex.response;
try {
System.err.println(r.bodyString());
} catch (QiniuException ex2) {
//ignore
}
}
}
//上传文件
public static void upload2Qiniu(byte[] bytes, String fileName){
//构造一个带指定Zone对象的配置类
Configuration cfg = new Configuration(Zone.zone0());
//...其他参数参考类注释
UploadManager uploadManager = new UploadManager(cfg);
//默认不指定key的情况下,以文件内容的hash值作为文件名
String key = fileName;
Auth auth = Auth.create(accessKey, secretKey);
String upToken = auth.uploadToken(bucket);
try {
Response response = uploadManager.put(bytes, key, upToken);
//解析上传成功的结果
DefaultPutRet putRet =
new Gson().fromJson(response.bodyString(), DefaultPutRet.class);
System.out.println(putRet.key);
System.out.println(putRet.hash);
} catch (QiniuException ex) {
Response r = ex.response;
System.err.println(r.toString());
try {
System.err.println(r.bodyString());
} catch (QiniuException ex2) {
//ignore
}
}
}
//删除文件
public static void deleteFileFromQiniu(String fileName){
//构造一个带指定Zone对象的配置类
Configuration cfg = new Configuration(Zone.zone0());
String key = fileName;
Auth auth = Auth.create(accessKey, secretKey);
BucketManager bucketManager = new BucketManager(auth, cfg);
try {
bucketManager.delete(bucket, key);
} catch (QiniuException ex) {
//如果遇到异常,说明删除失败
System.err.println(ex.code());
System.err.println(ex.response.toString());
}
}
}
三.回顾总结
(1)注册
(2)新建存储空间
(3)查看存储空间信息
(4)开发者中心 认证
(5)创建密钥: Access Key, Sercret Key
(6)Java代码 操作七牛云Kodo 制作工具类QiniuUtils


 420
420

 被折叠的 条评论
为什么被折叠?
被折叠的 条评论
为什么被折叠?
 到【灌水乐园】发言


