


demo如下:


一、安装npm i @amap/amap-jsapi-loader --save
二、在public下的index.html文件中引入如下代码
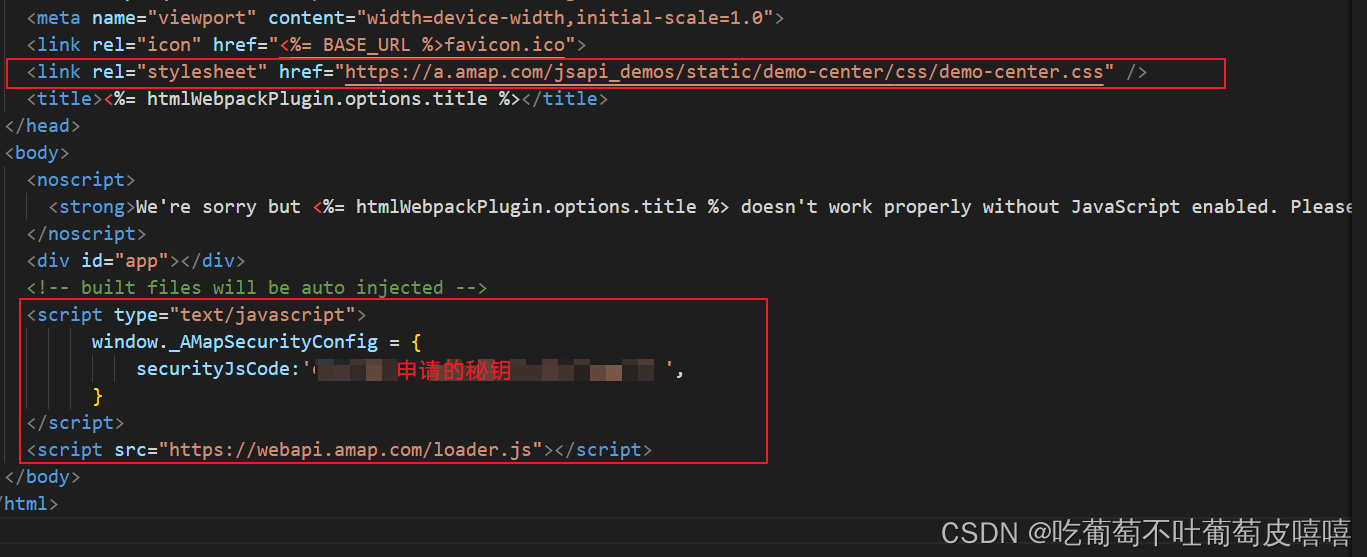
代码如下:
<template>
<div class="home">
<div id="container"></div>
<div class="input-card">
<div class="input-item">
<input type="checkbox" @click="toggleScale($event)" checked />比例尺
</div>
<div class="input-item">
<input
type="checkbox"
checked
id="toolbar"
@click="toggleToolBar($event)"
/>工具条
</div>
<div class="input-item">
<input
type="checkbox"
checked
id="controlBar"
@click="toggleControlBar($event)"
/>工具条方向盘
</div>
<div class="input-item">
<input
type="checkbox"
checked
id="overview"
@click="toggleOverViewShow($event)"
/>显示鹰眼
</div>
</div>
</div>
</template>
<script>
import AMapLoader from "@amap/amap-jsapi-loader";
export default {
name: "Home",
data() {
return {
map: null,
checked: false,
scale: null,
controlBar: null,
toolbar: null,
overView: null,
controlBar: null,
};
},
methods: {
initMap() {
AMapLoader.load({
key: "d04ba5c148b255712e8aaf2ce936e781", // 申请好的Web端开发者Key,首次调用 load 时必填
version: "2.0", // 指定要加载的 JSAPI 的版本,缺省时默认为 1.4.15
plugins: [
"AMap.ToolBar",
"AMap.ControlBar",
"AMap.Scale",
"AMap.HawkEye",
], // 需要使用的的插件列表,如比例尺'AMap.Scale'等
})
.then((AMap) => {
window.AMap = AMap;
this.map = new AMap.Map("container", {
//设置地图容器id
viewMode: "3D", //是否为3D地图模式
zoom: 11, //初始化地图级别
center: [106.551556, 29.563009], //初始化地图中心点位置
});
this.mapToolBar();
this.mapControlBar();
this.mapScale();
this.mapOverView();
})
.catch((e) => {
console.log(e);
});
},
mapToolBar() {
this.toolbar = new AMap.ToolBar({
position: {
top: "110px",
right: "40px",
},
});
this.map.addControl(this.toolbar);
},
mapOverView() {
this.overView = new AMap.HawkEye({
opened: false,
});
this.map.addControl(this.overView);
},
mapControlBar() {
this.controlBar = new AMap.ControlBar({
position: {
top: "10px",
right: "10px",
},
});
this.map.addControl(this.controlBar);
},
mapScale() {
this.scale = new AMap.Scale();
this.map.addControl(this.scale);
},
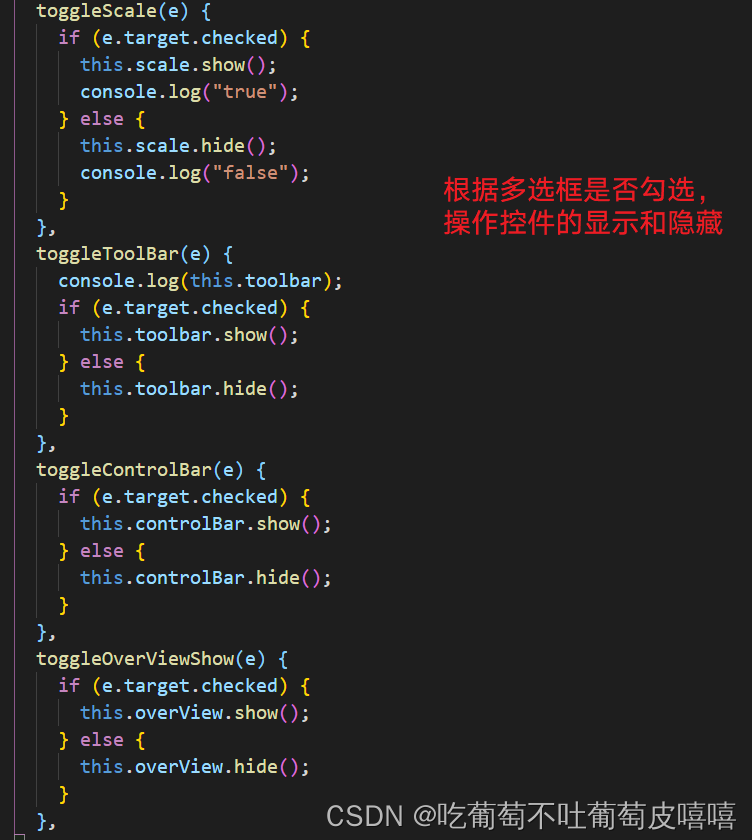
toggleScale(e) {
if (e.target.checked) {
this.scale.show();
console.log("true");
} else {
this.scale.hide();
console.log("false");
}
},
toggleToolBar(e) {
console.log(this.toolbar);
if (e.target.checked) {
this.toolbar.show();
} else {
this.toolbar.hide();
}
},
toggleControlBar(e) {
if (e.target.checked) {
this.controlBar.show();
} else {
this.controlBar.hide();
}
},
toggleOverViewShow(e) {
if (e.target.checked) {
this.overView.show();
} else {
this.overView.hide();
}
},
},
created() {},
mounted() {
//DOM初始化完成进行地图初始化
this.initMap();
},
};
</script>
<style scoped lang="less">
html,
body,
#container {
padding: 0px;
margin: 0px;
width: 100%;
height: 800px;
}
.input-card {
top: 1rem;
left: 1rem;
height: 13.0833rem;
}
</style>


 1229
1229


 被折叠的 条评论
为什么被折叠?
被折叠的 条评论
为什么被折叠?
 到【灌水乐园】发言


