


windows安装Mysql解压版
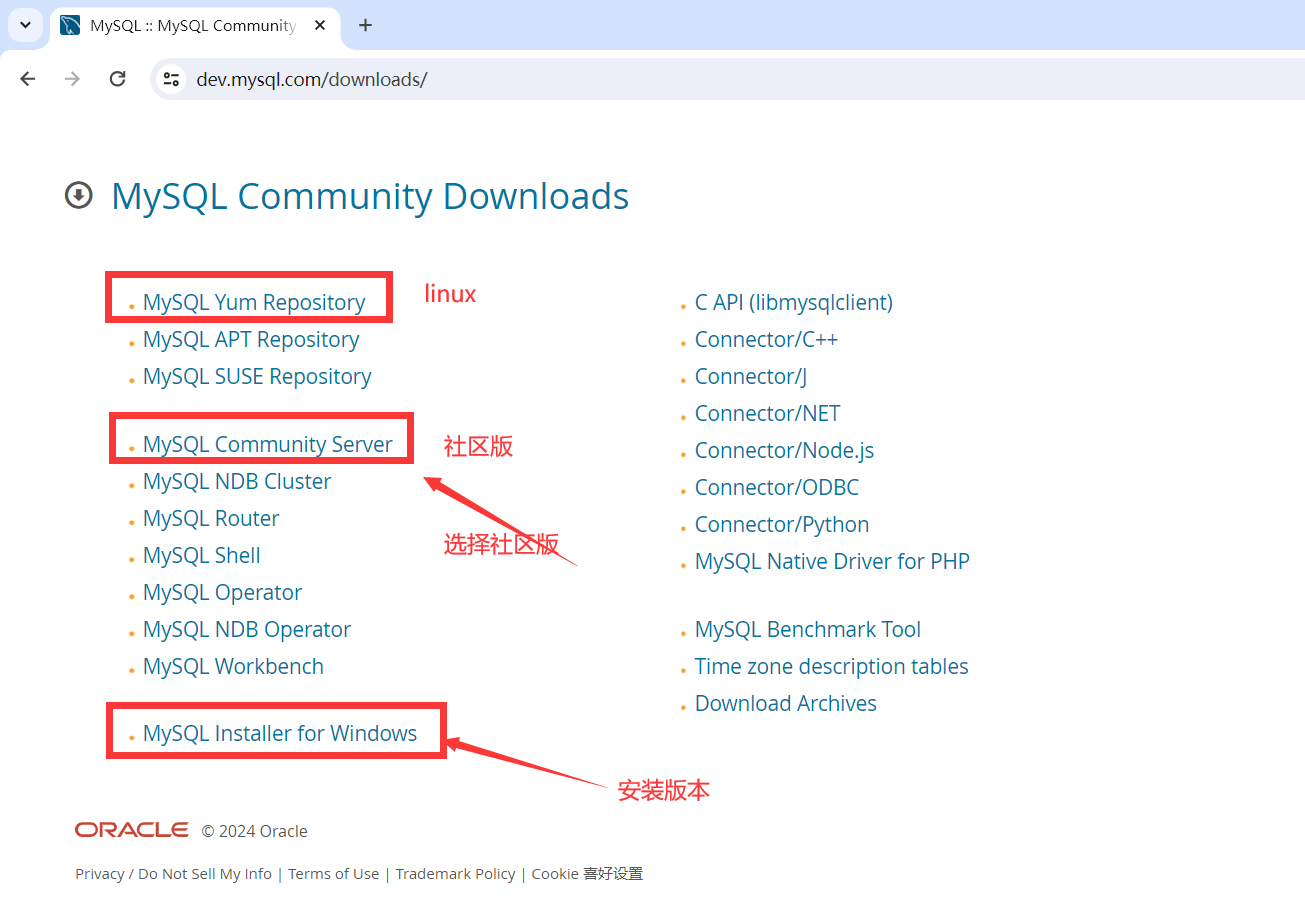
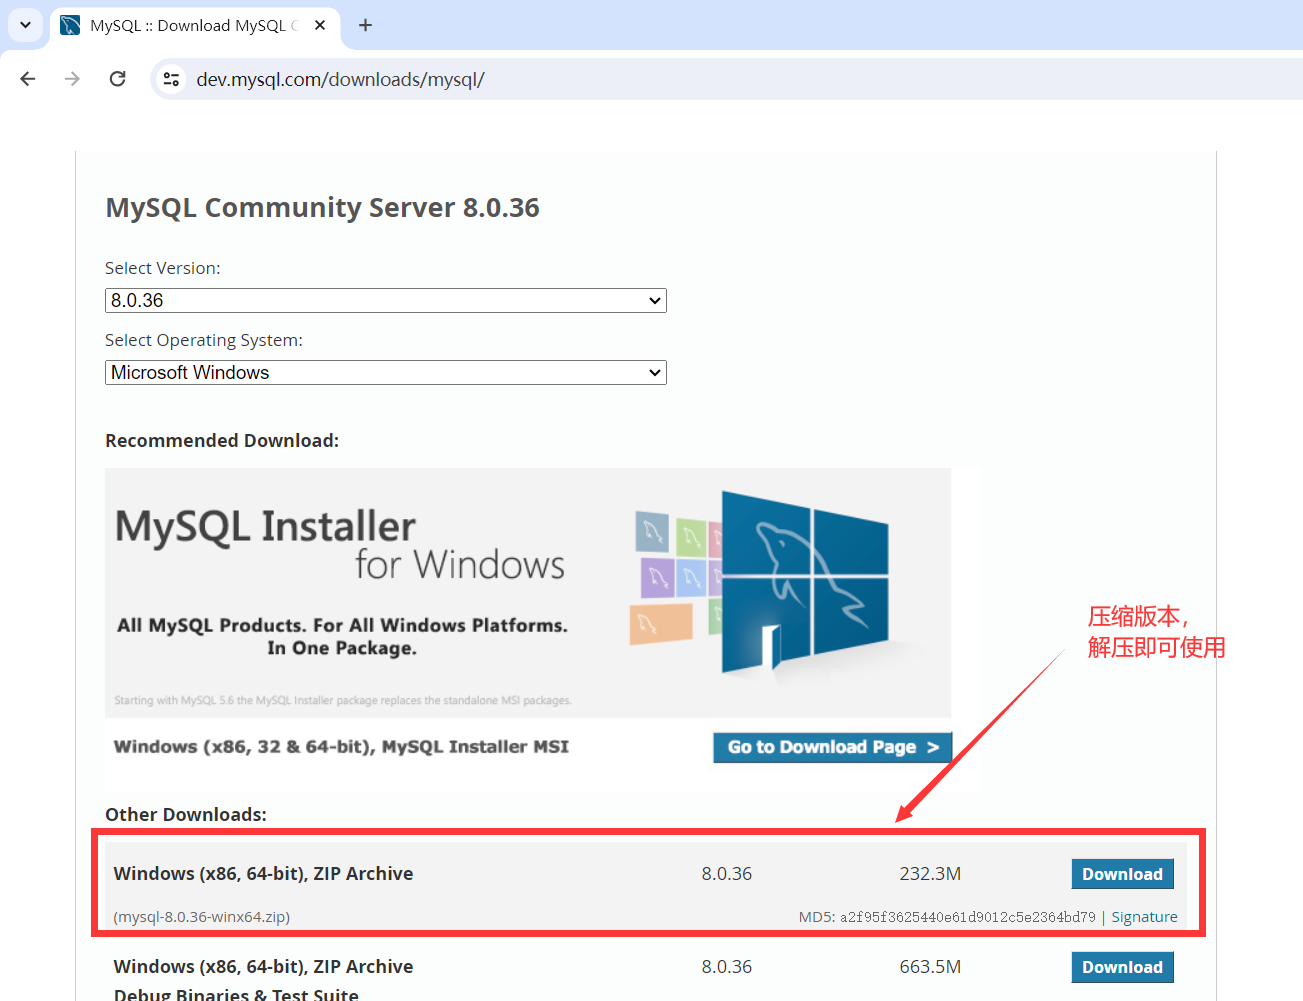
一、下载mysql-8.0.36-winx64.zip
官网:https://dev.mysql.com/downloads/
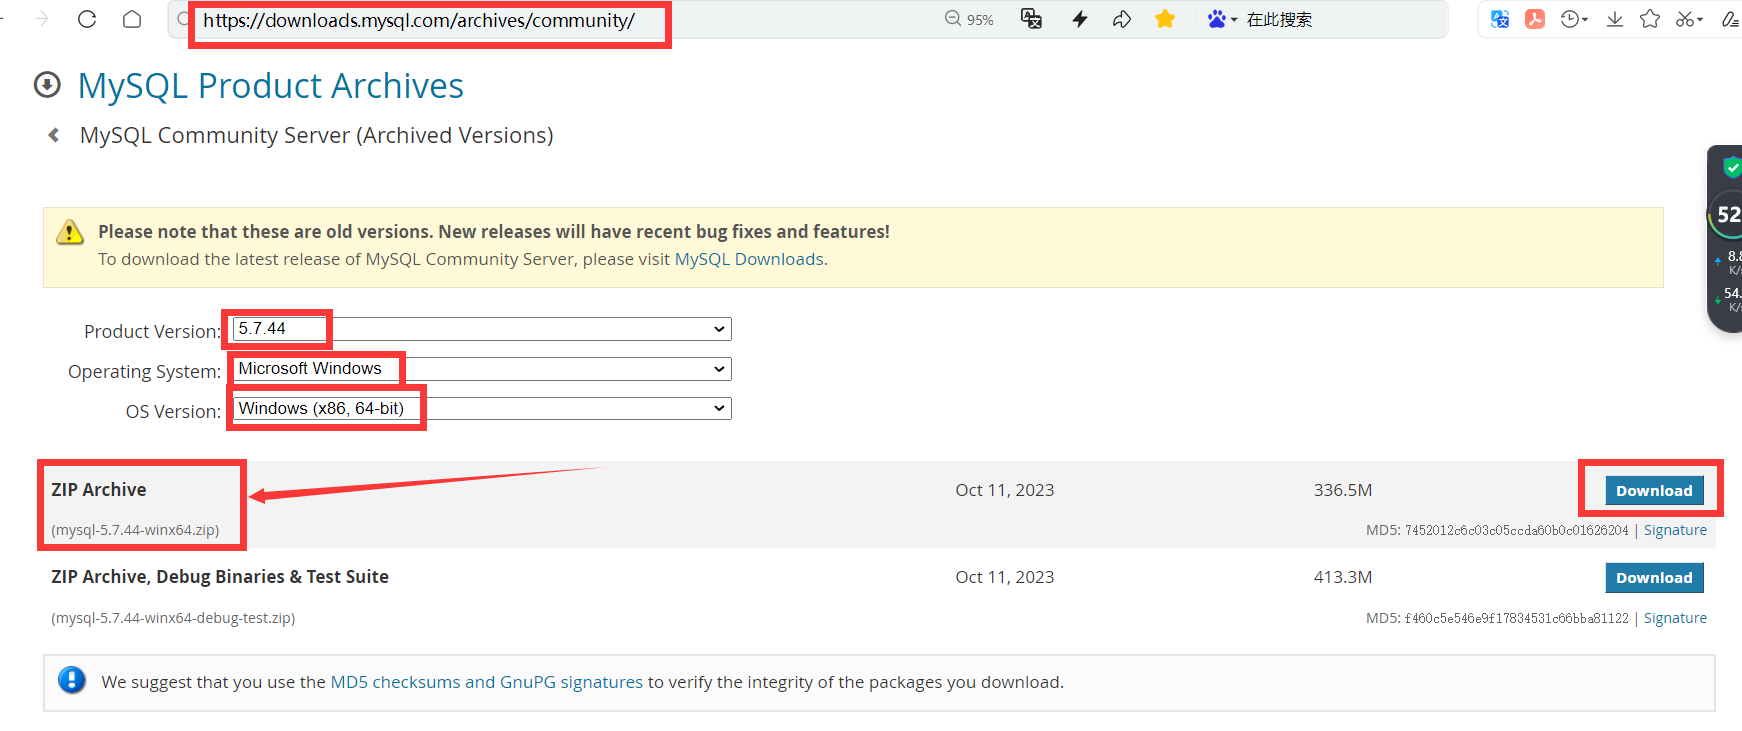
官网:https://downloads.mysql.com/archives/community/


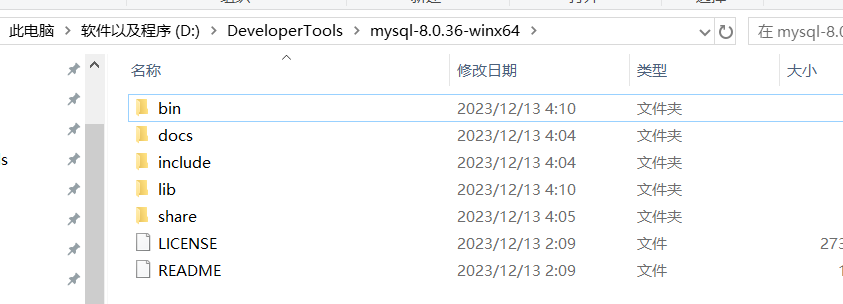
二、解压
三、配置
3.1. 添加环境变量:新建MYSQL_HOME
MYSQL_HOME

%MYSQL_HOME%\bin

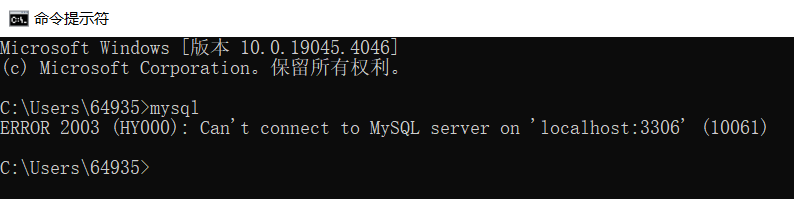
3.2.如何验证是否添加成功:必须以管理员身份启动
如果提示Can't connect to MySQL server on 'localhost'则证明添加成功;
如果提示mysql不是内部或外部命令,也不是可运行的程序或批处理文件则表示添加添加失败,请重新检查步骤并重试。
mysql
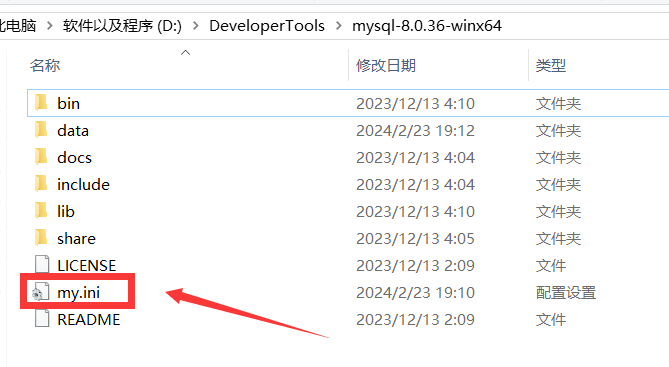
3.3. 初始化配置,在bin的同级目录下新建一个my.ini文件
[client]
# 设置mysql客户端默认字符集
default-character-set=utf8
[mysql]
# 设置mysql客户端默认字符集
default-character-set=utf8mb4
[mysqld]
# 设置mysql客户端连接服务端时默认使用的端口3306
port = 3306
# 设置mysql的安装目录
basedir = D:\\DeveloperTools\\mysql-8.0.36-winx64
# 设置mysql数据库的数据的存放目录
datadir = D:\\DeveloperTools\\mysql-8.0.36-winx64\\data
# 允许最大连接数
max_connections=200
# 允许连接失败的次数。这是为了防止有人从该主机试图攻击数据库系统
max_connect_errors=10
# 服务端使用的字符集默认为8比特编码的latin1字符集【mysql8.0】
character_set_server = utf8mb4
# 创建新表时将使用的默认存储引擎
default-storage-engine=INNODB
# 默认使用“mysql_native_password”插件认证【mysql8.0】
# default_authentication_plugin=mysql_native_password
authentication_policy=*
# 跳过安全检查,如果跳过,可能不能执行修改用户密码sql语句
#skip-grant-tables
#开启查询缓存
#explicit_defaults_for_timestamp=true
# 创建模式 NO_AUTO_CREATE_USER再MYSQL8.0中已经被移除,不能再8.0以上版本配置【mysql8.0】
# sql_mode=NO_ENGINE_SUBSTITUTION,STRICT_TRANS_TABLES
# sql_mode=STRICT_TRANS_TABLES,NO_ZERO_IN_DATE,NO_ZERO_DATE,ERROR_FOR_DIVISION_BY_ZERO,NO_AUTO_CREATE_USER,NO_ENGINE_SUBSTITUTION
sql_mode=STRICT_TRANS_TABLES,NO_ZERO_IN_DATE,NO_ZERO_DATE,ERROR_FOR_DIVISION_BY_ZERO,NO_ENGINE_SUBSTITUTION
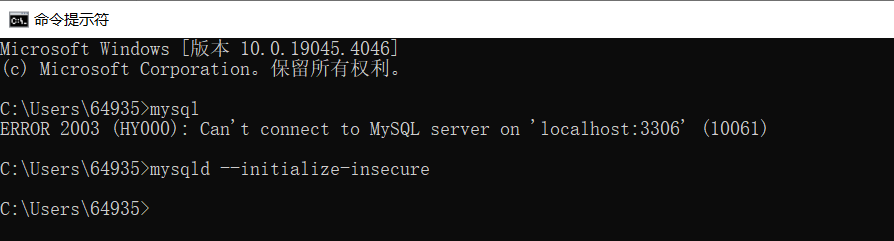
3.4. 初始化MySQL:必须以管理员身份启动
以管理员身份,运行命令行窗口:
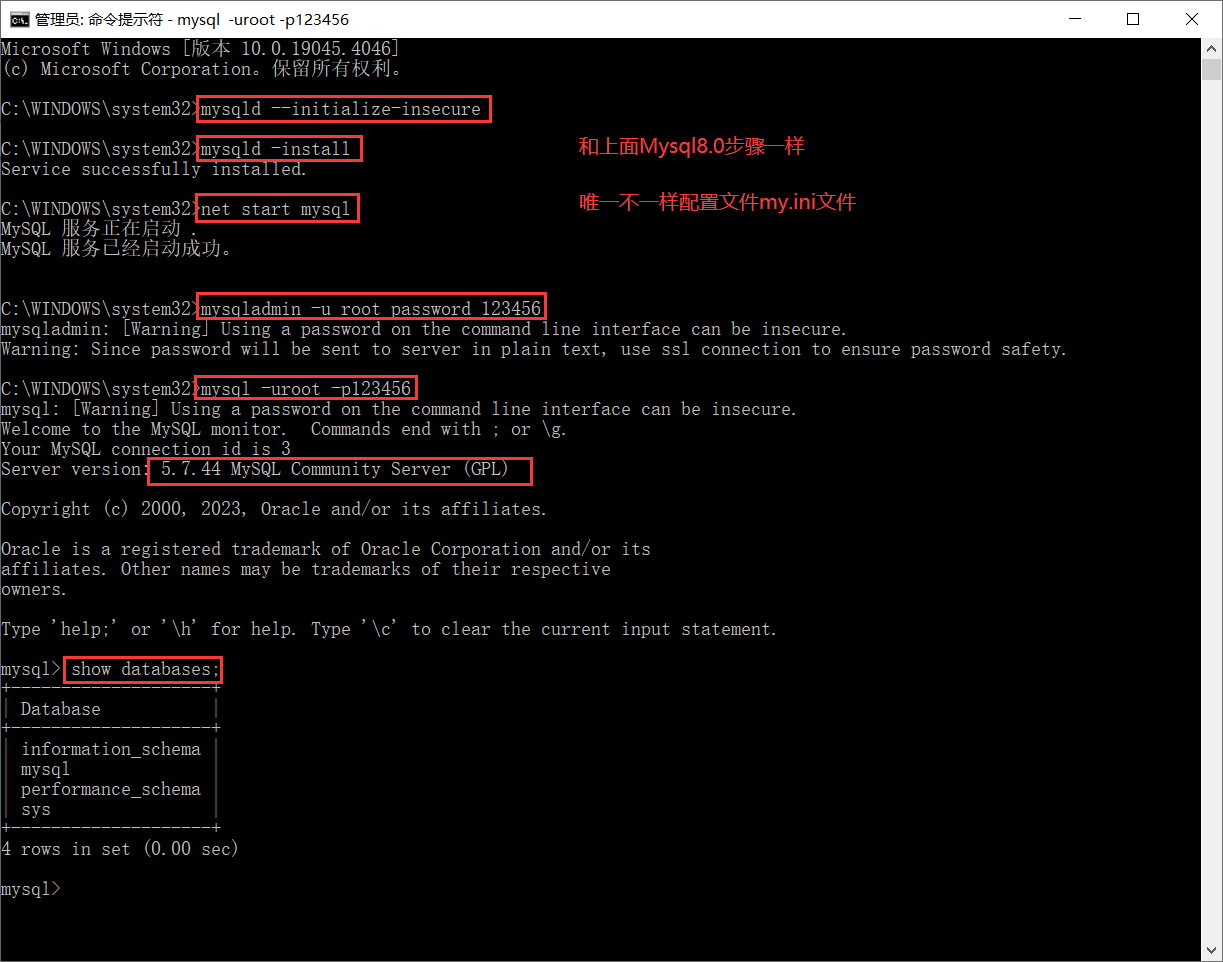
mysqld --initialize-insecure
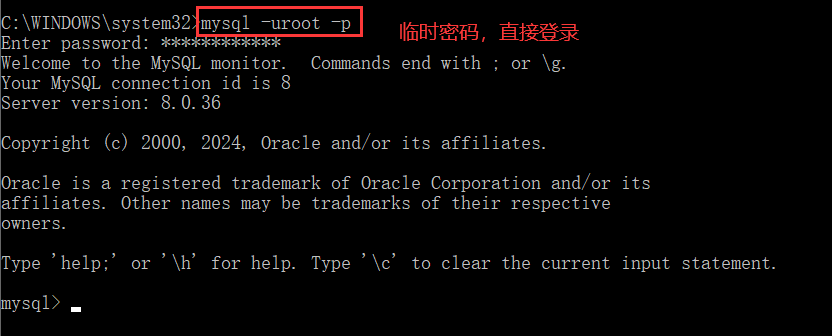
# 或者下面方式,生成随机密码
mysqld --initialize --user=mysql --console

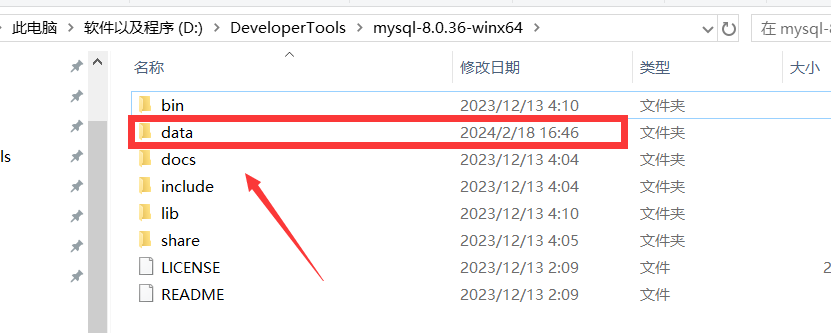
如果没有出现报错信息,则证明data目录初始化没有问题,此时再查看MySQL目录下已经有data目录生成。
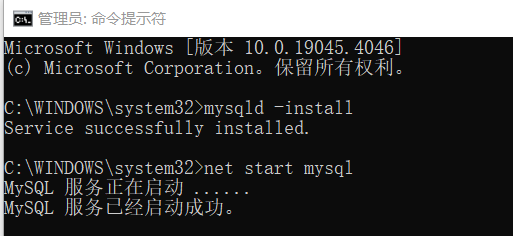
3.5. 注册MySQL服务:必须以管理员身份启动
mysqld -install
计算机上已经安装好了MySQL服务了

3.6. 启动MySQL服务
net start mysql  // 启动mysql服务

net stop mysql  // 停止mysql服务
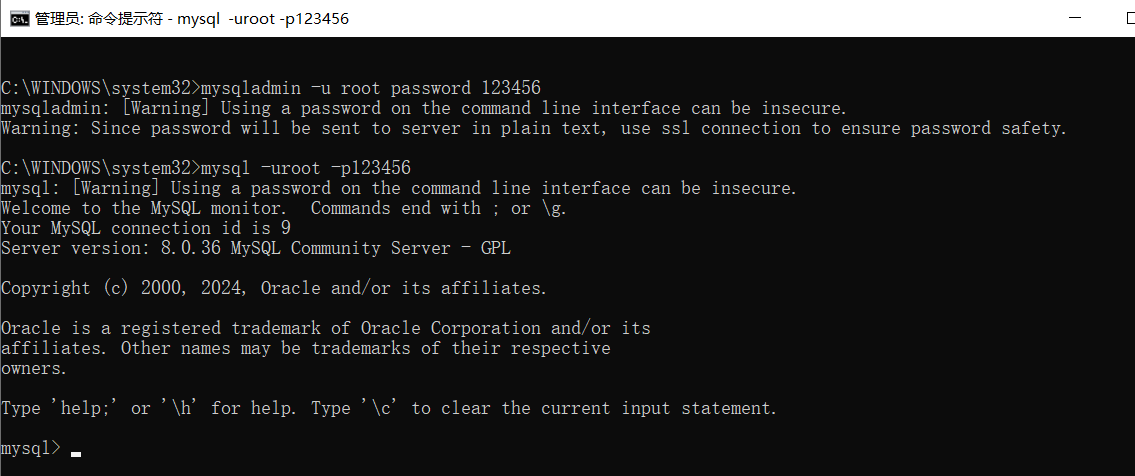
四、修改默认账户密码
在黑框里敲入mysqladmin -u root password 123456,这里的123456就是指默认管理员(即root账户)的密码。
mysqladmin -u root password 123456

五、登录MySQL
输入mysql -uroot -p1234,回车,出现下图且左下角为mysql>,则登录成功。
mysql -uroot -p123456
六、退出mysql:
exit
quit
七、登陆参数:
mysql -u用户名 -p密码 -h要连接的mysql服务器的ip地址(默认127.0.0.1) -P端口号(默认3306)
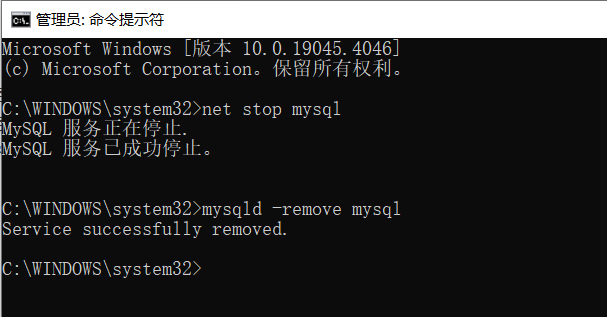
八、卸载MySQL
点击开始菜单,输入cmd,选择 “命令提示符”,选择右侧的 “以管理员身份运行”。

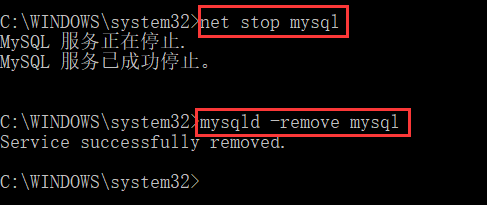
net stop mysql

mysqld -remove mysql
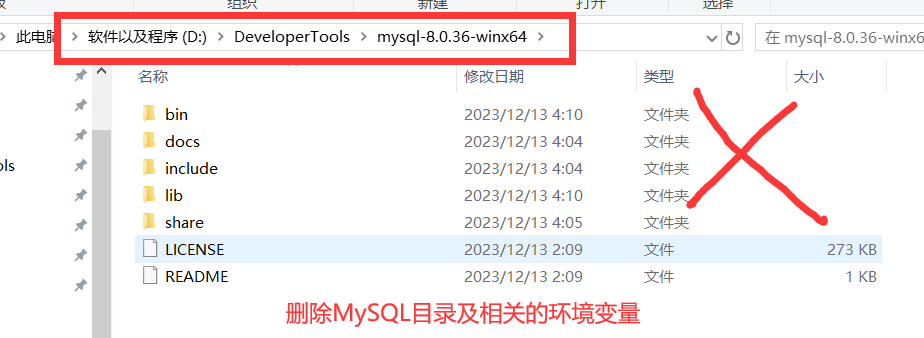
删除MySQL目录及相关的环境变量
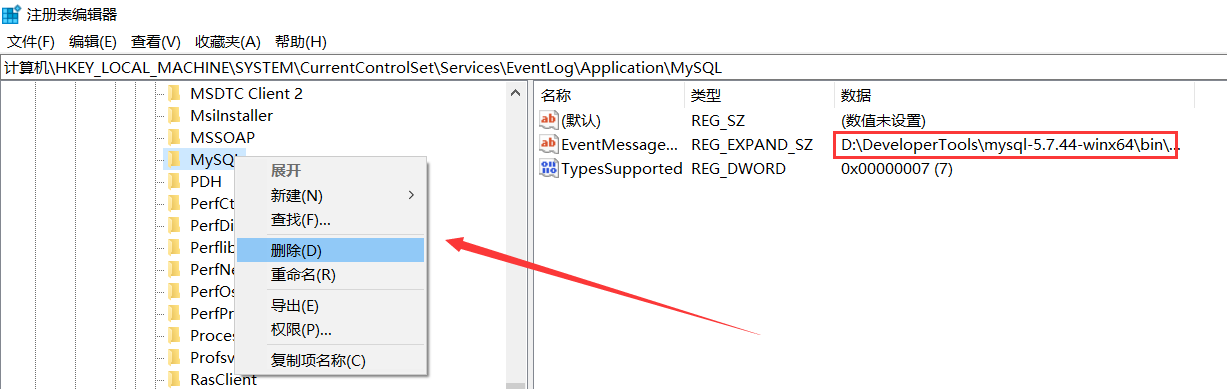
九、删除注册表
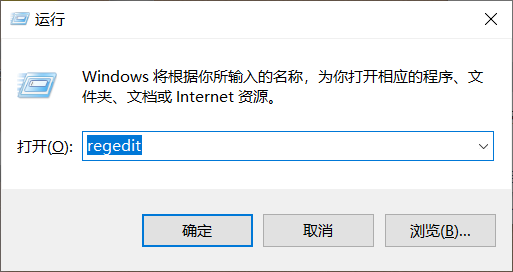
进入注册表编辑(win+R,输入regedit),找到
(1)HKEY_LOCAL_MACHINE\SYSTEM\ControlSet001\Services\Eventlog\Application\MySQLD 目录删除
(2)HKEY_LOCAL_MACHINE\SYSTEM\ControlSet002\Services\Eventlog\Application\MySQLD 目录删除
(3)HKEY_LOCAL_MACHINE\SYSTEM\CurrentControlSet\Services\Eventlog\Application\MySQLD 目录删除
注意:注册表中的ControlSet001、ControlSet002不一定是001和002,可能是ControlSet005、006之类,删除的时候都删除就可以

十、MySQL卸载完成
十一、my-default.ini
# For advice on how to change settings please see
# http://dev.mysql.com/doc/refman/5.6/en/server-configuration-defaults.html
# *** DO NOT EDIT THIS FILE. It's a template which will be copied to the
# *** default location during install, and will be replaced if you
# *** upgrade to a newer version of MySQL.

[mysqld]

# Remove leading # and set to the amount of RAM for the most important data
# cache in MySQL. Start at 70% of total RAM for dedicated server, else 10%.
# innodb_buffer_pool_size = 128M

# Remove leading # to turn on a very important data integrity option: logging
# changes to the binary log between backups.
# log_bin

# These are commonly set, remove the # and set as required.
# basedir = .....
# datadir = .....
# port = .....
# server_id = .....


# Remove leading # to set options mainly useful for reporting servers.
# The server defaults are faster for transactions and fast SELECTs.
# Adjust sizes as needed, experiment to find the optimal values.
# join_buffer_size = 128M
# sort_buffer_size = 2M
# read_rnd_buffer_size = 2M

sql_mode=NO_ENGINE_SUBSTITUTION,STRICT_TRANS_TABLES
十二、Mysql5.7解压安装步骤同上

[mysql]
# 设置mysql客户端默认字符集
default-character-set=utf8

[mysqld]
# 设置mysql客户端连接服务端时默认使用的端口3306
port = 3306

# 设置mysql的安装目录
basedir = D:\DeveloperTools\mysql-5.7.44-winx64

# 设置mysql数据库的数据的存放目录
datadir = D:\DeveloperTools\mysql-5.7.44-winx64\data

# 允许最大连接数
max_connections=200

# 允许连接失败的次数。这是为了防止有人从该主机试图攻击数据库系统
max_connect_errors=10

# 服务端使用的字符集默认为8比特编码的latin1字符集【mysql5.7】
character-set-server = utf8

# 创建新表时将使用的默认存储引擎
default-storage-engine=INNODB

#主服务器唯一ID(一般取IP最后一段)
server-id=2

# 分组group_cocat函数最大长度,默认为1024
group_concat_max_len=102400

# 最大数据包大小(通信缓冲区的最大长度)
max_allowed_packet=102400

# 默认使用“mysql_native_password”插件认证【mysql5.7】
default_authentication_plugin=mysql_native_password

# 跳过安全检查,如果跳过,可能不能执行修改用户密码sql语句
#skip-grant-tables

# 警告信息说timestamp的默认值设置被废弃了,需要配置explicit_defaults_for_timestamp参数
# 查看文档说明:
# explicit_defaults_for_timestamp system variable. If this variable is enabled, the DEFAULT CURRENT_TIMESTAMP and ON UPDATE CURRENT_TIMESTAMP
# clauses that specify automatic initialization and updating are available, but are not assigned to any TIMESTAMP column unless explicitly included
# in the column definition.
#开启查询缓存 【mysql5.7】
explicit_defaults_for_timestamp=true

# 创建模式 NO_AUTO_CREATE_USER再MYSQL8.0中已经被移除,不能再8.0以上版本配置【mysql5.7】
# 必须的配置(支持group by)
sql_mode=STRICT_TRANS_TABLES,NO_ZERO_IN_DATE,NO_ZERO_DATE,ERROR_FOR_DIVISION_BY_ZERO,NO_AUTO_CREATE_USER,NO_ENGINE_SUBSTITUTION


 360
360


 被折叠的 条评论
为什么被折叠?
被折叠的 条评论
为什么被折叠?
 到【灌水乐园】发言


