


1.swagge的简介
Swagger是一款RESTFUL接口的文档在线自动生成+功能测试功能软件。Swagger是一个规范和完整的框架,用于生成、描述、调用和可视化RESTfu风格的web服务。目标是使客户端和文件系统作为服务器一同样的速度来更新文件的方法,参数和模型紧密集成到服务器。这个解释简单点来讲就是说,swagger是一款可以根据restful风格生成的接口开发文档,并且支持做测试的一款中间软件。
swagger确实是个好东西,可以跟据业务代码自动生成相关的api接口文档,尤其用于restful风格中的项目,开发人员几乎可以不用专门去维护rest api,这个框架可以自动为你的业务代码生成restfut风格的api,而且还提供相应的测试界面,自动显示json格式的响应。大大方便了后台开发人员与前端的沟通与联调成本。
2.为什么使用swagger
1.对于后端开发人员来说
不用再手写Wiki接口拼大量参数,避免手写错误
对代码侵入性低,采用全注解的方式,开发简单
方法参数名修改、新增、减少参数都可以直接生效,不用手动维护
缺点:增加了开发成本,写接口还得再写一套参数配置
2.对前端开发来说
后端只需要定义好接口,会自动生成文档,接口功能、参数一目了然
联调方便,如果出了问题,直接测试接口,实时检查参数和返回值,就可以快速定位是前端还是后端的问题.
3.对于测试
但对于测试没有前端界面UI的功能,可以直接用它来测试接口
操作简单,不用了解具体代码就可以操作.
如何使用swagger
1.引入依赖
		<dependency>
            <groupId>io.springfox</groupId>
            <artifactId>springfox-swagger-ui</artifactId>
            <version>2.9.2</version>
        </dependency>

        <dependency>
            <groupId>io.springfox</groupId>
            <artifactId>springfox-swagger2</artifactId>
            <version>2.9.2</version>
        </dependency>
2.配置swagger类
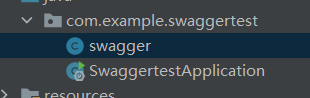
创建有个swagger类,创建的位置跟Application处于同一级目录下
package com.example.swaggertest;
import org.springframework.context.annotation.Bean;
import org.springframework.context.annotation.Configuration;
import springfox.documentation.builders.ApiInfoBuilder;
import springfox.documentation.builders.PathSelectors;
import springfox.documentation.builders.RequestHandlerSelectors;
import springfox.documentation.service.ApiInfo;
import springfox.documentation.spi.DocumentationType;
import springfox.documentation.spring.web.plugins.Docket;
import springfox.documentation.swagger2.annotations.EnableSwagger2;
@Configuration
@EnableSwagger2
public class swagger {
@Bean
public Docket createRestApi() {
return new Docket(DocumentationType.SWAGGER_2)
.apiInfo(apiInfo())
//扫描路径包,设置basepackage会将包下的所有@Api标记的类的所有方法作为Api
.select()
//指定路径处理PathSelectors.any()代表所有的路径
.apis(RequestHandlerSelectors.basePackage("com.example.swaggertest.controller")) //这里根据自己的路径修改
.paths(PathSelectors.any())
.build();
}
/**
* 创建该API的基本信息(这些基本信息会展现在文档页面中)
* 访问地址:http://项目实际地址/swagger-ui.html
* @return
*/
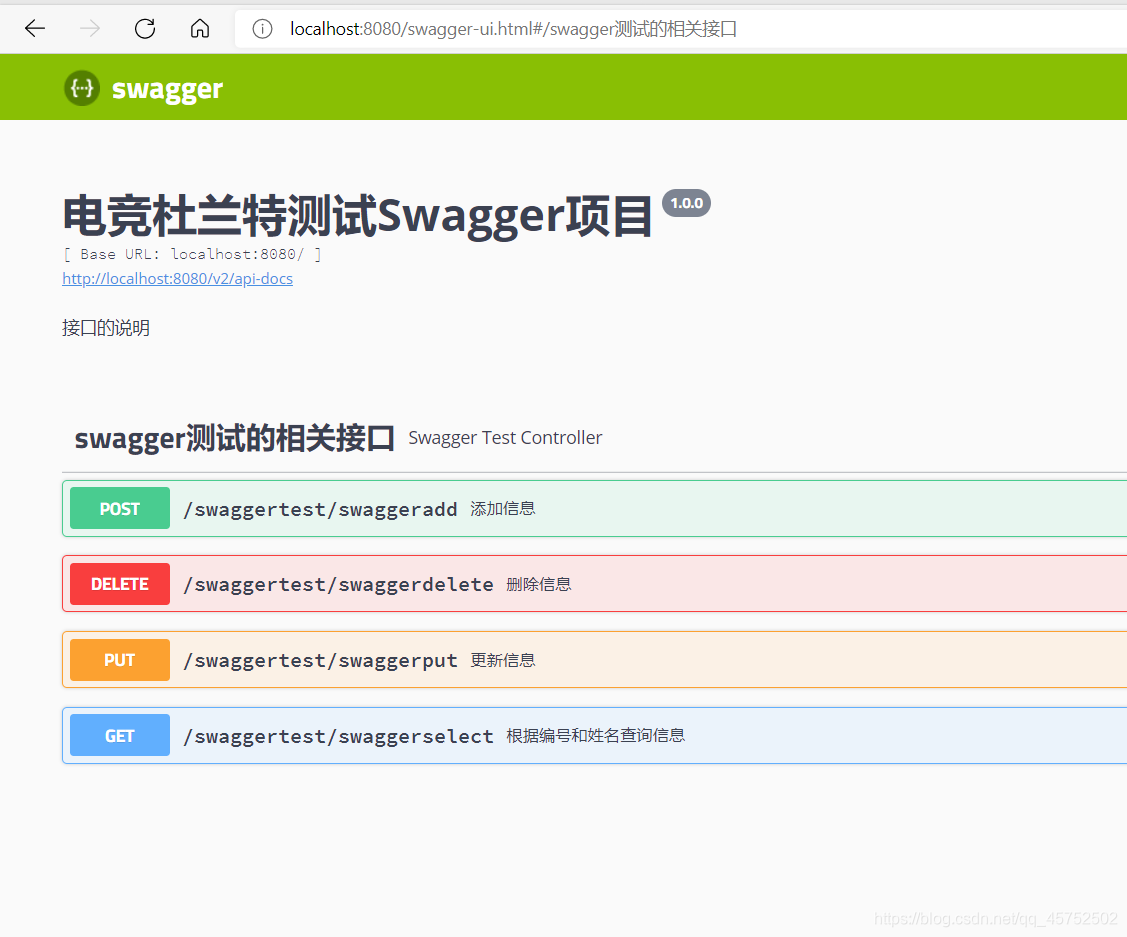
private ApiInfo apiInfo() {
return new ApiInfoBuilder()
.title("电竞杜兰特测试Swagger项目")
.description("接口的说明")
.contact("lcl")
.version("1.0.0")
.build();
}
}
3.编写一个controller,测试接口。
接口说明
定义在类上:@Api
定义在方法上:@ApiOperation
定义在参数上:@ApiParam
创建一个contorller包,在该包下创建一个SwaggerTestController类
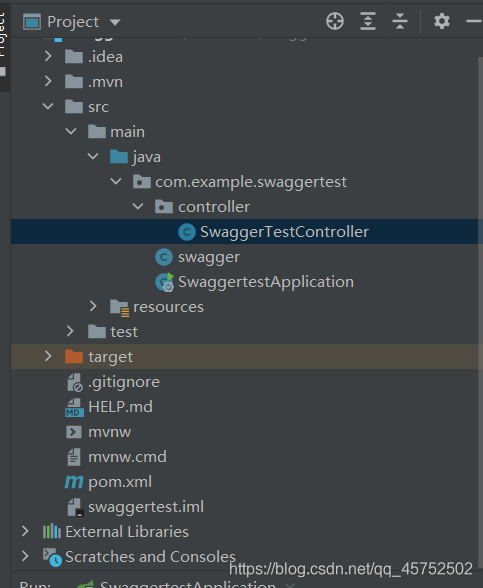
package com.example.swaggertest.controller;

import io.swagger.annotations.Api;
import io.swagger.annotations.ApiOperation;
import lombok.extern.slf4j.Slf4j;
import org.springframework.web.bind.annotation.RequestMapping;
import org.springframework.web.bind.annotation.RequestMethod;
import org.springframework.web.bind.annotation.RestController;

@RestController
@Slf4j
@RequestMapping(value = "/swaggertest")
@Api(value = "swagger测试接口",tags = "swagger测试的相关接口")
public class SwaggerTestController {

    @RequestMapping(value = "/swaggerselect", method = RequestMethod.GET)
    //method = RequestMethod.GET 查询
    //method = RequestMethod.POST 新增
    //method = RequestMethod.PUT 更新
    //method = RequestMethod.DELETE 删除
    @ApiOperation(value = "根据编号和姓名查询信息", notes = "根据编号和姓名查询信息")
    public void select(int id,String name){
        log.info("输入id",id);
    }
@RequestMapping(value = "/swaggeradd", method = RequestMethod.POST)
    @ApiOperation(value = "添加信息", notes = "添加信息")
    public void add(int id,String name){
        System.out.println(id);
    }
    @RequestMapping(value = "/swaggerput", method = RequestMethod.PUT)
    @ApiOperation(value = "更新信息", notes = "更新信息")
    public void put(int id,String name){
        System.out.println(id);
    }
    @RequestMapping(value = "/swaggerdelete", method = RequestMethod.DELETE)
    @ApiOperation(value = "删除信息", notes = "删除信息")
    public void delete(int id,String name){
        System.out.println(id);
    }


}
增删查改四个接口就定义完成了,之后的工作就需要根据具体的需求来设计接口的功能。
后续的一篇会讲通过swagger接口与mybatis来对数据库的内容进行增删改查。


 840
840


 被折叠的 条评论
为什么被折叠?
被折叠的 条评论
为什么被折叠?
 到【灌水乐园】发言


