


一、什么是uni-app
uni-app 是一个使用 Vue.js 开发跨平台应用的前端框架,开发者编写一套代码,可编译到iOS、Android、H5、小程序等多个平台,可以实现一套代码运行到多个平台。详情大家可以去官网了解学习,我们需要使用HBuilderX开发工具进行开发。
二、前端项目构建
打开HBuilderX,点击文件新建一个项目(选择uni-app),一般选择默认版本就好,当然你也可以根据自己的需求选择其他模板。
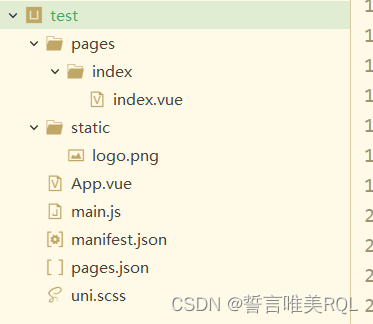
这是创建好了的默认项目结构,我们可以看到pages/index/index.vue,说明这是一个利用vue进行开发的前端项目。
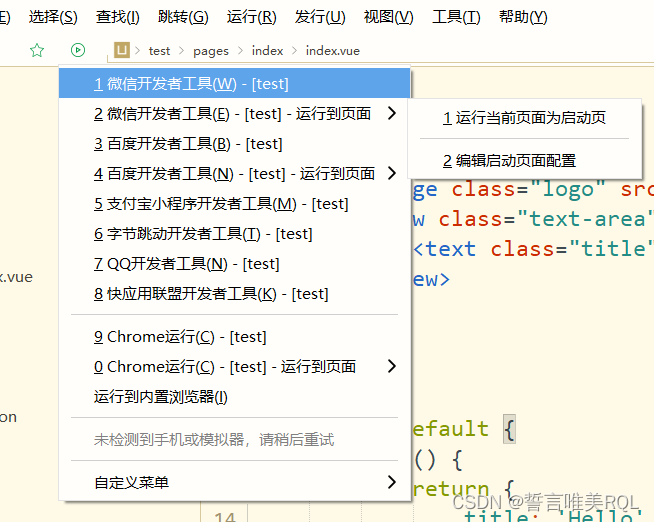
我们点击运行,会发现能够使用多种平台运行。
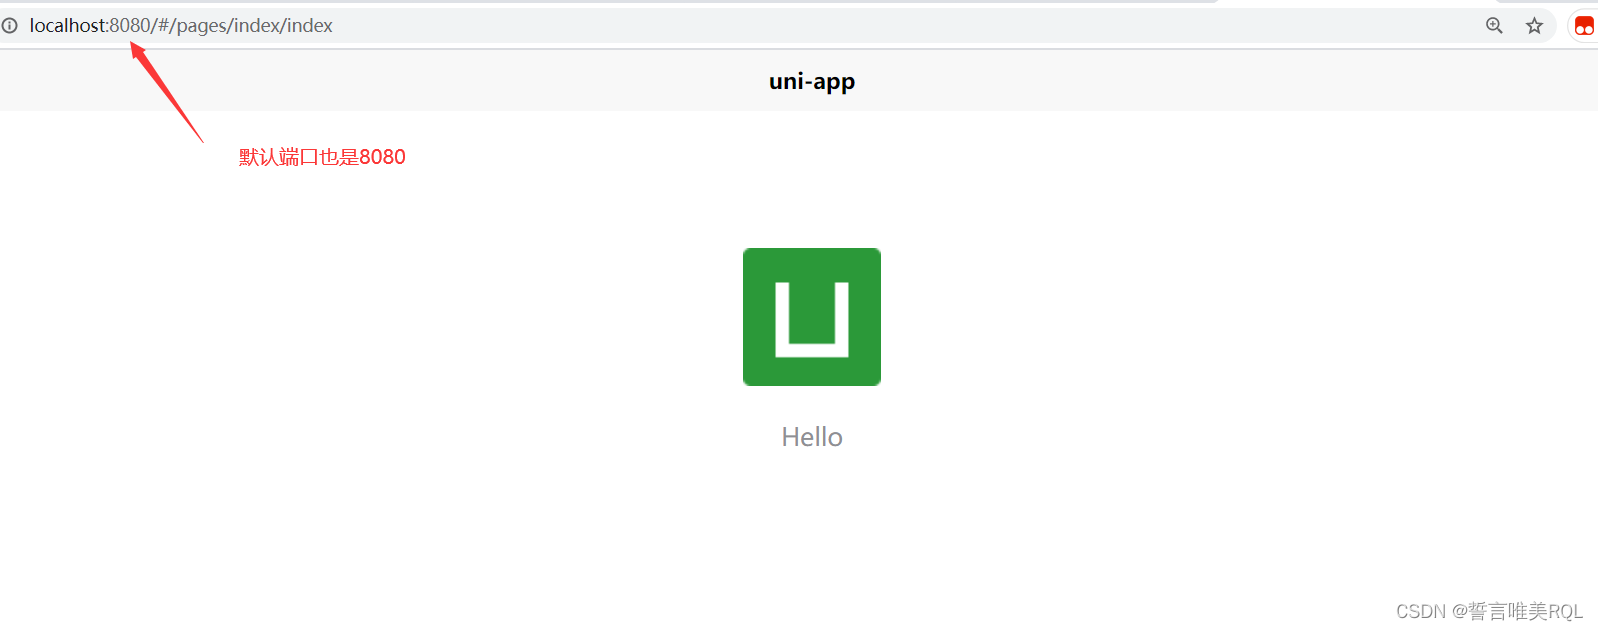
在index.vue中内置的浏览器运行,得到下面的默认结果
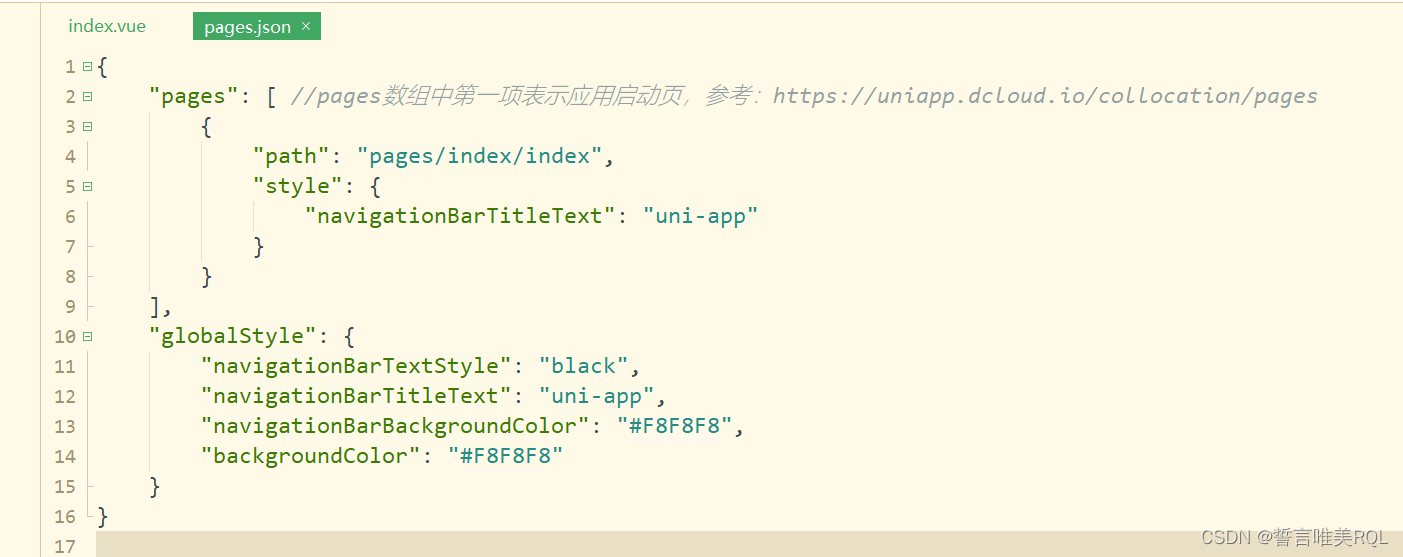
当有多个页面时,我们可以找到pages.json页面,pages中的第一页就是启动的默认初始页。
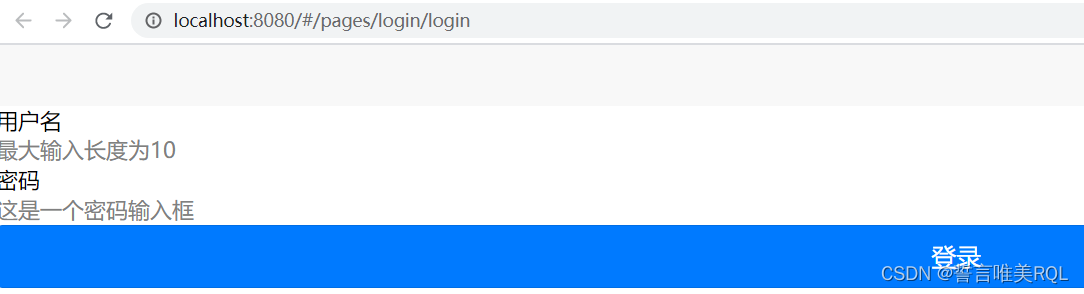
编写一个名为login.vue的页面,作为登入页面
<template>
	<view>
		<view class="uni-form-item uni-column">
			<view class="title">用户名</view>
			<input class="uni-input" value="" v-model="username" maxlength="10" placeholder="最大输入长度为10" />
		</view>
		<view class="uni-form-item uni-column">
			<view class="title">密码</view>
			<input class="uni-input" value="" v-model="password" password type="text" placeholder="这是一个密码输入框" />
		</view>
		<view class="uni-form-item uni-column">
			<button type="primary" @click="login()">登录</button>
		</view>
	</view>
</template>
<script>
    export default {
        data() {
            return {
                username:"",
				password:""
            }
        },
        methods: {
			login(){
				let user = this.$data.username
				let pass = this.$data.password
				uni.request({
				    url: 'http://localhost:8080/login', //仅为示例,并非真实接口地址。
				    method:"POST",
					data: {
				        username: user,
						password: pass
				    },
				    success: (res) => {
				        //获取相应状态码
						let code = res.data.code;
						if(code==200){
							//登录成功
							uni.navigateTo({
								url: '../index/index'
							});
						}else{   //登入失败
							let msg = res.data.message;
							uni.showToast({
								title: msg,
								icon:"error",
								duration: 2000
							});
						}
				    }
				});
			}
        }
    }
</script>
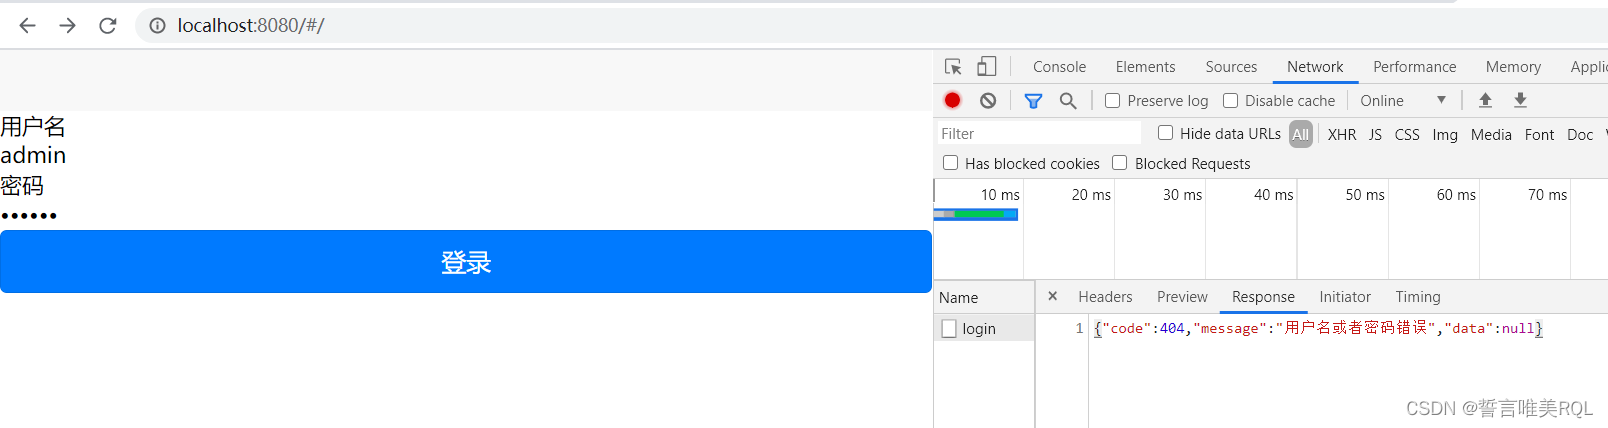
我们在这里进行登入操作,将用户名跟密码以json格式传递到服务端,实现登入。
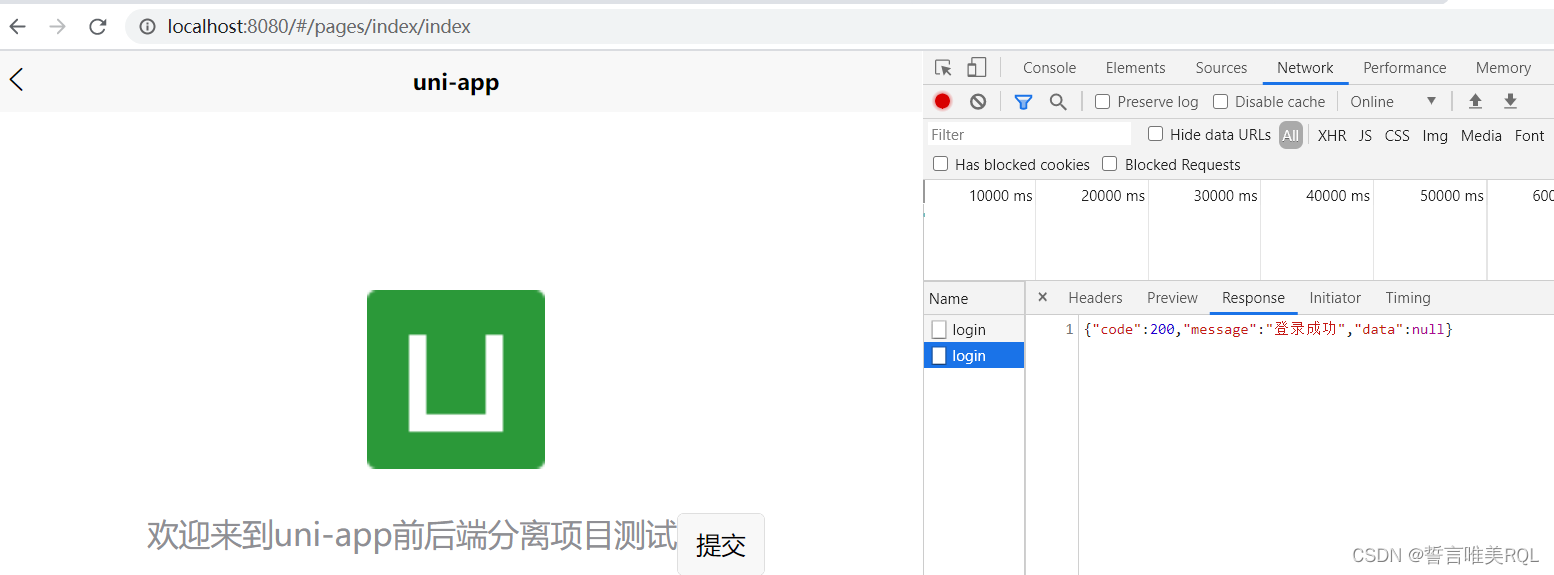
修改index.vue页面,实现登入成功后,跳转到index页面
<template>
	<view class="content">
		<image class="logo" src="/static/logo.png"></image>
		<view class="text-area">
			<text class="title">{{title}}</text>
			<button @click="goto()">提交</button>
		</view>
	</view>
</template>

<script>
	export default {
		data() {
			return {
				title: '欢迎来到uni-app前后端分离项目测试'
			}
		}
	}
</script>

<style>
	.content {
		display: flex;
		flex-direction: column;
		align-items: center;
		justify-content: center;
	}

	.logo {
		height: 200rpx;
		width: 200rpx;
		margin-top: 200rpx;
		margin-left: auto;
		margin-right: auto;
		margin-bottom: 50rpx;
	}

	.text-area {
		display: flex;
		justify-content: center;
	}

	.title {
		font-size: 36rpx;
		color: #8f8f94;
	}
</style>
三、服务端项目构建
用到了Swagger,大家可以去看我的另外一篇博文了解,这里就不做过多的讲解
1.导入相关maven依赖
<!--hutool依赖  含有各种组件,比如MD5加密等-->
        <dependency>
            <groupId>cn.hutool</groupId>
            <artifactId>hutool-crypto</artifactId>
            <version>5.7.22</version>
        </dependency>
        <dependency>
            <groupId>org.projectlombok</groupId>
            <artifactId>lombok</artifactId>
            <optional>true</optional>
        </dependency>
        <!--swagger依赖-->
        <dependency>
            <groupId>io.springfox</groupId>
            <artifactId>springfox-boot-starter</artifactId>
            <version>3.0.0</version>
        </dependency>
2.编写response层,用于响应结构,R.java类
@Data //Lombok注解
@Builder//构造器
public class R {
    /**
     * 返回状态码
     */
    private Integer code;
    /**
     * 服务端响应提示信息
     */
    private String message;
    /**
     * 返回给前端的数据
     */
    private Object data;
}
3.编写Controller层,LoginController.Java
@Api(tags = "登录接口")
@RestController
@Slf4j
public class LoginController {
    @Autowired
    private UserService userService;
    @CrossOrigin  //允许跨域,浏览器默认不支持,需要加入此注解开启
    @PostMapping("/login")
    @ApiOperation(value = "用户登录")
    public R login(@RequestBody User user){   //@RequestBody将json格式的数据转为java对象
        // 我们知道客服端提价过来的数据是json格式的,所以需要进行相关的转换,但是当我们加入了该参数后
        // 我们在swaager中测试接口时,就不能正常传输参数了,需要利用json格式传送!!!
        User query = userService.findByUsername(user.getUsername());
        String password = SecureUtil.md5(user.getPassword());  //利用hutool组件进行md5加密
        //对比用户输入的数据和数据库中的数据是否一致
        if(password.equals(query.getPassword())){
            System.out.println("成功");
            return R.builder().message("登录成功").code(200).build();
        }
        System.out.println("失败");
        return R.builder().message("用户名或者密码错误").code(404).build();
    }

}
四、测试
当输入与数据库不一致的密码时得到如下结果
输入正确的用户名跟密码,成功登入,进入index.vue页面
以上就是一个uni-app的简单用例,具体的学习大家可以去官网学习。


 925
925


 被折叠的 条评论
为什么被折叠?
被折叠的 条评论
为什么被折叠?
 到【灌水乐园】发言


