


通过vite官方的命令新建一个vue3的项目,通过这个命令新建的项目结构非常简介,当然什么也没有,需要手动安装路由等。
npm create vite@latest
1、配置热更新和路径别名
安装@types/node,配置地址时会用到
npm install @types/node --save-dev
import * as path from "path";
export default defineConfig({
    server: {
        // 热更新
        hmr: true,
        //  自动打开浏览器
        open: true
    }

// 路径别名
    resolve: {
		alias: {
			'@': path.resolve(__dirname, 'src'),
			'comp': path.resolve(__dirname, 'src/components'),
			'styles': path.resolve(__dirname, 'src/assets/styles')
		}
	}
})
路径别名在vite.config.ts文件里配置后,还需要在tsconfig.json文件里配置一下paths,因为TS无法自动识别别名路径。
"paths": {
	"@/*": ["src/*"],
	"comp/*": ["comp/*"],
	"styles/*": ["styles/*"]
}
2、安装路由
npm i vue-router@next -S
在src目录下新建router目录,然后添加index.ts放路由配置,添加routes.ts来放路由相关路径,最后在main.js里引入。
// index.ts文件
import { createRouter, createWebHistory } from "vue-router";
import routes from "./routes";

const router = createRouter({
  history: createWebHistory(),
  routes
})

export default router;


// routes.ts文件
const routes = [
  {
    path: '/',
    name: 'login',
    meta: {
      title: '登录页'
    },
    component: () => import('@/pages/login/login.vue')
  },
  {
    path: '/home',
    name: 'home',
    meta: {
      title: '首页'
    },
    component: () => import('@/pages/home/home.vue')
  }
]

export default routes;


// main.ts文件
import router from "@/router";

const app = createApp(App);
app.use(router);

app.mount('#app');
3、安装状态管理器pinia
vue3+vite的项目,官方推荐的状态管理器改为Pinia了,取消了Mutations操作,只有 state getters actions 简化状态库管理,而且对typescript和vue3的支持度更高。
npm install pinia
在main.ts里边引入pinia,并且实例化:
import { createApp } from 'vue'
import App from './App.vue'
import { createPinia } from 'pinia'
const pinia = createPinia()
const app = createApp(App)
app.use(pinia)
app.mount('#app')4、安装scss
npm i sass -D
在src >> assets目录下新建styles目录,用来存放样式,然后在main.ts文件里引入了全局样式。
5、安装UI库
npm install ant-design-vue --save
npm i unplugin-vue-components -D
因为以前的项目里使用的都是element UI,所以在这个项目里决定使用AntDesignVue,尝试一些新的东西。
在这个项目里准备按需引入,不再像以前直接在main.ts里注册全局组件,毕竟后台管理系统最常用的UI组件只有那几个,这里先引入Button、message、Form组件。
// main.ts
import { Button, message, Form } from "ant-design-vue";

app.use(Button);
app.config.globalProperties.$message = message;
app.use(Form);


// vite.config.ts
import Components from 'unplugin-vue-components/vite';
import { AntDesignVueResolver } from "unplugin-vue-components/resolvers";

plugins: [
    vue(),
    Components({
      resolvers: [AntDesignVueResolver()]
    })
]
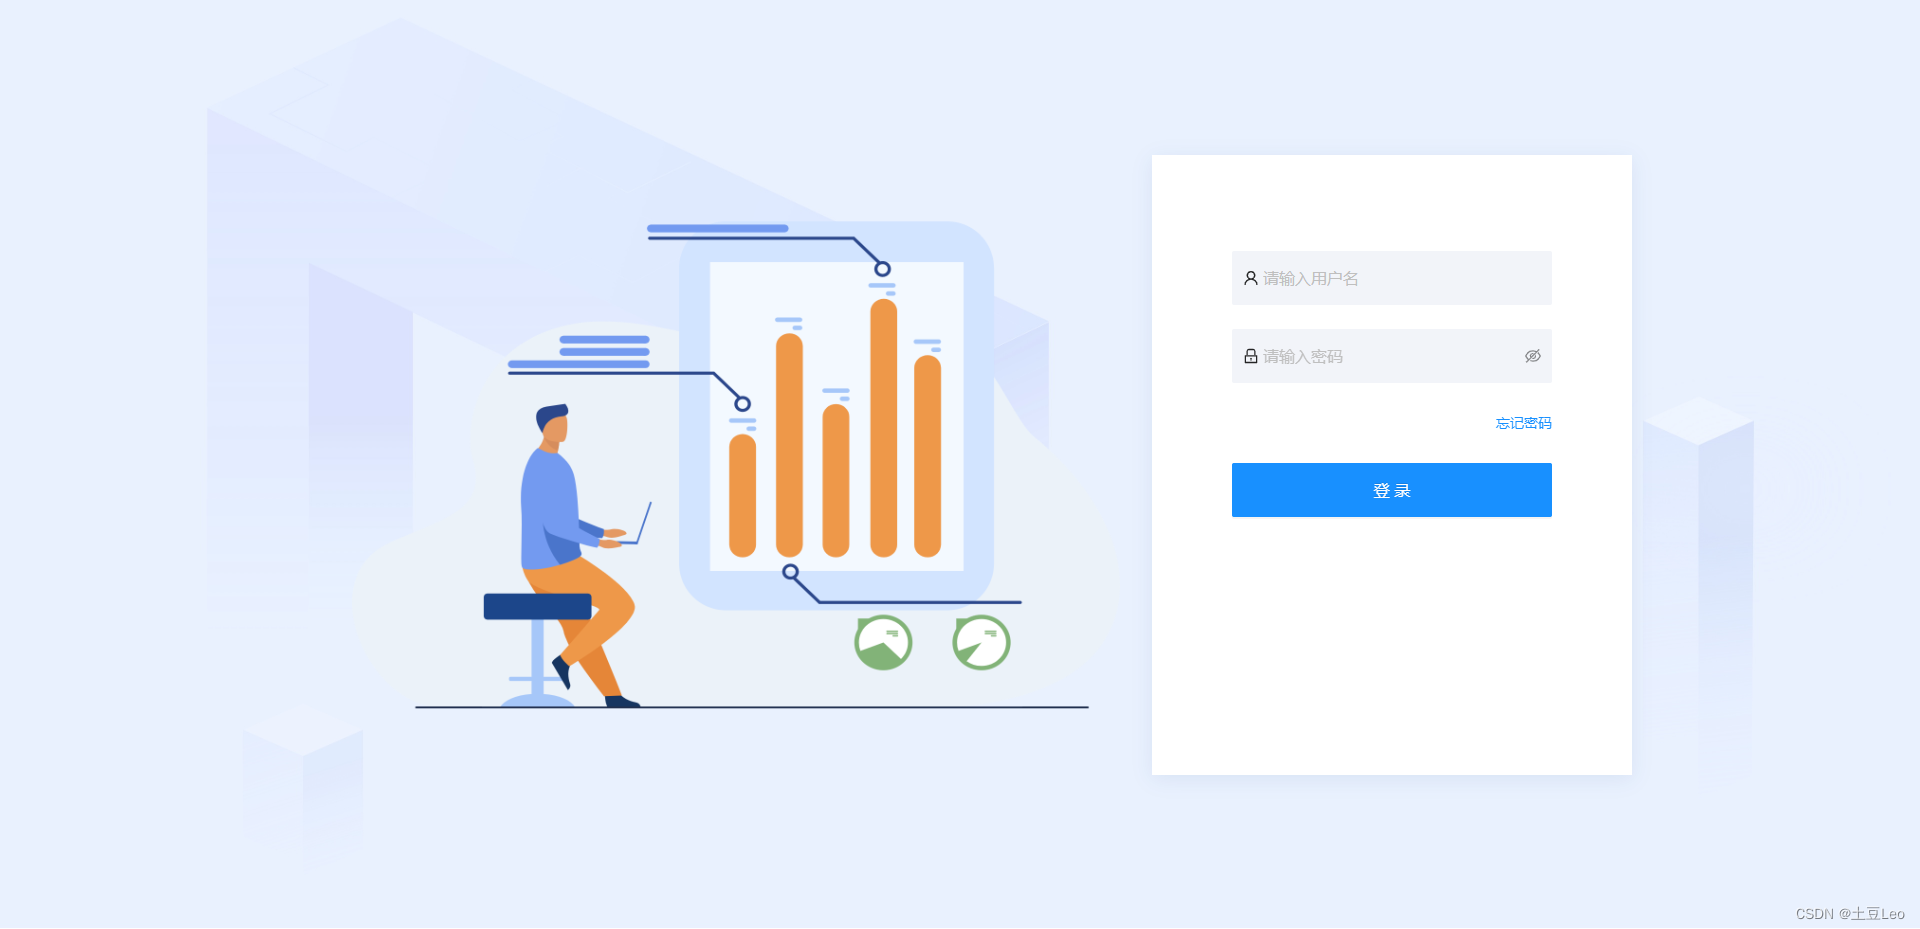
搭建静态页面的步骤就到此为止了,先写了一个登录页,后面再慢慢更新吧。


 1635
1635


 被折叠的 条评论
为什么被折叠?
被折叠的 条评论
为什么被折叠?
 到【灌水乐园】发言


