


ELK日志分析系统
一.准备环境
1.[root@centos02 ~]# mount /dev/cdrom /mnt (elk镜像)
[root@centos02 ~]# tar zxvf /mnt/elasticsearch-head.tar.gz -C /usr/src/
[root@centos02 ~]# tar zxvf /mnt/node-v8.2.1.tar.gz -C /usr/src/
[root@centos02 ~]#tar jxvf /mnt/phantomjs-2.1.1-linux-x86_64.tar.bz2 -C /usr/src/
2.指定安装位置:
[root@centos02~]# mv /usr/src/elasticsearch-head/ /usr/local/
3.安装node:
[root@centos02 ~]# mv /usr/src/node-v8.2.1/ /usr/local/node
[root@centos02 node]# ./configure && make && make install
4.安装phantomjs:
[root@centos02 ~]# mv /usr/src/phantomjs-2.1.1-linux-x86_64/bin/phantomjs /usr/local/bin/
5.安装配置elasticsearch
[root@centos02 ~]# rpm -ivh /mnt/elasticsearch-5.5.0.rpm
[root@centos02 ~]#vim /etc/hosts

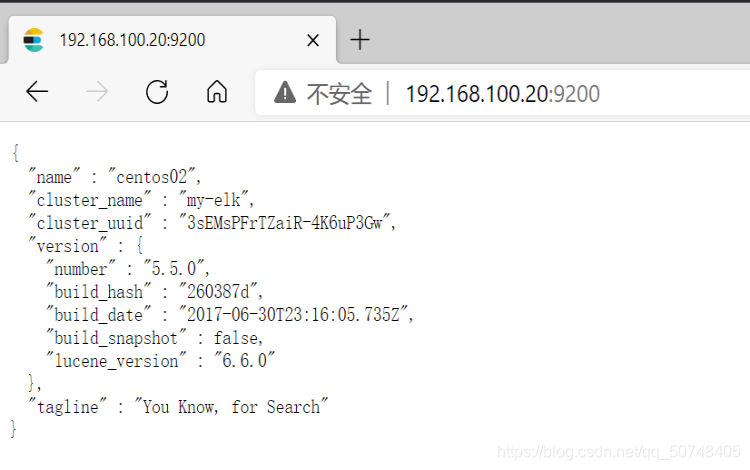
[root@centos02 ~]# vim /etc/elasticsearch/elasticsearch.yml
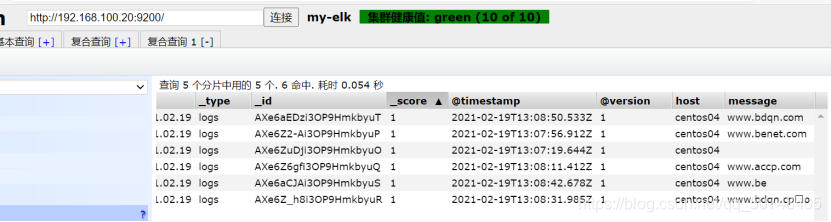
17 cluster.name: my-elk
23 node.name: centos02
43 bootstrap.memory_lock: false
55 network.host: 192.168.100.20
59 http.port: 9200
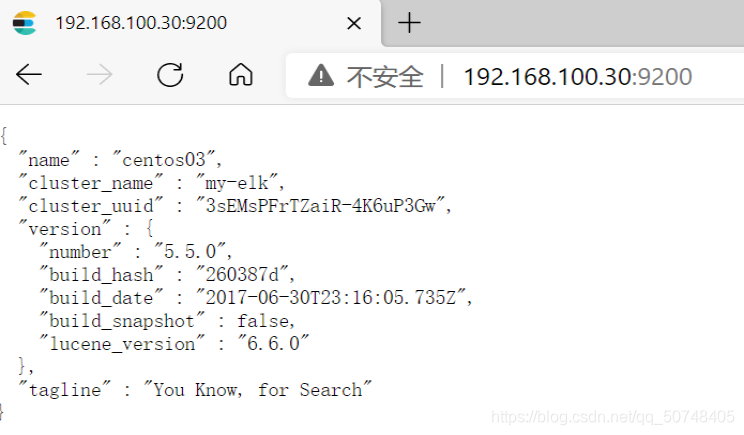
68 discovery.zen.ping.unicast.hosts: [“centos02”, “centos03”]
[root@centos02 ~]# systemctl daemon-reload
[root@centos02 ~]# systemctl enable elasticsearch.service
[root@centos02 ~]# systemctl start elasticsearch.service


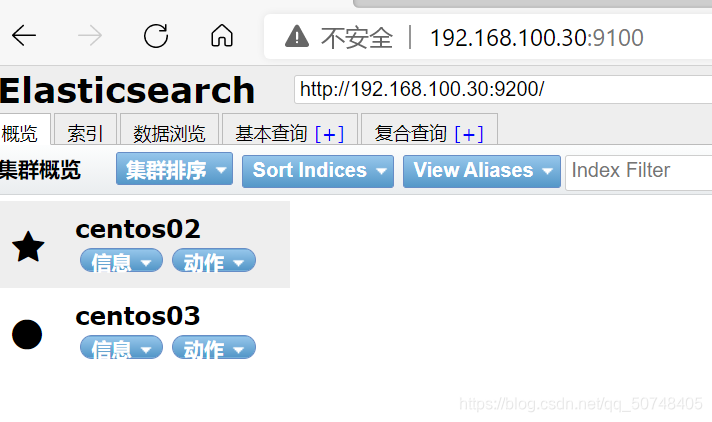
6.配置elasticsearch-head
配置elasticsearch-head
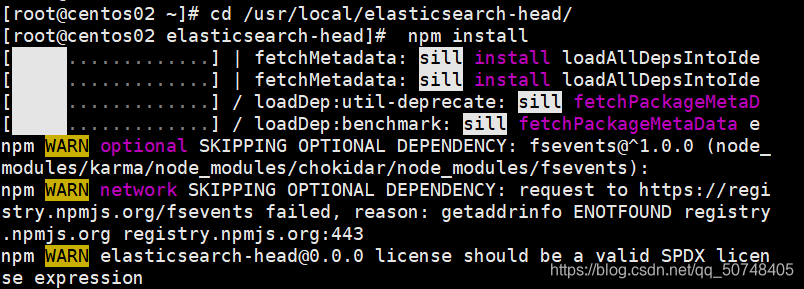
[root@centos02 ~]# cd /usr/local/elasticsearch-head/
[root@centos02 elasticsearch-head]# npm install
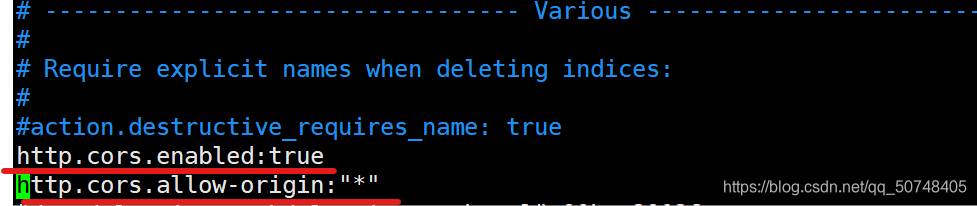
修改elasticsearch主配置文件
[root@centos02 ~]# vim /etc/elasticsearch/elasticsearch.yml
[root@centos02 ~]# systemctl daemon-reload
[root@centos02 ~]# systemctl restart elasticsearch
修改elasticsearch-head配置文件
[root@centos02 ~]# vim /usr/local/elasticsearch-head/_site/app.js

修改elasticsearch-head 监听
[root@centos02 ~]# vim /usr/local/elasticsearch-head/Gruntfile.js

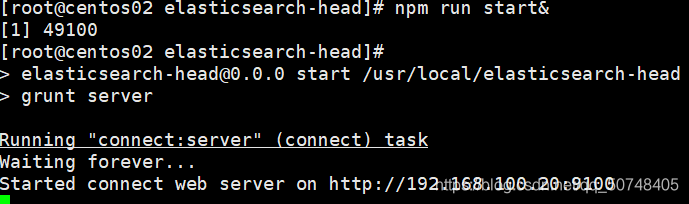
启动服务
[root@centos02 ~]# cd /usr/local/elasticsearch-head/
[root@centos02 elasticsearch-head]# npm run start&


7.安装logstansh
[root@centos04 ~]# yum -y install httpd
[root@centos04~]# systemctl start httpd
[root@centos04 ~]# systemctl enable httpd
[root@centos04 ~]# rpm -ivh /mnt/logstash-5.5.1.rpm
[root@centos04 ~]# ln -s /usr/share/logstash/bin/* /usr/local/bin/
[root@centos04 ~]# logstash -e ‘input {stdin { } } output { stdout {}}’
[root@centos04 ~]# logstash -e ‘input { stdin {} } output {elasticsearch { hosts=>[“192.168.100.20”]}}’
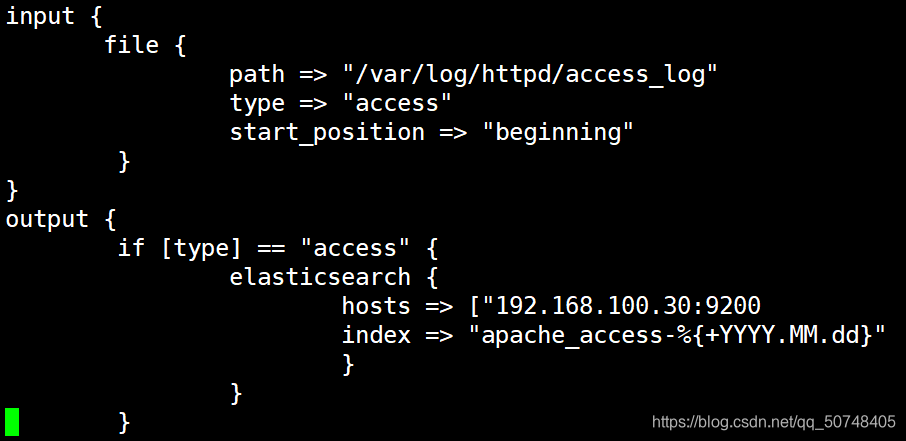
[root@centos04 ~]# vim /etc/logstash/conf.d/apache_access_log.conf
[root@centos04 ~]# chmod +X /etc/logstash/conf.d/apache_access_log.conf
[root@centos04 ~]# logstash -f /etc/logstash/conf.d/apache_access_log.conf
6)设置服务开机自动启动
[root@centos04 ~]# systemctl enable logstash
[root@centos04 ~]# systemctl start logstash
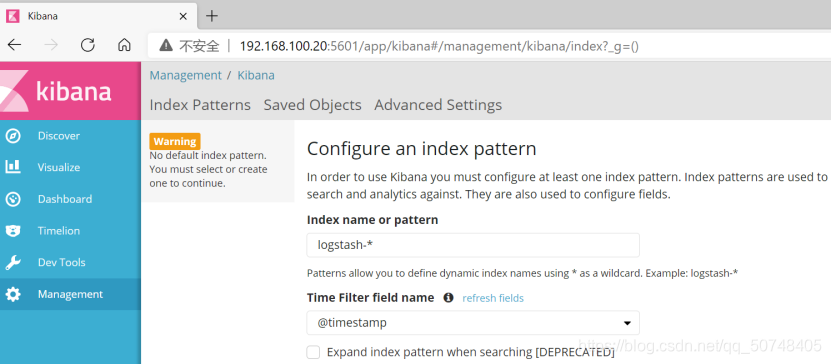
8.安装配置kibana
[root@centos02 ~]# rpm -ivh /mnt/kibana-5.5.1-x86_64.rpm
[root@centos02 ~]# vim /etc/kibana/kibana.yml
3 server.port: 5601
9 server.host: “192.168.100.20”
24 elasticsearch.url: “http://192.168.100.20:9200”
[root@centos02 ~]# systemctl start kibana
[root@centos02 ~]# systemctl enable kibana


 5656
5656


 被折叠的 条评论
为什么被折叠?
被折叠的 条评论
为什么被折叠?
 到【灌水乐园】发言


