


部署Nginx
下面是nginx的安装脚本,里面的参数可以根据实际需要进行修改。
#!/bin/bash

#新建一个文件夹用来存放下载的nginx源码包

mkdir -p /opt/nginx
cd /opt/nginx

#解决依赖关系
yum install gcc openssl openssl-devel pcre pcre-devel automake make wget -y

#新建用户
useradd -s /sbin/nologin yandonghao

#下载 nginx
wget http://nginx.org/download/nginx-1.25.0.tar.gz

#解压nginx 源码包

tar -zvxf nginx-1.25.0.tar.gz


#编译前的配置,创建Makefile文件。

cd /opt/nginx/nginx-1.25.0

./configure --prefix=/usr/local/ydhnginx --user=yandonghao --with-http_ssl_module --with-http_v2_module --with-threads --with-http_stub_status_module --with-stream

#编译,开启2个进程同时编译,make其实就是安装Makefile的配置去编译程序成二进制文件,二进制文件就是执行可以运行的程序。
make -j 2

#安装: 将编译好的二进制代码文件复制到指定的安装路径目录下
make install

# 启动nginx
/usr/local/ydhnginx/sbin/nginx

#修改PATH变量
#临时修改
PATH=$PAth:/usr/local/ydhnginx/sbin
#永久修改
echo "PATH=$PATH:/usr/local/ydhnginx/sbin" >>/root/.bashrc


# 设置nginx的开机启动
echo "/usr/local/ydhnginx/sbin/nginx" >> /etc/rc.local
/usr/bin/chmod +x /etc/rc.d/rc.local

# 关闭firewalld防火墙
/usr/bin/systemctl stop firewalld
/usr/bin/systemctl disable firewalld

# 临时关闭SELinux
/usr/sbin/setenforce 0

# 永久关闭SELinux
sed -i 's/^SELINUX=.*/SELINUX=disabled/' /usr/bin/etc/selinux/config
filebeat启动Nginx模块
创建一个 nginx-log.yml配置文件,启动nginx的模块功能
./filebeat modules enable nginx

nginx-log.yml配置文件
filebeat.inputs:
- type: log
  enabled: true
  paths:
    - /usr/local/ydhnginx/logs/*.log #nginx日志存放路径
  tags: ["nginx"]
  fields_under_root: false
setup.template.settings:
  index.number_of_shards: 1
output.elasticsearch:
  hosts: ["192.168.150.190:9200","192.168.150.189:9200","192.168.150.188:9200"]
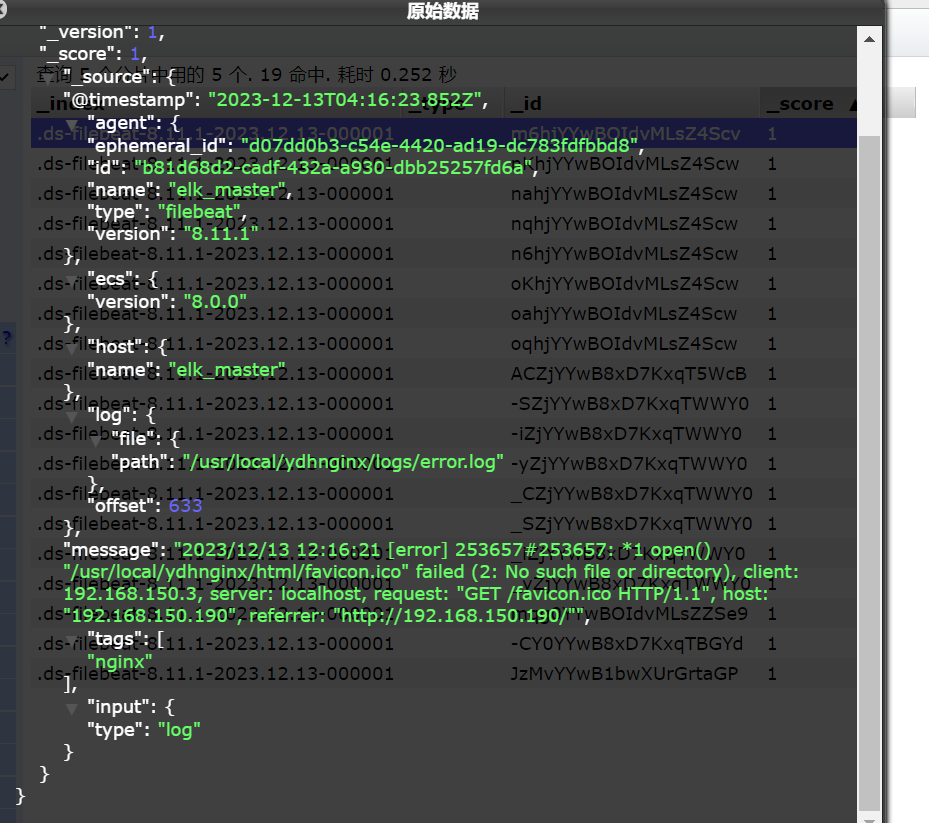
可以看到,在message中已经获取到了nginx的日志,但是,内容并没有经过处理,只是读取到原数据。
Module
filebeat自带了需要许多模块,但是这些模块都是默认不开启的,之前我就把nginx的模块打开了用来收集nginx的日志。
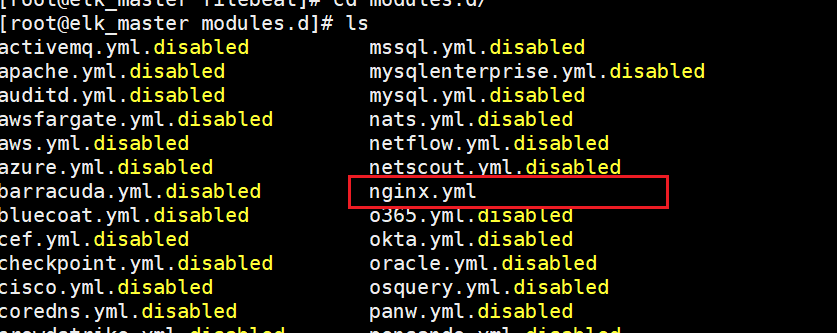
可以用下面的命令查看有哪些模块,其中启动和未启动的模块也都一目了然。
./filebeat modules list

#启动
./filebeat modules enable nginx
#禁用
./filebeat modules disable nginx
其他模块的启动和禁用都是这样操作的。
下面两个目录都是和模块有关的。

对nginx模块配置进行修改
想实现日志数据的读取以及处理都是自己手动配置的,我们可以进行"modules.d"修改nginx的配置文件了。
vim nginx.yml
修改为:
# Module: nginx
# Docs: https://www.elastic.co/guide/en/beats/filebeat/7.9/filebeat-module-nginx.html

- module: nginx
  # Access logs
  access:
    enabled: true
    # 添加日志文件
    var.paths: ["/usr/local/ydhnginx/logs/access.log*"]

    # Set custom paths for the log files. If left empty,
    # Filebeat will choose the paths depending on your OS.
    #var.paths:

  # Error logs
  error:
    enabled: true
    var.paths: ["/usr/local/nginx1/logs/error.log*"]
修改nginx-log.yml配置文件
我们需要修改刚刚的nginx-log.yml文件,然后添加到我们的module
filebeat.inputs:
setup.template.settings:
  index.number_of_shards: 1
output.elasticsearch:
  hosts: ["192.168.150.190:9200","192.168.150.189:9200","192.168.150.188:9200"]
filebeat.config.modules:
  path: ${path.config}/modules.d/*.yml
  reload.enabled: false
这个时候我们启动filebeat
./filebeat -e -c nginx-log.yml
会出现一下的错误;

Filebeat 遇到的问题是无法找到 Ingest Node,导致无法执行批量索引操作。
在 Elasticsearch 8.x 中,Ingest Node 确实是默认启用的,不需要手动设置
node.ingest。这是因为 Ingest Node 在 Elasticsearch 的核心功能中。
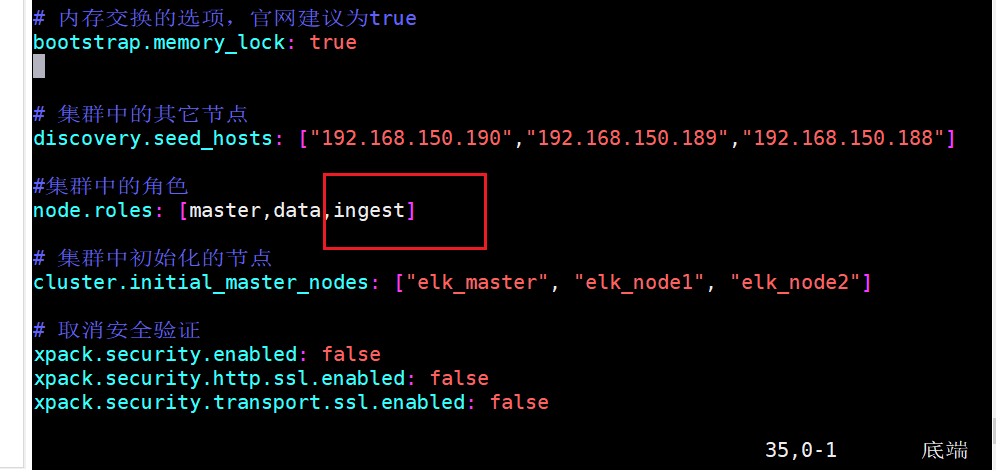
只需要修改elasticsearch中的config中的elasticsearch.yml文件
在集群中的角色加上一个ingest角色。
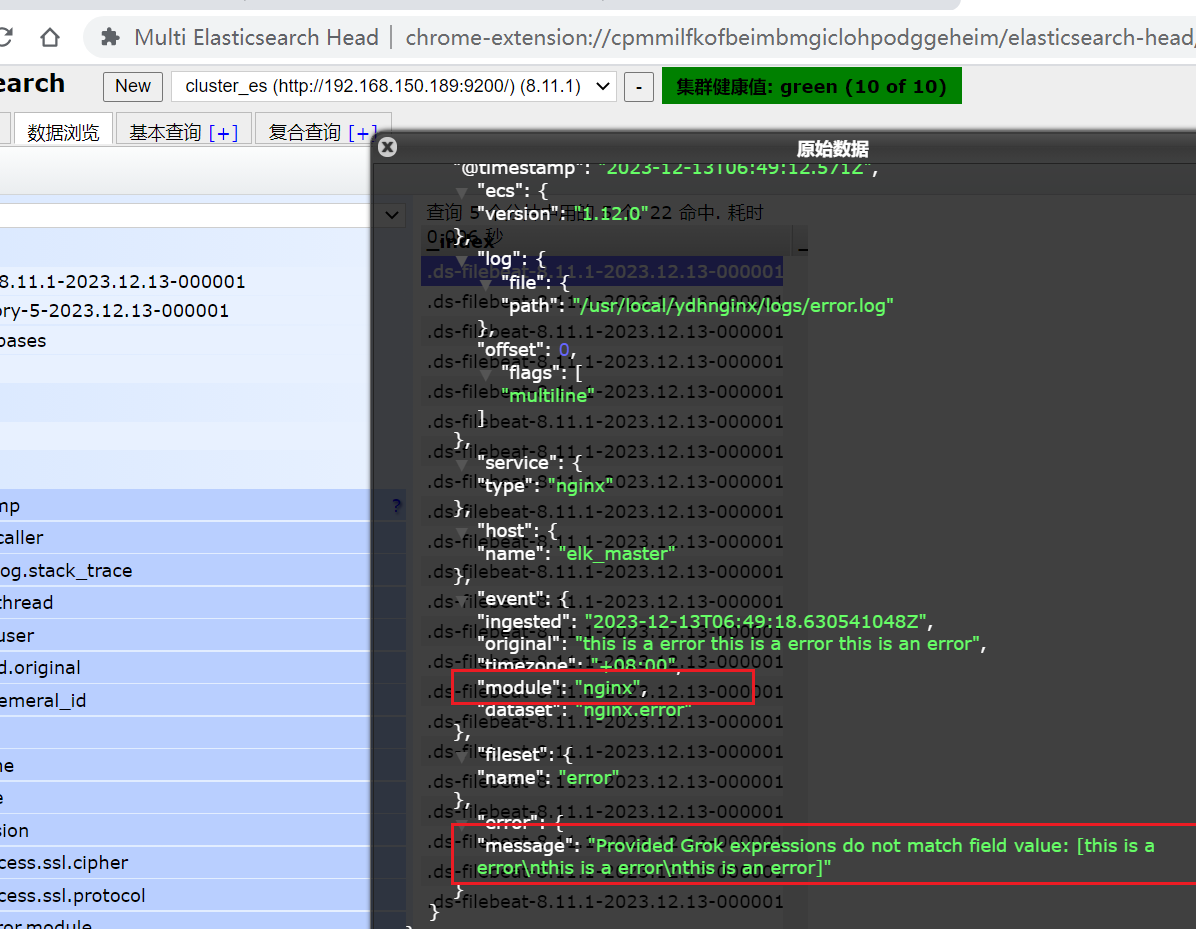
我们可以测试一下,刷新nginx页面,或者向错误日志中,插入数据
echo "this is an error" >> error.log
这里只是简单演示了用法,其他更多详细的module的用法可以参考文档:


 1259
1259

 被折叠的 条评论
为什么被折叠?
被折叠的 条评论
为什么被折叠?
 到【灌水乐园】发言


