


搭建服务端环境
npm install socket.io安装socket.io
服务端基于node,js的express框架生成,所以写成模块,引入至app.js中
const app = require('./app')
const http = require('http')
const socketIo = require('socket.io')
const httpServer = http.Server(app)
const io = socketIo(httpServer , {})
const users = {}
io.on('connection' , (socket)=>{
  socket.on('login' , (nikname)=>{
    if(users[nikname]){
      socket.emit('repeat' , '昵称重复')
      return
    }
    socket.nikname = nikname
    users[nikname] = {
      name: nikname,
      socket : socket,
    }
    io.sockets.emit('logged' , {nikname , isLogin:true} )
  })
  socket.on("disconnecting", (reason) => {
    let nikname = socket?.nikname
    if(nikname && users[nikname]){
      delete users[nikname]
      io.sockets.emit('logout' , {nikname , isLogin: false} )
      delete socket[nikname]
    }
    console.log('断开连接')
  });
  socket.on('chat' , (data)=>{
    console.log(data , socket.nikname)
    socket.broadcast.emit('response_chat' , {
      nikname: socket.nikname,
      msg: data
    })
  })

})
httpServer.listen(8888)
module.exports = httpServer
其中,io.sockets.emit用于向所有建立连接的客户端发送信息,socket.broadcast.emit用于向除发送方之外的客户端发送信息。
客户端基于vue和elementui
<template>
<div>
<div class="talkView--content--body">
<ul>
<li v-for="(item, idx) in chatList" :key="idx">
<div :class="item.style">
<div v-if="item.style === right">
<span>{{ item.msg }}</span>
</div>
<div v-else>
<span v-show="item.nikname">{{ item.nikname }}:</span>
<span>{{ item.msg }}</span>
</div>
</div>
</li>
</ul>
</div>
<div class="talkView--content--control">
<el-input v-model="sendMsg" placeholder="请输入内容"></el-input>
<el-button type="primary" @click="send" class="width100"
>发送消息</el-button
>
</div>
<el-dialog title="输入昵称" :visible="dialogVisible" width="30%">
输入昵称:
<el-input v-model="nikname"> </el-input>
<span slot="footer" class="dialog-footer">
<el-button type="primary" @click="login">确 定</el-button>
</span>
</el-dialog>
</div>
</template>
<script>
import { io } from "socket.io-client";
export default {
beforeDestroy() {
// 断开连接
this.socket.disconnect();
},
data() {
return {
socket: null,
sendMsg: "",
nikname: "",
dialogVisible: false,
chatList: [],
};
},
created() {
this.socket = io("ws://127.0.0.1:8888", {
transports: ["websocket"],
});
this.getNikname();
this.socket.on("connect", () => {
console.log("建立连接"); // ojIckSD2jqNzOqIrAGzL
});
this.socket.on("response_chat", (data) => {
this.severChat(data);
});
this.socket.on("logged", (data) => {
this.severLog(data);
});
this.socket.on("logout", (data) => {
this.severLog(data);
});
},
mounted() {},
methods: {
severLog({ nikname, isLogin }) {
let state = isLogin ? "进入" : "离开";
let msg = `${nikname}${state}聊天室`;
this.addChat({
msg,
style: "center",
});
},
addChat({ msg = "xxx", nikname = "", style = "xxx" }) {
this.chatList.push({
nikname,
msg,
style,
});
},
getNikname() {
let nikname = this.$store.state.userInfor?.nikname;
if (nikname) {
this.dialogVisible = false;
this.socket.emit("login", nikname);
}
this.dialogVisible = !nikname;
this.nikname = nikname;
},
login() {
if (!this.nikname) {
this.$notify({
message: "昵称不为空",
});
return;
}
this.socket.emit("login", this.nikname);
this.dialogVisible = false;
},
send() {
let msg = this.sendMsg;
this.addChat({
msg,
nikname: this.nikname,
style: "right",
});
this.socket.emit("chat", this.sendMsg);
this.sendMsg = ''
},
severChat({ msg = "", nikname = "" }) {
console.log(msg, nikname);
this.addChat({
nikname,
msg,
style: "left",
});
},
},
};
</script>
<style lang="stylus" scoped>
ul
list-style none
.talkView--content--body
width: 100%;
height: 60vh;
background-color: #fff;
color: #333;
.center
text-align: center
.left
text-align: left
.right
text-align: right
.width100 {
width: 100%;
margin-top: 10px;
}
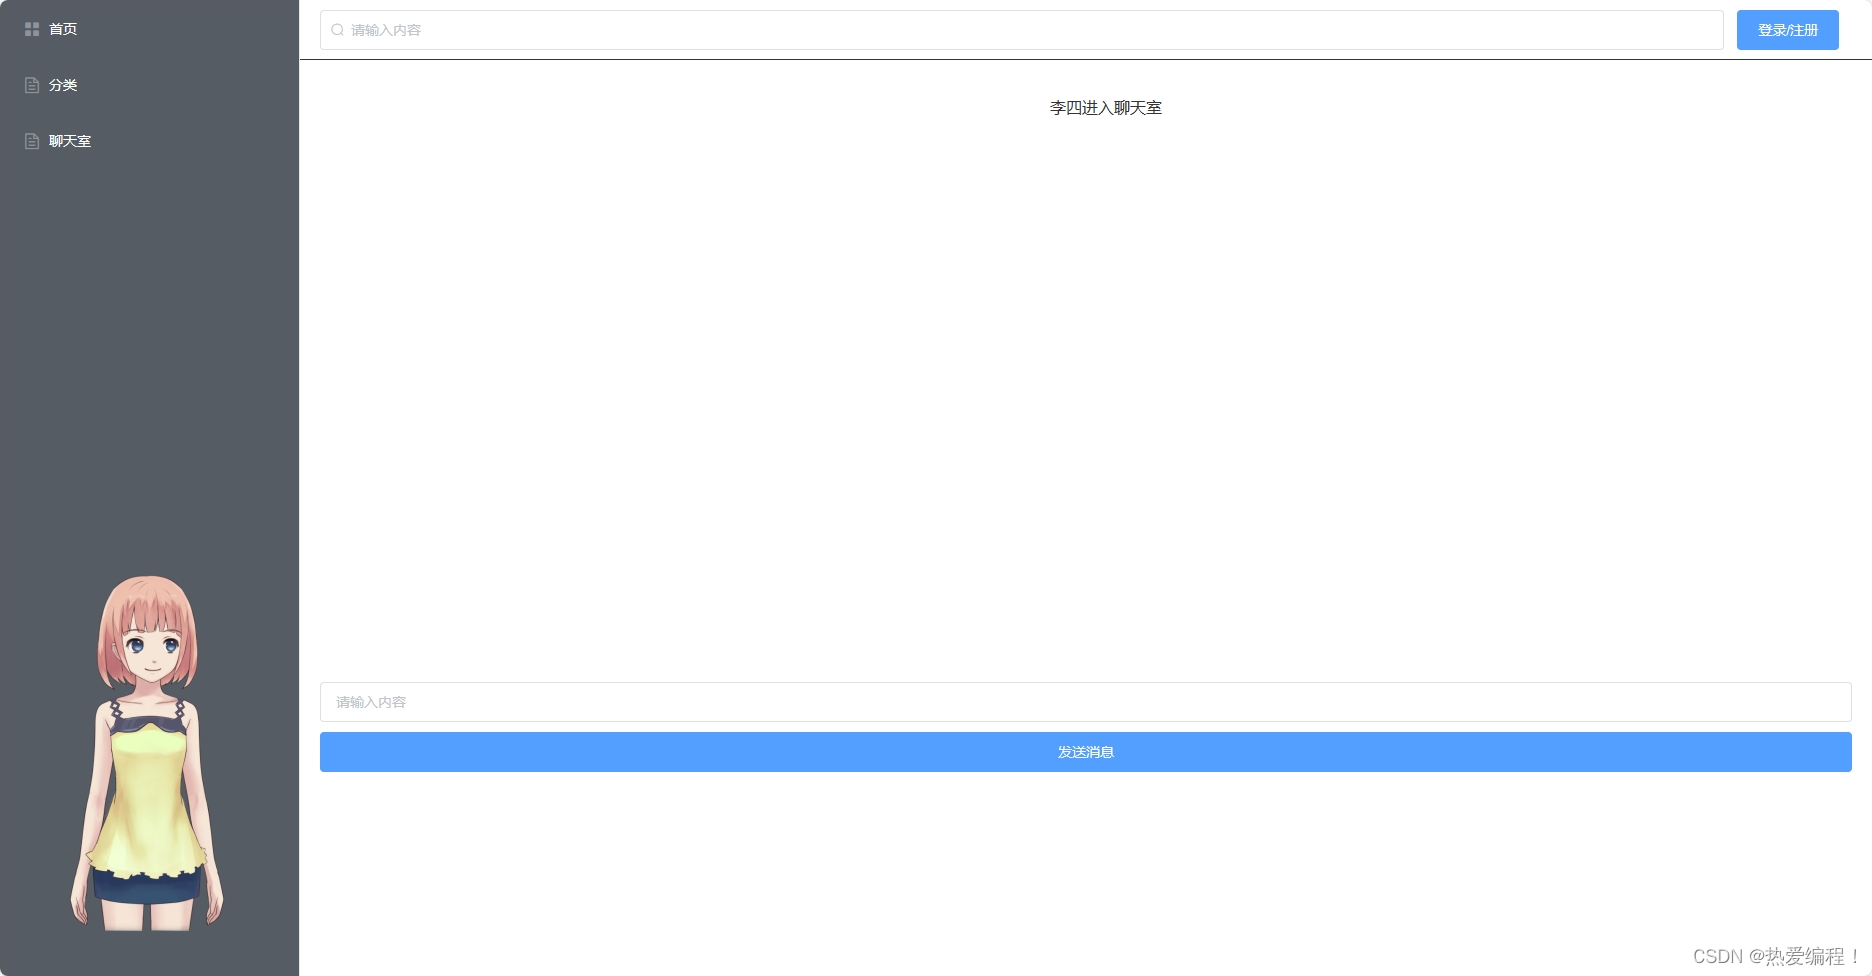
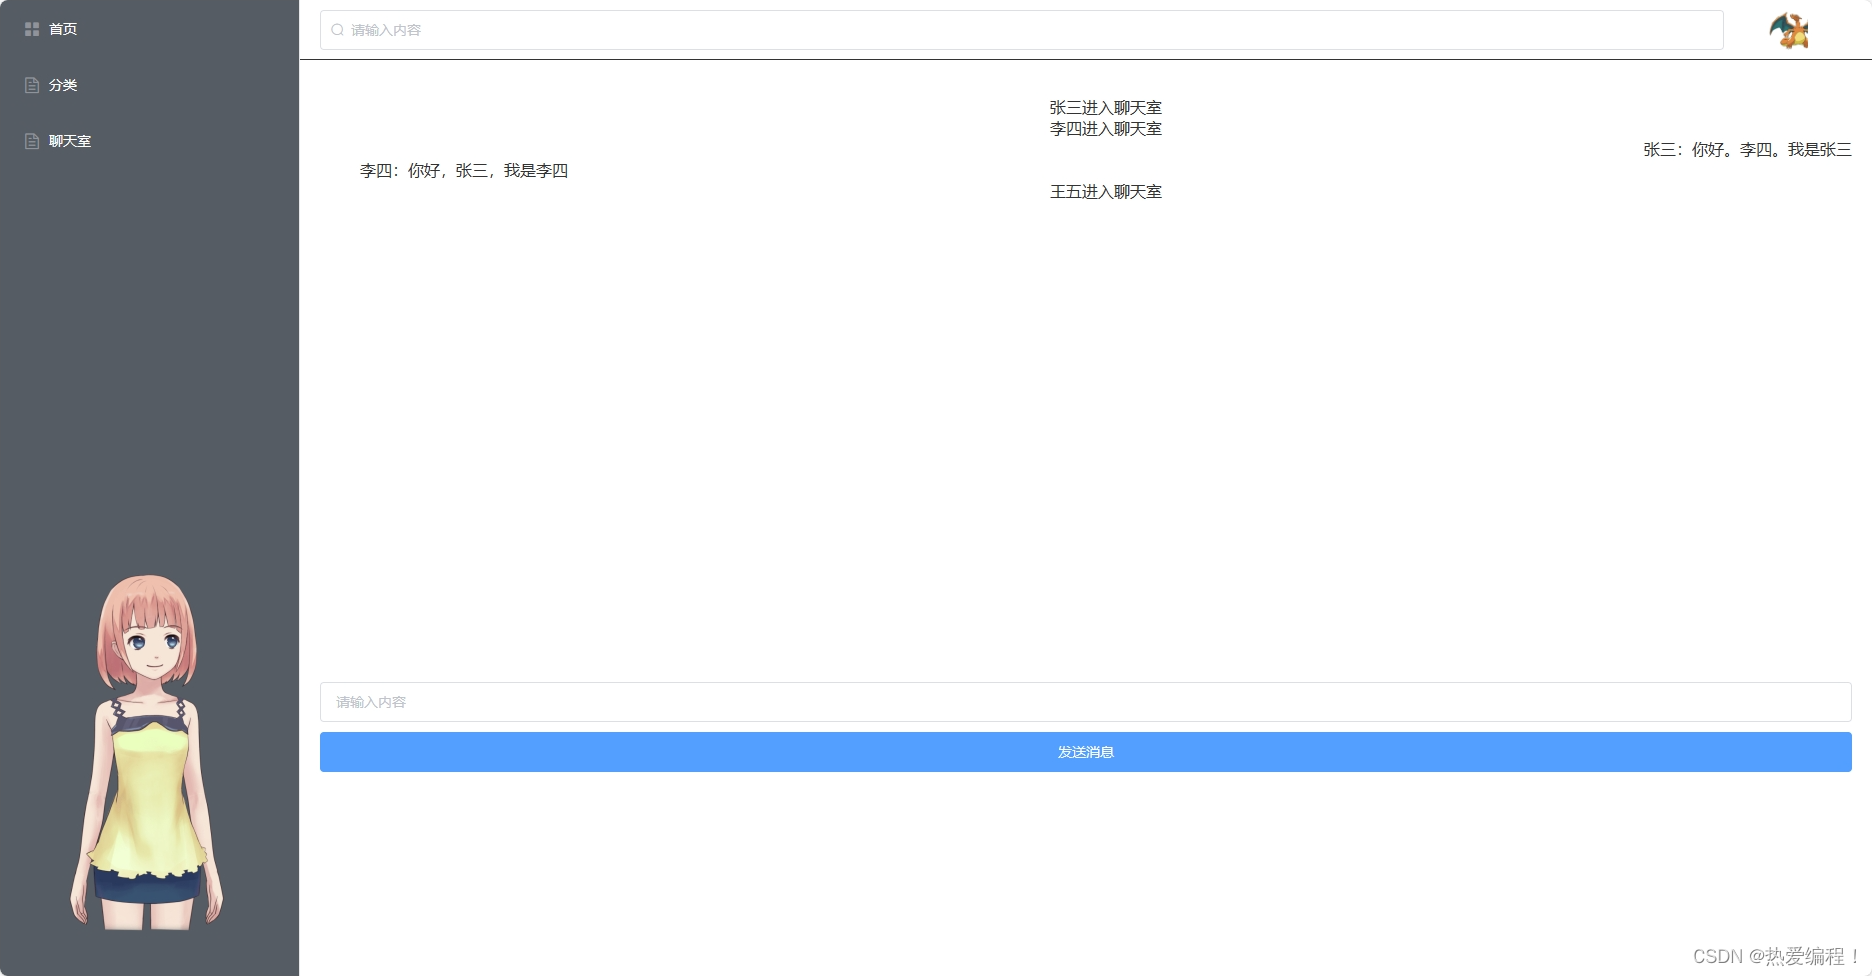
</style>进入聊天页面后,先判断用户是否登录,如果登录,不必填写昵称,直接用用户昵称即可,反之,modal框会出现,必须填写昵称。之后,前端触发login事件,后端监听到login事件,io.sockets.emit向所有建立连接的客户端发送xxx登录信息,前端发送信息,触发chat事件,后端监听到事件之后,做出响应,触发response_chat事件。
涉及到的信息。存入chatList中,便于展示
例:


 349
349


 被折叠的 条评论
为什么被折叠?
被折叠的 条评论
为什么被折叠?
 到【灌水乐园】发言


