


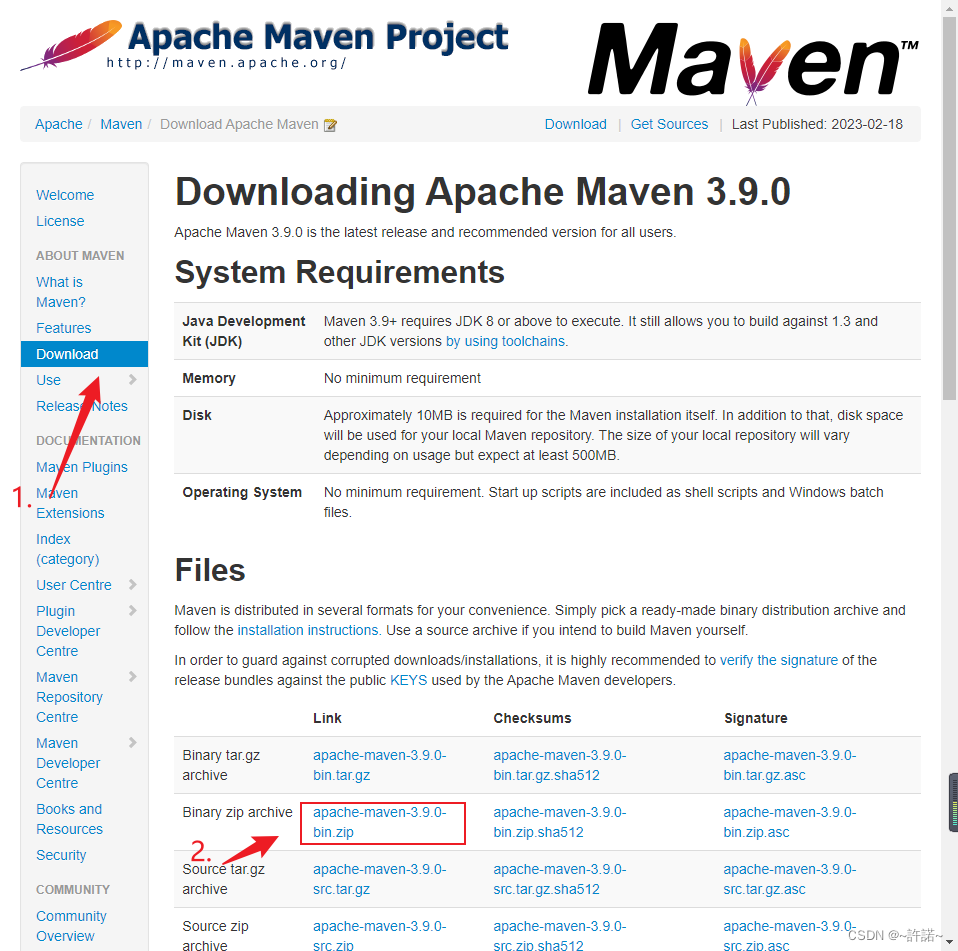
1.去maven官网下载maven
官网地址:https://maven.apache.org/download.cgi(注意下zip版)。
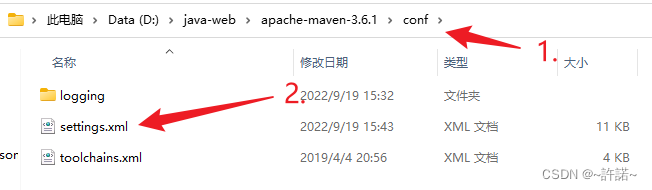
2.解压后修改conf目录下的settings.xml
1)注意解压路径放在英文路径下。
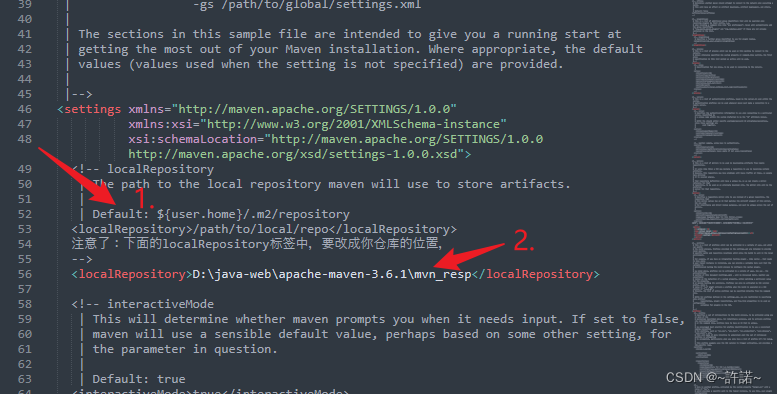
2)注释掉原本默认仓库的位置,修改为自己本地的仓库(相当于自己创个文件夹放东西)。
3)把默认的镜像注释,修改为阿里巴巴的镜像。
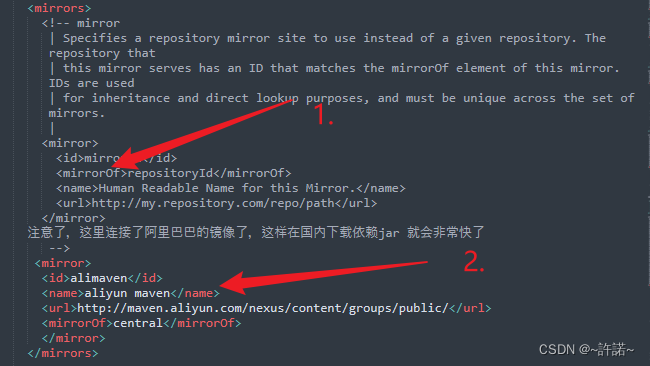
<mirror>
<id>alimaven</id>
<name>aliyun maven</name>
<url>http://maven.aliyun.com/nexus/content/groups/public/</url>
<mirrorOf>central</mirrorOf>
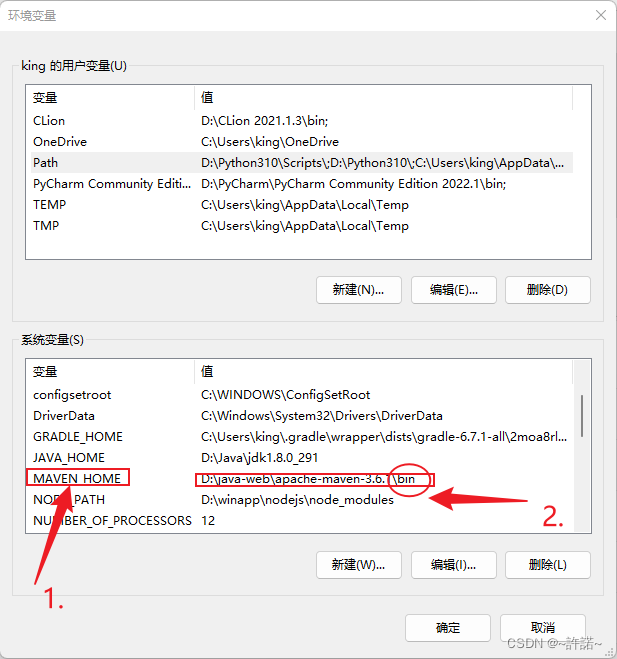
</mirror>3.配置系统环境
1)新增MAVEN_HOME系统变量,注意配置到bin目录下。
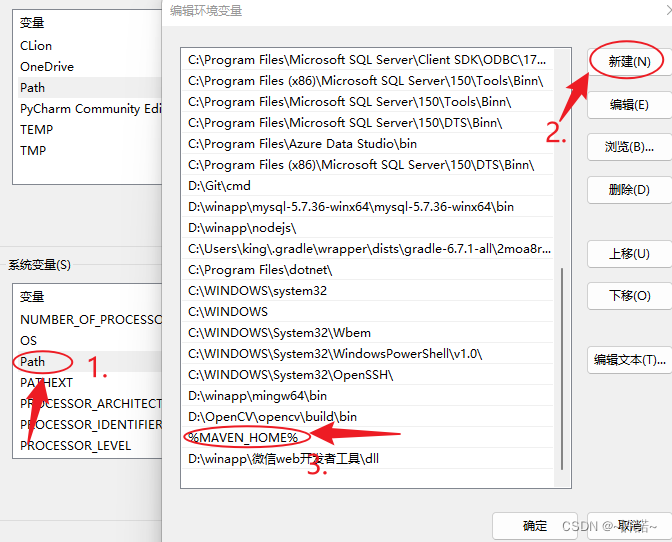
2)编辑Path系统变量,新建环境变量%MAVEN_HOME%。
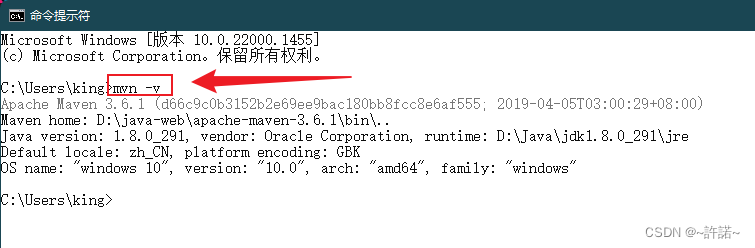
3)打开cmd命令行输入mvn -v,出现以下界面说明maven配置成功。
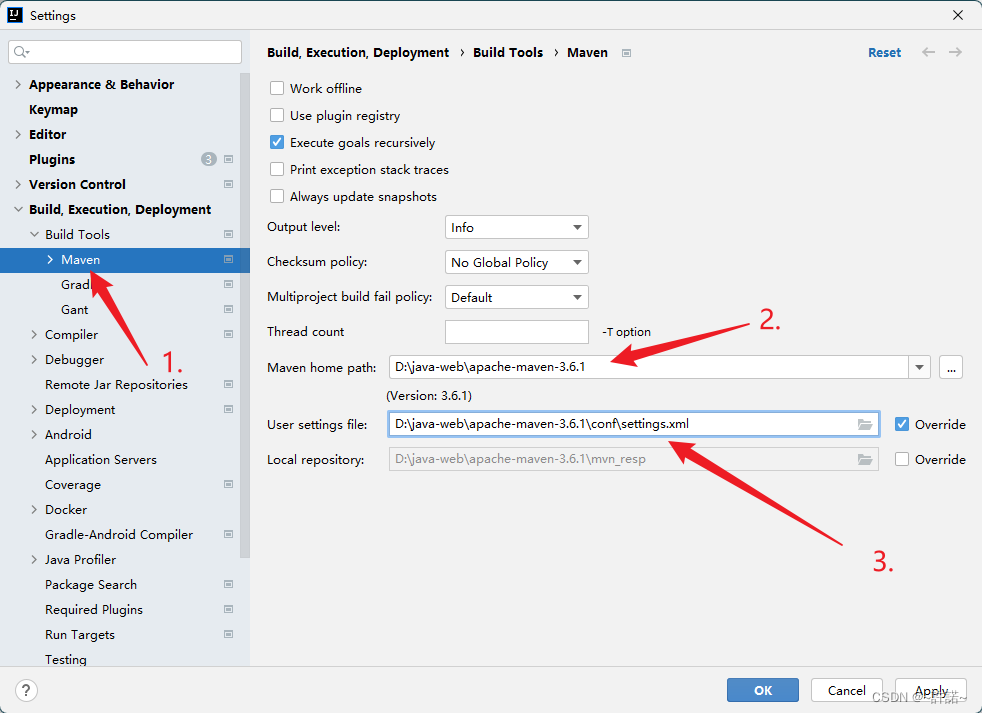
4.在idea中配置maven
点击File-->Settings中的maven,把路径配置为我们自己所下的maven,仓库会自动识别。


 131
131


 被折叠的 条评论
为什么被折叠?
被折叠的 条评论
为什么被折叠?
 到【灌水乐园】发言


