


记录一下学到的
效果如图

代码如下
 <el-form-item label="密码长度" prop="name">
                        <el-slider @input="cpuFunc" :show-tooltip="false" v-model="passwordLength" placement="bottom"
                            range :max="50" validate-event="true" />
                    </el-form-item>

function cpuFunc() {
    let sliderButton = document.getElementsByClassName("el-slider__button-wrapper");//滑块
    sliderButton[0].setAttribute("data-attr", passwordLength.value[0] + '位')
    sliderButton[1].setAttribute("data-attr", passwordLength.value[1] + '位')

}
//打开页面后渲染完成后执行函数显示位数
setTimeout(function () { cpuFunc(); }, 1000);
// watch(() => {
//     // proxy.$nextTick(() => {
//     setTimeout(function () { cpuFunc(); }, 1000);
//     // })
// })

 :deep(.el-slider__button-wrapper)::before {
        content: attr(data-attr); // !!内容位置
        position: absolute;
        width: 40px;
        height: 20px;
        line-height: 20px;
        border-radius: 5px;
        text-align: center;
        top: 28px;
        left: -2px;
        background: rgb(255, 255, 255);
        color: rgb(146, 146, 146);
    }
代码分析
HTML部分
<el-form-item label="密码长度" prop="name">
                        <el-slider @input="cpuFunc" :show-tooltip="false" v-model="passwordLength"
                            range :max="50" validate-event="true" />
                    </el-form-item>
当数据改变时触发cpuFunc函数
css部分
 :deep(.el-slider__button-wrapper)::before {
        content: attr(data-attr); // !!内容位置
        position: absolute;
        width: 40px;
        height: 20px;
        line-height: 20px;
        border-radius: 5px;
        text-align: center;
        top: 28px;
        left: -2px;
        background: rgb(255, 255, 255);
        color: rgb(146, 146, 146);
    }
使用伪类实现文字显示
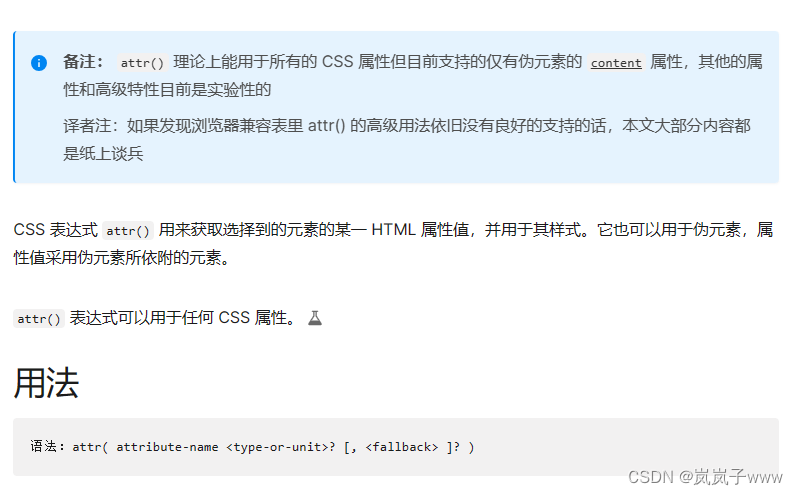
在滑动按钮之前添加内容(测试过用after添加会导致滑动按钮位置偏移,原因不明),其中变使用 attr() 用来获取选择到的元素的某一 HTML 属性值,并用于其样式
js部分
function cpuFunc() {
    let sliderButton = document.getElementsByClassName("el-slider__button-wrapper");//滑块
    sliderButton[0].setAttribute("data-attr", passwordLength.value[0] + '位')
    sliderButton[1].setAttribute("data-attr", passwordLength.value[1] + '位')

}
//打开页面后渲染完成后执行函数显示位数
setTimeout(function () { cpuFunc(); }, 1000);
// watch(() => {
//     // proxy.$nextTick(() => {
//     setTimeout(function () { cpuFunc(); }, 1000);
//     // })
// })
根据元素的 class 属性值查询一组元素节点对象,因为存在两个滑动按钮被添加,所以分别取数组的每个元素使用setAttribute添加数值,其中‘data-attr’可为任意名称,上下对应就好
延时函数用于打开页面时等渲染完成调用函数,显示下方数字(参考别的文章使用watch和nextTick总报错,目前不知道怎么优化)
setAttribute()用法
setAttribute() 方法添加指定的属性,并为其赋指定的值。
如果这个指定的属性已存在,则仅设置/更改值。
语法:
element.setAttribute(attributename,attributevalue)
getAttribute()方法返回指定属性名的属性值
element.getAttribute(attributename);
参考:
还在学习,继续加油


 3022
3022


 被折叠的 条评论
为什么被折叠?
被折叠的 条评论
为什么被折叠?
 到【灌水乐园】发言


