


安卓 Fragment
多窗格界面
具有生命周期的子activity
委托在activity中才能运行
Fragment使用
创建一个空Fragment
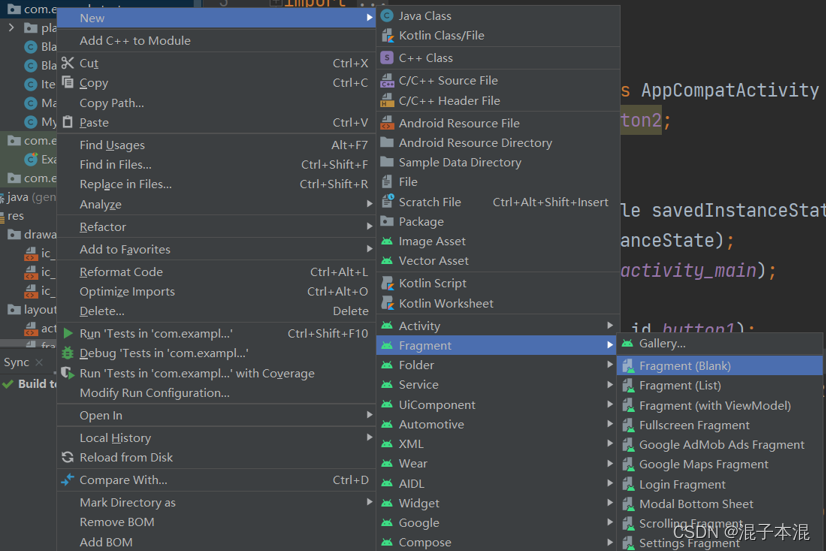
重写方法
package com.example.test;

import android.os.Bundle;

import androidx.fragment.app.Fragment;

import android.view.LayoutInflater;
import android.view.View;
import android.view.ViewGroup;
import android.widget.Button;
import android.widget.TextView;


public class BlankFragment extends Fragment {
    private View view;
    private Button button;
    private TextView textView;

    @Override
    public void onCreate(Bundle savedInstanceState) {
        super.onCreate(savedInstanceState);
    }

    @Override
    public View onCreateView(LayoutInflater inflater, ViewGroup container,
                             Bundle savedInstanceState) {
        if(view ==null ){
            //解析器解析view
            view = inflater.inflate(R.layout.fragment_blank ,container,false);
        }
        button = view.findViewById( R.id.button);
        textView = view.findViewById(R.id.tv);
        button.setOnClickListener(view1 -> {
            textView.setText("按钮被点击");
        });
        return view;
    }
}
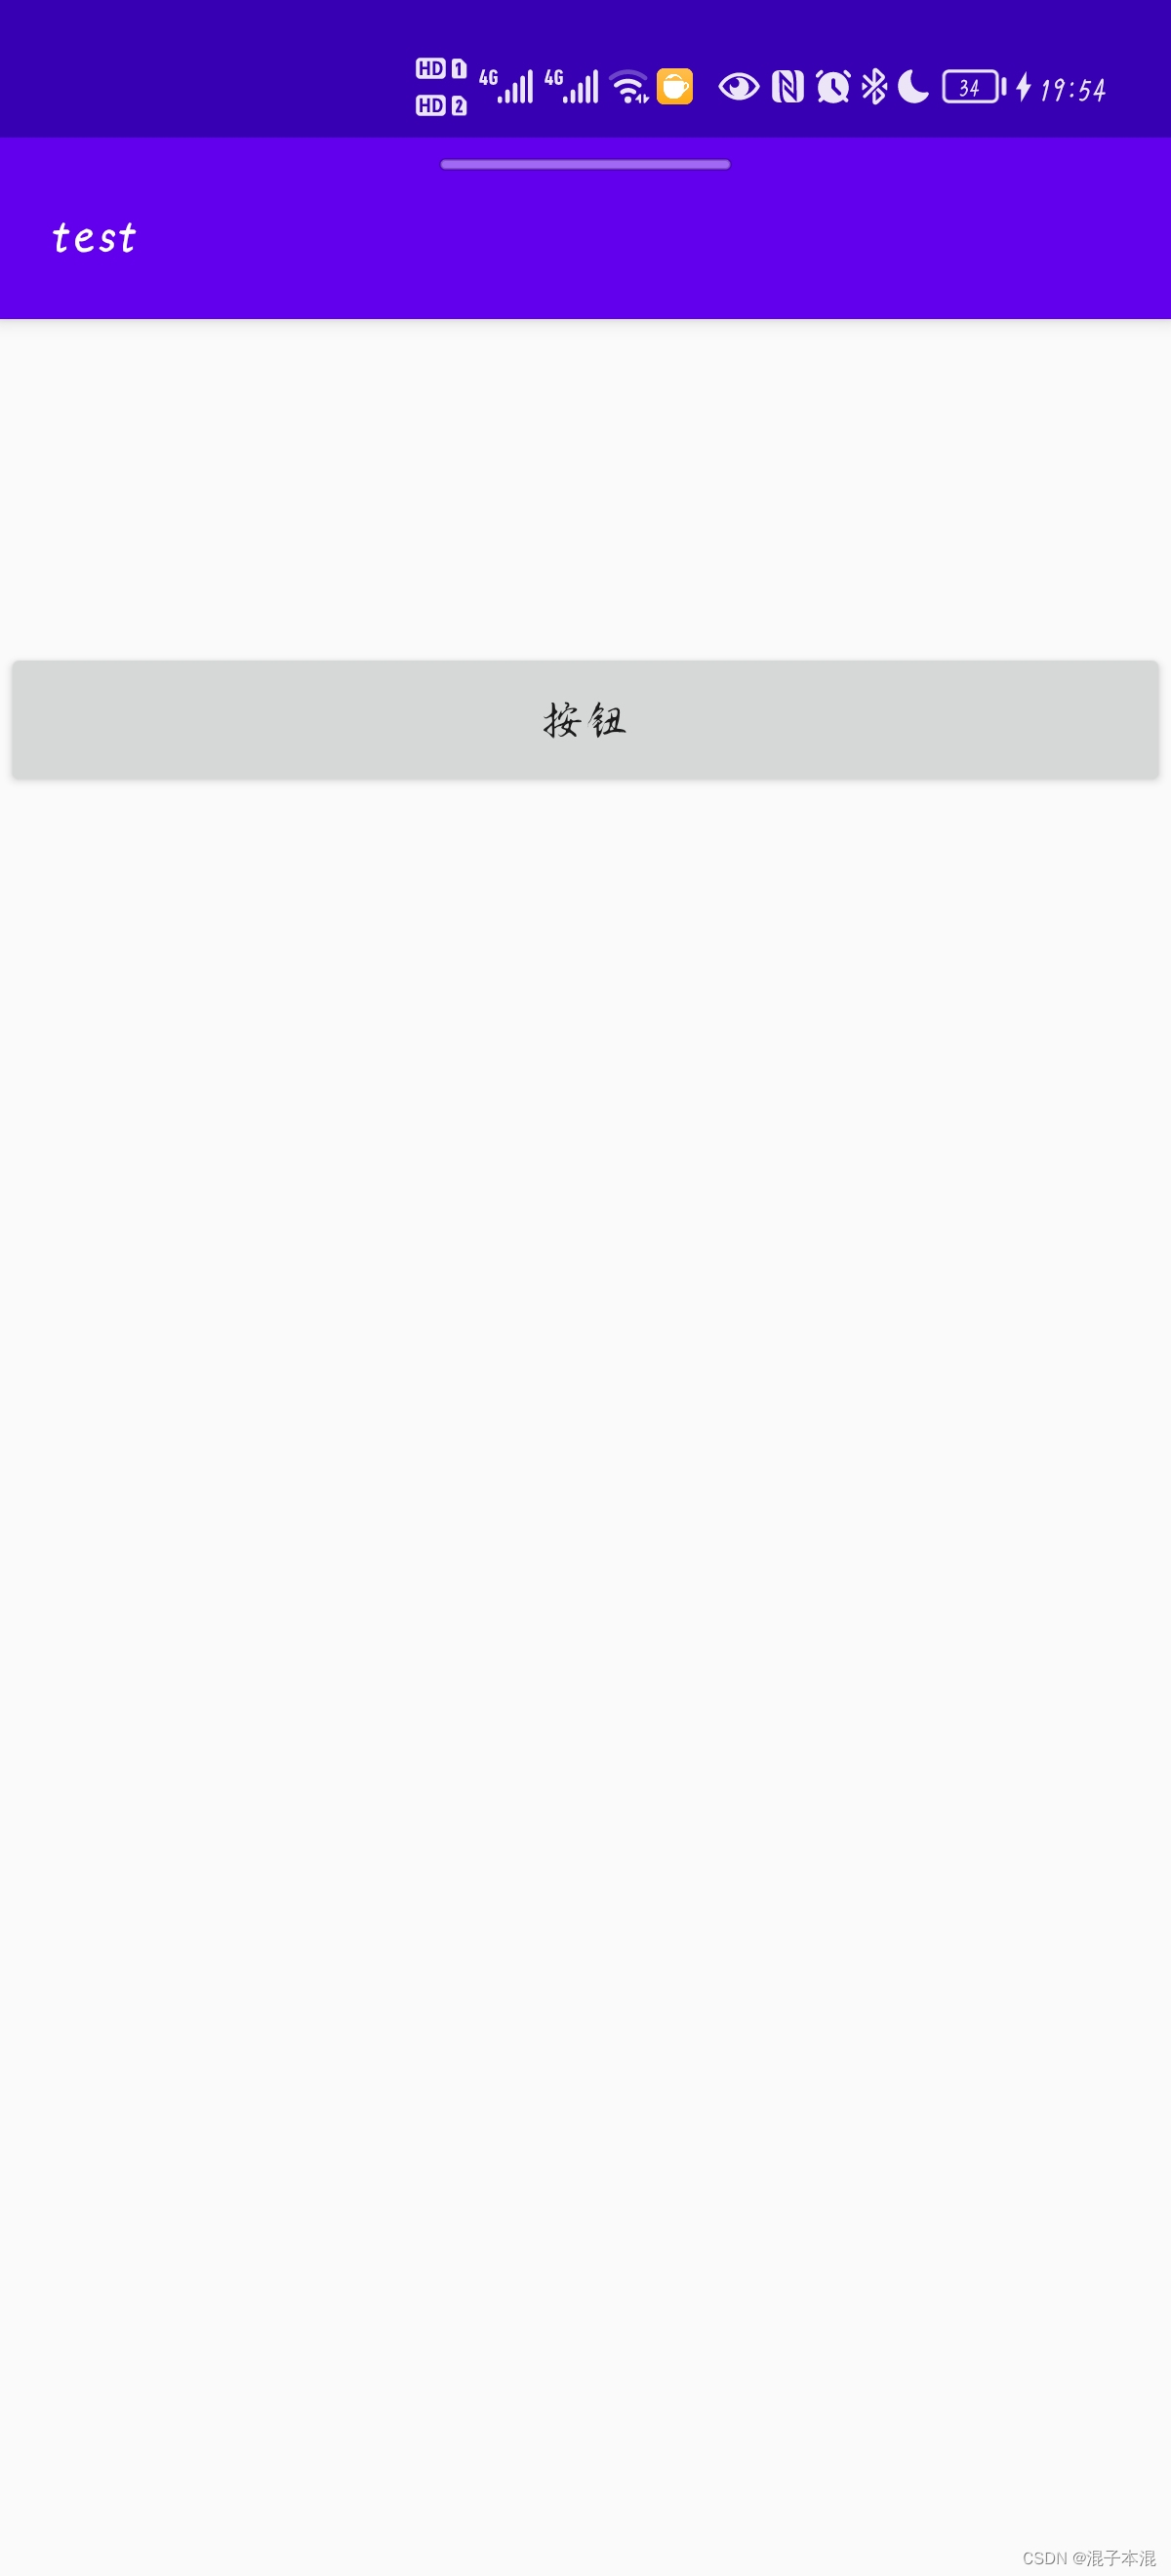
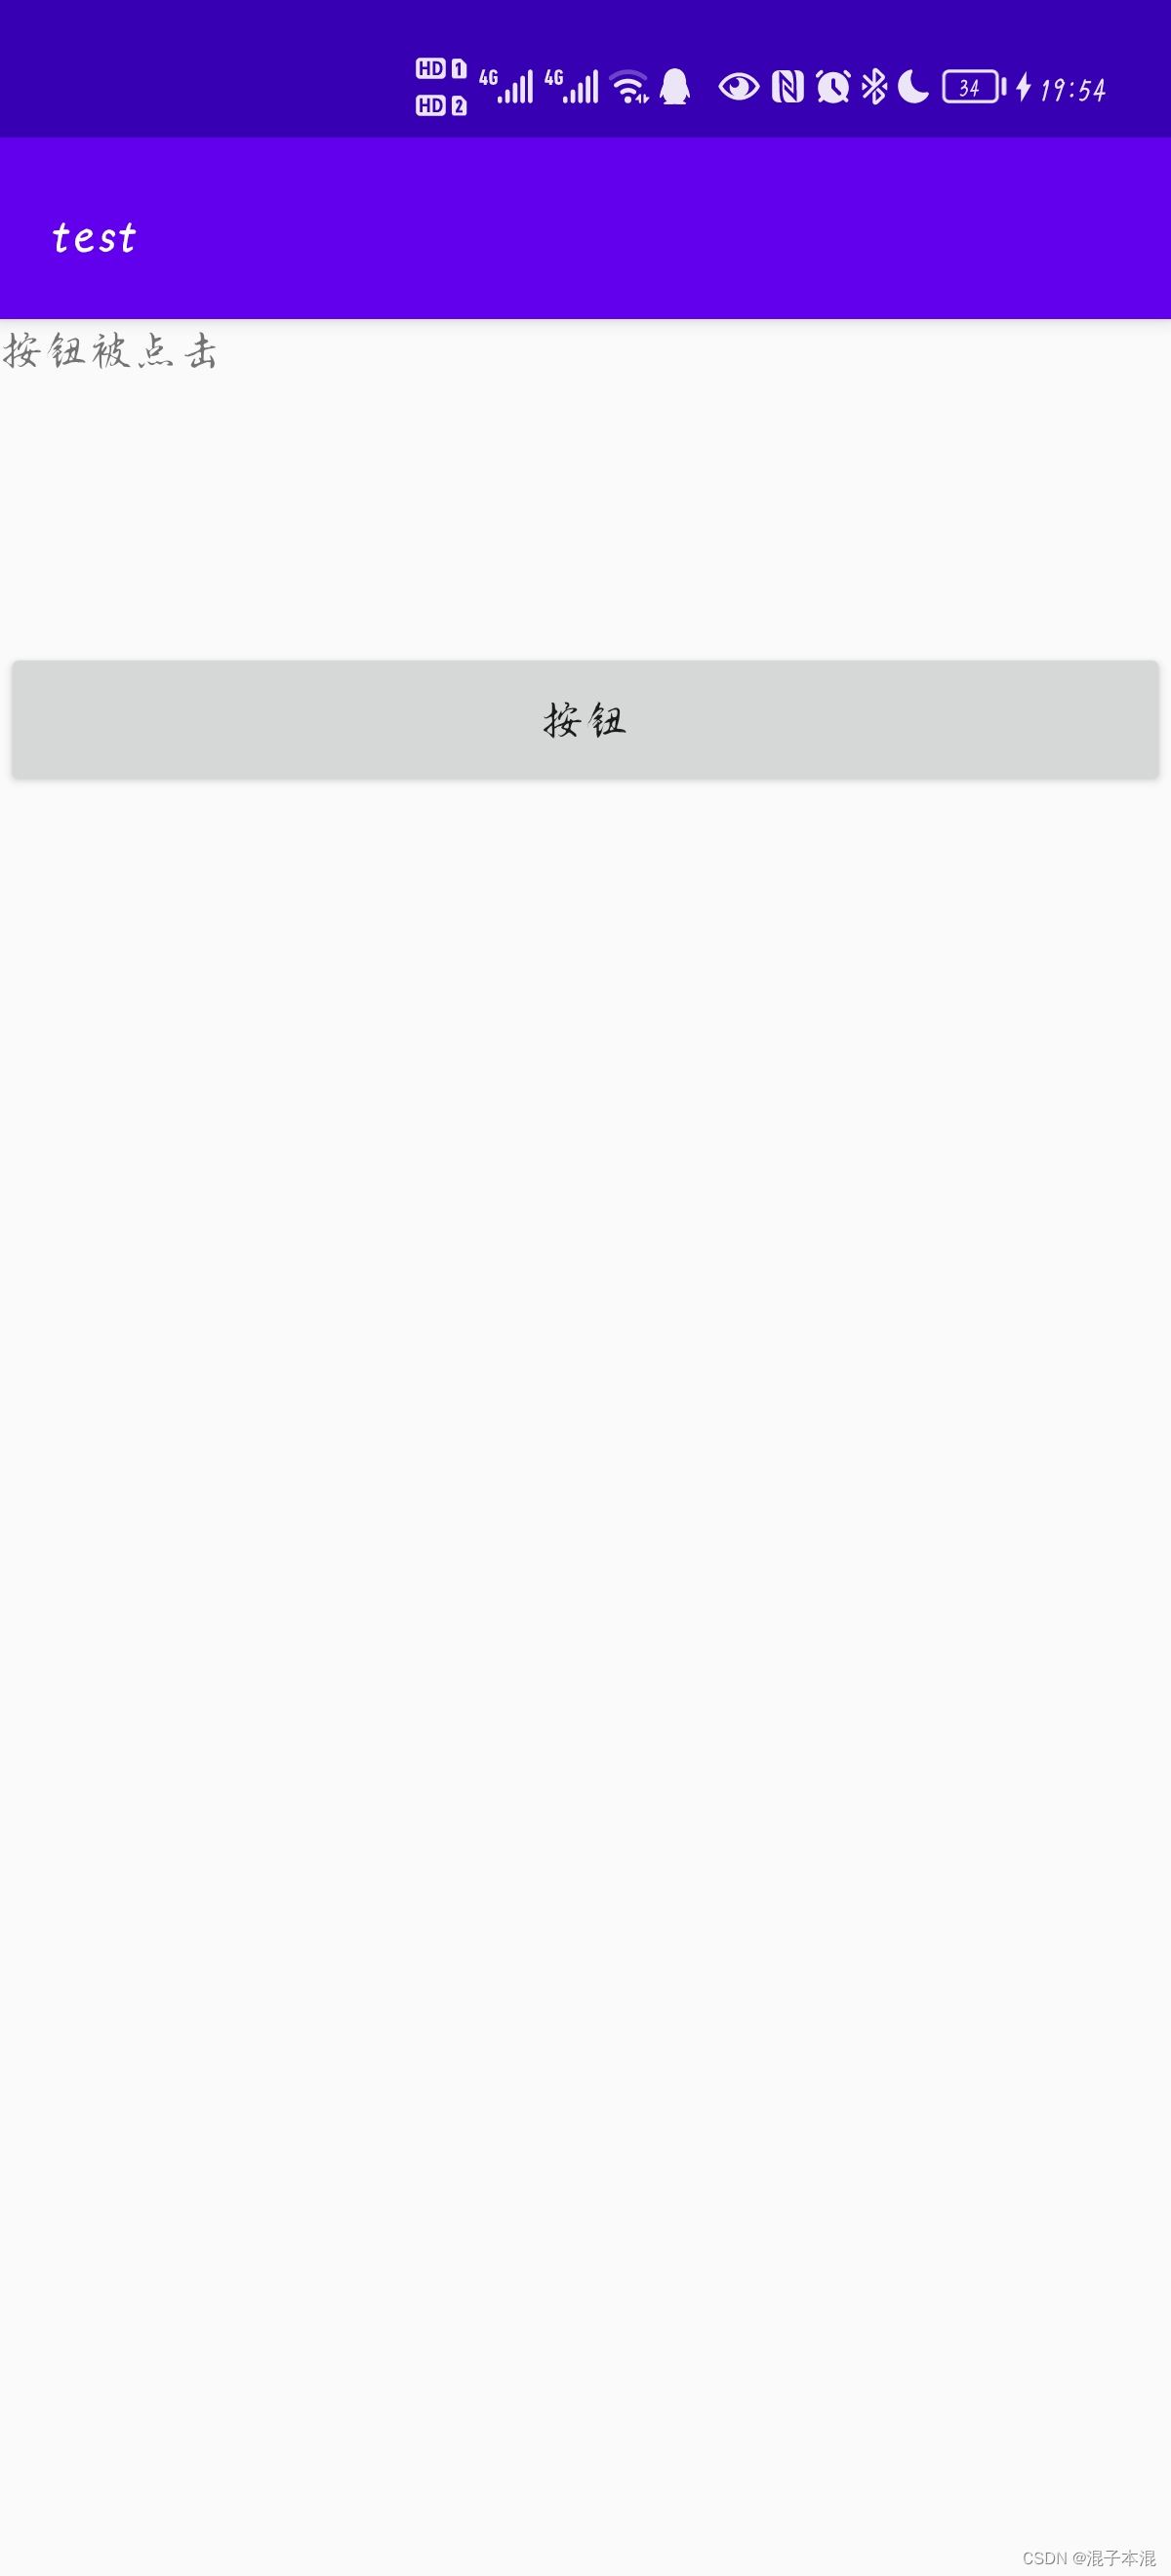
点击按钮,文本框显示文字
代码
xml
<?xml version="1.0" encoding="utf-8"?>
<LinearLayout xmlns:android="http://schemas.android.com/apk/res/android"
    xmlns:app="http://schemas.android.com/apk/res-auto"
    xmlns:tools="http://schemas.android.com/tools"
    android:layout_width="match_parent"
    android:layout_height="match_parent"
    tools:context=".MainActivity">
    <fragment

        android:name="com.example.test.BlankFragment"
        android:layout_width="match_parent"
        android:layout_height="match_parent"
         android:id="@+id/f1"
        />
</LinearLayout>
xml
<?xml version="1.0" encoding="utf-8"?>
<LinearLayout xmlns:android="http://schemas.android.com/apk/res/android"
    xmlns:tools="http://schemas.android.com/tools"
    android:layout_width="match_parent"
    android:layout_height="match_parent"
    tools:context=".BlankFragment"
    android:orientation="vertical">

    <TextView
        android:id="@+id/tv"
        android:layout_width="match_parent"
        android:layout_height="wrap_content"
        android:text="" />
    <Button
        android:id="@+id/button"
        android:text="按钮"
        android:layout_width="match_parent"
        android:layout_height="wrap_content"/>
</LinearLayout>
java
package com.example.test;

import android.os.Bundle;

import androidx.fragment.app.Fragment;

import android.view.LayoutInflater;
import android.view.View;
import android.view.ViewGroup;
import android.widget.Button;
import android.widget.TextView;


public class BlankFragment extends Fragment {
    private View view;
    private Button button;
    private TextView textView;

    @Override
    public void onCreate(Bundle savedInstanceState) {
        super.onCreate(savedInstanceState);
    }

    @Override
    public View onCreateView(LayoutInflater inflater, ViewGroup container,
                             Bundle savedInstanceState) {
        if(view ==null ){
            //解析器解析view
            view = inflater.inflate(R.layout.fragment_blank ,container,false);
        }
        button = view.findViewById( R.id.button);
        textView = view.findViewById(R.id.tv);
        button.setOnClickListener(view1 -> {
            textView.setText("按钮被点击");
        });
        return view;
    }
}
效果图
动态添加Fragment
步骤
创建一个待处理的Fragment
获取FragmentManager
开启一个事务ragmentTransaction
提交事务
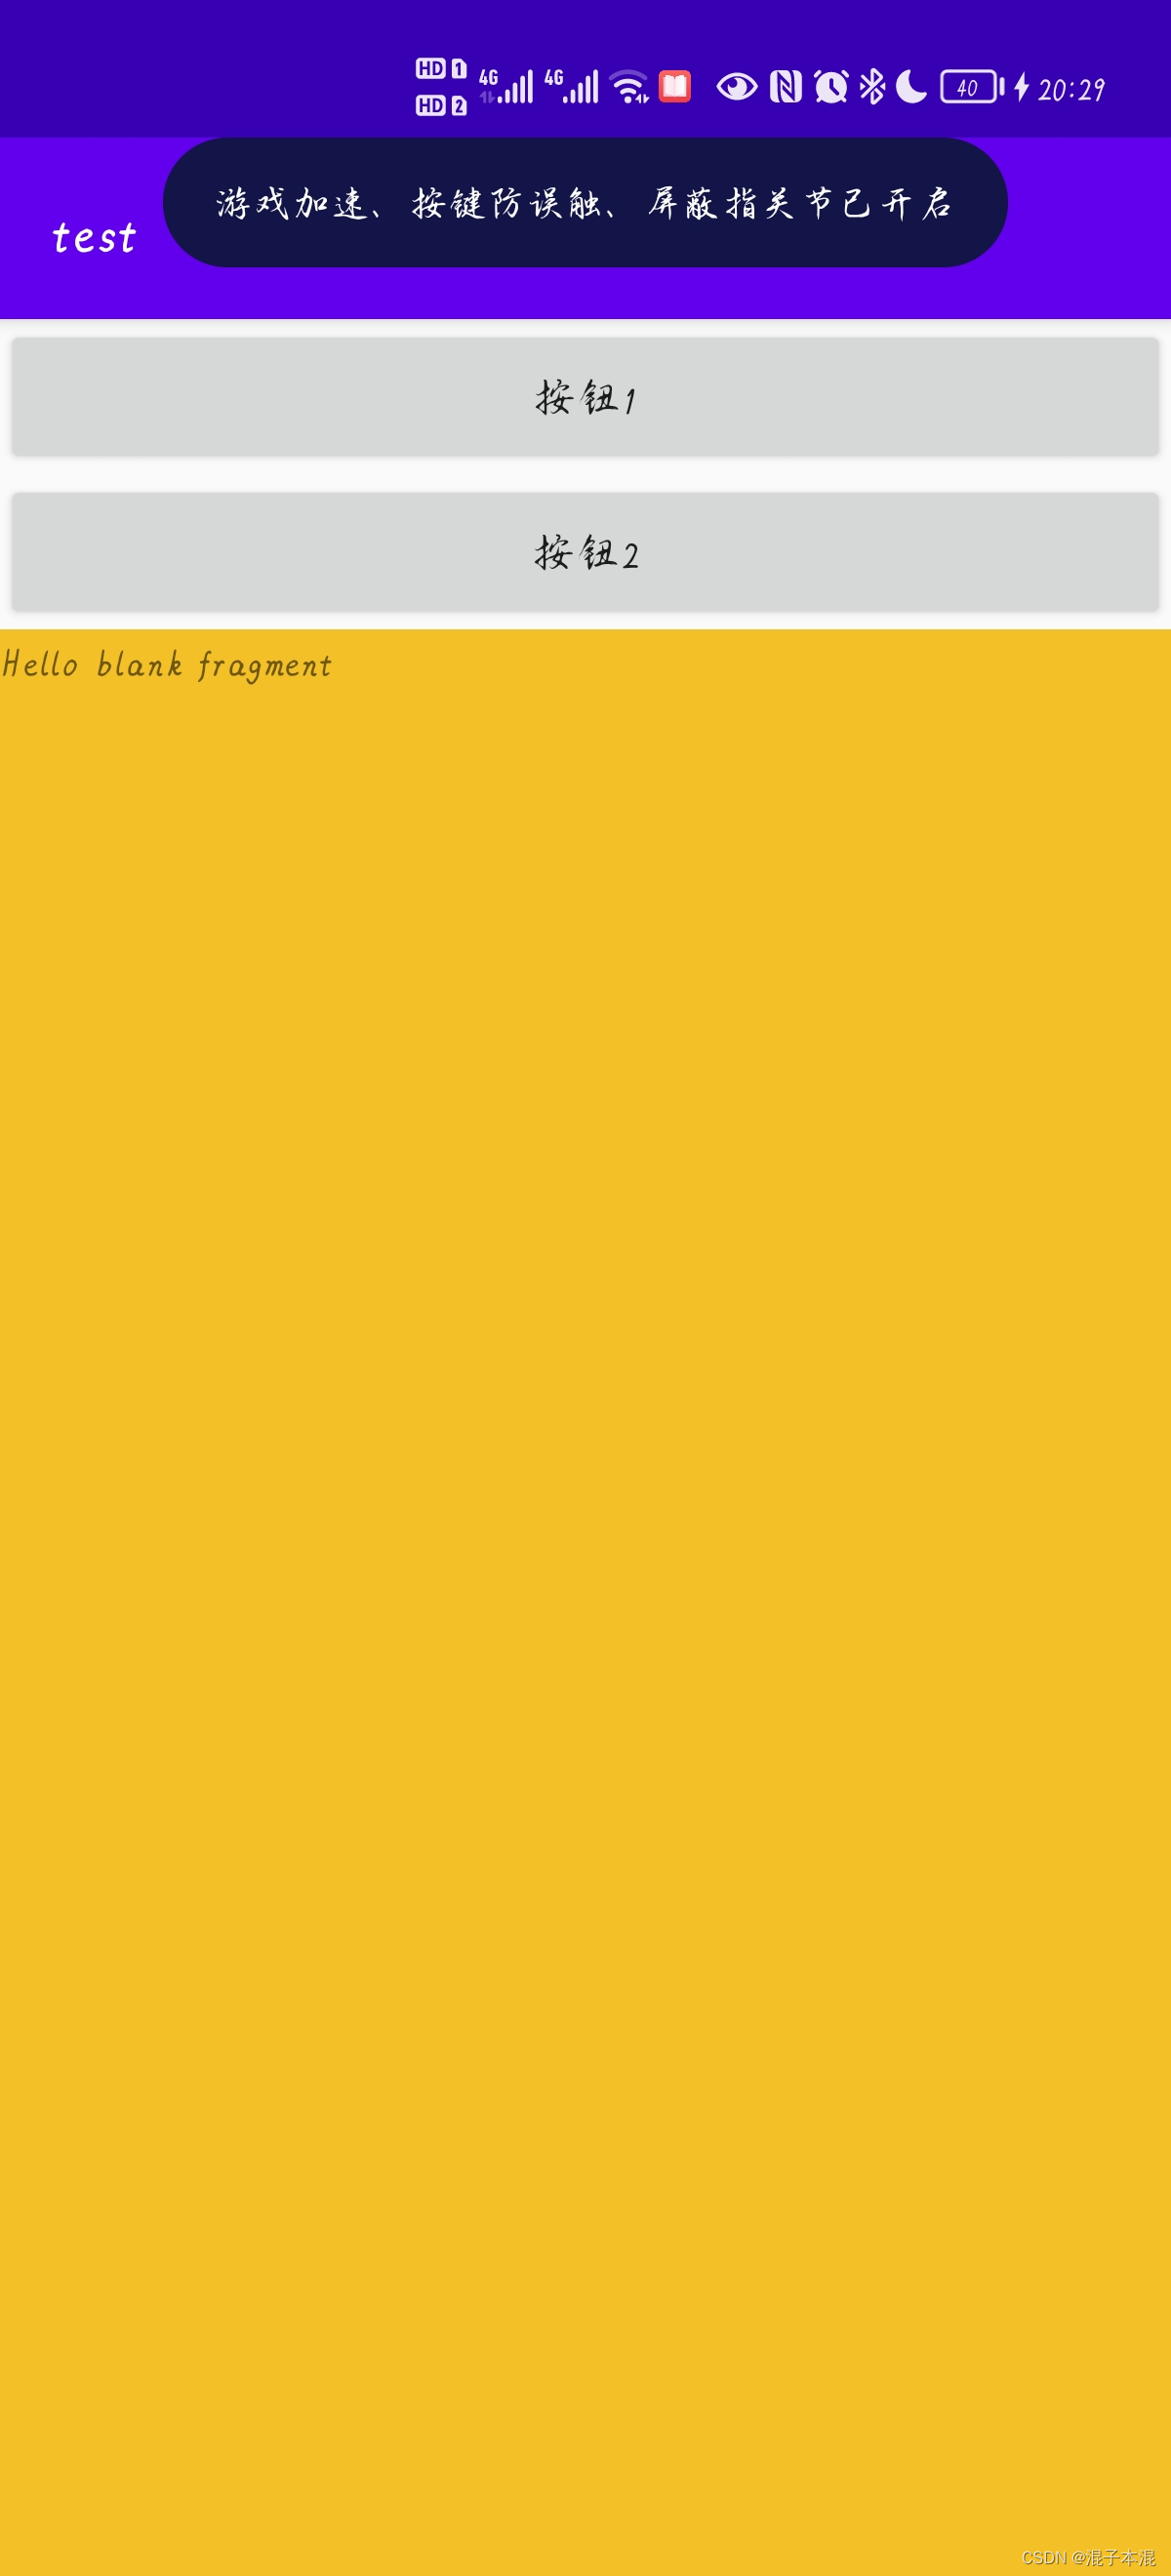
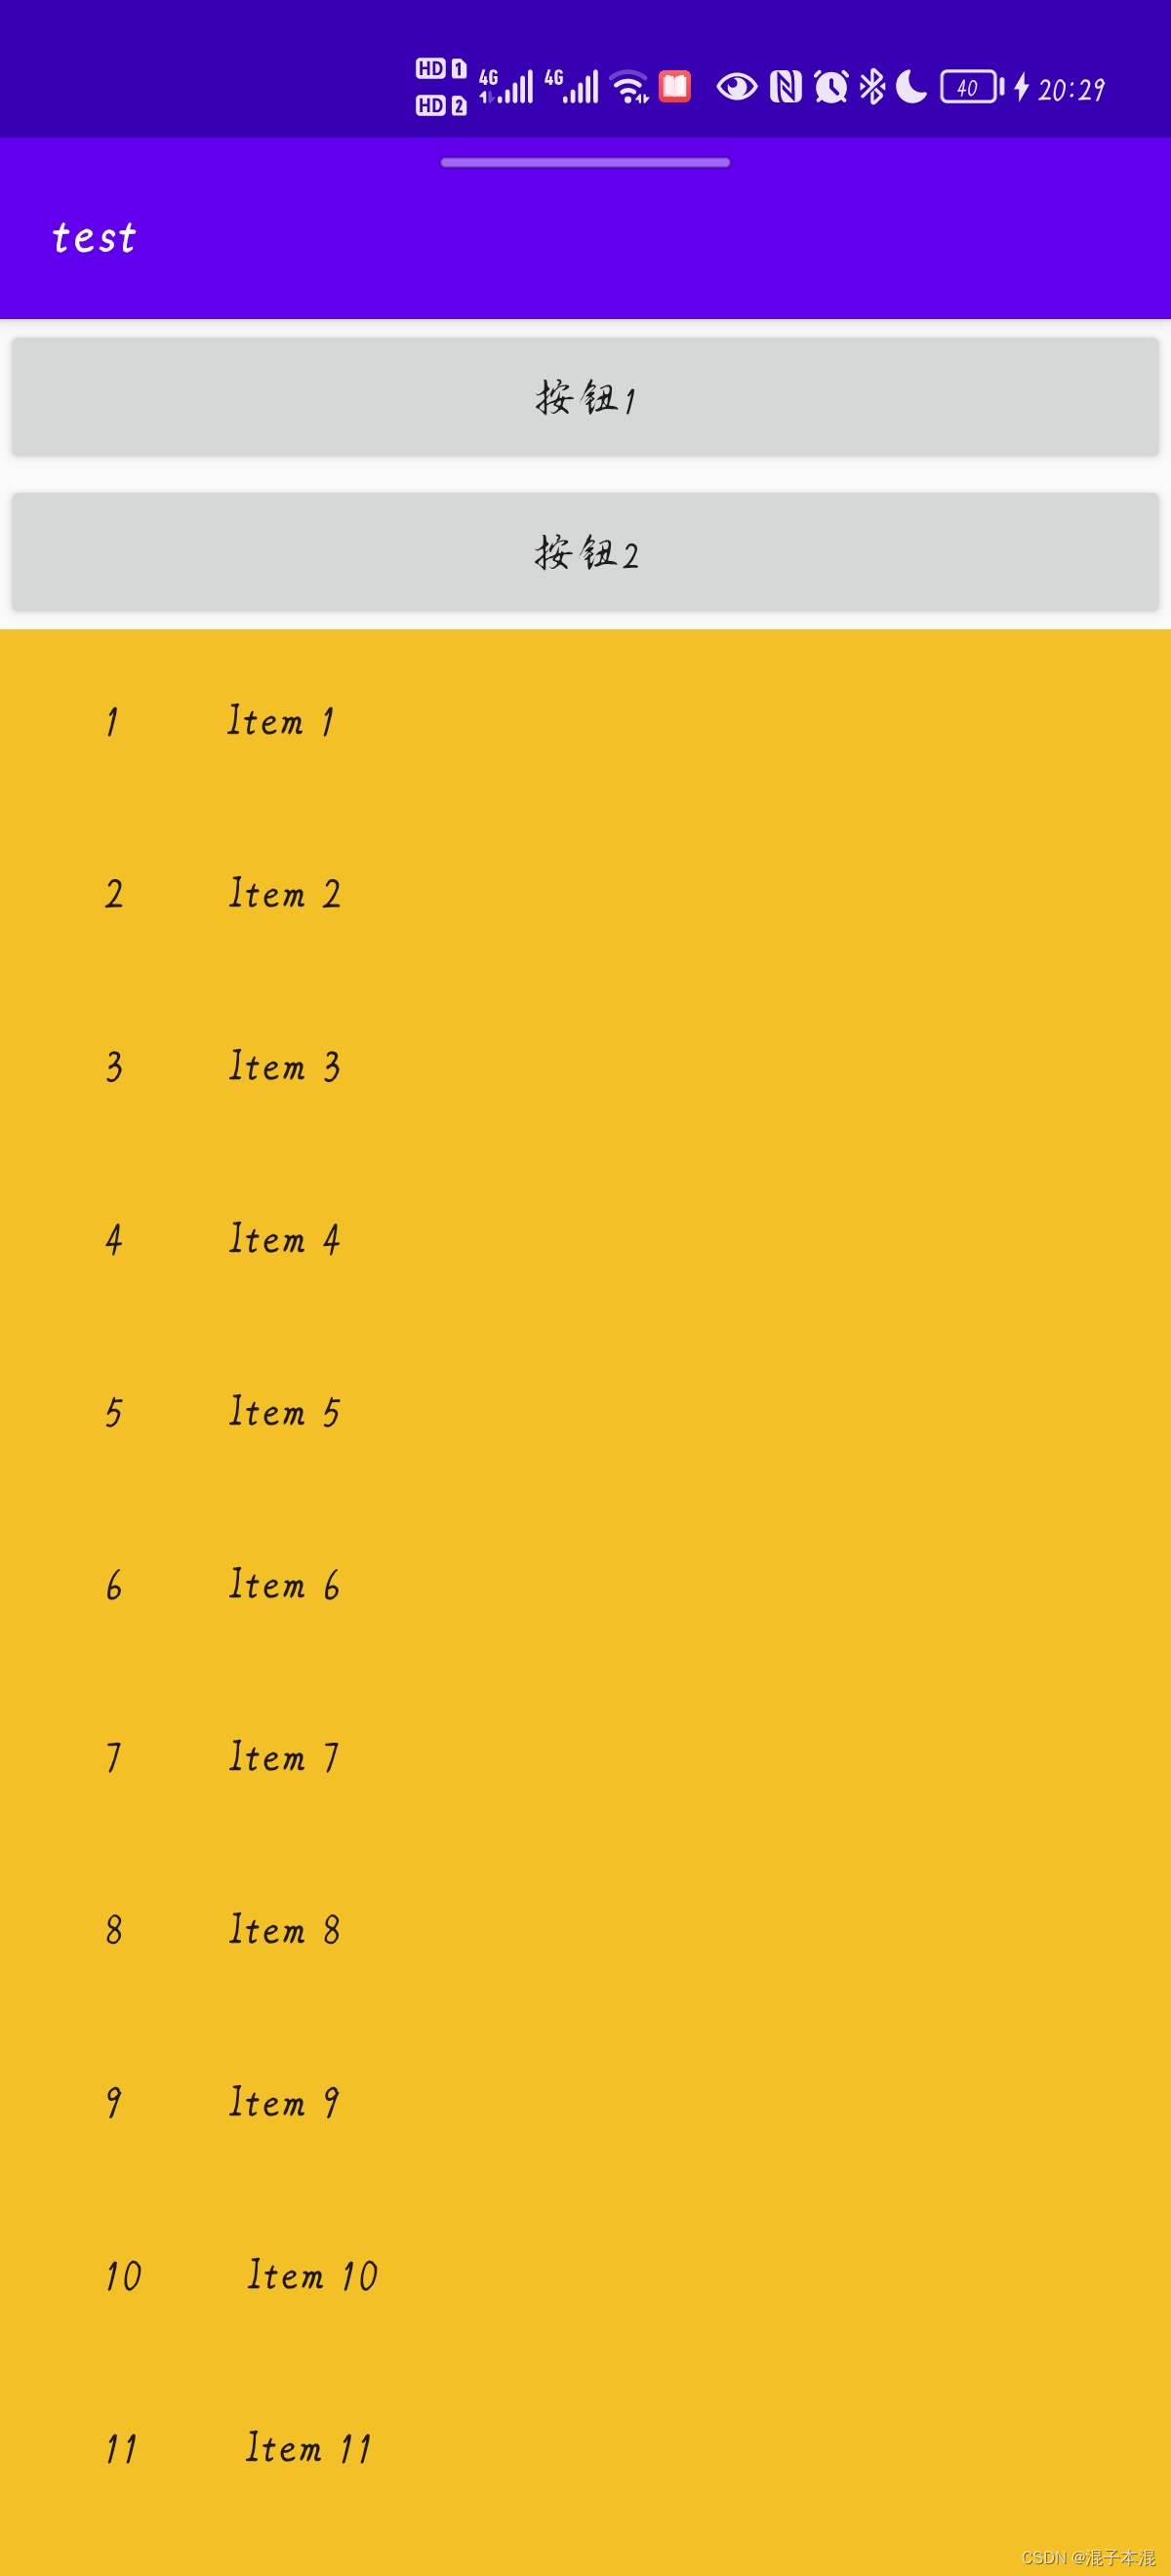
点击按钮增添不同的Fragment
xml
<?xml version="1.0" encoding="utf-8"?>
<LinearLayout xmlns:android="http://schemas.android.com/apk/res/android"
    xmlns:app="http://schemas.android.com/apk/res-auto"
    xmlns:tools="http://schemas.android.com/tools"
    android:layout_width="match_parent"
    android:layout_height="match_parent"
    tools:context=".MainActivity"
    android:orientation="vertical"
    >
    <Button
        android:id="@+id/button1"
        android:layout_width="match_parent"
        android:layout_height="wrap_content"
        android:text="按钮1"
        />
    <Button
        android:id="@+id/button2"
        android:layout_width="match_parent"
        android:layout_height="wrap_content"
        android:text="按钮2"
        />
    <FrameLayout
        android:layout_width="match_parent"
        android:layout_height="match_parent"
        android:background = "#F3C028"
        android:id="@+id/f1">
    </FrameLayout>

</LinearLayout>
java
package com.example.test;

import androidx.appcompat.app.AppCompatActivity;
import androidx.fragment.app.Fragment;
import androidx.fragment.app.FragmentManager;
import androidx.fragment.app.FragmentTransaction;
import androidx.fragment.app.ListFragment;
import androidx.viewpager.widget.ViewPager;

import android.os.Bundle;
import android.view.LayoutInflater;
import android.view.View;
import android.view.ViewGroup;
import android.widget.Button;
import android.widget.EditText;
import android.widget.PopupWindow;

import java.util.ArrayList;
import java.util.List;


public class MainActivity extends AppCompatActivity {
    private Button button1 , button2;
//    private
    @Override
    protected void onCreate(Bundle savedInstanceState) {
        super.onCreate(savedInstanceState);
        setContentView(R.layout.activity_main);
        //获取控件
        button1 = findViewById(R.id.button1);
        button2 = findViewById(R.id.button2);
        button1.setOnClickListener(view -> {
            replaceFragment(new BlankFragment1());
        });
        button2.setOnClickListener(view -> {
            replaceFragment(new ItemFragment());
        });

    }

    private void replaceFragment(Fragment fragment) {
        //获取FragmentManager
        FragmentManager fragmentManager = getSupportFragmentManager();
        //开启一个事务ragmentTransaction
        FragmentTransaction fragmentTransaction = fragmentManager.beginTransaction();
        fragmentTransaction.replace(R.id.f1 , fragment);
        fragmentTransaction.addToBackStack(null);//添加到同一个栈里
        //提交事务
        fragmentTransaction.commit();
    }

}
效果图


 980
980


 被折叠的 条评论
为什么被折叠?
被折叠的 条评论
为什么被折叠?
 到【灌水乐园】发言


