


这是使用python的selenium库进行对url的批量访问和截图。代码第一次写,也就处于勉强能跑,轻喷。
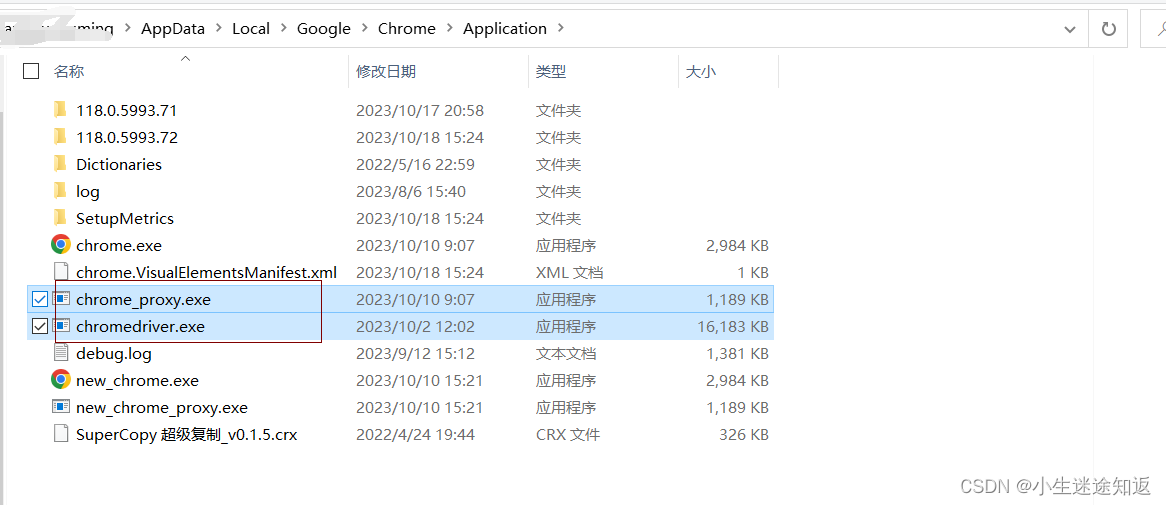
这里要在你的google目录下下载对应版本的chrome_proxy.exe和chromedriver.exe
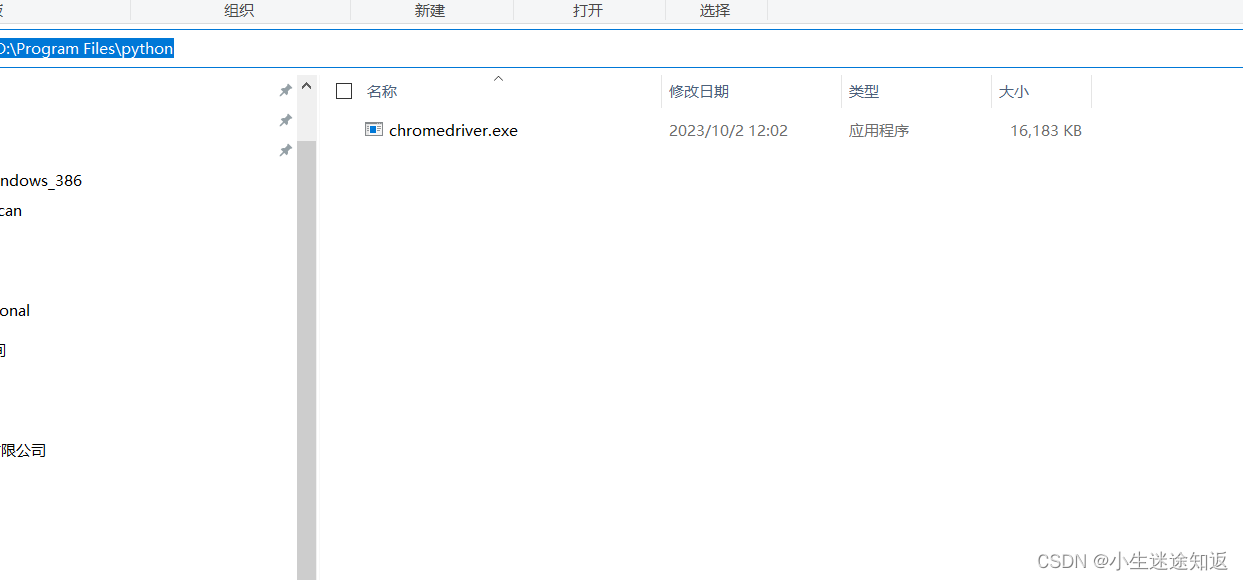
在把chromedriver.exe放在你python的目录下
import os
import shutil
import openpyxl
from openpyxl.drawing.image import Image
from selenium import webdriver
# 创建目录
if not os.path.exists('png'):
os.mkdir('png')
# 删除png文件夹中的图片
if os.path.exists('png'):
shutil.rmtree('png')
os.mkdir('png')
# 启动浏览器
driver = webdriver.Chrome()
# 设置浏览器窗口大小
driver.set_window_size(1280, 800)
# 读取URL列表
urls = []
with open('1.txt', 'r') as file:
for line in file:
urls.append(line.strip())
# 创建表格
table = [['URL', '页面标题']]
# 遍历URL列表
for url in urls:
try:
# 访问URL
driver.get(url)
# 等待页面加载完成
driver.implicitly_wait(10)
# 获取页面标题
title = driver.title
# 保存网页截图
screenshot_filename = f"{title}.png"
screenshot_path = os.path.join('png', screenshot_filename)
driver.save_screenshot(screenshot_path)
# 将URL、页面标题添加到表格中
table.append([url, title])
except Exception as e:
print(f"访问URL出错: {url}")
# 关闭浏览器
driver.quit()
# 创建工作簿和工作表
workbook = openpyxl.Workbook()
sheet = workbook.active
# 写入表格数据
for row in table:
sheet.append(row)
# 图片宽度和高度的像素大小
image_width = 2 * 96 # 每个格子宽度为96像素
image_height = 1 * 96 # 每个格子高度为96像素
# 插入截图到表格中
for i in range(1, len(table)):
screenshot_path = os.path.join('png', f"{table[i][1]}.png")
if os.path.exists(screenshot_path):
img = Image(screenshot_path)
# 设置图片大小为2x1格子大小
img.width = image_width
img.height = image_height
cell = sheet.cell(row=i + 1, column=3) # 截图所在列
sheet.add_image(img, cell.coordinate)
# sheet.row_dimensions[i + 1].height = image_height / 3 # 设置行高为3x3格子大小
sheet.add_image(img, cell.coordinate)
# 调整列宽和行高为4x2格子大小
for col in sheet.columns:
max_length = 0
column = col[0].column_letter
for cell in col:
try:
if len(str(cell.value)) > max_length:
max_length = len(cell.value)
except:
pass
adjusted_width = (max_length + 2) * 1 # 额外增加1.2倍宽度,并乘以4
sheet.column_dimensions[column].width = float(adjusted_width)
for row in sheet.rows:
sheet.row_dimensions[row[0].row].height = 45 * 2 # 行高设置为45,乘以2
# 保存为xlsx文件
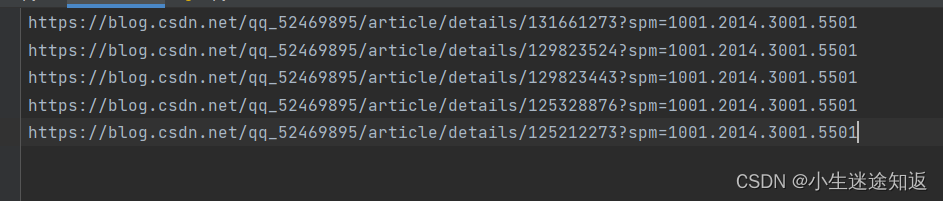
workbook.save('output.xlsx')在1.txt中放入网址后直接运行代码即可
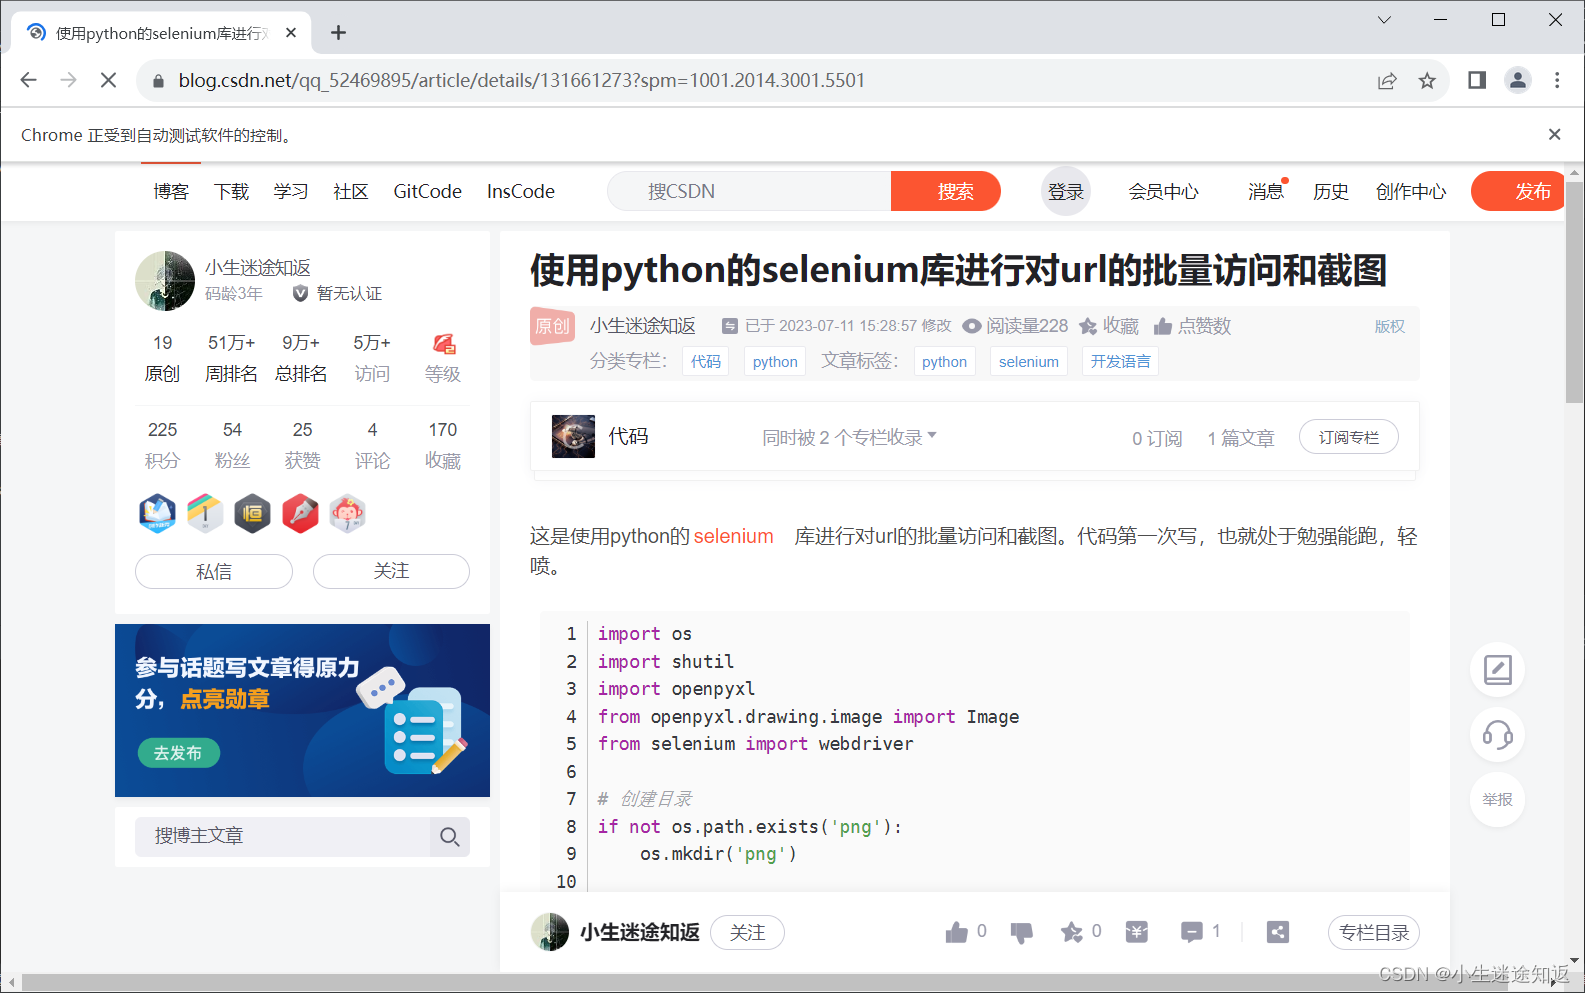
运行大概如图
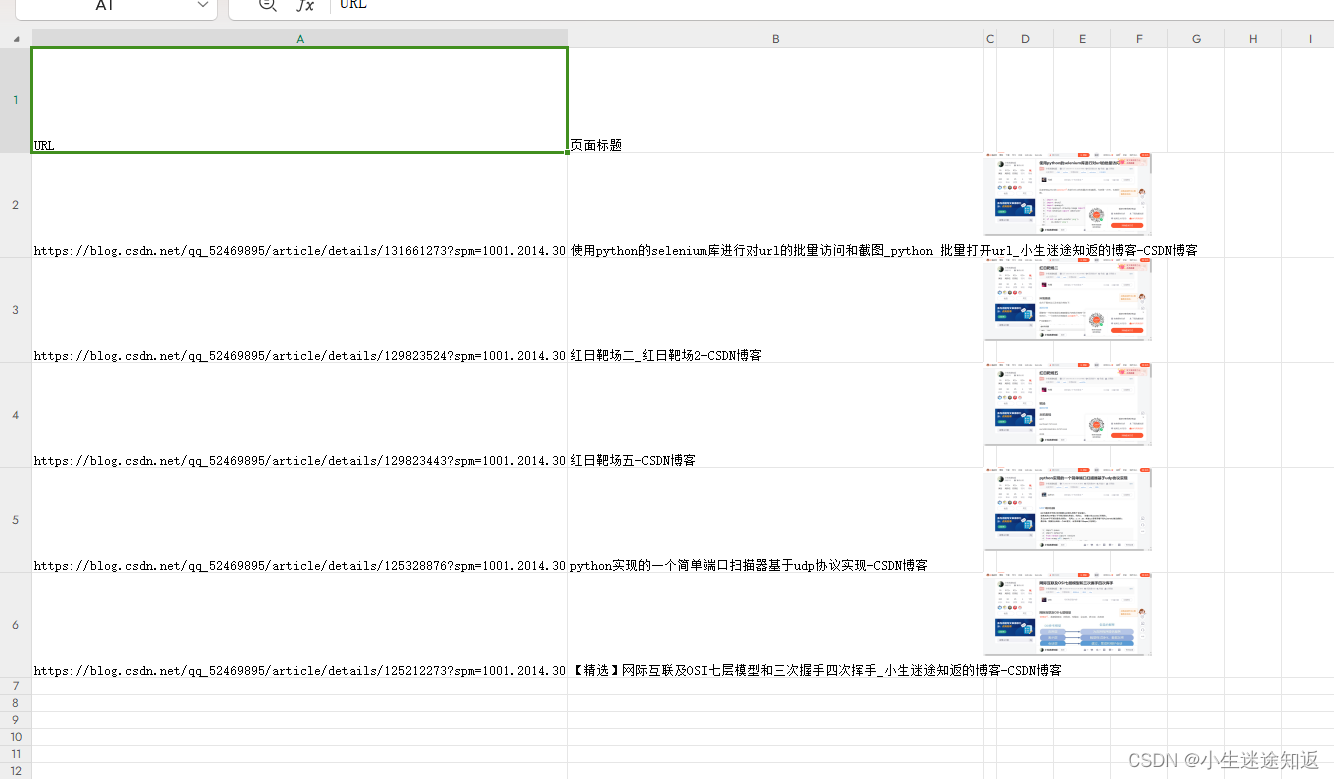
在output.xlsx中可以看到运行结束后的总体内容


 2328
2328

 被折叠的 条评论
为什么被折叠?
被折叠的 条评论
为什么被折叠?
 到【灌水乐园】发言


