


Vue修改ElementUI的dialog
最近在手撸一个个人项目,前端是基于VUE的,我使用的是vue2版本,同时使用了element ui2,饿了么组件很不错,不过有时候部分组件却不能满足我的需要。
我想自行开发一个可复用的弹窗,经过几番挑选,最终瞄准了el-dialog组件。
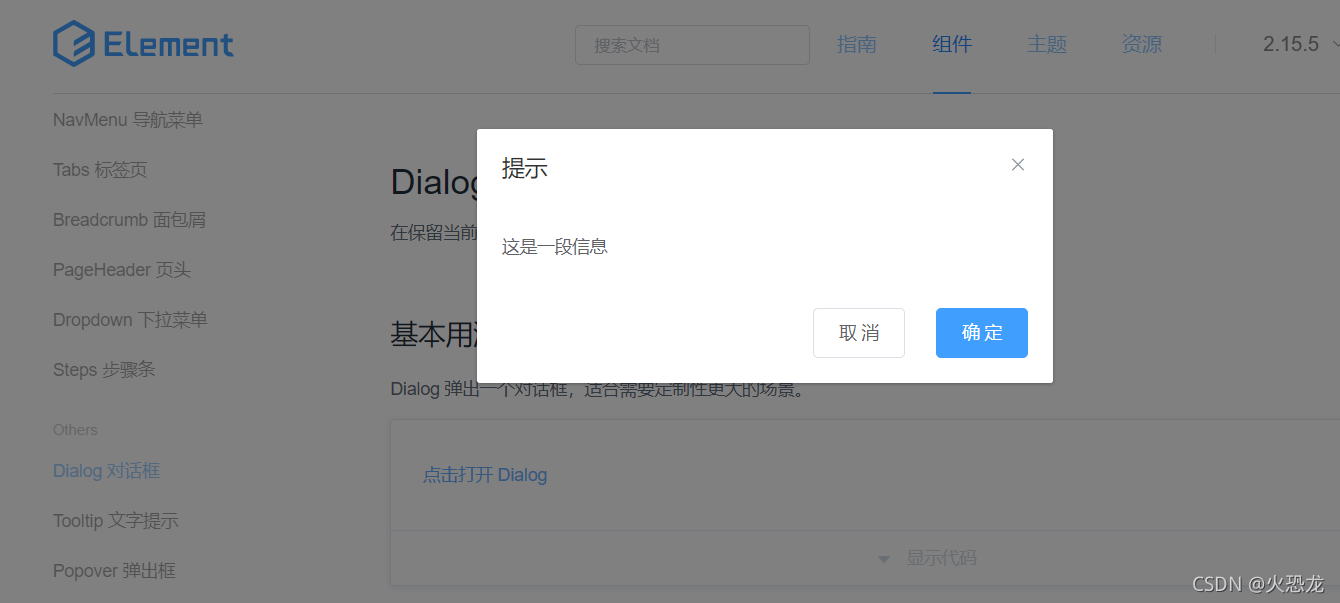
说干就干,然而我的改造之旅并非想象般顺利,我删除了按钮、内容、表头以及“X"按钮,然而在弹窗头部却始终有一个div拥有内边距,且样式不能覆盖。
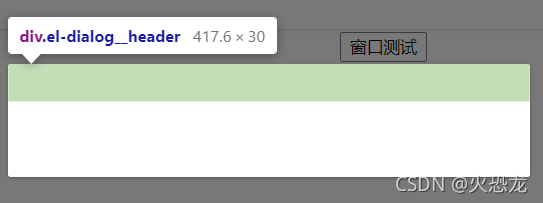
我开启了面向百度的思路,然而没找到解决办法,后来我想到用div覆盖的办法,于是我设置了margin 值为负…问题迎刃而解。解决代码如下:
<template>

 <el-dialog  :show-close="false" :visible.sync="show" :width="width"  :before-close="handleClose">
      <div slot="title" class="head"></div>
  </el-dialog>
</template>
注意内部的div slot=title
css
  .head{
    margin: -20px -30px -100px -30px;
  }
现在还有一个问题,就是头部div覆盖了,主体div还在,于是我使用头部div覆盖了主体div,现在就相当于1个div覆盖了原有组件,我后续又添加了一些代码,最终实现了一个较理想的弹窗。
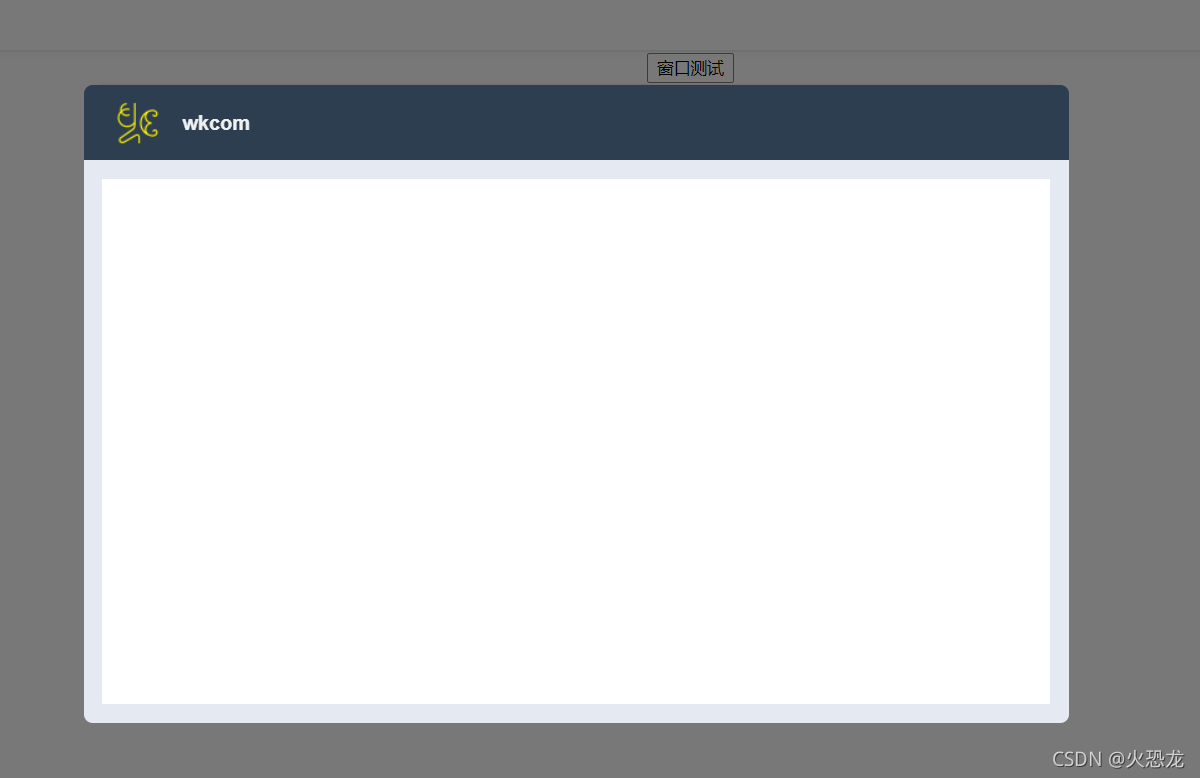
代码也不是很深奥,而且也不是很多,直接贴出来自己看吧,不多bb了,夜深了,人困了,希望能解决有缘人的问题。
template代码
<!-- 窗口 -->
<!--
    属性:  height 为组件主体高 、
          theight为组件表头高、
          width为组件宽
          show: 是否显示
    事件:
      handleClose():关闭事件
    <wk-frame></wk-frame> 支持嵌套其他内容

 -->

<template>
 <el-dialog  :show-close="false" :visible.sync="show" :width="width"  :before-close="handleClose">
      <div slot="title" class="head">
           <div class="frame-title" style="float: left;" :style="{height: theight}" >
              <img  src="@/assets/wen2.png" style="float: left;margin: 10px 0px 10px 10px;" />
              <h4 style="float: left;">wkcom</h4>
           </div>
          <div class="frame-body" style="float: left;" :style="{height: height}">
            <div class="inner-body" >
              <slot/>
            </div>
          </div>
      </div>
  </el-dialog>
</template>
script代码
export default {
    name:"wkFrame",
    props:{
      width:{
        type:String,
        required:'50%'
      },
      tstyle:{
        type:String,
        required:'60px'
      },
      height:{
        type:String,
        required:'450px'
      },
      show:{
        type:Boolean,
        required: false

      }
    },
    methods: {
          handleClose(done) {
            this.$emit('closeframe', { show: this.show});
          }
        }

  }
css代码
 .head{
    background-color: #2C3E50;
    margin: -20px -30px -100px -30px;
    padding-bottom: 100px;
    border-radius: 7px;
    height: 100px;


  }
  .el-menu{
    background-color: #2C3E50;
    /* margin: -20px -20px 0px -0px; */
    margin: 0px 20px 0px 100px;
  }

  .frame-title{
    /* background-color: #d1ff38; */
    color: #F0F0F0;
    width: 100%;
    height: 60px;
    border-top-left-radius: 7px;
    border-top-right-radius: 7px;
  }
  .frame-body{
    background-color: #e5e9f2;
    /* margin-top: 60px; */
    height: 450px;
    width: 100%;
    border-bottom-left-radius: 7px;
    border-bottom-right-radius: 7px;
  }
  .inner-body{
    float: left;
    margin: 15px;
    background-color: #ffffff;
    height: calc(100% - 30px);
    width: calc(100% - 30px);
  }
在其他页面使用此组件:
调用
<template>
<div>
  <button @click="showframe"> 窗口测试</button>
  <wk-frame :show="frameShow" @closeframe="closeframe">
	<!--可嵌套其他内容-->
  </wk-frame>

</div>
</template>

<script>
  export default{
    components:{
      wkFrame:() => import('@/components/wk-frame.vue')
    },
    data () {
      return {
        frameShow: false,
      }
    },
    methods:{
      showframe(){
        this.frameShow = true;
      },
      closeframe(){
        this.frameShow = false;
      },

    }


  }
</script>

<style>
</style>
最后提一下如何使自定义组件可以内嵌其他标签,在定义标签时添加如下标签即:
<slot/>
结束,拜拜。。。


 8333
8333


 被折叠的 条评论
为什么被折叠?
被折叠的 条评论
为什么被折叠?
 到【灌水乐园】发言


