一、Vue3的代码展示
<template>
<div>
<div v-for="article in articles" :key="article.id" class="article-card">
<div class="author-info">
<img :src="article.avatar" alt="Author Avatar" class="avatar" />
<div class="author-details">
<span class="author-name">{{ article.username }}</span>
<span class="publish-time">{{ article.createTime }}</span>
</div>
</div>
<div class="article-details">
<h3 class="article-title">{{ article.title }}</h3>
<p class="article-info">{{ article.summary }}</p>
</div>
<div class="article-stats">
<span class="stat-item">查看数: {{ article.viewCount }}</span>
<span class="stat-item">点赞数: {{ article.likeCount }}</span>
<span class="stat-item">评论数: {{ article.commentCount }}</span>
</div>
</div>
</div>
</template>
<script setup>
const props = defineProps(['articles']);
</script>
<style scoped>
.article-card {
border: 1px solid #ddd;
padding: 16px;
display: flex;
flex-direction: column;
align-items: flex-start;
transition: background-color 0.3s;
}
.article-card:hover {
background-color: #fafafa;
}
.author-info {
display: flex;
align-items: center;
margin-bottom: 8px;
}
.avatar {
width: 40px;
height: 40px;
border-radius: 50%;
margin-right: 8px;
}
.author-details {
display: flex;
align-items: baseline;
}
.author-name {
font-weight: bold;
margin-right: 4px;
}
.publish-time {
color: #888;
margin-left: 20px;
}
.article-details {
margin-bottom: 12px;
display: flex;
flex-wrap: wrap;
flex-direction: column;
text-align: left;
}
.article-title {
margin-bottom: 2px;
font-size: 20px;
}
.article-info {
color: #555;
margin-bottom: 8px;
font-size: 16px;
}
.article-stats {
display: flex;
justify-content: space-between;
color: #888;
}
.stat-item {
margin-right: 12px;
}
</style>
二、 代码解读
HTML 模板部分:
<template> 标签是 Vue.js 模板的开始。v-for="article in articles" 遍历 articles 数组中的每个 article。:key="article.id" 用于标识每个循环中的元素,以便 Vue 可以高效地更新 DOM。class="article-card" 定义了一个文章卡片的样式。v-bind 用于动态地绑定元素的属性,例如 :src="article.avatar" 将文章作者的头像与 article.avatar 数据绑定。{{ expression }} 用于在模板中插入表达式的值。
JavaScript 部分:
<script setup> 是 Vue 3 提供的新语法,用于编写组件的逻辑部分。const props = defineProps(['articles']); 用于声明接收来自父组件的 articles 属性。
CSS 部分:
<style scoped> 表示样式仅对当前组件起作用。- 样式定义了文章卡片的整体样式,作者信息的样式,文章详情的样式,以及文章统计信息的样式。
:hover 选择器用于在鼠标悬停时改变文章卡片的背景颜色。- 通过样式定义了作者头像、作者姓名、发布时间、文章标题、文章摘要等的样式。
三、结果展示
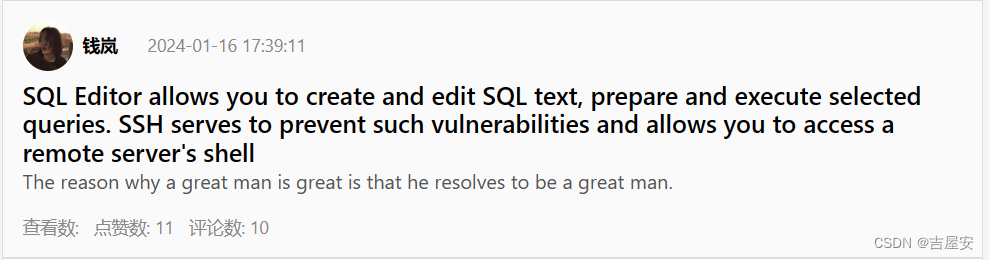


 本文详细介绍了如何使用Vue3的模板语法,包括v-for遍历数组渲染文章卡片,以及使用data-bind动态绑定属性。同时展示了JavaScript部分的scriptsetup语法和CSS样式编写的细节。


 1万+
1万+


 被折叠的 条评论
为什么被折叠?
被折叠的 条评论
为什么被折叠?
 到【灌水乐园】发言


