


目录
1.系统要求
参考:System Requirements - Spring Boot 文档和手册 - CWIKI.US
我这里使用的是JDK 9,2022款的IDEA,maven 版本3.8.6 所选用的Spring Boot是2.3.4(也可以在官网上选择其它版本)
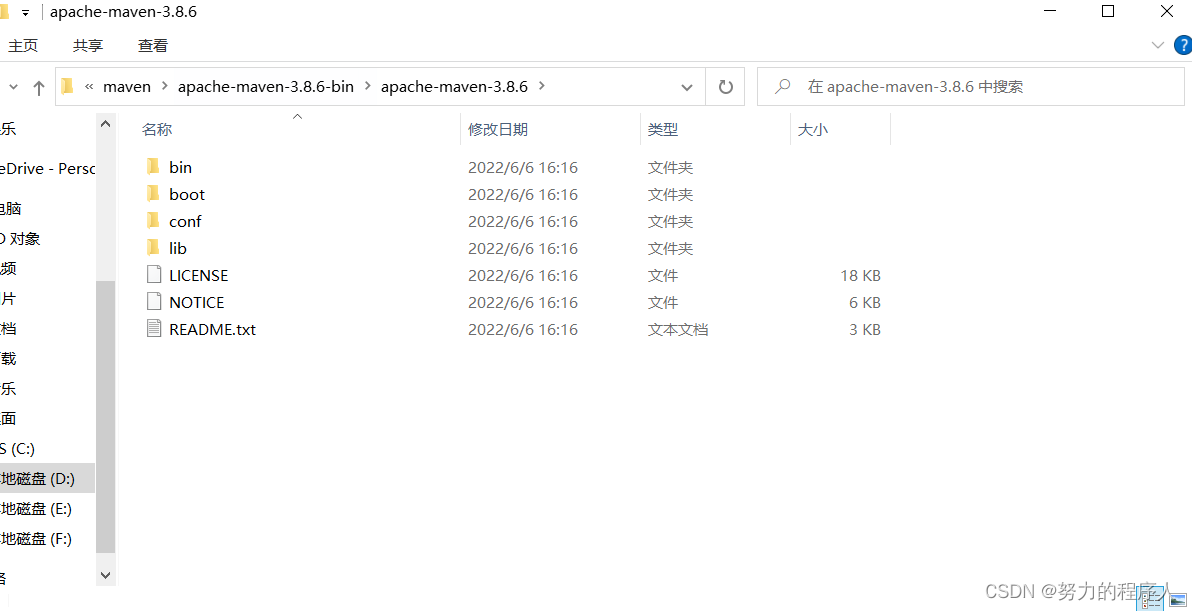
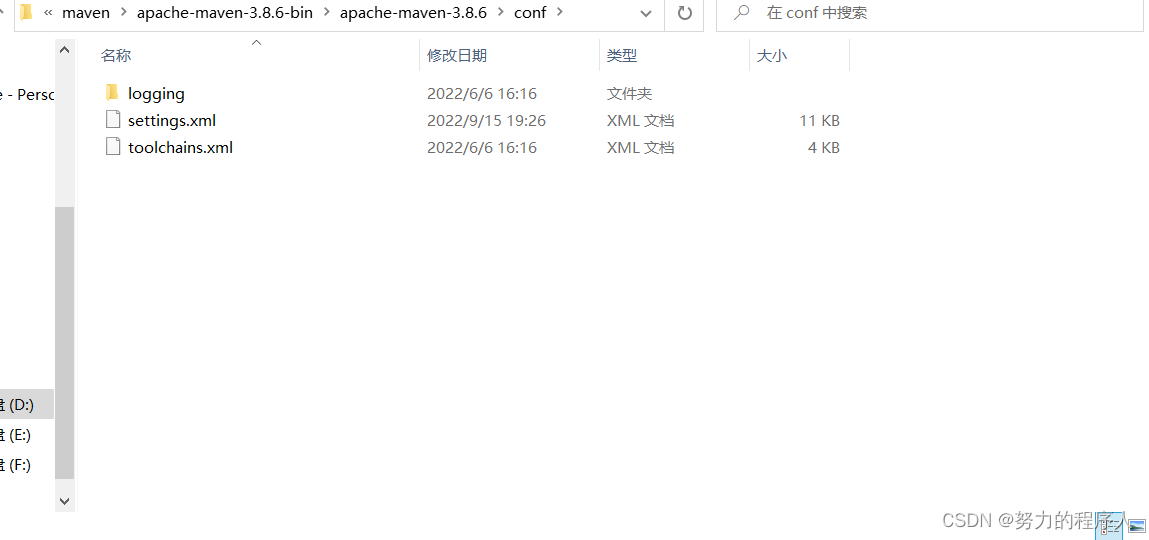
2.maven设置
打开maven安装目录,找到conf中的setting.xml文件将文件中的<mirrors>标签和<profiles>中的文件修改成如下代码
注意:(将原代码中的代码替换,且要在以上的标签中做替换,不要有标签多出或缺少,不然在解析时,会报错)
<mirrors>
      <mirror>
        <id>nexus-aliyun</id>
        <mirrorOf>central</mirrorOf>
        <name>Nexus aliyun</name>
        <url>http://maven.aliyun.com/nexus/content/groups/public</url>
      </mirror>
  </mirrors>


<profiles>
         <profile>
              <id>jdk-1.8</id>
              <activation>
                <activeByDefault>true</activeByDefault>
                <jdk>1.8</jdk>
              </activation>
              <properties>
                <maven.compiler.source>1.8</maven.compiler.source>
                <maven.compiler.target>1.8</maven.compiler.target>
                <maven.compiler.compilerVersion>1.8</maven.compiler.compilerVersion>
              </properties>
         </profile>
  </profiles>
3.导入依赖设置
在IDEA创建maven项目,在创建好的maven项目的pom.xml文件中添加如下代码,刷新maven文件,所需的包将会自动导入,至此手动搭建Springboot环境基本搭建完成
<parent>
        <groupId>org.springframework.boot</groupId>
        <artifactId>spring-boot-starter-parent</artifactId>
        <version>2.3.4.RELEASE</version>
    </parent>


    <dependencies>
        <dependency>
            <groupId>org.springframework.boot</groupId>
            <artifactId>spring-boot-starter-web</artifactId>
        </dependency>

</dependencies> 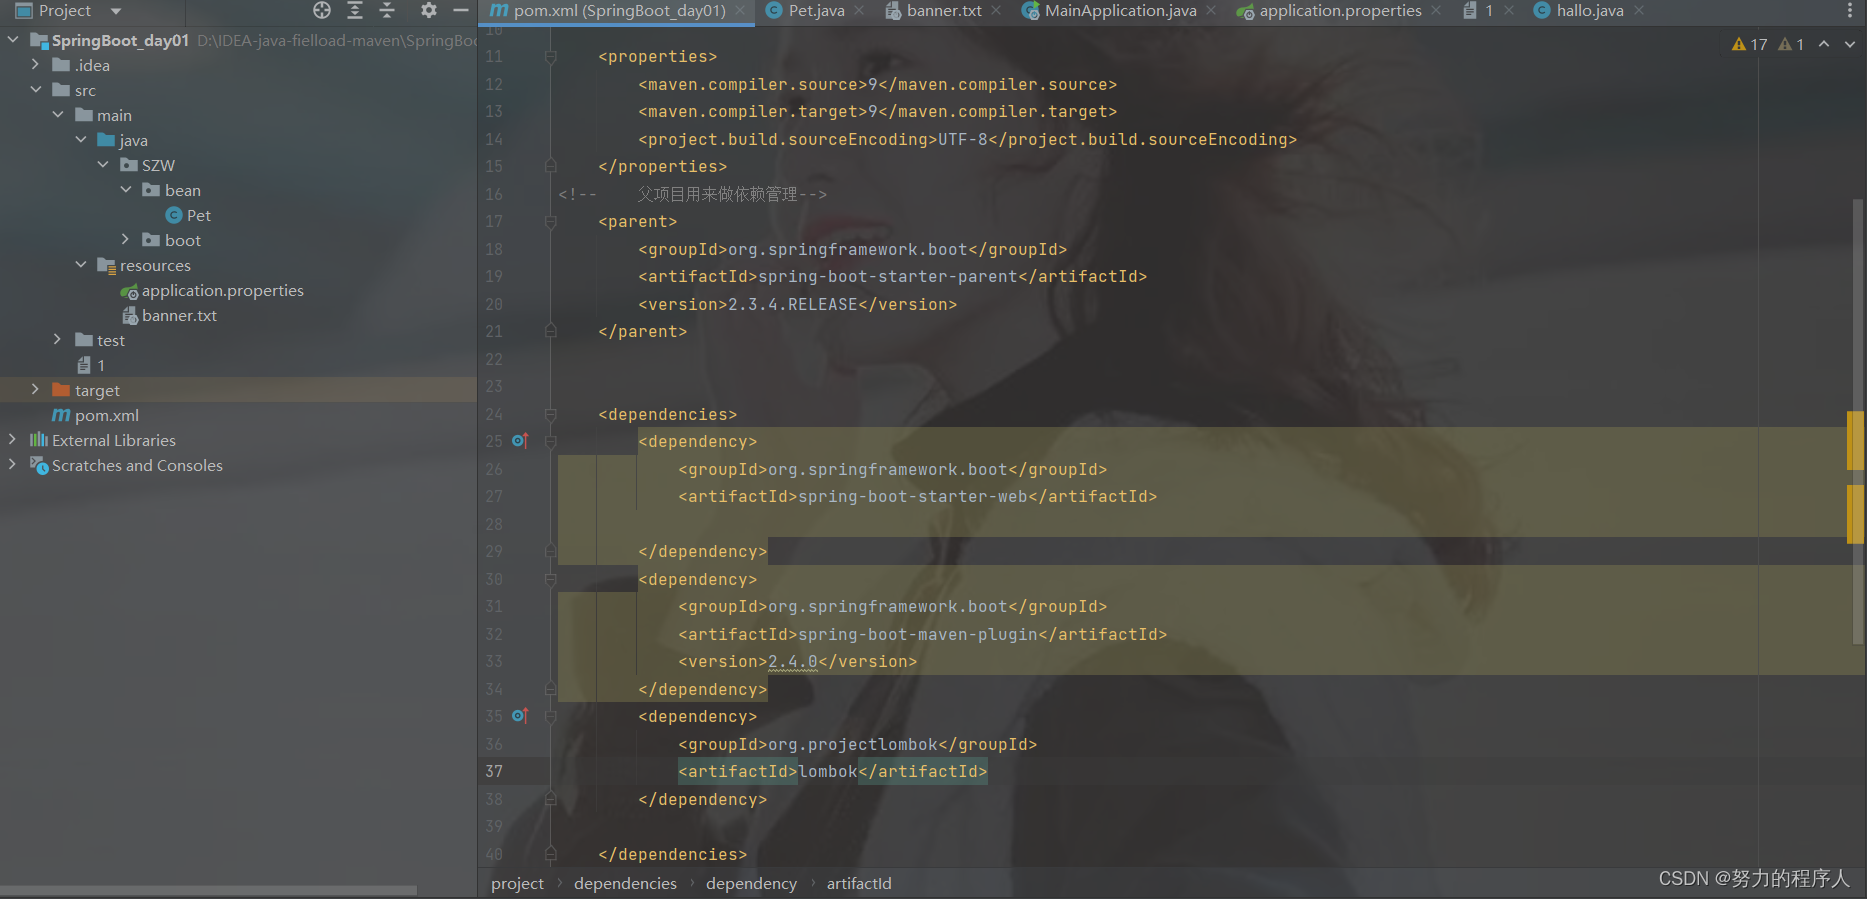
1.在IDEA Setting中搜索lombok插件
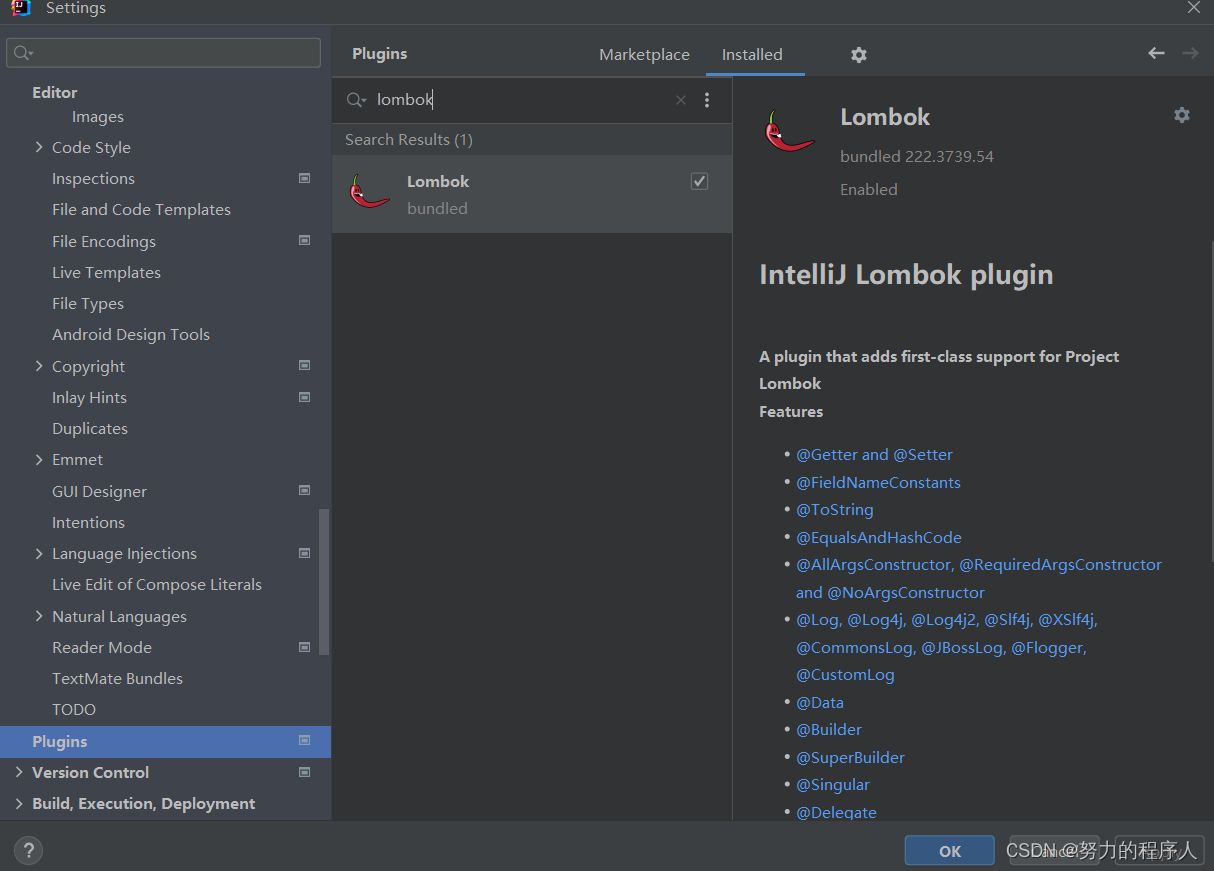 我这里已经下载安装好了,你们直接下载安装即可
2.新建工程,选择 Spring initializr
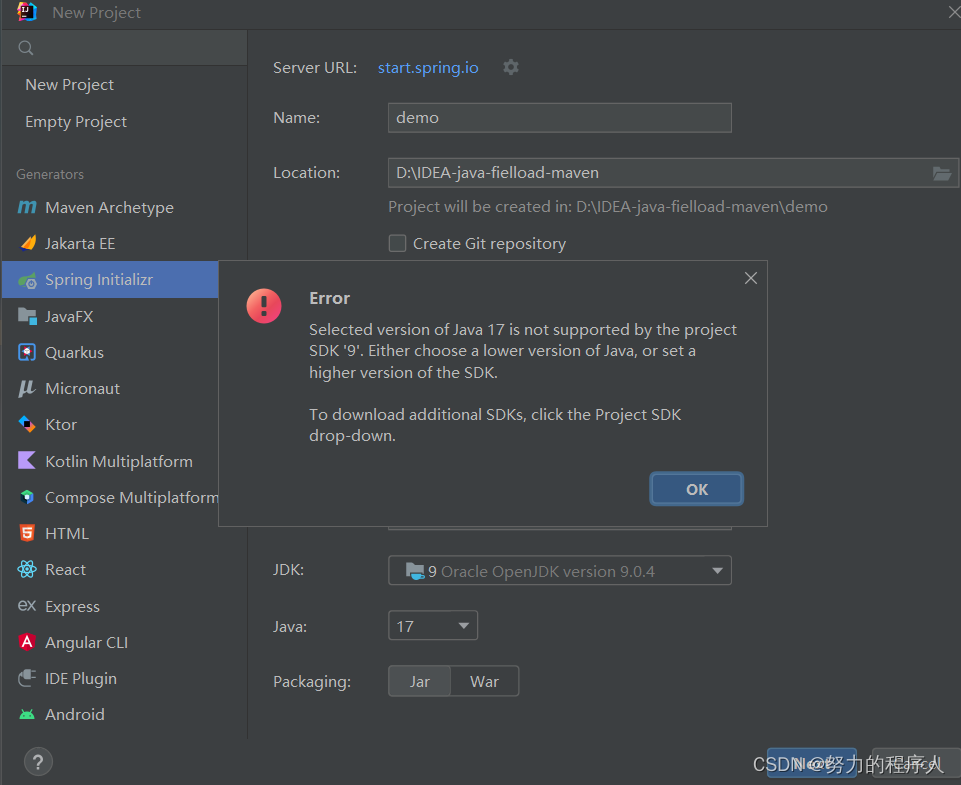
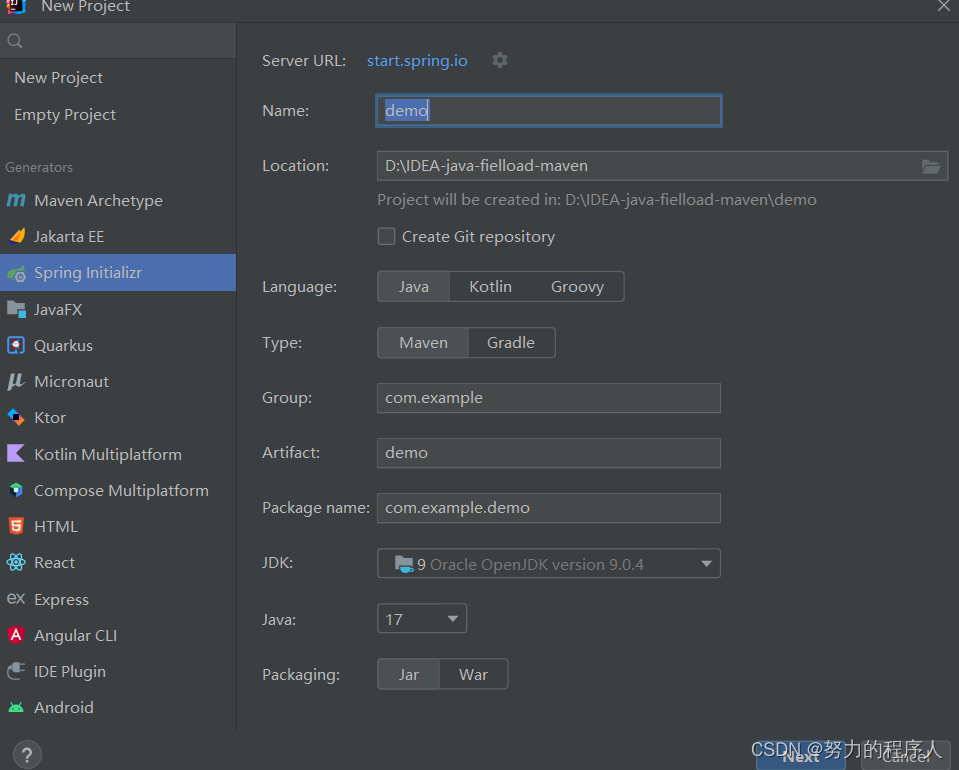 以上的Java必须在JDK的版本范围内否者不支持会报错
而后依次向下便完成自动化部署


 2393
2393


 被折叠的 条评论
为什么被折叠?
被折叠的 条评论
为什么被折叠?
 到【灌水乐园】发言


