简单html页面代码分享---百度

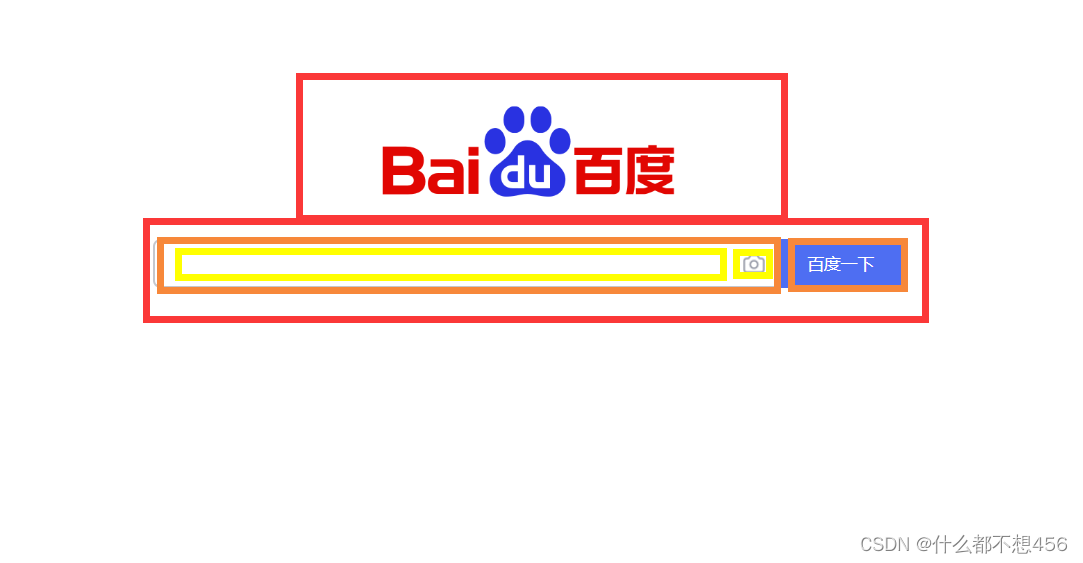
 流程分析:百度主页的制作可有分为4个部分

1、两个红色框,上面图片,下面输入框和百度一下啊按钮

2、下面红色框又可以分为两个左边输入框和相机按钮,右边百度一下按钮

3、左边的输入框和相机图片就可以用到position中“长兄如父”的思想,把input和img放到一个div中

div的position属性设置为 relative,img的position属性设置为 absolute,就可以完成它们两个的相对定位

4、右边的百度一下按钮就很容易完成了

<!DOCTYPE html>
<html lang="en">
<head>
    <meta charset="UTF-8">
    <meta name="viewport" content="width=device-width, initial-scale=1.0">
    <title>Document</title>
    <style>
        *{
            margin: 0;
            padding: 0;
        }
        .logo{
            width: 300px;
            margin:100px auto 20px;
            display: block;
        }
        .inbox{
            width: 600px;
            margin:0 auto;
            display: flex;
        }
        .inbox .inmain{
            flex-grow: 1;
            position: relative;
        }
        .inbox .inmain input{
            width: 100%;
            padding: 10px;
            box-sizing: border-box;
            border: 2px solid rgb(197,199,205);
            border-right: none;
            border-radius:6px 0 0 6px;
        }
        .inbox .inmain input:focus{
            outline: none;
            border: 2px solid rgb(78,110,242);
        }
        .inbox .inmain img{
            position: absolute;
            width: 20px;
            height: 20px;
            object-fit: cover;
            top: 10px;
            right: 9px;
            cursor: pointer;
        }
        .inbox>input{
            width: 100px;
            background-color: rgb(78,110,242);
            color: white;
            border: none;
            border-radius:0 6px 6px 0;
            cursor: pointer;
        }

    </style>
</head>
<body>
    <img class="logo" src="../baidu.png" alt="">
    <div class="inbox">
        <div class="inmain">
            <input type="text">
            <img src="../xiangji.png" alt="">
        </div>
        <input type="button" value="百度一下">
    </div>
</body>
</html>

将图片资源换成自己的即可直接使用

发现图片资源不能直接下载,我把资源放下面了,直接裁剪成自己想要的大小即可
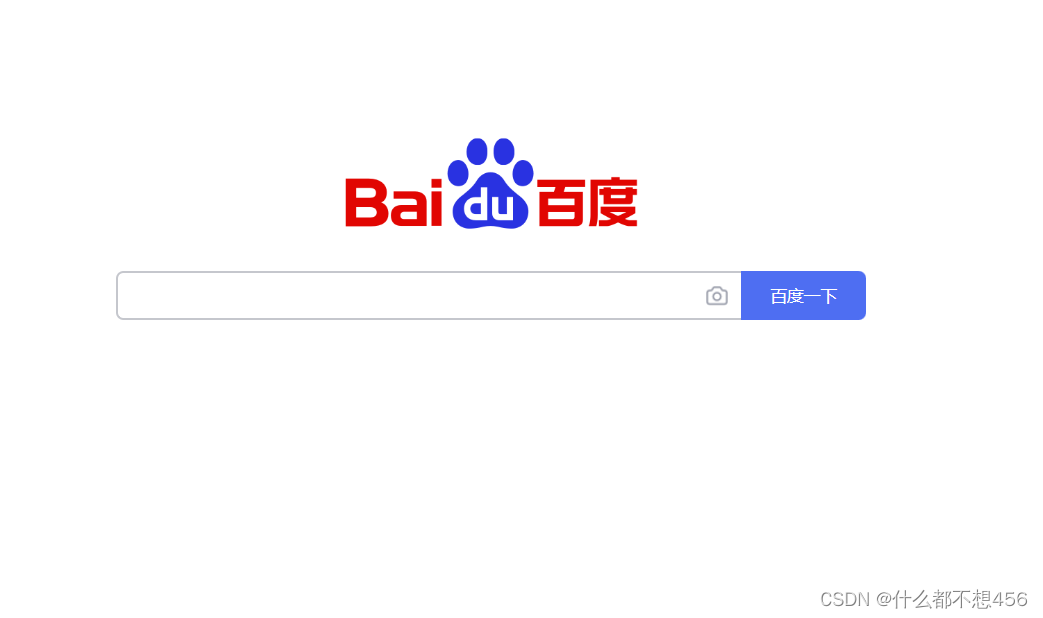
效果图:

  • 6
    点赞
  • 7
    收藏
    觉得还不错? 一键收藏
  • 0
    评论
以下是一个简单百度注册页面HTML 代码示例: ``` <!DOCTYPE html> <html> <head> <title>百度注册</title> <meta charset="utf-8"> </head> <body> <form action="#" method="post"> <h1>百度账号注册</h1> <label for="username">用户名:</label> <input type="text" name="username" id="username" required><br><br> <label for="password">密码:</label> <input type="password" name="password" id="password" required><br><br> <label for="email">邮箱:</label> <input type="email" name="email" id="email" required><br><br> <label for="phone">手机号:</label> <input type="tel" name="phone" id="phone" required><br><br> <input type="submit" value="注册"> </form> </body> </html> ``` 说明: - `<!DOCTYPE html>`:定义了文档类型和版本。 - `<html>`和`</html>`:定义了 HTML 文档。 - `<head>`和`</head>`:定义了文档的头部,其中`<title>`元素定义了文档标题。 - `<meta>`:定义了文档的元数据,这里指定了字符编码方式为 UTF-8。 - `<body>`和`</body>`:定义了文档的主体部分。 - `<form>`和`</form>`:定义了一个表单。 - `action="#"`:指定了表单提交的 URL。 - `method="post"`:指定了表单提交的 HTTP 方法。 - `<h1>`和`</h1>`:定义了一个标题。 - `<label>`和`</label>`:定义了表单控件的标签。 - `<input>`:定义了表单控件,其中`type`属性指定了控件类型,`name`属性指定了控件的名称,`id`属性指定了控件的 ID,`required`属性指定了该控件必须填写。 - `<br>`:定义了换行符。 - `type="tel"`:指定了手机号输入框的类型,可自动弹出数字键盘。 - `<input type="submit" value="注册">`:定义了一个提交按钮。

“相关推荐”对你有帮助么?

  • 非常没帮助
  • 没帮助
  • 一般
  • 有帮助
  • 非常有帮助
提交
评论
添加红包

请填写红包祝福语或标题

红包个数最小为10个

红包金额最低5元

当前余额3.43前往充值 >
需支付:10.00
成就一亿技术人!
领取后你会自动成为博主和红包主的粉丝 规则
hope_wisdom
发出的红包
实付
使用余额支付
点击重新获取
扫码支付
钱包余额 0

抵扣说明:

1.余额是钱包充值的虚拟货币,按照1:1的比例进行支付金额的抵扣。
2.余额无法直接购买下载,可以购买VIP、付费专栏及课程。

余额充值