


版本号:ubuntu22.04,omnet++6.0.3
萌新玩家第一次接触这个仿真平台,安装过程很痛苦。记录一下安装过程。win11系统安装就省事多了,但是据说兼容性不好,反正我还没遇到问题。建议临时用一下的朋友去win系统玩,少受点罪。
一,下载omnet
1,官网下载
官网链接OMNeT++ Discrete Event Simulator (omnetpp.org)
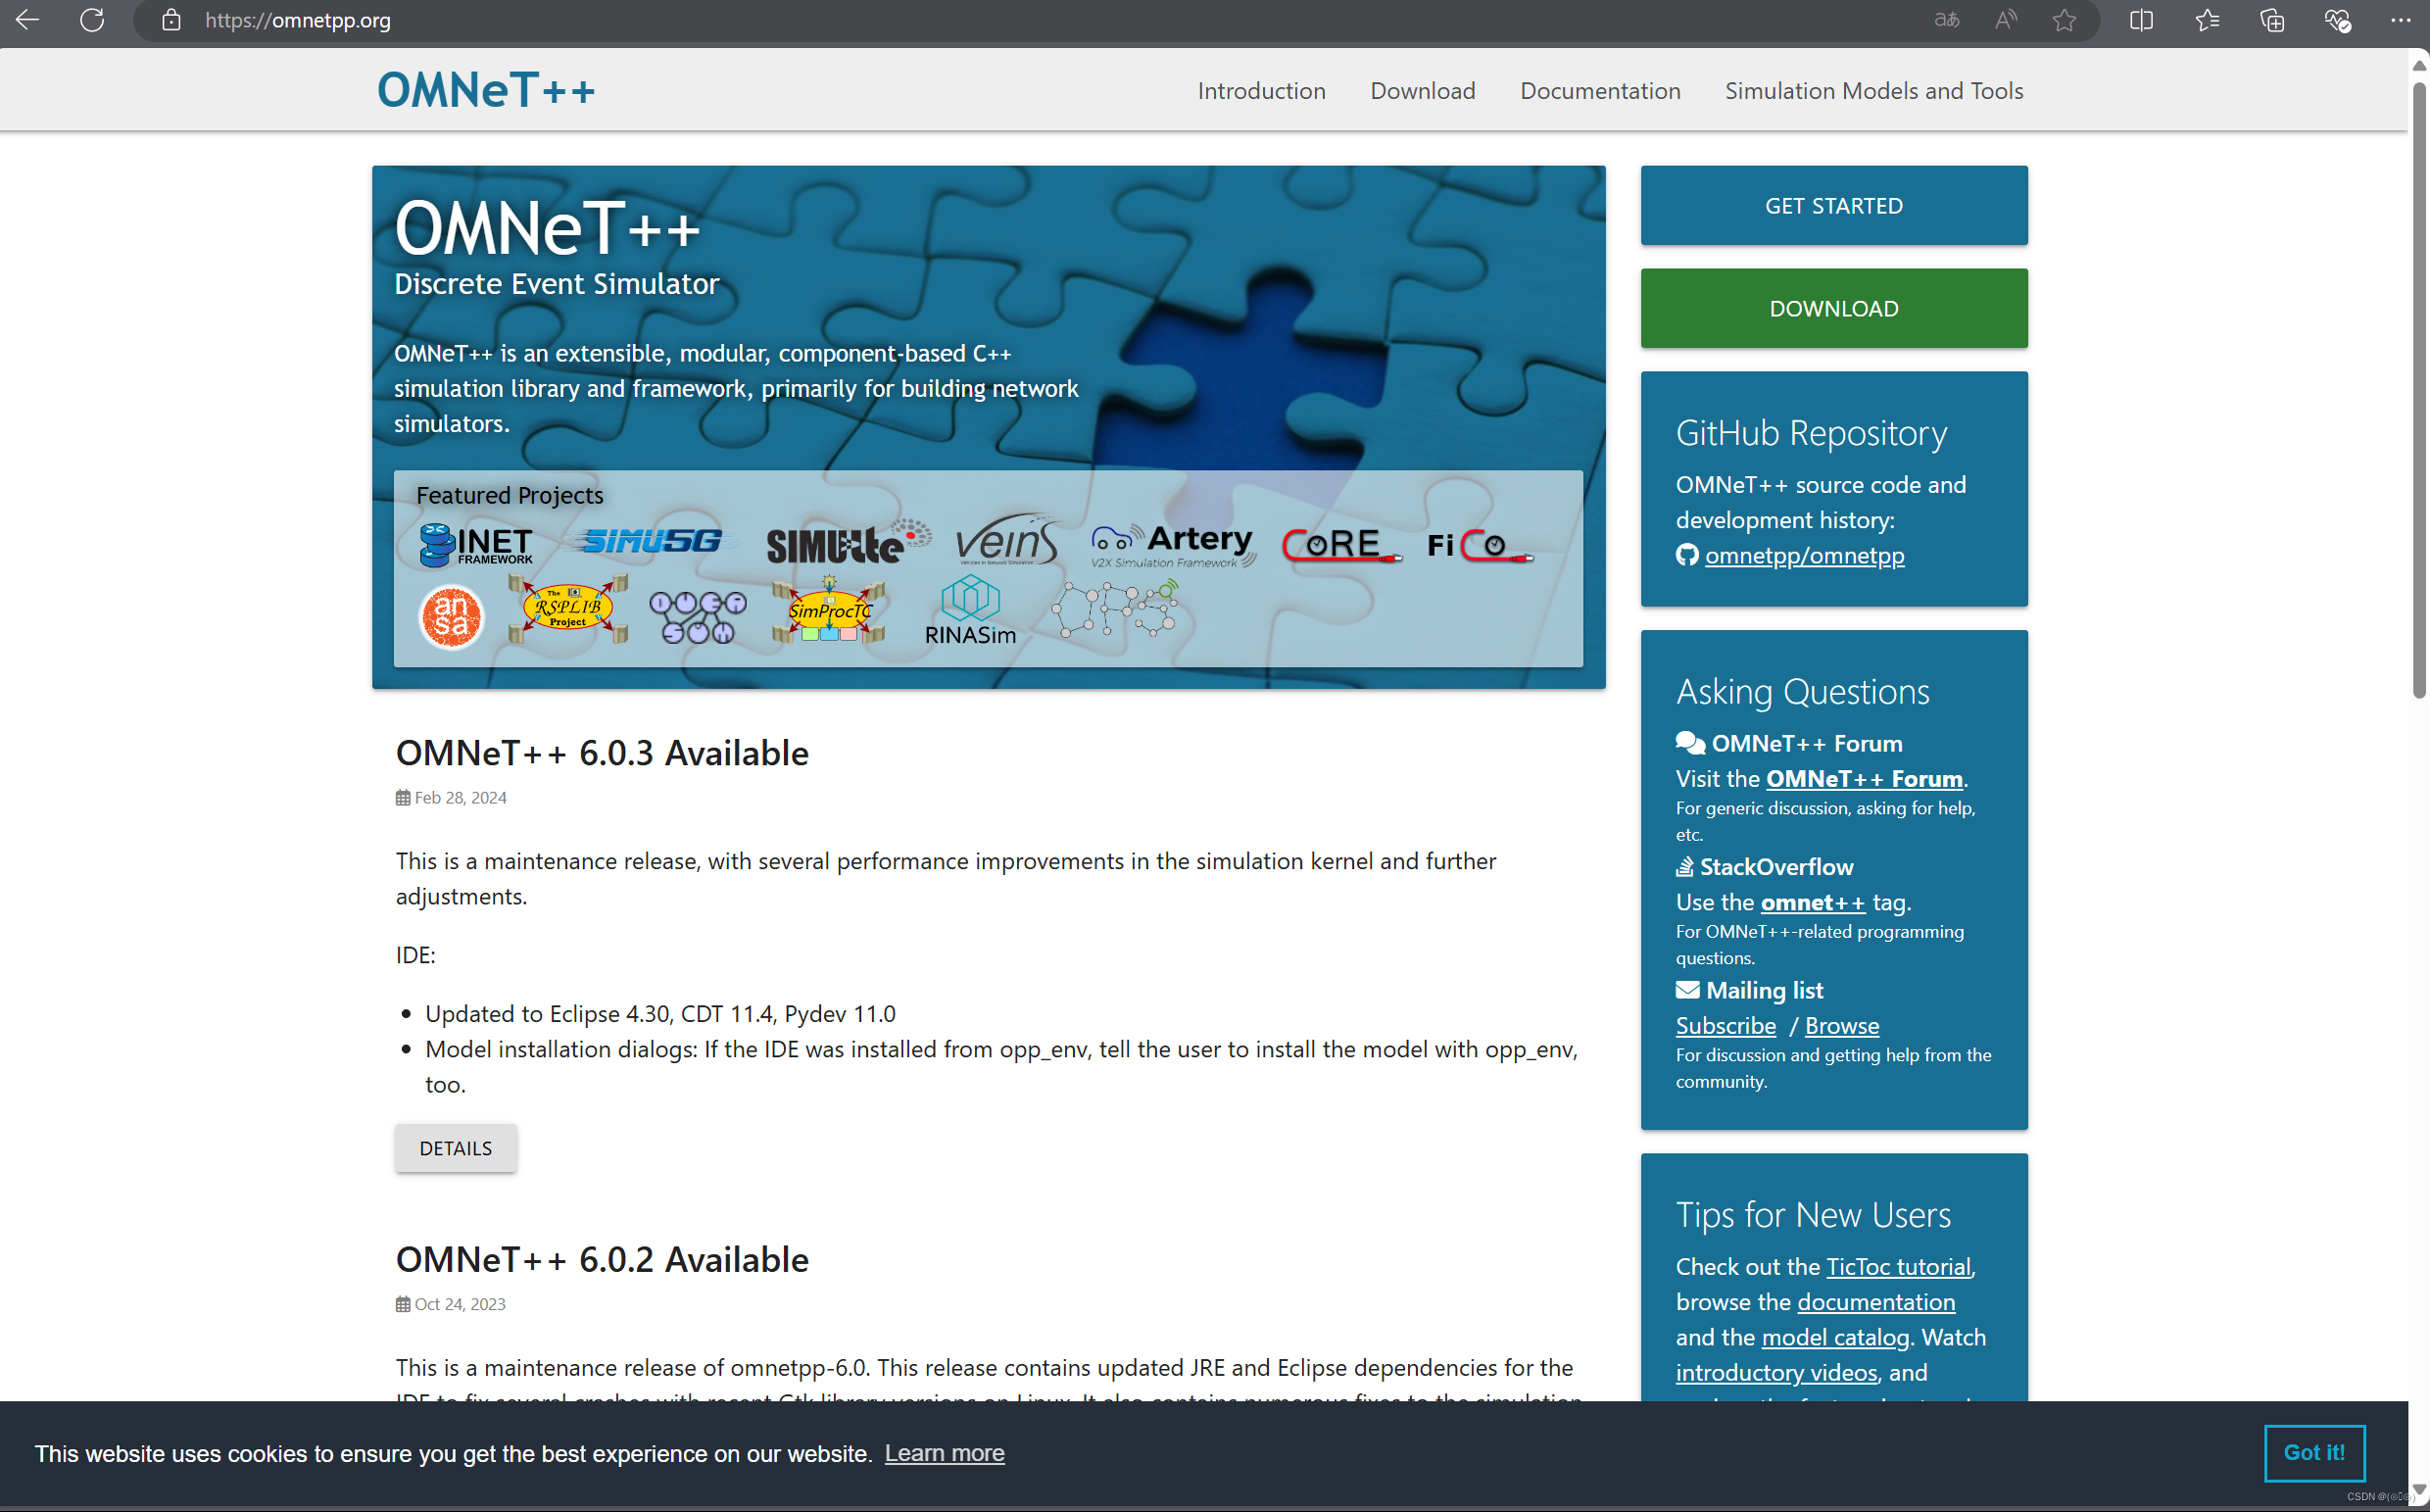
点击右上方download
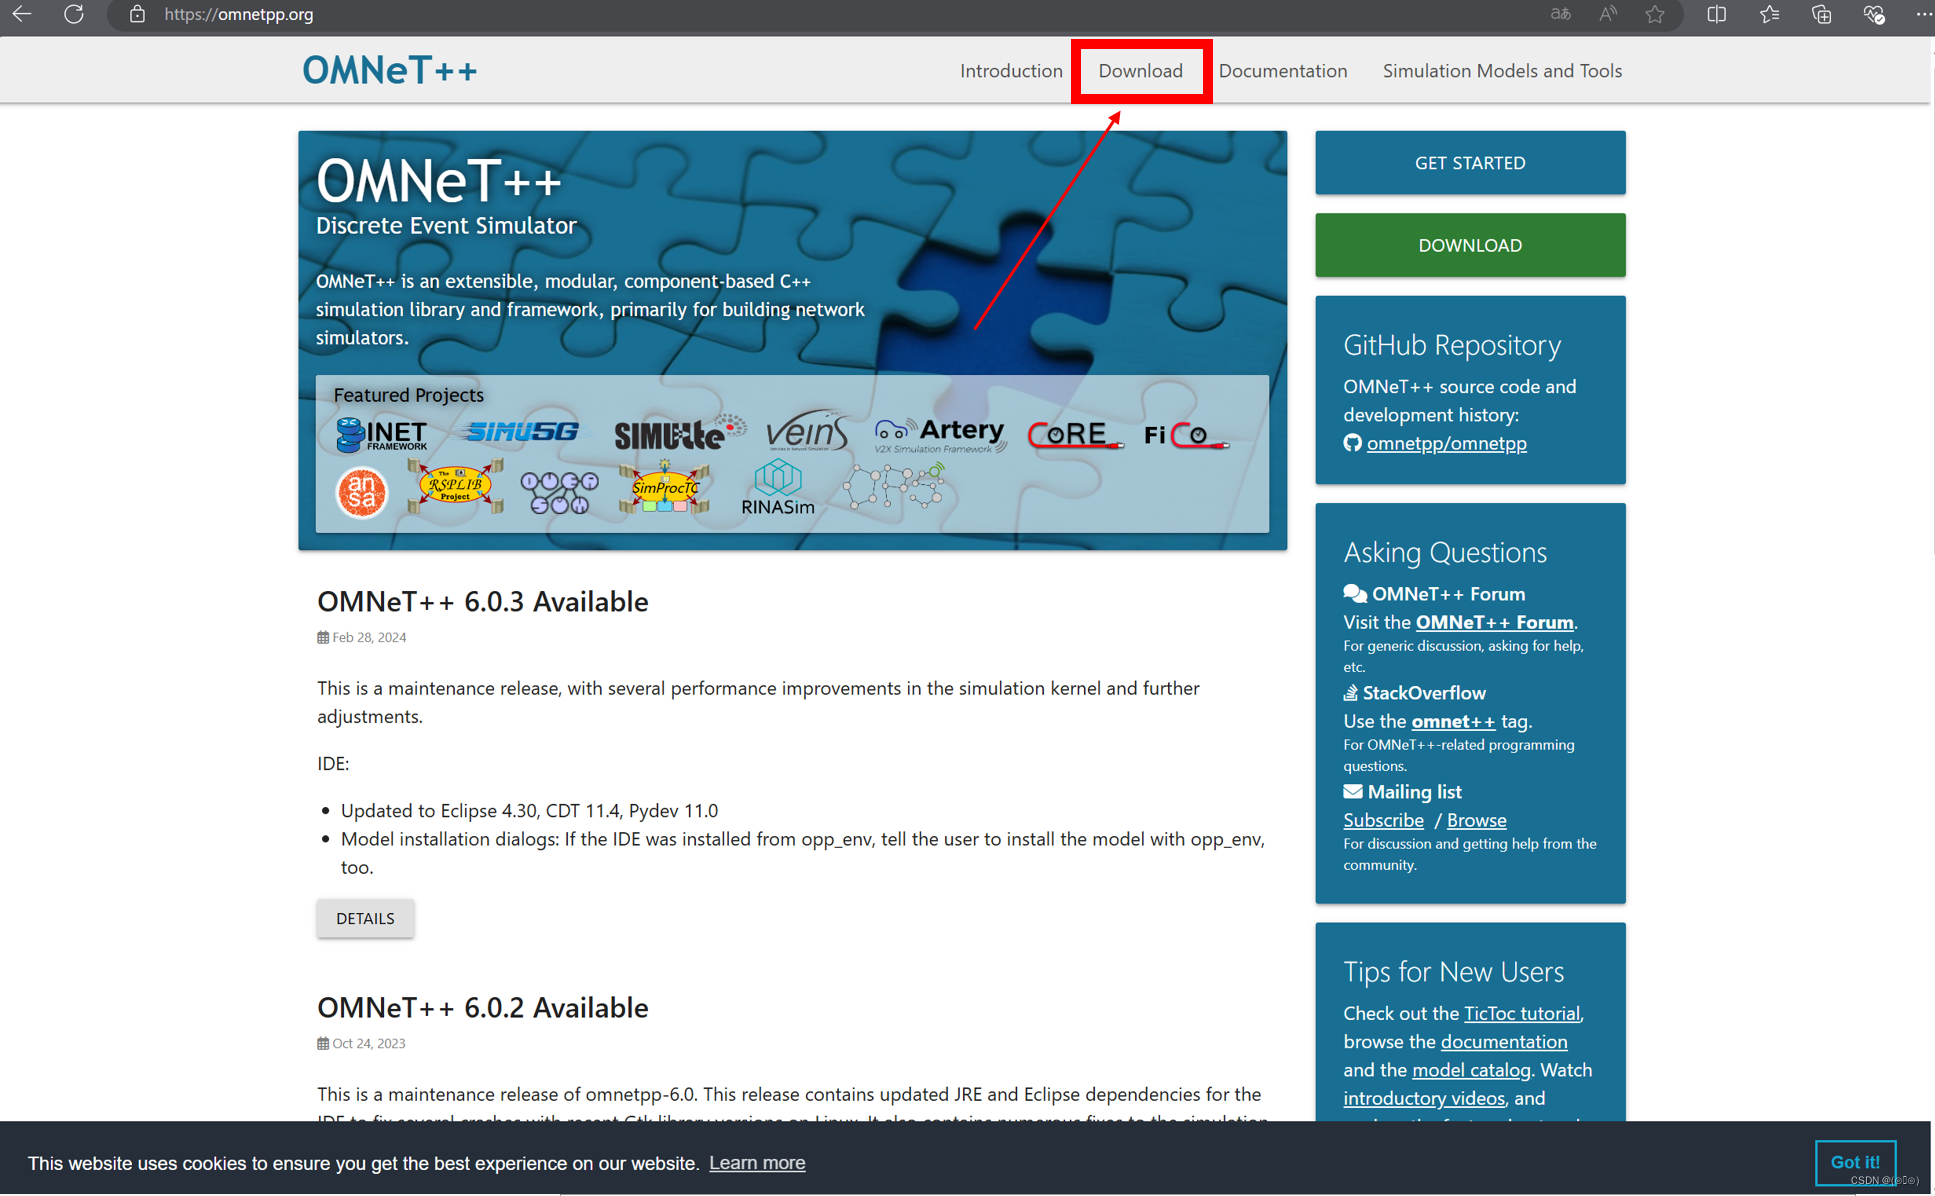
下载最新版本。
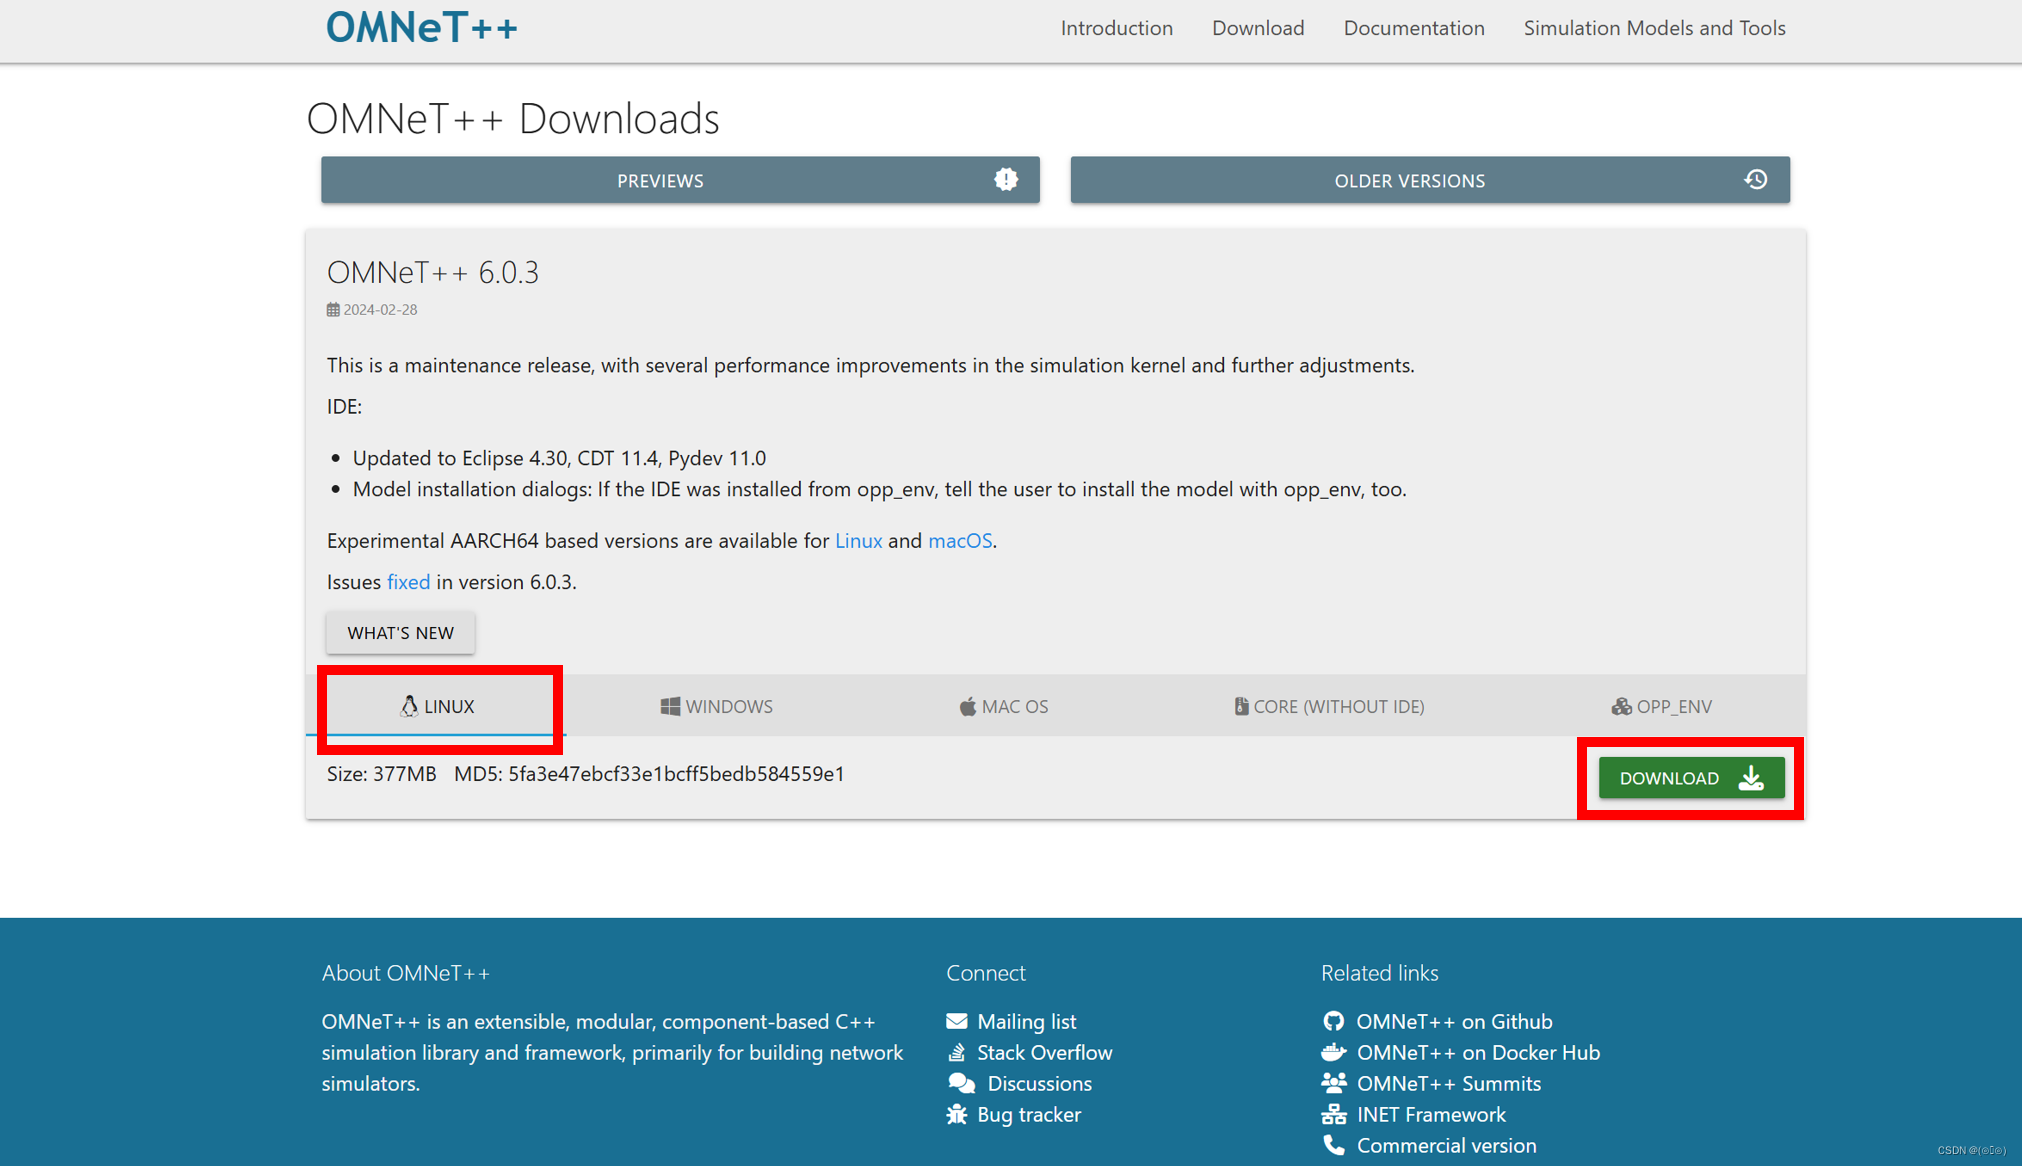
二,解压并安装omnet
1,解压至指定文件夹
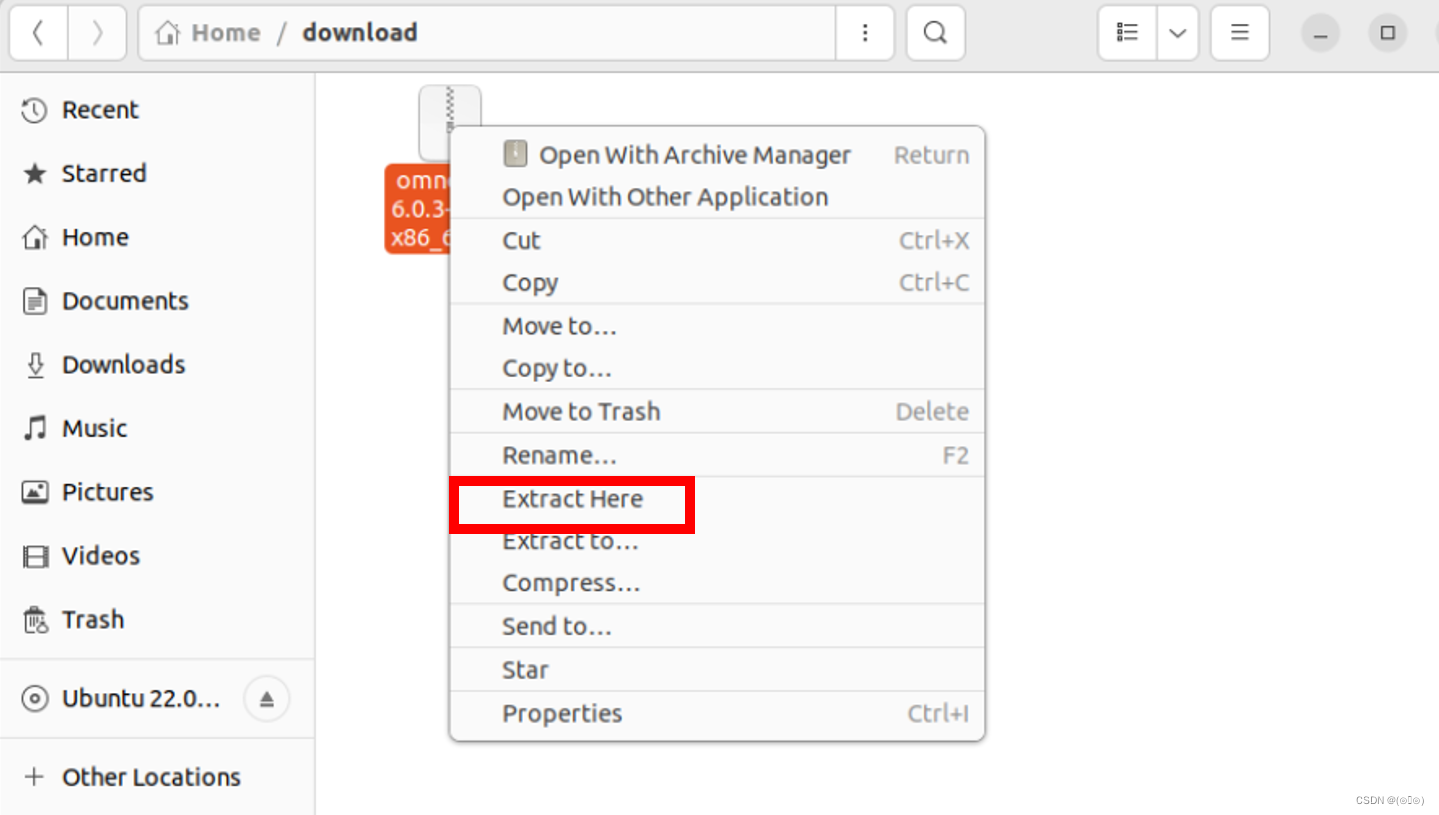
找到下载的安装包,移动至自己指定的文件夹(一定要自己换路径!!!),右键解压或使用命令行解压
右键解压:
命令行解压:
tar xvfz omnetpp-6.0.3-linux-x86_64.tgz2,安装
打开终端,cd进入对应文件夹。进入安装环境。
.senetv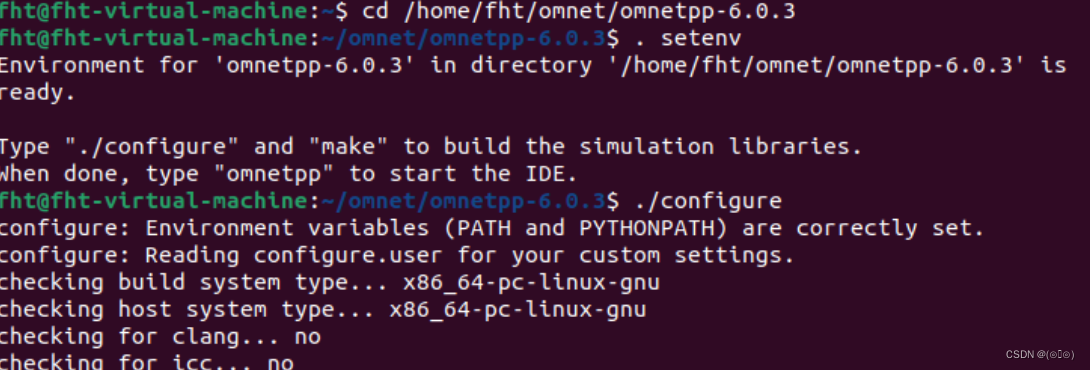
按照提示输入./configure,此时会出现很多check,然后开始报错,表示缺少很多东西。并且报错会一个一个出现,解决一个才知道下一个。极其考验心态(根本不知道后面还有多少)。报错部分放在第三章详细介绍。
./configure完成后出现下图所示内容,输入make
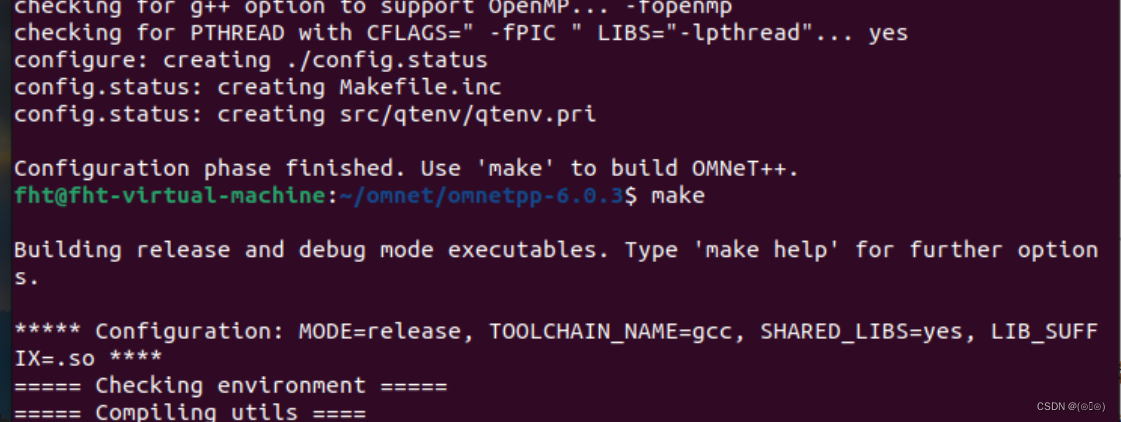
然后进行漫长的等待(很久)即可,出现下图所示即安装成功。
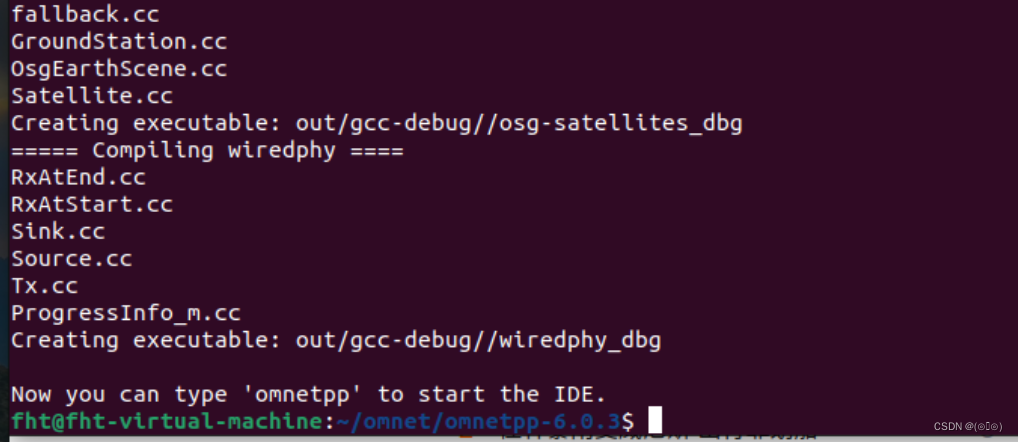
3,验证
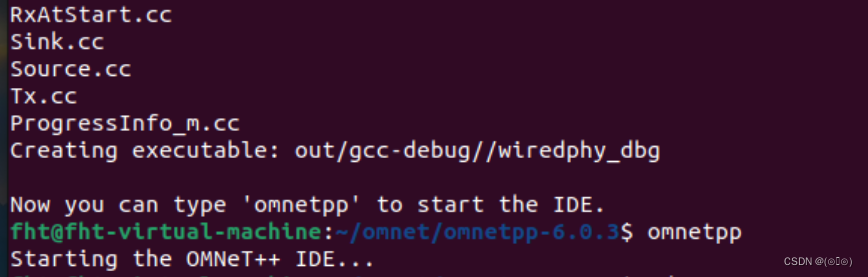
根据提示输入
omnetpp出现下图则安装成功!
三,./configure报错解决
1,系统中没有找到可用的C编译器
错误提示:
configure: error: in /home/fht/下载/omnetpp-6.0.3': configure: error: no acceptable C compiler found in $PATH See config.log' for more details解决方案:
打开终端,更新包列表
sudo apt update
安装 GCC:
sudo apt install build-essential
安装完成后,验证 GCC 是否安装成功:
gcc --version看到 GCC 的版本信息,表示安装成功。安装后重启(换成自己的路径):
cd ~/下载/omnetpp-6.0.3
source setenv
./configure
2,系统中没有安装 Bison
错误显示:
configure: error: Bison not found, needed to build OMNeT++/OMNEST -- please install it!解决方法:
更新包列表
sudo apt update
安装 Bison:
sudo apt install bison
安装完 Bison 后重新配置 OMNeT++:
cd ~/下载/omnetpp-6.0.3
source setenv
./configure
3,提示缺少flex工具
错误提示:
./configure: line 5266: flex: command not found
configure: error: At least flex version 2.5 required -- type 'flex --nounistd --version' to see the version number
解决方法:
更新包列表:
sudo apt update
安装 Flex:
sudo apt install flex
安装完flex后重新配置 OMNeT++:
cd ~/下载/omnetpp-6.0.3
source setenv
./configure
4,缺少一些 Python 模块
错误提示:
configure: error: Some Python modules required by the IDE were not found: numpy scipy pandas matplotlib posix_ipc解决方法:
sudo apt update
sudo apt install python3-pip
pip3 install numpy scipy pandas matplotlib posix_ipc
安装完Python后重新配置 OMNeT++:
cd ~/下载/omnetpp-6.0.3
source setenv
./configure
5,python安装过程的错误
错误提示:pip无法找到满足numpy要求的版本。可能的原因包括网络问题,pip版本过旧或没有正确配置 Python 环境等。
Defaulting to user installation because normal site-packages is not writeable

ERROR: Could not find a version that satisfies the requirement numpy (from versions: none)
ERROR: No matching distribution found for numpy
解决方法:
更新pip:
python3 -m pip install --upgrade pip
使用国内镜像源(检查一下自己的网速好不好再继续):
pip3 install numpy scipy pandas matplotlib posix_ipc --user -i https://pypi.tuna.tsinghua.edu.cn/simple
如果提示如下超时了:
raise ReadTimeoutError(self._pool, None, "Read timed out.")
pip._vendor.urllib3.exceptions.ReadTimeoutError: HTTPSConnectionPool(host='files.pythonhosted.org', port=443): Read timed out.
解决:可以尝试增加pip的超时时间来防止超时错误
pip3 install numpy scipy pandas matplotlib posix_ipc --user -i https://pypi.tuna.tsinghua.edu.cn/simple --default-timeout=100
6,qmake未安装
错误提示:
configure: error: Qtenv cannot find qmake -- maybe it is not in the PATH or has some exotic name (tested names were: qmake-qt5 qmake5 qmake) - You can disable Qtenv by setting the WITH_QTENV variable to "no" in configure.user, or try setting the QMAKE variable to point your Qt installation's qmake file.解决方法:
更新并安装:
sudo apt-get update
sudo apt-get install qt5-qmake
安装完后重新配置 OMNeT++:
cd ~/下载/omnetpp-6.0.3
source setenv
./configure
7,moc,rcc和uic等工具缺失
错误提示:
configure: error: Could not find all of moc, rcc, and uic for Qt5 -- nope, nope, nope解决方法
安装 Qt5 开发包
sudo apt-get update
sudo apt-get install qt5-default qttools5-dev-tools
安装完后重新配置 OMNeT++:
cd ~/下载/omnetpp-6.0.3
source setenv
./configure
若出现:E: 软件包 qt5-default 没有可安装候选,解决方法如下:
sudo apt-get update
sudo apt-get install qtbase5-dev qtchooser qt5-qmake qtbase5-dev-tools
安装完后重新配置 OMNeT++:
cd ~/下载/omnetpp-6.0.3
source setenv
./configure
8,无法找到所需版本的OpenSceneGraph
错误提示:
configure: error: Cannot find OpenSceneGraph 3.2 or later - 3D view in Qtenv will not be available. Set WITH_OSG=no in configure.user to disable this feature or install the development package for OpenSceneGraph.解决方法:
sudo apt-get install libopenscenegraph-dev
安装完后重新配置 OMNeT++:
cd ~/下载/omnetpp-6.0.3
source setenv
./configure
以上是个人安装过程中遇到的问题的一点小小的记录,留作纪念,方便日后遇到问题快速解决,也欢迎各位讨论。


 4899
4899

 被折叠的 条评论
为什么被折叠?
被折叠的 条评论
为什么被折叠?
 到【灌水乐园】发言


