


Nacos注册中心详解
Nacos安装
官网地址: https://nacos.io/download/release-history/?spm=5238cd80.ee09dc2.0.0.63584522TOOcET
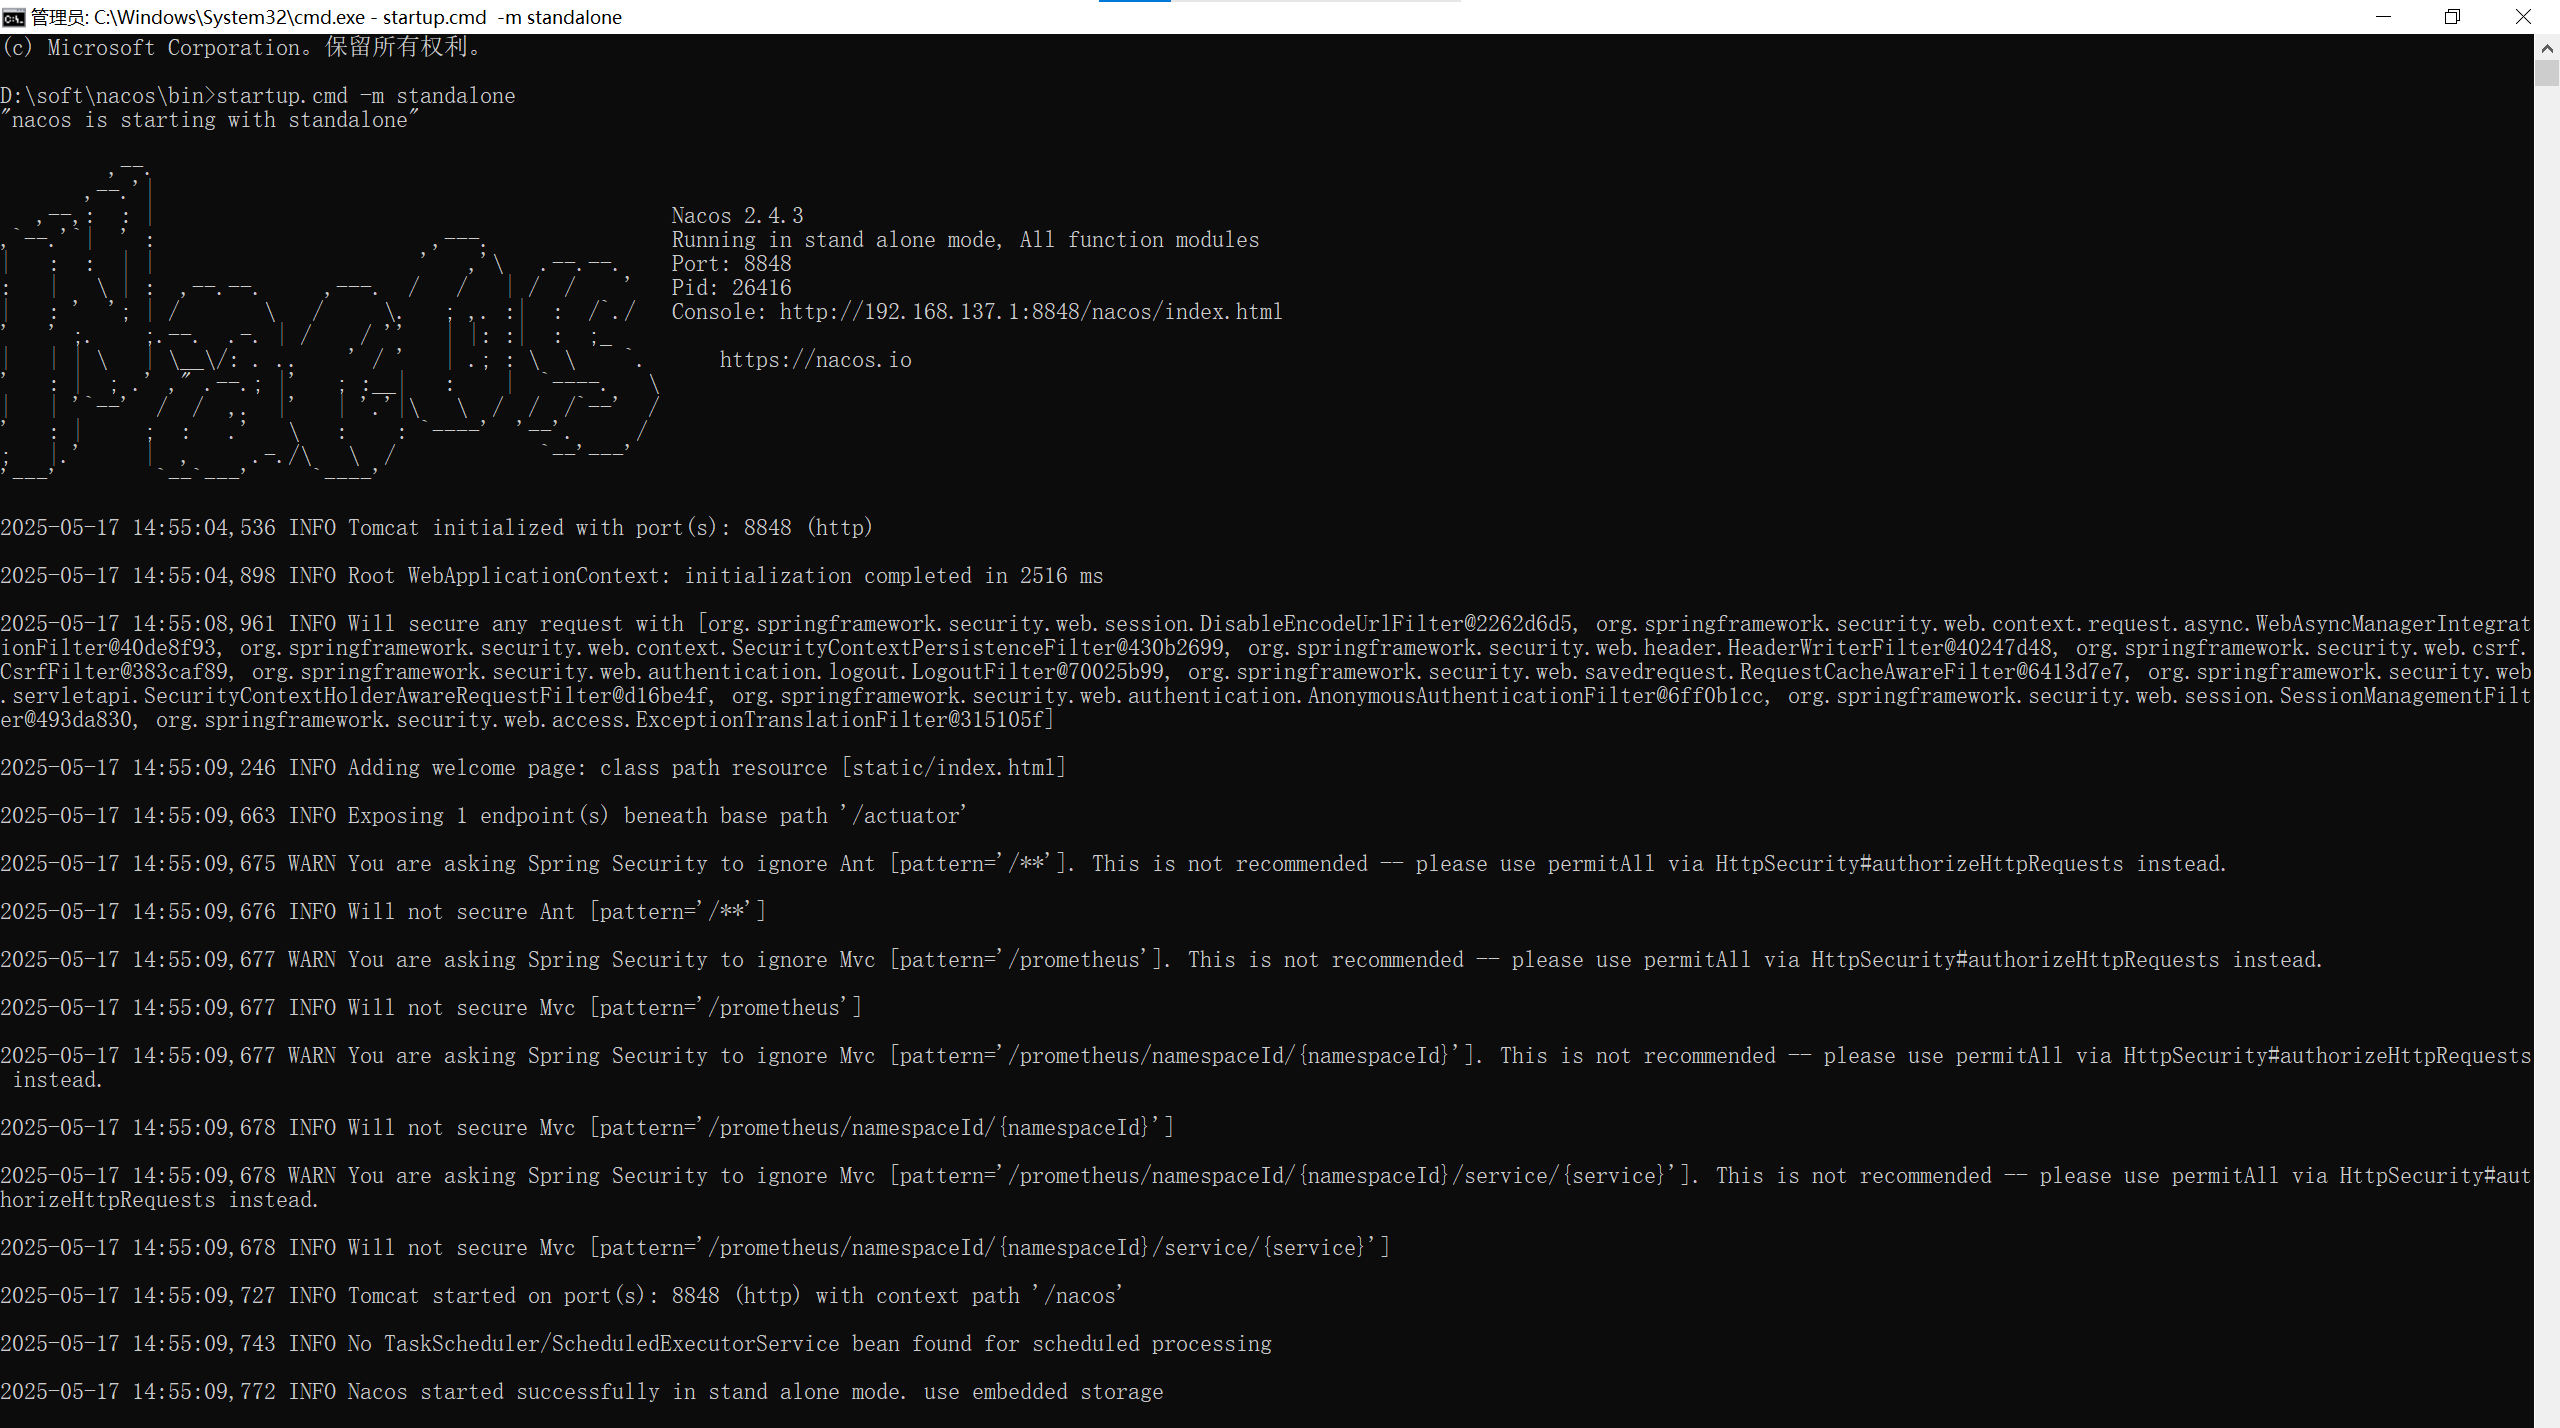
下载完成后直接解压 进入bin目录 输入cmd standlone的意思是单机启动
启动命令: startup.cmd -m standalone
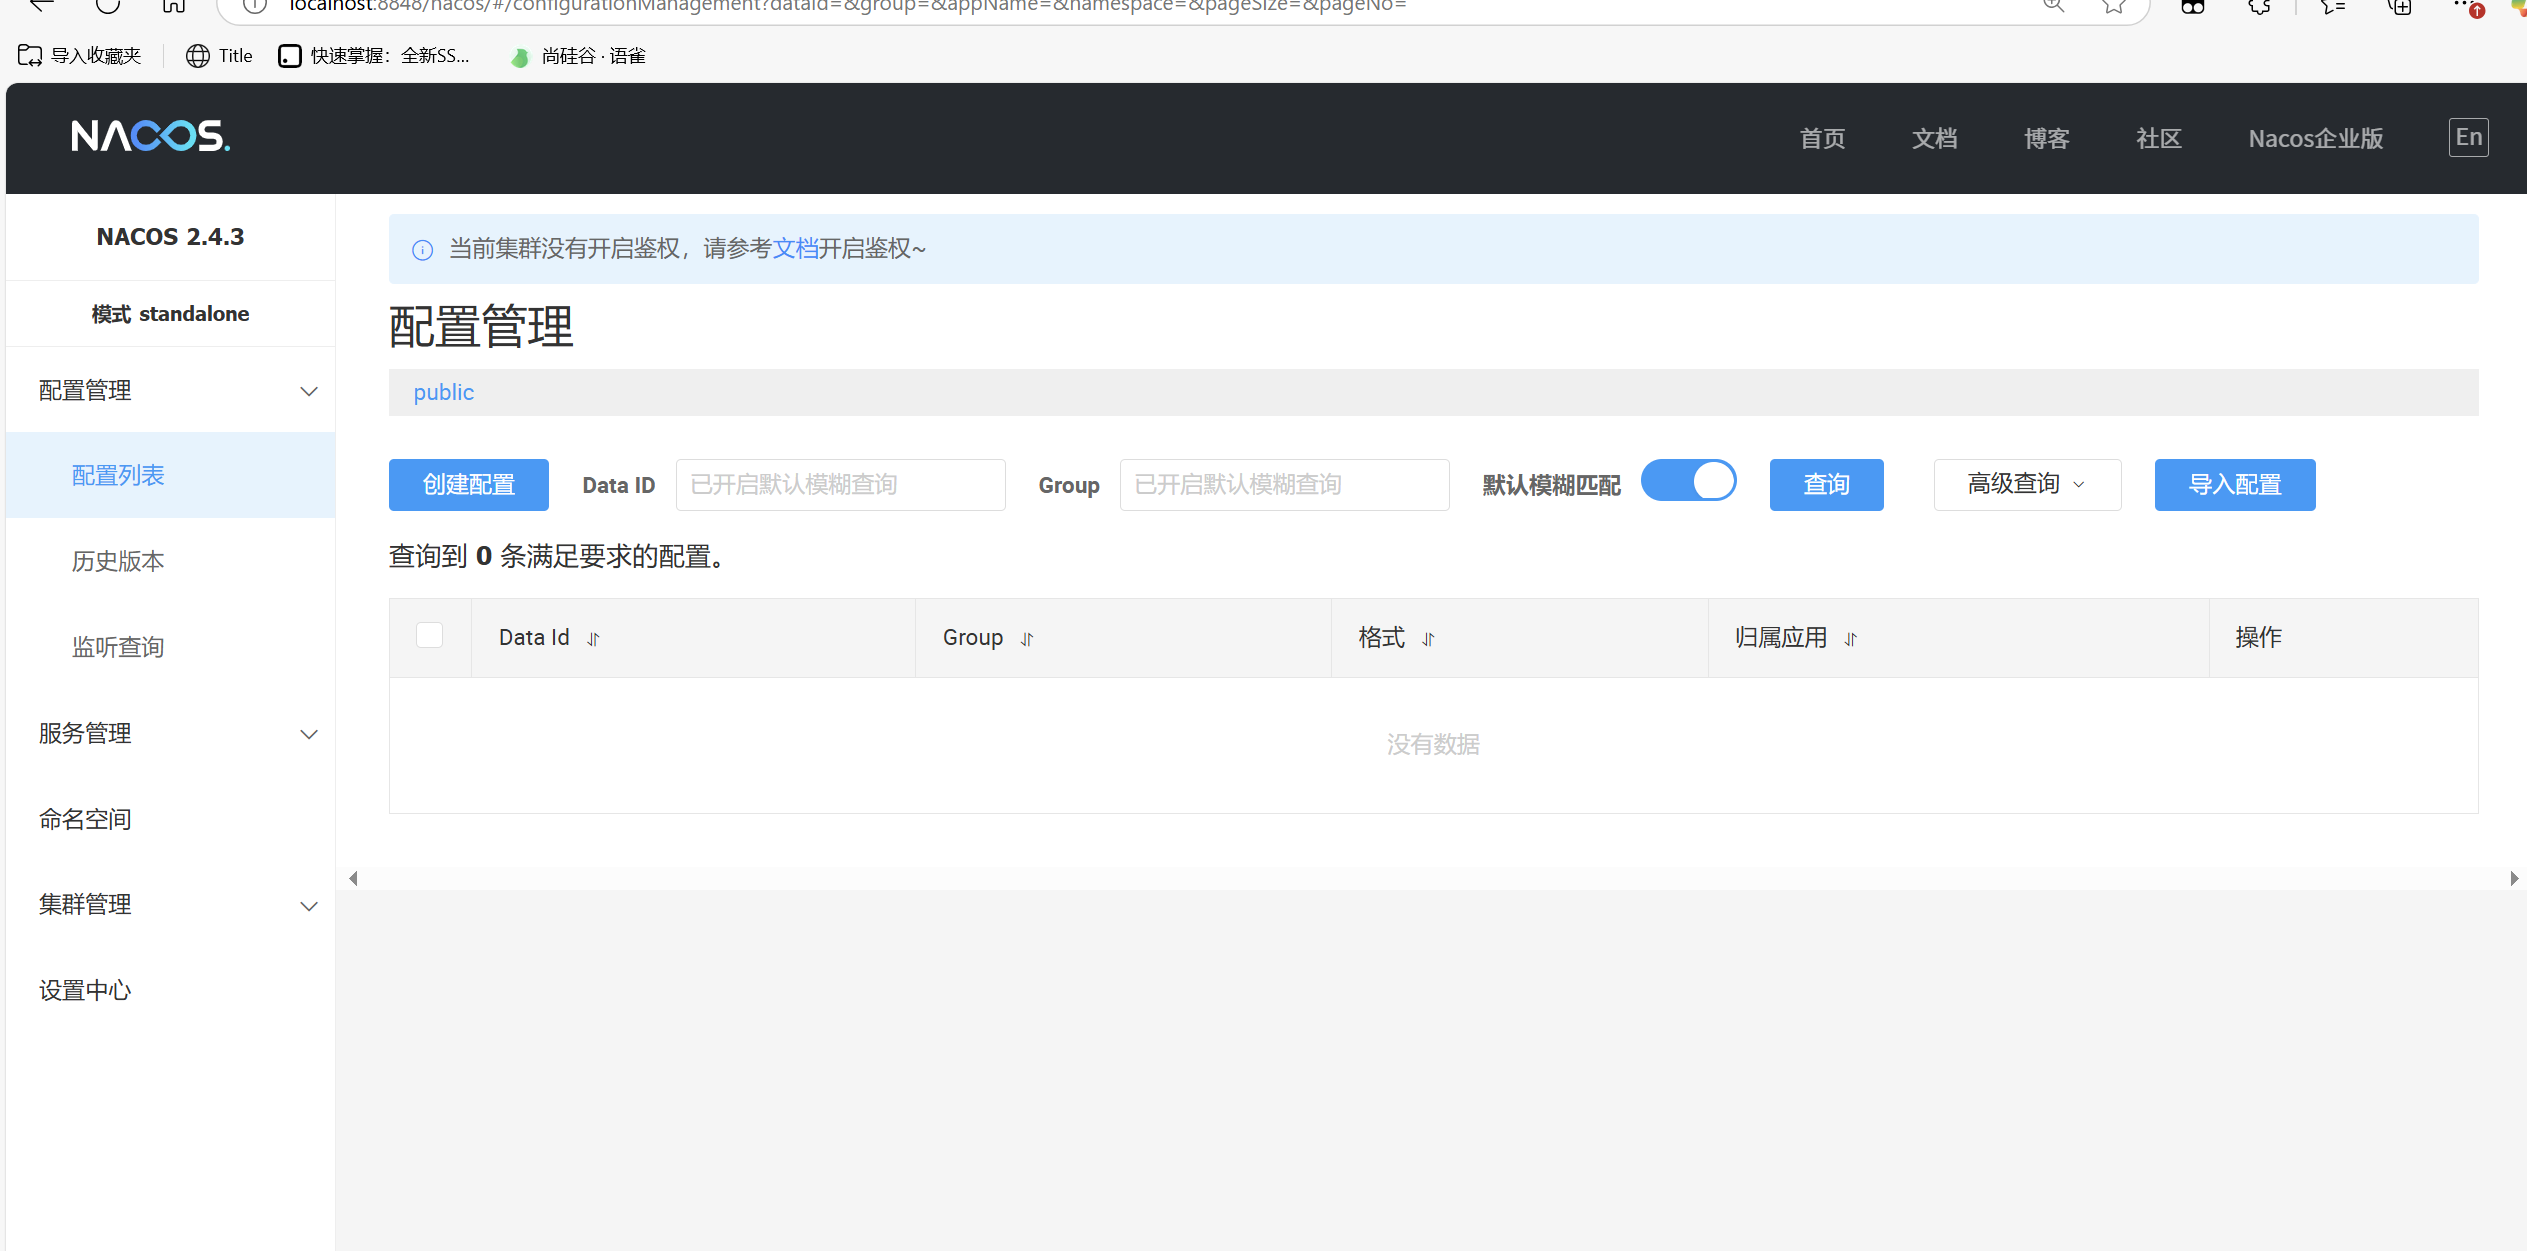
浏览器搜索 http://localhost:8848/nacos
如果可以进入成功 那证明启动成功了
服务中心-服务注册
步骤:
- 引入服务发现依赖
    <dependencies>
        <dependency>
            <groupId>com.alibaba.cloud</groupId>
           <artifactId>spring-cloud-starter-alibaba-nacos-discovery</artifactId>
        </dependency>
     </dependencies>
- 配置Nacos地址
创建application.properties 在里面写入
spring.application.name=service-order
server.port=8000

spring.cloud.nacos.server-addr=127.0.0.1:8848
- 启动微服务
package com.nie.product;

import org.springframework.boot.SpringApplication;
import org.springframework.boot.autoconfigure.SpringBootApplication;

@SpringBootApplication
public class ProductMainApplication {
    public static void main(String[] args) {
        SpringApplication.run(ProductMainApplication.class,args);

    }
}
- 查看注册中心效果
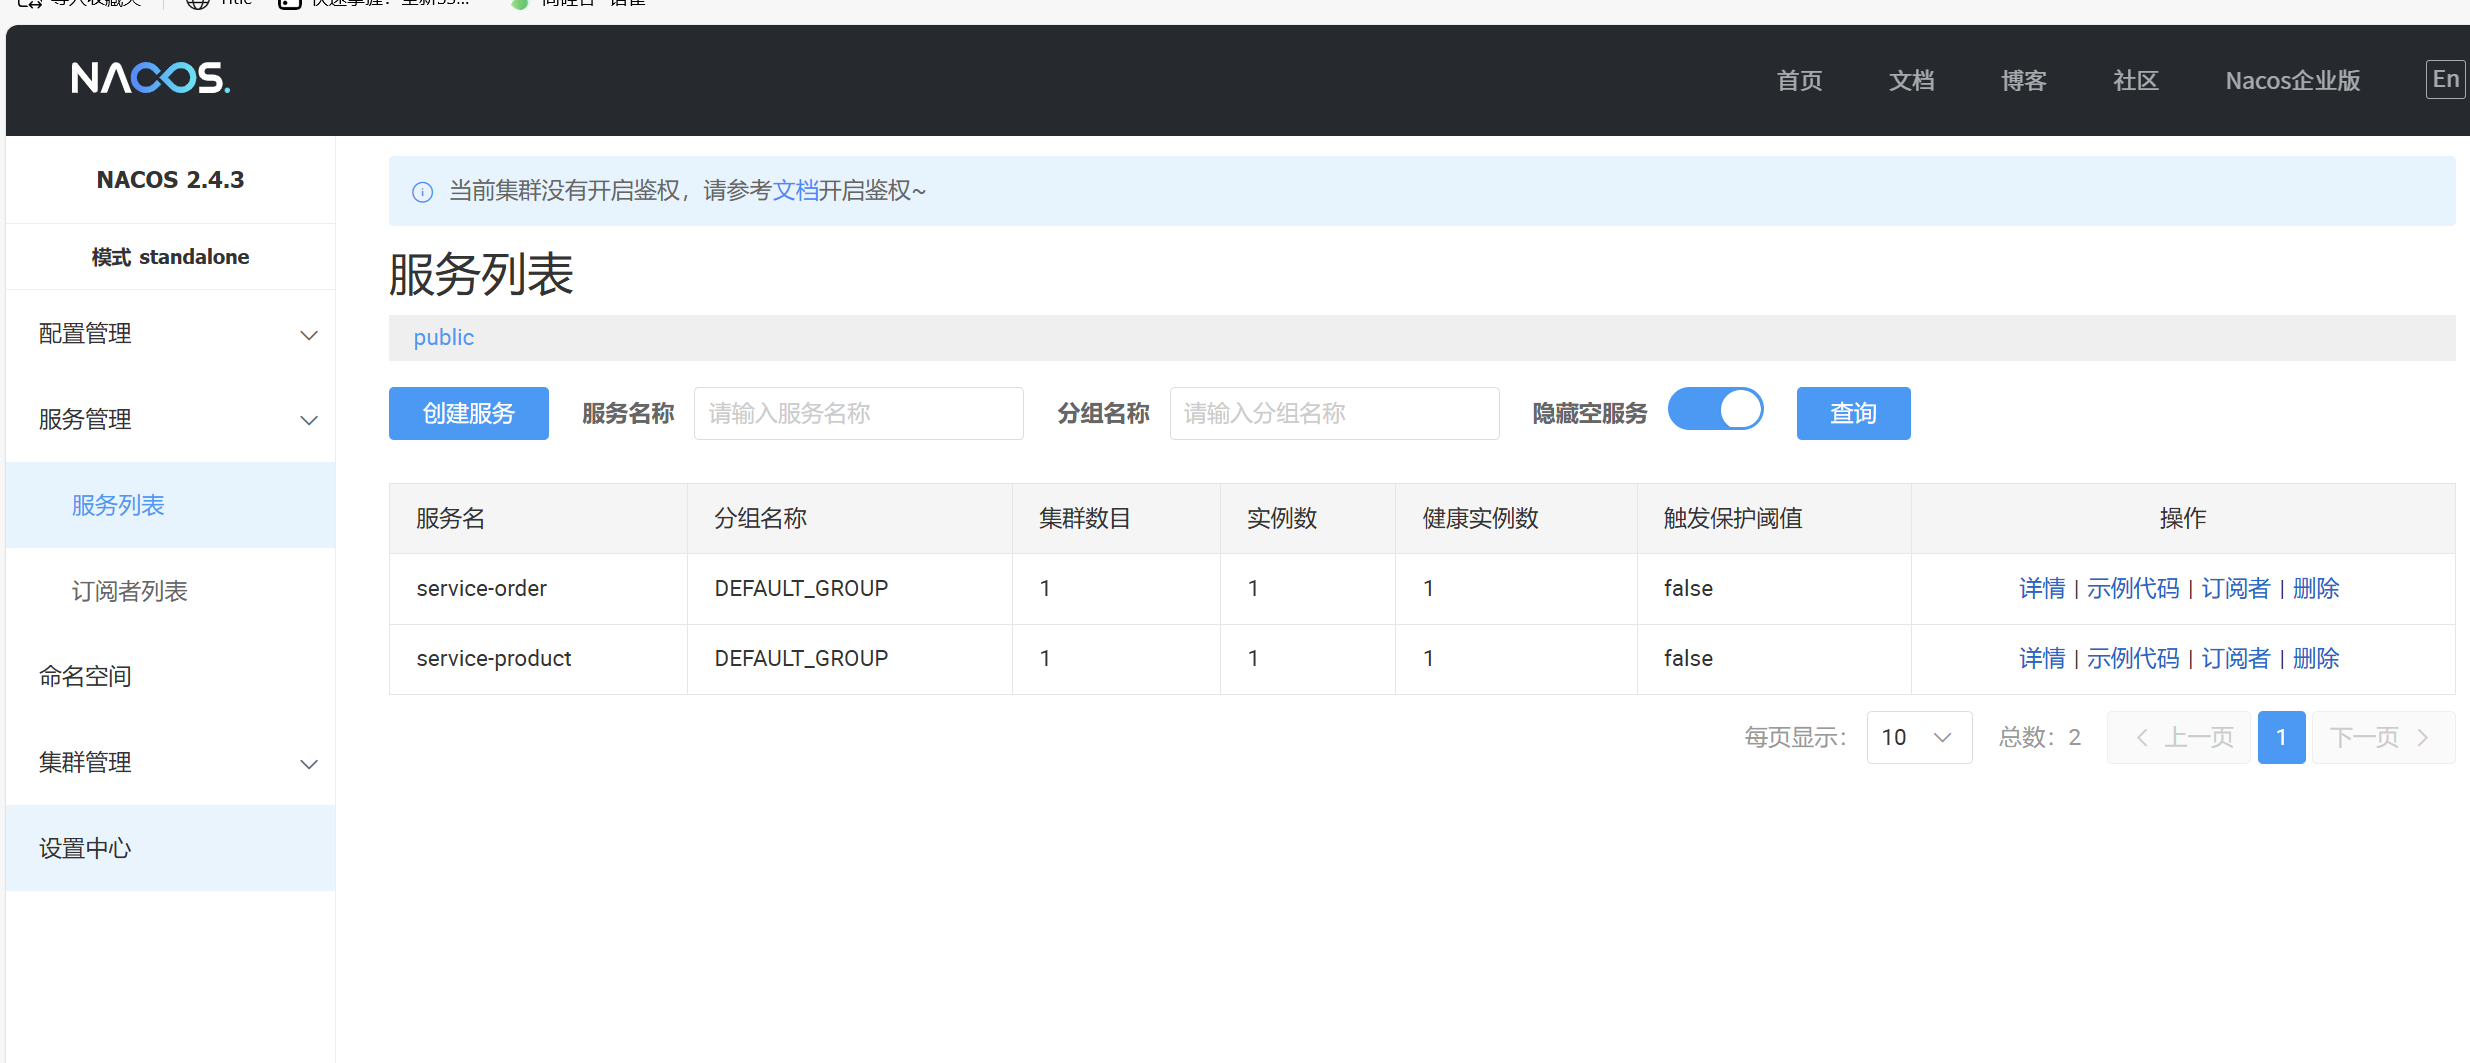
服务中心-注册发现
步骤:
- 开启服务发现功能
package com.nie.product;

import org.springframework.boot.SpringApplication;
import org.springframework.boot.autoconfigure.SpringBootApplication;
import org.springframework.cloud.client.discovery.EnableDiscoveryClient;

@SpringBootApplication
@EnableDiscoveryClient  //开启服务发现功能
public class ProductMainApplication {
    public static void main(String[] args) {
        SpringApplication.run(ProductMainApplication.class,args);

    }
}
- 测试服务发现API
编写测试案例
package com.nie.product;


import org.junit.jupiter.api.Test;
import org.springframework.beans.factory.annotation.Autowired;
import org.springframework.boot.test.context.SpringBootTest;
import org.springframework.cloud.client.ServiceInstance;
import org.springframework.cloud.client.discovery.DiscoveryClient;

import java.util.List;

@SpringBootTest
public class ProductTest {

    @Autowired
    private DiscoveryClient discoveryClient;

    @Test
    void DiscoveryClientTest(){
        //获取service
        for (String service : discoveryClient.getServices()) {
            System.out.println("service = " + service);
            //获取ip加port
            List<ServiceInstance> instances = discoveryClient.getInstances(service);
            for (ServiceInstance instance : instances) {
                System.out.println("ip = " + instance.getHost()+",port="+instance.getPort());

            }
        }
    }
}
结果

注册中心-远程调用
下单场景

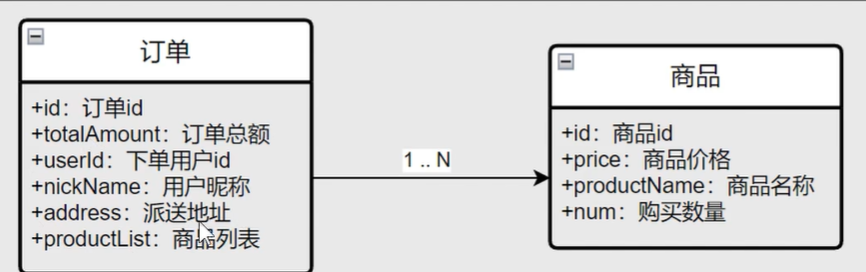
- 编写商品
package com.nie.product.bean;

import lombok.Data;

import java.math.BigDecimal;

@Data
public class Product {
    private Long id;
    private BigDecimal price;
    private String productName;
    private int num;

}
编写controller层
package com.nie.product.controller;

import com.nie.product.bean.Product;
import com.nie.product.service.ProductService;
import org.springframework.beans.factory.annotation.Autowired;
import org.springframework.web.bind.annotation.GetMapping;
import org.springframework.web.bind.annotation.PathVariable;
import org.springframework.web.bind.annotation.RestController;

@RestController
public class ProductController {

    @Autowired
    private ProductService productService;

    @GetMapping("/product/{id}")
    public Product getProduct(@PathVariable Long id) {
        Product product=productService.getProductByid(id);
        return product;
    }
}
编写商品service层
package com.nie.product.service;

import com.nie.product.bean.Product;

public interface ProductService {
    Product getProductByid(Long id);
}
package com.nie.product.service.Impl;

import com.nie.product.bean.Product;
import com.nie.product.service.ProductService;
import org.springframework.stereotype.Service;

import java.math.BigDecimal;

@Service
public class ProductServiceImpl implements ProductService {

    public Product getProductByid(Long id) {
        Product product = new Product();
        product.setId(id);
        product.setPrice(new BigDecimal("100.00"));
        product.setProductName("西瓜"+id);
        product.setNum(3);

        return product;
    }
}
2. 编写订单
编写实体类
package com.nie.order.bean;

import lombok.Data;

import java.math.BigDecimal;
import java.util.List;


@Data
public class Order {
    private Long id;
    private BigDecimal totalAmount;
    private Long userId;
    private String nickName;
    private String address;
    private List<Object> productList;
}
编写controller
package com.nie.order.controller;

import com.nie.order.bean.Order;
import com.nie.order.service.OrderService;
import org.springframework.beans.factory.annotation.Autowired;
import org.springframework.web.bind.annotation.GetMapping;
import org.springframework.web.bind.annotation.RequestParam;
import org.springframework.web.bind.annotation.RestController;

@RestController
public class OrderController {

    @Autowired
    private OrderService orderService;

    @GetMapping("/create")
    public Order createOrder(@RequestParam("userId") Long userId,
                             @RequestParam("productId") Long productId){
        Order order = orderService.createOrder(productId,userId);
        return order;
    }
}
编写service
package com.nie.order.service;

import com.nie.order.bean.Order;

public interface OrderService {

    Order createOrder(Long productId ,Long userId);
}
package com.nie.order.service.Impl;

import com.nie.order.bean.Order;
import com.nie.order.service.OrderService;
import org.springframework.stereotype.Service;

import java.math.BigDecimal;

@Service
public class OrderServiceImpl implements OrderService {


    public Order createOrder(Long productId , Long userId) {
        Order order = new Order();

        order.setId(1L);
        //TODO 总金额
        order.setTotalAmount(new BigDecimal("0"));
        order.setUserId(userId);
        order.setNickName("zhangsan");
        order.setAddress("小聂");
        //TODO 远程查询商品列表
        order.setProductList(null);

        return order;
    }
}
这时候发现productList 和TotalAmount我们需要远程调用product
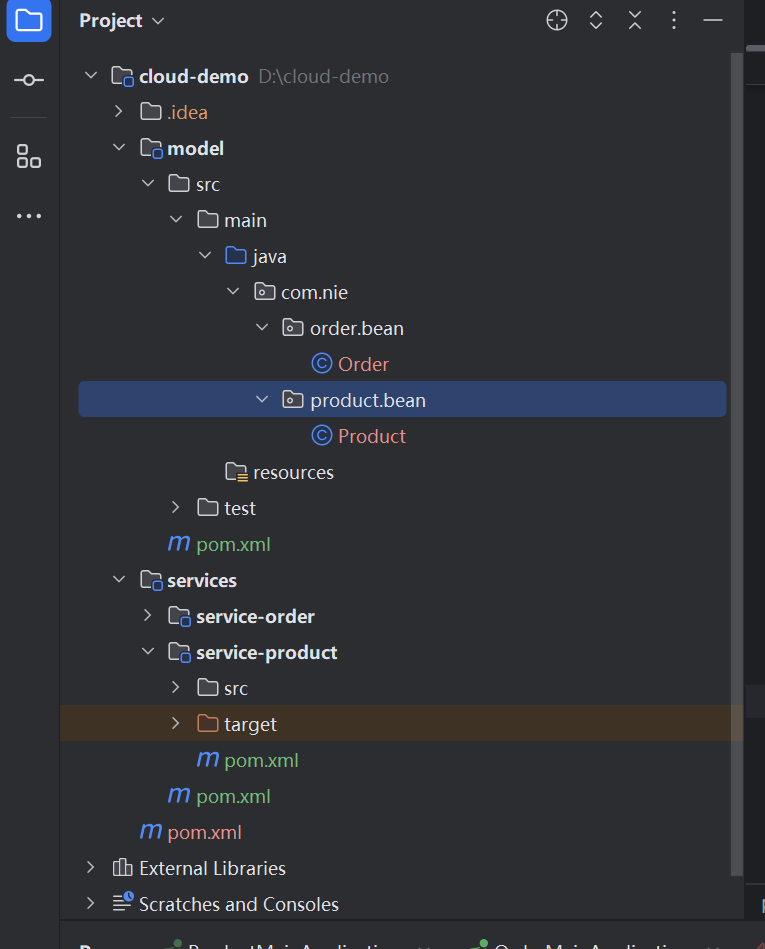
如果我们把每个微服务的bean放在各自的包下,那会出现调用不到的情况,所以我们将他抽离到一个工程中
我们要在services中的pom文件里面写入这一句话
        <dependency>
            <groupId>com.nie</groupId>
            <artifactId>model</artifactId>
            <version>0.0.1-SNAPSHOT</version>
        </dependency>
编写配置类 只要编写一次 之后使用直接注入即可
package com.nie.order.config;

import org.springframework.context.annotation.Bean;
import org.springframework.context.annotation.Configuration;
import org.springframework.web.client.RestTemplate;

@Configuration
public class OrderConfig {

    @Bean
    public RestTemplate restTemplate() {
        return new RestTemplate();
    }
}
远程调用的基本实现
我们可以写一个这个方法来远程访问 获取product数
    private Product getProduct(Long productId) {
        List<ServiceInstance> instances = discoveryClient.getInstances("service-product");
        ServiceInstance serviceInstance = instances.get(0);
        String url="http://"+serviceInstance.getHost()+":"+serviceInstance.getPort()+"/product/"+productId;

        Product product = restTemplate.getForObject(url, Product.class);
        return product;
    }
完整的OrderServiceImpl代码为
package com.nie.order.service.Impl;

import com.nie.order.bean.Order;
import com.nie.order.service.OrderService;
import com.nie.product.bean.Product;
import lombok.extern.slf4j.Slf4j;
import org.springframework.beans.factory.annotation.Autowired;
import org.springframework.cloud.client.ServiceInstance;
import org.springframework.cloud.client.discovery.DiscoveryClient;
import org.springframework.stereotype.Service;
import org.springframework.web.client.RestTemplate;

import java.math.BigDecimal;
import java.util.Arrays;
import java.util.List;

@Slf4j
@Service
public class OrderServiceImpl implements OrderService {

    @Autowired
    private DiscoveryClient discoveryClient;

    @Autowired
    private RestTemplate restTemplate;

    public Order createOrder(Long productId , Long userId) {
        Product product = getProduct(productId);

        Order order = new Order();
        order.setId(1L);
        //TODO 总金额
        order.setTotalAmount(product.getPrice().multiply(new BigDecimal(product.getNum())));
        order.setUserId(userId);
        order.setNickName("zhangsan");
        order.setAddress("小聂");
        //TODO 远程查询商品列表
        order.setProductList(Arrays.asList(product));

        return order;
    }

    private Product getProduct(Long productId) {
        List<ServiceInstance> instances = discoveryClient.getInstances("service-product");
        ServiceInstance serviceInstance = instances.get(0);
        String url="http://"+serviceInstance.getHost()+":"+serviceInstance.getPort()+"/product/"+productId;

        Product product = restTemplate.getForObject(url, Product.class);
        return product;
    }
}
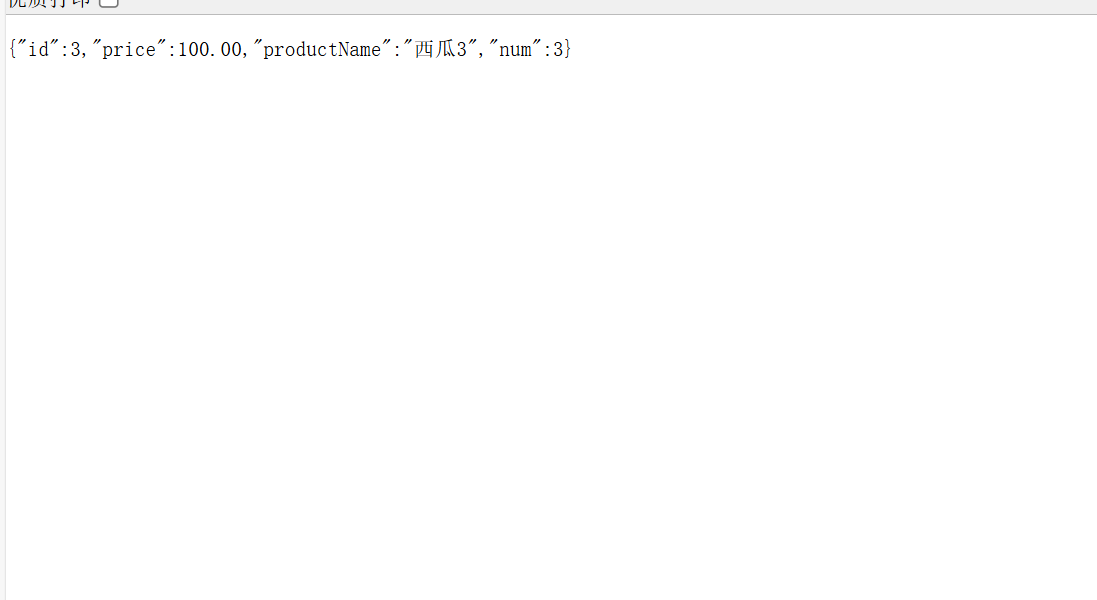
此时再次运行 结果为

注意 这时候我们会发现一个问题 我们不能每次就请求第一个服务器
所以我们使用负载均衡
@LoadBalanced注解
package com.nie.order.config;

import org.springframework.cloud.client.loadbalancer.LoadBalanced;
import org.springframework.context.annotation.Bean;
import org.springframework.context.annotation.Configuration;
import org.springframework.web.client.RestTemplate;

@Configuration
public class OrderConfig {

    @Bean
    @LoadBalanced
    public RestTemplate restTemplate() {
        return new RestTemplate();
    }
}
我们只需要在配置类上加上@LoadBalanced
之后远程调用的实现就可以变成
    private Product getProduct1(Long productId) {
        String url="http://service-product/product/"+productId;
        Product product = restTemplate.getForObject(url, Product.class);
        return product;
    }


 1769
1769

 被折叠的 条评论
为什么被折叠?
被折叠的 条评论
为什么被折叠?
 到【灌水乐园】发言


