


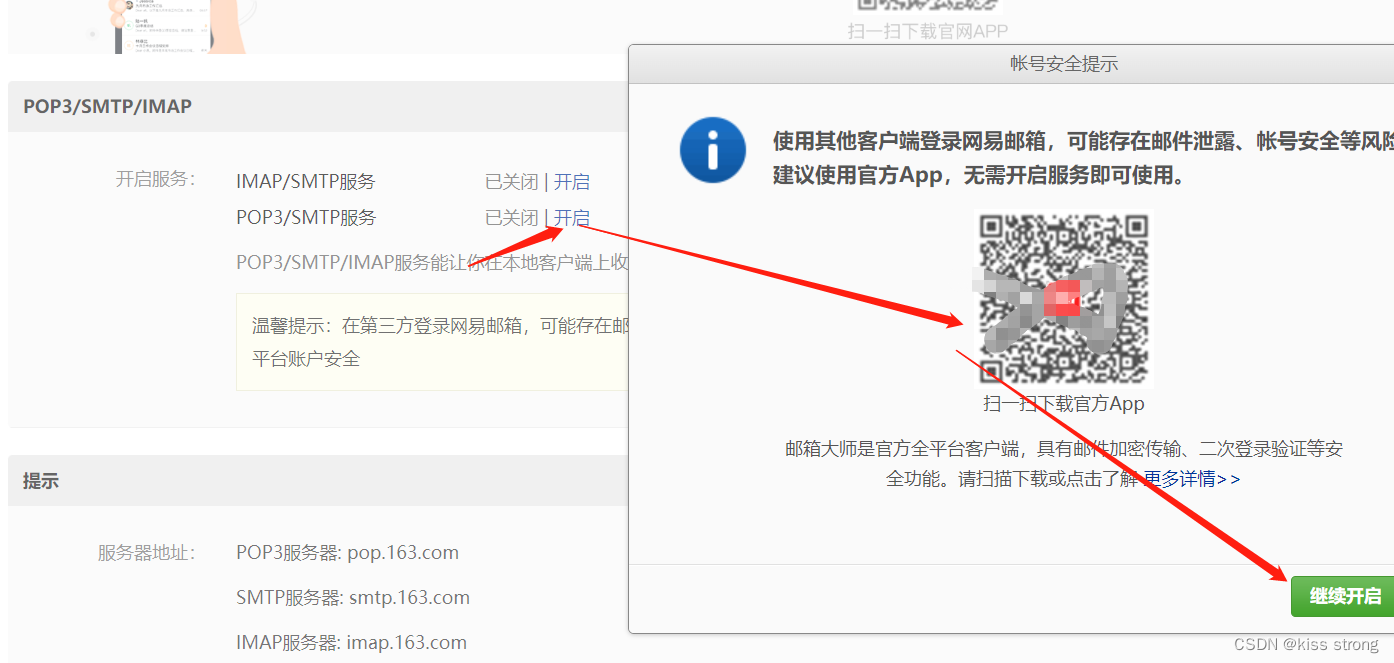
一、获取授权码(以163邮箱为例)

将生成的授权码保存下来
二、代码
依赖
        <dependency>
            <groupId>org.springframework.boot</groupId>
            <artifactId>spring-boot-starter-test</artifactId>
            <version>2.6.10</version>
            <scope>test</scope>
        </dependency>
         <!--邮件-->

            <dependency>
                <groupId>org.springframework.boot</groupId>
                <artifactId>spring-boot-starter-mail</artifactId>
                <version>2.6.3</version>
            </dependency>
配置文件
host值要根据邮箱类型来填写
| 邮箱类型 | SMTP服务器地址 | 端口号 |
| QQ邮箱 | smtp.qq.com | 465或587 |
| sina邮箱 | smtp.sina.cn | 465或587 |
| 126邮箱 | smtp.126.com | 465或994 |
| aliyun邮箱 | smtp.aliyun.com | 465或994 |
| 163邮箱 | smtp.163.com | 465或994 |
| yeah邮箱 | smtp.yeah.net | 465或994 |
spring:
  #邮箱基本配置
  mail:
    protocol: smtps
    #配置smtp服务主机地址
    host: smtp.163.com
    #发送者邮箱
    username: xxxx@163.com
    #配置密码,注意不是真正的密码,而是刚刚申请到的授权码
    password: xxxxxxx
    #端口号465或994
    port: 465
    #默认的邮件编码为UTF-8
    default-encoding: UTF-8
    #其他参数
    properties:
      mail:
        #配置SSL 加密工厂
        smtp:
          ssl:
            #本地测试,先放开ssl
            enable: false
            required: false
          #开启debug模式,这样邮件发送过程的日志会在控制台打印出来,方便排查错误
        debug: true
三、测试
@SpringBootTest
public class EmailTest {

    @Autowired
    private JavaMailSender emailSender;

    @Value("${spring.mail.username}")
    private String from;

    @Test
    public void sendEmail() {
        String to = "yyyy@163.com";
        String subject="test";
        String text="测试发送邮件";
        SimpleMailMessage message = new SimpleMailMessage();
        message.setFrom(from);
        message.setTo(to);
        message.setSubject(subject);
        message.setText(text);
        emailSender.send(message);
    }
}


 2303
2303


 被折叠的 条评论
为什么被折叠?
被折叠的 条评论
为什么被折叠?
 到【灌水乐园】发言


