


1.重置样式
首先重置css样式,创建reset.css
* {
    margin: 0;
    padding: 0;
    box-sizing: border-box;
}

ul {
    list-style: none;
}

a {
    color: #1488f5;
    text-decoration: none;
}

a:hover {
    color: #0d81ec;
}

a.active{
    color: #0d81ec;
}

input, textarea {
    width: 100%;
    border-radius: 5px;
    border: 1px solid #f0eeee;
    outline: none;
    /*文字的颜色*/
    color: #555;
    /*光标的颜色*/
    caret-color: #1488f5;
    /*光标距离左边的距离*/
    text-indent: 20px;
}

input {
    height: 40px;
}

/*输入框提示的样式*/
input::placeholder, textarea::placeholder {
    color: #555;
}

input:focus, textarea:focus {
    border: 1px solid #e3dfdf;
}

textarea {
    /*只可以调整高度*/
    resize: vertical;
    padding-top: 10px;
}

button {
    height: 40px;
    padding: 0 20px;
    background-color: #f0eeee;
    border: 1px solid #e3e0e0;
    color: #555;
    cursor: pointer;
    outline: none;
}

button:hover {
    background-color: #e3e3e3;
}

button:active {
    background-color: #dcdcdc;
}
.flex {
    display: flex;
}

.row {
    display: block;
}

.center {
    display: flex;
    align-items: center;
    justify-content: center;
}
2.创建index.html
<!DOCTYPE html>
<html lang="en">
<head>
    <meta charset="UTF-8">
    <title>首页</title>
    <link rel="stylesheet" href="../static/my/css/reset.css">
    <link rel="stylesheet" href="../static/my/css/index.css">
</head>
<body>
<div id="app">
    <nav class="flex">
        <div class="left">
            <a href="/">首页</a>
            <a href="#">其他</a>
            <a href="#">其他</a>
            <a href="#">其他</a>
            <a href="#">其他</a>
            <a href="#">其他</a>
        </div>
        <div class="right">
            <a href="#">登录</a>
            <a href="#">注册</a>
        </div>
    </nav>
<header>
    <div class="slogan center">
        <div class="title">
            樱花树下小八的个人博客
        </div>
        <p>十一点必早睡</p>
    </div>
    <div class="banner" id="banner" banner_time="8">
        {% for img in img_list %}
            <img src="{{ img }}",alt="">
        {% endfor %}
    </div>
</header>
<main class="flex">
    <div class="main flex">


    <div class="left">
        <div class="card">
            <div class="title">
                精选文章
            </div>
            <div class="body">
                内容
            </div>
        </div>
    </div>
    <div class="right">
        <div class="card">


            <div class="title">
                独家广告
            </div>
            <div class="body">
                内容
            </div>
        </div>
        <div class="card">


            <div class="title">
                标签云
            </div>
            <div class="body">
                内容
            </div>
        </div>
    </div>
    </div>
</main>
<footer class="flex">
    <div class="left center">
        <p>建站日期:2024-04-29</p>
    </div>
    <div class="right center">
        <p>联系我吧</p>
    </div>
</footer>
</div>
<script src="../static/jquery/jquery-3.5.1.min.js"></script>
<script>
function init_banner() {
    let banner = $('#banner')
    let img_list = banner.children()
    let len = img_list.length
    // 先判断个数,超过1个以上才设置定时器
    // 为了精简写法,将这个banner轮播抽离为一个函数
    if (len <= 1) return
    // img是超过1个以上的

    // 设置一个index
    let index = 0;
    // 获取轮播时间,如果没有就默认6秒  注意时间转换
    let time = Number(banner.attr('banner_time')) || 6
    // 开启定时器
    setInterval(() => {
        // 先++
        index++
        // 判读阈值
        if (index >= len) {
            index = 0
        }
        console.log(index)
        // 先全部隐藏
        img_list.css({opacity: 0})
        // 对应的出现  这个时候要用js的写法了
        img_list[index].style.opacity = 1

    }, time * 1000)

}
// 执行这个方法
init_banner()

</script>
</body>
</html>
3.index.css
body{
  background-color: white;
}
nav{
  height: 60px;
  position: fixed;
  z-index: 1000;
  justify-content: space-between;
  background-color: rgba(67, 191, 245, 0);
  width: 100%;
  align-items: center;
  padding: 0 120px;
  a{
    color :white;
    margin-right: 20px;
    &:last-child{
      margin-right: 0;
    }
  }
}

header{
  position: relative;

  .slogan{
    width: 100%;
    height: 600px;
    position: absolute;
    z-index: 1;
    color: white;
    flex-direction: column;

    .title{
      font-size:30px ;
      margin-bottom: 10px;
    }

    p{
      font-size: 18px;
    }
  }

  .banner{
    width: 100%;
    height: 600px;

    img{
      position:absolute ;
      top: 0;
      left: 0;
      width: 100%;
      height: 600px;
      object-fit:cover;
      opacity: 0;
      z-index: 0;

      transition: opacity 2s;

      &:first-child{
        opacity: 1;
      }
    }
  }
}

main{
  margin-top: 20px;
  justify-content: center;
  .main{
    width: 1000px;
    justify-content: space-between;
  }
  >.left{
    width: calc(100% - 396px - 20px);
  }
  >.right{
    width: 396px;
  }
}

.card{
  margin-bottom: 20px;
  >.title{
    background-color: white;
    border-radius: 5px 5px 0 0;
    padding: 20px 20px 10px 20px;
    color: #555555;
  }
  >.body{
    margin-top: 1px;
    background-color: white;
    border-radius: 0 0 5px 5px;
    padding: 10px 20px 20px 20px;
        color: #555555;
  }
}

footer{
  background-color: white;
  padding: 0 120px;
  min-height: 120px;
  >div{
    width: 50%;
    color: #555555;
  }
}
4.在后端进行轮播图图片的传递
def index(request):
img_list=[
"../static/my/img/1.jpg",
"../static/my/img/2.jpg"
]
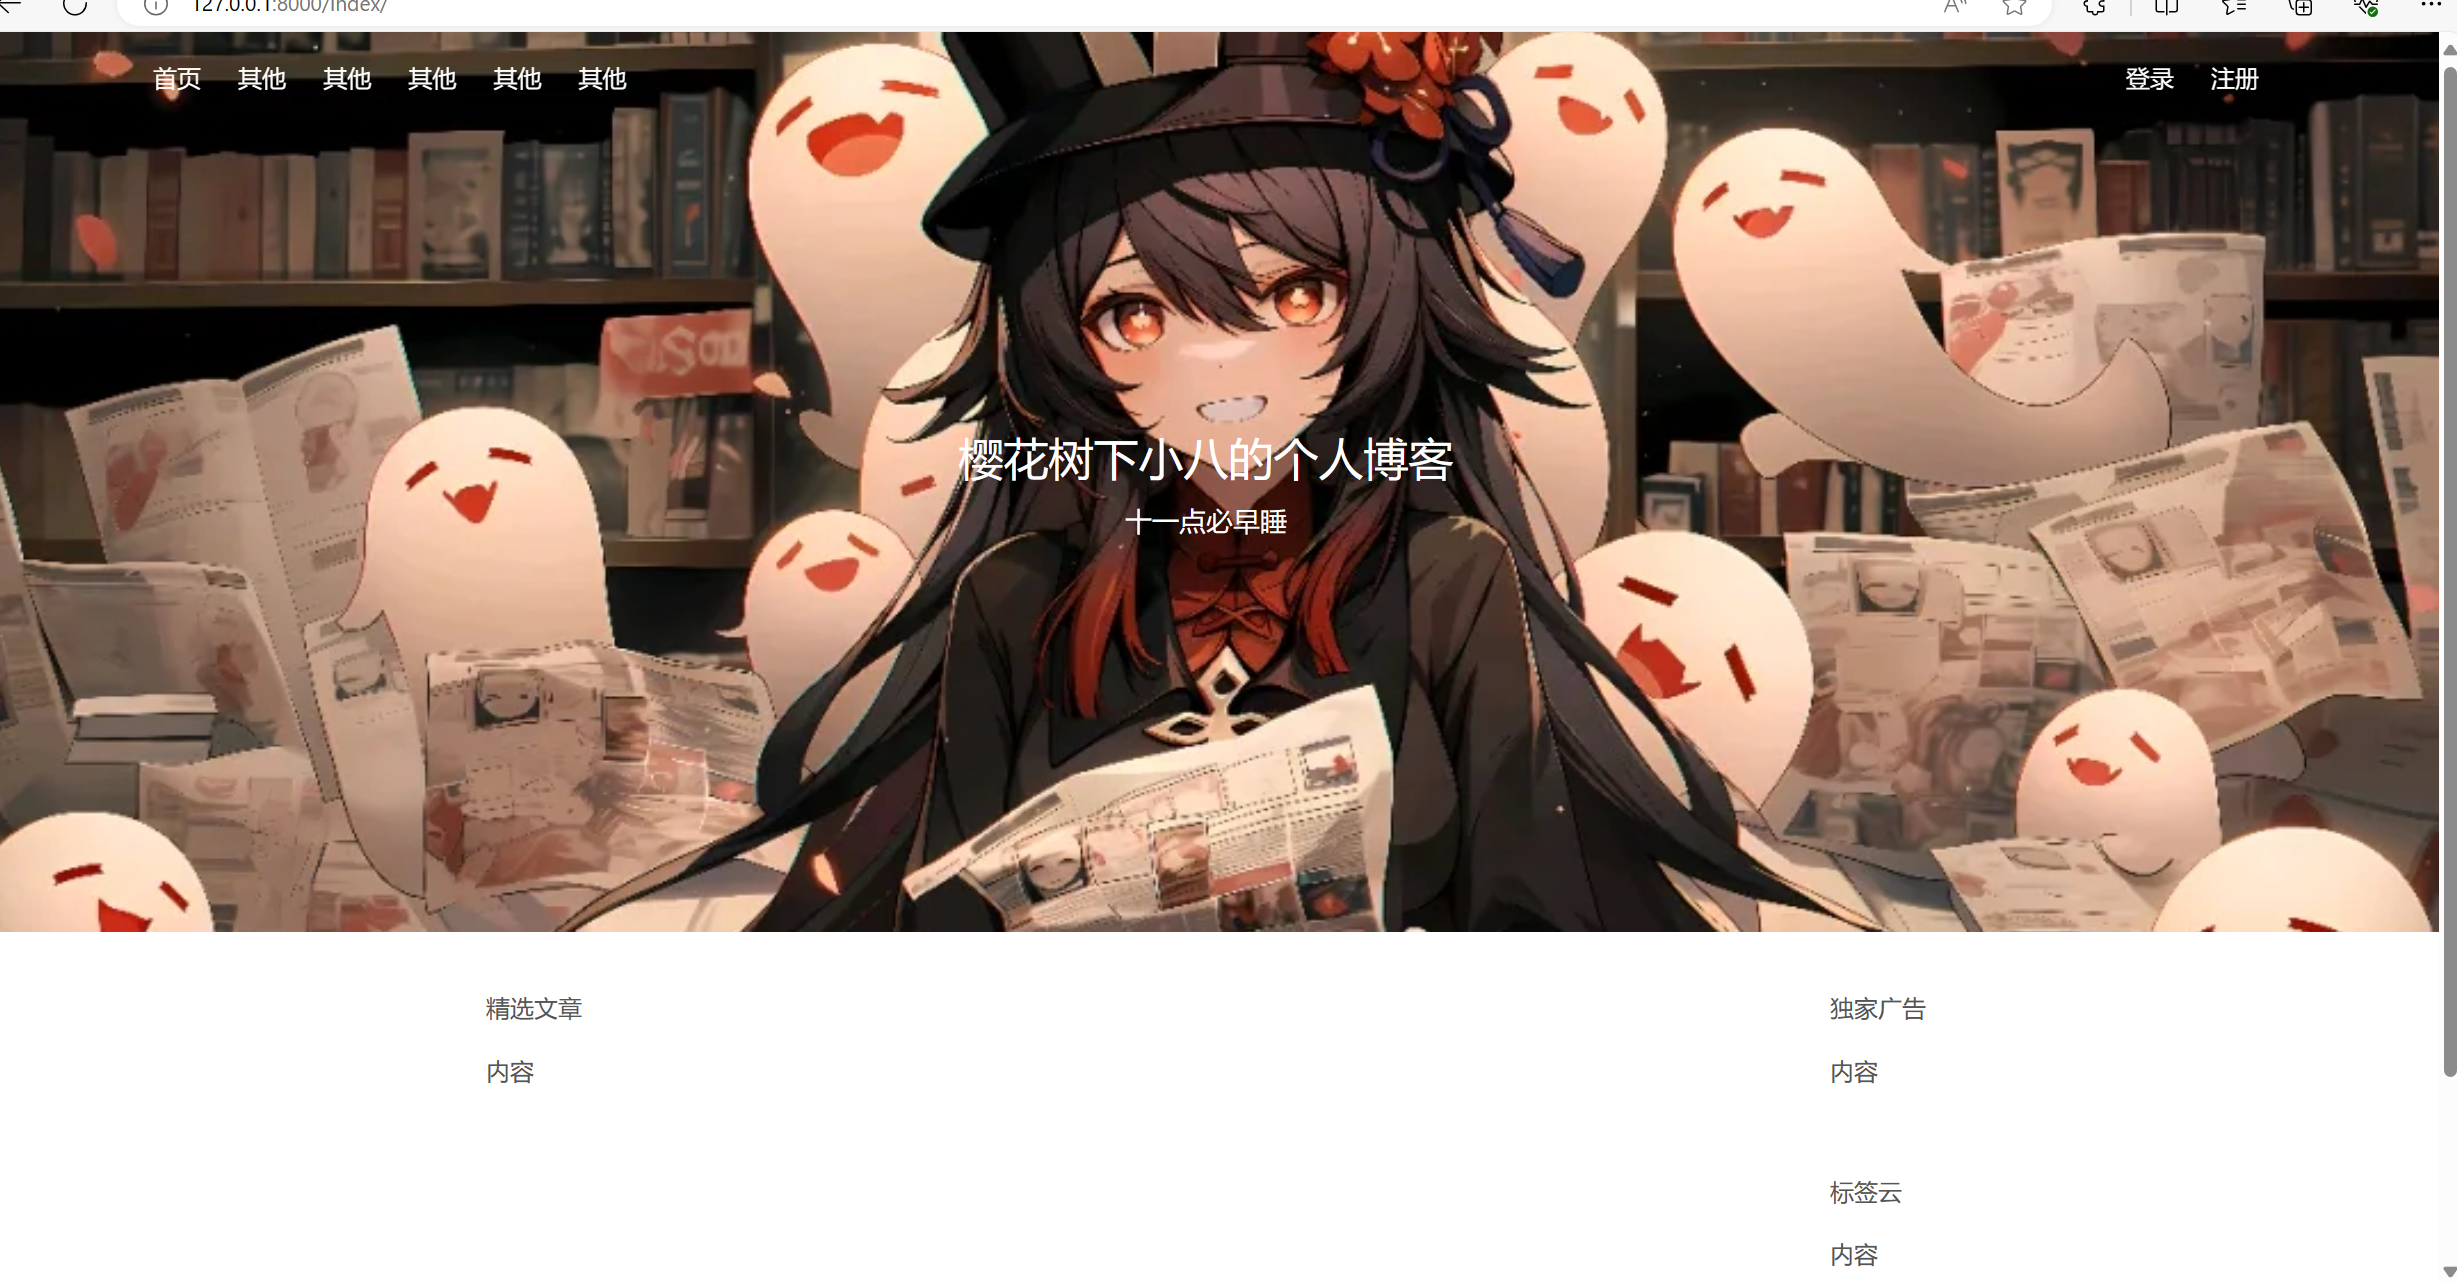
return render(request, 'index.html', locals())5.最后效果


 被折叠的 条评论
为什么被折叠?
被折叠的 条评论
为什么被折叠?
 到【灌水乐园】发言


