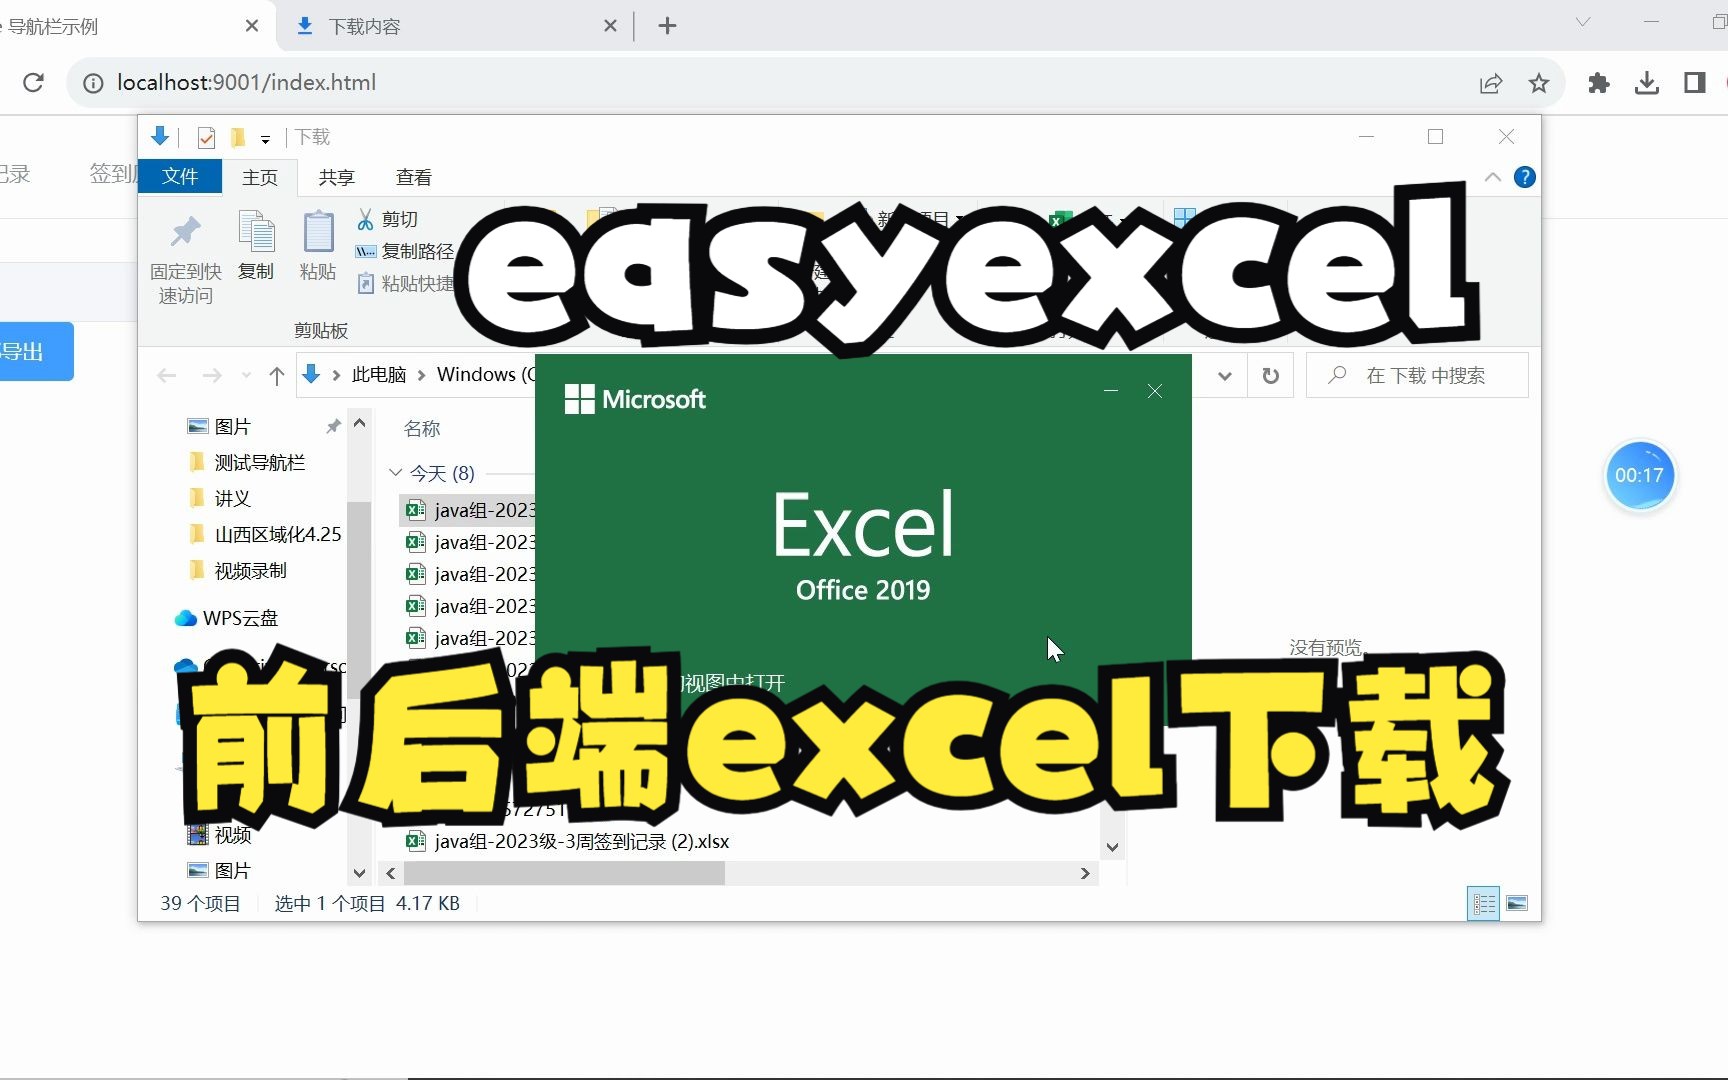
1.效果展示

excel文件单一sheet,多sheet导出
本文主要介绍如何使用easyexcel ,配合前端导出Excel文件。同时提供Excel的两种导出形式:单一sheet,多sheet。
1.1 前端界面

1.2 下载的excel
单一sheet文件

多sheet文件

2.思路介绍
前端:直接通过window.location.href = url,跳转到对应url,借助浏览器直接下载文件。这样前端就无需做出额外的操作,也减少遇到bug的几率
后端:通过response返回的流数据,借助easyexcel的api:ExcelWriterBuilder write(OutputStream outputStream, Class head)返回流数据
3.前端代码展示
<div id="app">
    <el-row>
        <el-col :span="4">
            年级:<el-input v-model="year" placeholder="Input 1" disabled></el-input>
        </el-col>
        <el-col :span="4">
            组别:<el-input v-model="group" placeholder="Input 2" disabled></el-input>
        </el-col>
        <el-col :span="4">
            第几周:<el-input v-model="week" placeholder="请输入导出的周"></el-input>
        </el-col>
        <el-col :span="2">
            <el-button type="primary" @click="exportExcel(week)">导出</el-button>
        </el-col>
    </el-row>
    <el-row>
        <el-button type="primary" @click="exportExcel('全部')">全部导出</el-button>
    </el-row>
</div>

<script>
    new Vue({
        el: "#app",
        data: {
            year: '2023',
            group: 'java',
            week: '3',
        },
        methods: {
            exportExcel(week) {
                var year = this.year;
                var group = this.group;
                var url = address + `/sign/excel?year=${year}&group=${group}&week=${week}`;
                window.location.href = url;
            }
        },
    });
</script>
4.后端代码展示
controller
    /**
     * 返回excel导出数据
     */
    @GetMapping("/excel")
    public void getExcel(@RequestParam Map<String, Object> params, HttpServletResponse response) throws IOException {
        signInfoService.getExcel(params, response);
    }
service
    @Override
    public R getExcel(Map<String, Object> params, HttpServletResponse response) throws IOException {
        Object year = params.get("year");
        Object week = params.get("week");
        Object group = params.get("group");
        if (year == null) {
            year = "2023";
        }
        if (group == null) {
            group = "java";
        }
        // 请直接用浏览器或者用postman, 其它的入swagger容易报错
        try {
            response.setContentType("application/vnd.ms-excel");
            response.setCharacterEncoding("utf-8");

            // 这里URLEncoder.encode可以防止中文乱码 当然和easyexcel没有关系
            String fileName = URLEncoder.encode(group + "组-" + year + "级-" + week + "周" + "签到记录", "UTF-8").replaceAll("\\+", "%20");
            response.setHeader("Content-disposition", "attachment;filename=" + fileName + ".xlsx");

            // 判断是否需要导出全部的sheet
            String s = (String) week;
            if (s.equals("全部")) {
                // 指定文件
                ExcelWriter excelWriter = EasyExcel.write(response.getOutputStream(), SignListDto.class).autoCloseStream(Boolean.FALSE).build();
                // 循环添加sheet
                for (int i = 2; i <= len; ++i) {
                    WriteSheet writeSheet = EasyExcel.writerSheet(i, "第" + i + "周").build();
                    // 分页去数据库查询数据 这里可以去数据库查询每一页的数据
                    List<SignListDto> data = this.getSignListDto(year, i, group);
                    excelWriter.write(data, writeSheet);
                }
                // 关闭流数据
                excelWriter.finish();
            }else {
            	// 导出一个sheet文件
                EasyExcel.write(response.getOutputStream(), SignListDto.class).autoCloseStream(Boolean.FALSE).sheet("第" + week + "周")
                        .doWrite(this.getSignListDto(params));
            }
        } catch (Exception e) {
            // 重置response
            response.reset();
            response.setContentType("application/json");
            response.setCharacterEncoding("utf-8");
            Map<String, String> map = MapUtils.newHashMap();
            map.put("status", "failure");
            map.put("message", "下载文件失败" + e.getMessage());
            response.getWriter().println(mapper.writeValueAsString(map));
        }
        return R.ok();
    }
dto
@Data
public class SignListDto {
    @ExcelProperty("用户id")
    private Integer id;
    @ExcelProperty("用户姓名")
    private String name;

    @ExcelProperty({"星期一", "签到"})
    private String up1;
    @ExcelProperty({"星期一", "签退"})
    private String out1;

    @ExcelProperty({"星期二", "签到"})
    private String up2;
    @ExcelProperty({"星期二", "签退"})
    private String out2;

    @ExcelProperty({"星期三", "签到"})
    private String up3;
    @ExcelProperty({"星期三", "签退"})
    private String out3;

    @ExcelProperty({"星期四", "签到"})
    private String up4;
    @ExcelProperty({"星期四", "签退"})
    private String out4;

    @ExcelProperty({"星期五", "签到"})
    private String up5;
    @ExcelProperty({"星期五", "签退"})
    private String out5;

    @ExcelProperty({"星期六", "签到"})
    private String out6;
    @ExcelProperty({"星期六", "签退"})
    private String up6;

    @ExcelProperty({"星期日", "签到"})
    private String up7;
    @ExcelProperty({"星期日", "签退"})
    private String out7;
}
@ExcelProperty("用户id")这个注解可以实现Java实体类的字段和excel的列数据进行对应,数据填充时,Java数据就会赋值到对应列中
@ExcelProperty({"星期日", "签退"})这样的写法可以实现excel单元格的合并,具体效果如下
5.核心代码解释
前端
前端代码的核心只有一个:如何把文件下载的操作甩锅给浏览器,只要把活甩给浏览器,前端就不需要编写额外代码
new Vue({
        el: "#app",
        data: {...},
        methods: {
            exportExcel(week) {
                var year = this.year;
                var group = this.group;
                var url = address + `/sign/excel?year=${year}&group=${group}&week=${week}`;
				// 核心代码
                window.location.href = url;
            }
        },
    });
后端
后端的核心有2。1:如何传递流数据 2:如何操作easyexcel
1.如何传递流数据
通过HttpServletResponse response获取
response.setContentType("application/vnd.ms-excel");
response.setCharacterEncoding("utf-8");
response.getOutputStream();
有了通向前端的流管道,我们就只需要操作easyexcel,制作excel文件
2.如何操作easyexcel
- 单一sheet文件
// 这里需要设置不关闭流
EasyExcel.write(response.getOutputStream(), SignListDto.class).autoCloseStream(Boolean.FALSE).sheet("第" + week + "周")
                        .doWrite(this.getSignListDto(params));
其中,
SignListDto.class,指定这个类去写excel。this.getSignListDto(params)返回excel所需的list数据:List<SignListDto>
- 多sheet文件
// 创建ExcelWriter, 用于操作excel
ExcelWriter excelWriter = EasyExcel.write(response.getOutputStream(), SignListDto.class).autoCloseStream(Boolean.FALSE).build();
for (int i = 2; i <= len; ++i) {
	// 创建sheet
	WriteSheet writeSheet = EasyExcel.writerSheet(i, "第" + i + "周").build();
	// 查询数据
	List<SignListDto> data = this.getSignListDto(year, i, group);
	// 将数据写入sheet中
	excelWriter.write(data, writeSheet);
}
// 关闭IO
excelWriter.finish();


 974
974

 被折叠的 条评论
为什么被折叠?


