


综合应用
需要里面的软件包和交流学习加我qq3328852541
设备准备
| 主机名 | WanIP | LanIP | 角色 | 应用 |
|---|---|---|---|---|
| web01 | 10.0.0.7 | 172.16.1.7 | web网站、rsync客户端 sersync服务端 数据库客户端 nfs客户端 | nginx php rsync |
| web02 | 10.0.0.8 | 172.16.1.8 | web网站、rsync客户端 sersync服务端 数据库客户端 nfs客户端 | nginx php rsync |
| nfs | 10.0.0.31 | 172.16.1.31 | 共享目录 sersync客户端 nfs服务端 | nfs-utils sersync |
| backup | 10.0.0.41 | 172.16.1.41 | 数据备份 rsync服务端 | rsync |
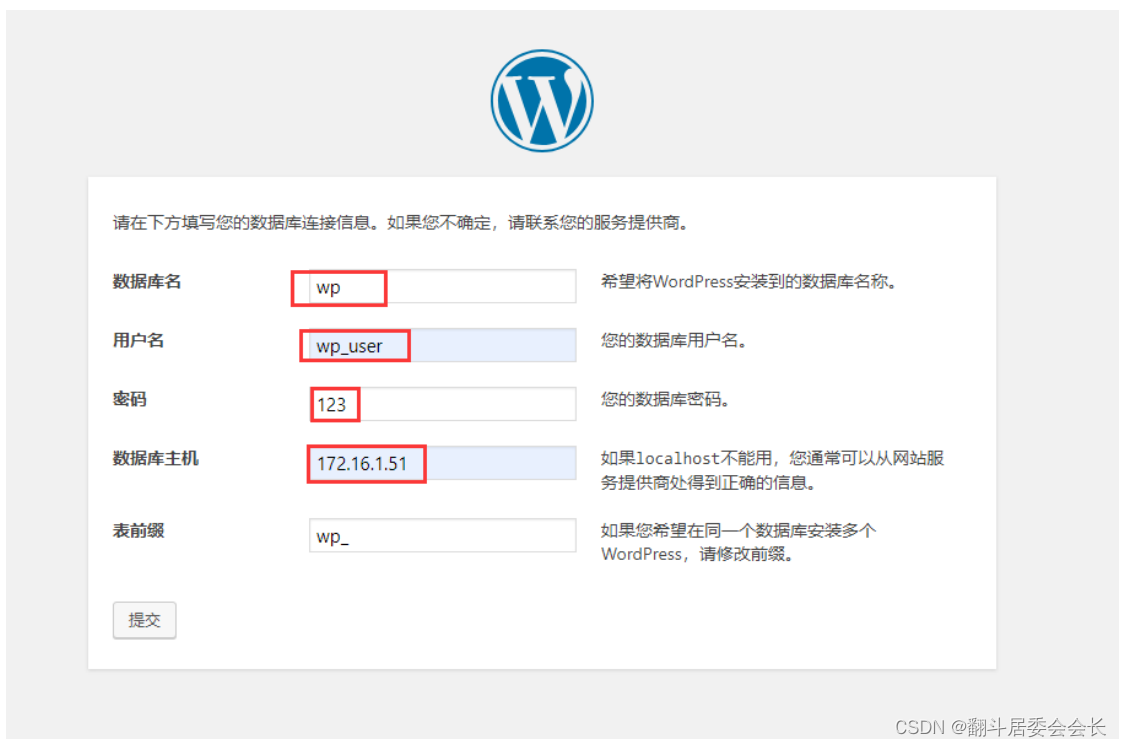
| db01 | 10.0.0.51 | 172.16.1.51 | 数据库服务端 | mariadb-server |
**实现wecent 和wordpress的备份、数据共享、实时同步、连数据库并且统一用户www,gid666 uid666 **
大纲
先统一用户——》服务端——》客户端
步骤
1——统一用户(每台服务器都要创建www用户)
[root@db01 ~]# groupadd  www -g 666
[root@db01 ~]# useradd  www -g666 -u 666 -M -s /sbin/nologin
[root@db01 ~]# id www
uid=666(www) gid=666(www) groups=666(www)
2——在backup服务器上部署rsync的服务端
#安装相关的服务
[root@backup ~]# yum install -y rsync

#修改配置文件(因为统一用户uid和gid要改为www 备份两个网站的信息,所以要两个模块)
[root@backup ~]# vim /etc/rsyncd.conf

uid = www
gid = www
port = 873
fake super = yes
use chroot = no
max connections = 200
timeout = 600
ignore errors
read only = false
list = false

auth users = rsync_backup
secrets file = /etc/rsync.passwd
log file = /var/log/rsyncd.log

[wp_data]
comment = commit
path = /wp_data
[wc_data]
path = /wc_data

#创建密码文件
[root@backup ~]# echo rsync_backup:123 > /etc/rsync.passwd
[root@backup ~]# cat /etc/rsync.passwd
rsync_backup:123

#修改密码文件的权限为600
[root@backup ~]# chmod 600 /etc/rsync.passwd
[root@backup ~]# ll -d /etc/rsync.passwd
-rw------- 1 root root 17 May 16 09:20 /etc/rsync.passwd

#创建备份目录
[root@backup ~]# mkdir -p /{wc,wp}_data
[root@backup ~]# ll /
total 20
.......
drwxr-xr-x    2 root  root     6 May 27 15:39 wc_data
drwxr-xr-x    2 root  root     6 May 27 15:39 wp_data

#修改备份目录的属主和属组

[root@backup ~]# chown -R www.www /{wc,wp}_data
[root@backup ~]# ll /
total 20
...........
drwxr-xr-x    2 www   www      6 May 27 15:39 wc_data
drwxr-xr-x    2 www   www      6 May 27 15:39 wp_data

##设置启动和开机自启
[root@backup ~]# systemctl start rsyncd
[root@backup ~]# systemctl enable rsyncd
3——nfs客户端
#安装nfs的服务
[root@nfs ~]# yum install -y nfs-utils

#修改配置文件
[root@nfs ~]# vim /etc/exports
/wc_data 172.16.1.0/24(rw,sync,anonuid=666,anongid=666,all_squash)
/wp_data 172.16.1.0/24(rw,sync,anonuid=666,anongid=666,all_squash)

#创建共享目录
[root@nfs ~]# mkdir -p /{wc,wp}_data
[root@nfs ~]# ll /
total 20
......
drwxr-xr-x    2 root root    6 May 27 16:01 wc_data
......
drwxr-xr-x    2 root root    6 May 27 16:01 wp_data

#修改属主和属组
[root@nfs ~]# chown -R www.www /{wc,wp}_data
[root@nfs ~]# ll /
total 20
......
drwxr-xr-x    2 www www    6 May 27 16:01 wc_data
......
drwxr-xr-x    2 www www    6 May 27 16:01 wp_data

#启动nfs服务和设置开机自启
[root@nfs ~]# systemctl start nfs
[root@nfs ~]# systemctl enable nfs

# 验证nfs
[root@nfs ~]# cat /var/lib/nfs/etab
/wp_data        172.16.1.0/24(rw,sync,wdelay,hide,nocrossmnt,secure,root_squash,all_squash,no_subtree_check,secure_locks,acl,no_pnfs,anonuid=666,anongid=666,sec=sys,rw,secure,root_squash,all_squash)
/wc_data        172.16.1.0/24(rw,sync,wdelay,hide,nocrossmnt,secure,root_squash,all_squash,no_subtree_check,secure_locks,acl,no_pnfs,anonuid=666,anongid=666,sec=sys,rw,secure,root_squash,all_squash)
4——db01的数据库服务端
## 安装相关服务
[root@db01 ~]# yum install -y mariadb-server

# 启动mariadb
[root@db01 ~]# systemctl start mariadb

# 连接数据库
[root@db01 ~]# mysql
Welcome to the MariaDB monitor.  Commands end with ; or \g.
Your MariaDB connection id is 2
Server version: 5.5.68-MariaDB MariaDB Server

Copyright (c) 2000, 2018, Oracle, MariaDB Corporation Ab and others.

Type 'help;' or '\h' for help. Type '\c' to clear the current input statement.

MariaDB [(none)]>

# 创建用户

MariaDB [(none)]> grant all on *.* to wp_user@'172.16.1.%' identified by '123';
Query OK, 0 rows affected (0.00 sec)

MariaDB [(none)]> grant all on *.* to wc_user@'172.16.1.%' identified by '123';
Query OK, 0 rows affected (0.00 sec)

# 创建库
MariaDB [(none)]> create database wp;
Query OK, 1 row affected (0.00 sec)

MariaDB [(none)]>  create database wc;
Query OK, 1 row affected (0.00 sec)

#验证库
MariaDB [(none)]> show databases;
+--------------------+
| Database           |
+--------------------+
| information_schema |
| mysql              |
| performance_schema |
| test               |
| wc                 |
| wp                 |
+--------------------+
6 rows in set (0.00 sec)
5——部署web客户端
# web01和web02安装nginx和php
[root@web01 ~]# mkdir ngx_php
[root@web01 ~]# cd ngx_php/
[root@web01 ngx_php]#
[root@web01 ngx_php]# tar xf nginx_php.tgz
##因为版本冲突
[root@web01 ngx_php]# yum remove php-common-5.4.16-48.el7.x86_64
[root@web01 ngx_php]# yum localinstall -y *.rpm


#编辑nginx和php的配置文件
[root@web01 ngx_php]# vim /etc/nginx/nginx.conf
user www

[root@web02 ngx_php]# vim /etc/php-fpm.d/www.conf
[www]
user = www
group = www

# 编辑wordpress的网页配置
[root@web02 ngx_php]# vim /etc/nginx/conf.d/wp.conf
server {
        listen 80;
        server_name www.wp.com;
        root /code/wordpress;
        location /{
                index index.php index.html;
        }
        location ~ \.php$ {
                fastcgi_pass 127.0.0.1:9000;
                fastcgi_param SCRIPT_FILENAME $document_root$fastcgi_script_name;
                include fastcgi_params;
        }
}


#编辑wecenter网页配置文件
[root@web01 ngx_php]# vim /etc/nginx/conf.d/wc.conf
server{
        listen 80;
        server_name www.wc.com;
        root /code/wecenter;
        location /{
                index index.php index.html;
        }
        location ~ \.php$ {
                fastcgi_pass 127.0.0.1:9000;
                fastcgi_param SCRIPT_FILENAME $document_root$fastcgi_script_name;
                include fastcgi_params;
        }
}

#检测语法
[root@web01 ngx_php]# nginx -t
nginx: the configuration file /etc/nginx/nginx.conf syntax is ok
nginx: configuration file /etc/nginx/nginx.conf test is successful

#创建站点目录
 [root@web01 ngx_php]# mkdir /code

#导入文件包
[root@web01 code]# ll
total 19096
-rw-rw-rw- 1 root root  8451194 May 25 18:00 WeCenter_3-2-1.zip
-rw-rw-rw- 1 root root 11098483 May 23 15:29 wordpress-5.0.3-zh_CN.tar.gz

#解压包
unzip WeCenter_3-2-1.zip
tar xf wordpress-5.0.3-zh_CN.tar.gz

#改名
[root@web02 code]# mv WeCenter_3-2-1 wecenter

#为站点目录授权
[root@web02 code]# chown www.www -R /code

# 启动nginx和php 并且 加入开机自启
[root@web01 code]# systemctl stop httpd
[root@web01 code]# systemctl start nginx php-fpm
[root@web01 code]# systemctl enable nginx php-fpm
Created symlink from /etc/systemd/system/multi-user.target.wants/nginx.service to /usr/lib/systemd/system/nginx.service.
Created symlink from /etc/systemd/system/multi-user.target.wants/php-fpm.service to /usr/lib/systemd/system/php-fpm.service.

# 本地DNS解析
10.0.0.8 www.wc.com www.wp.com
10.0.0.7 www.wc.com www.wp.com
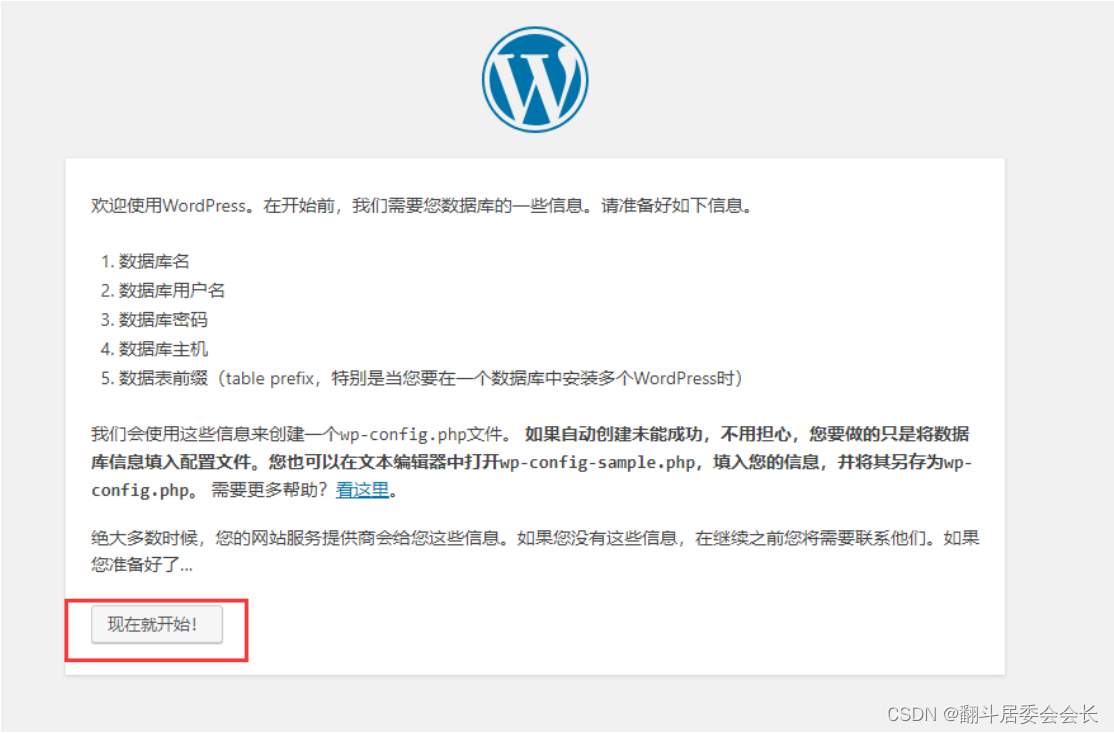
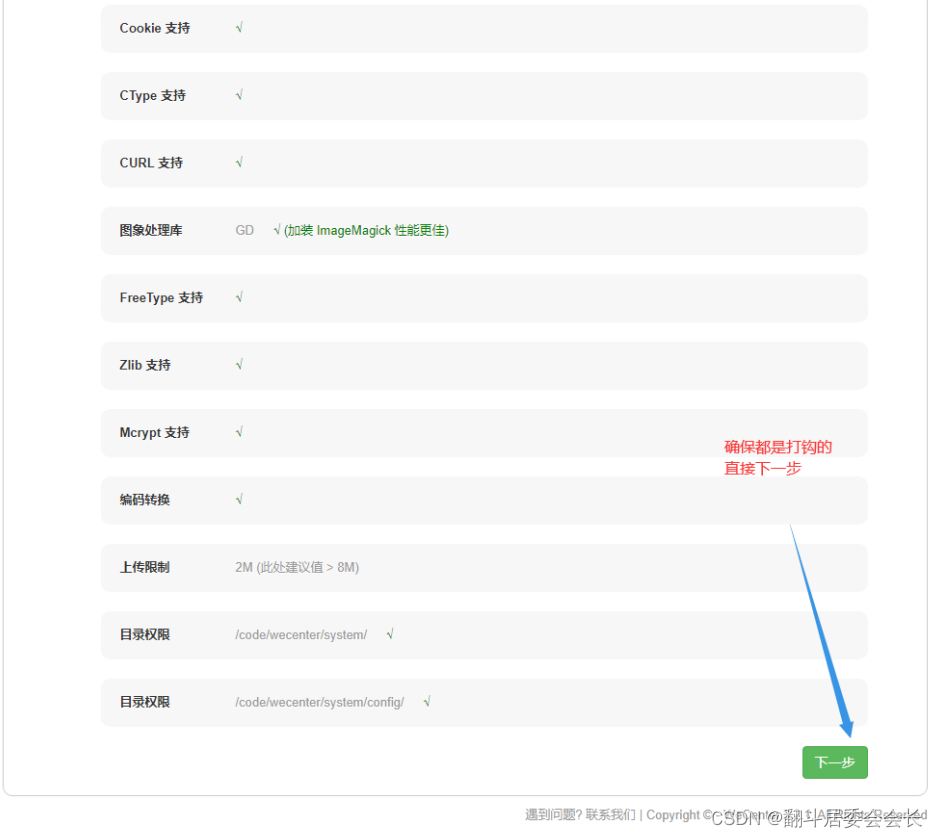
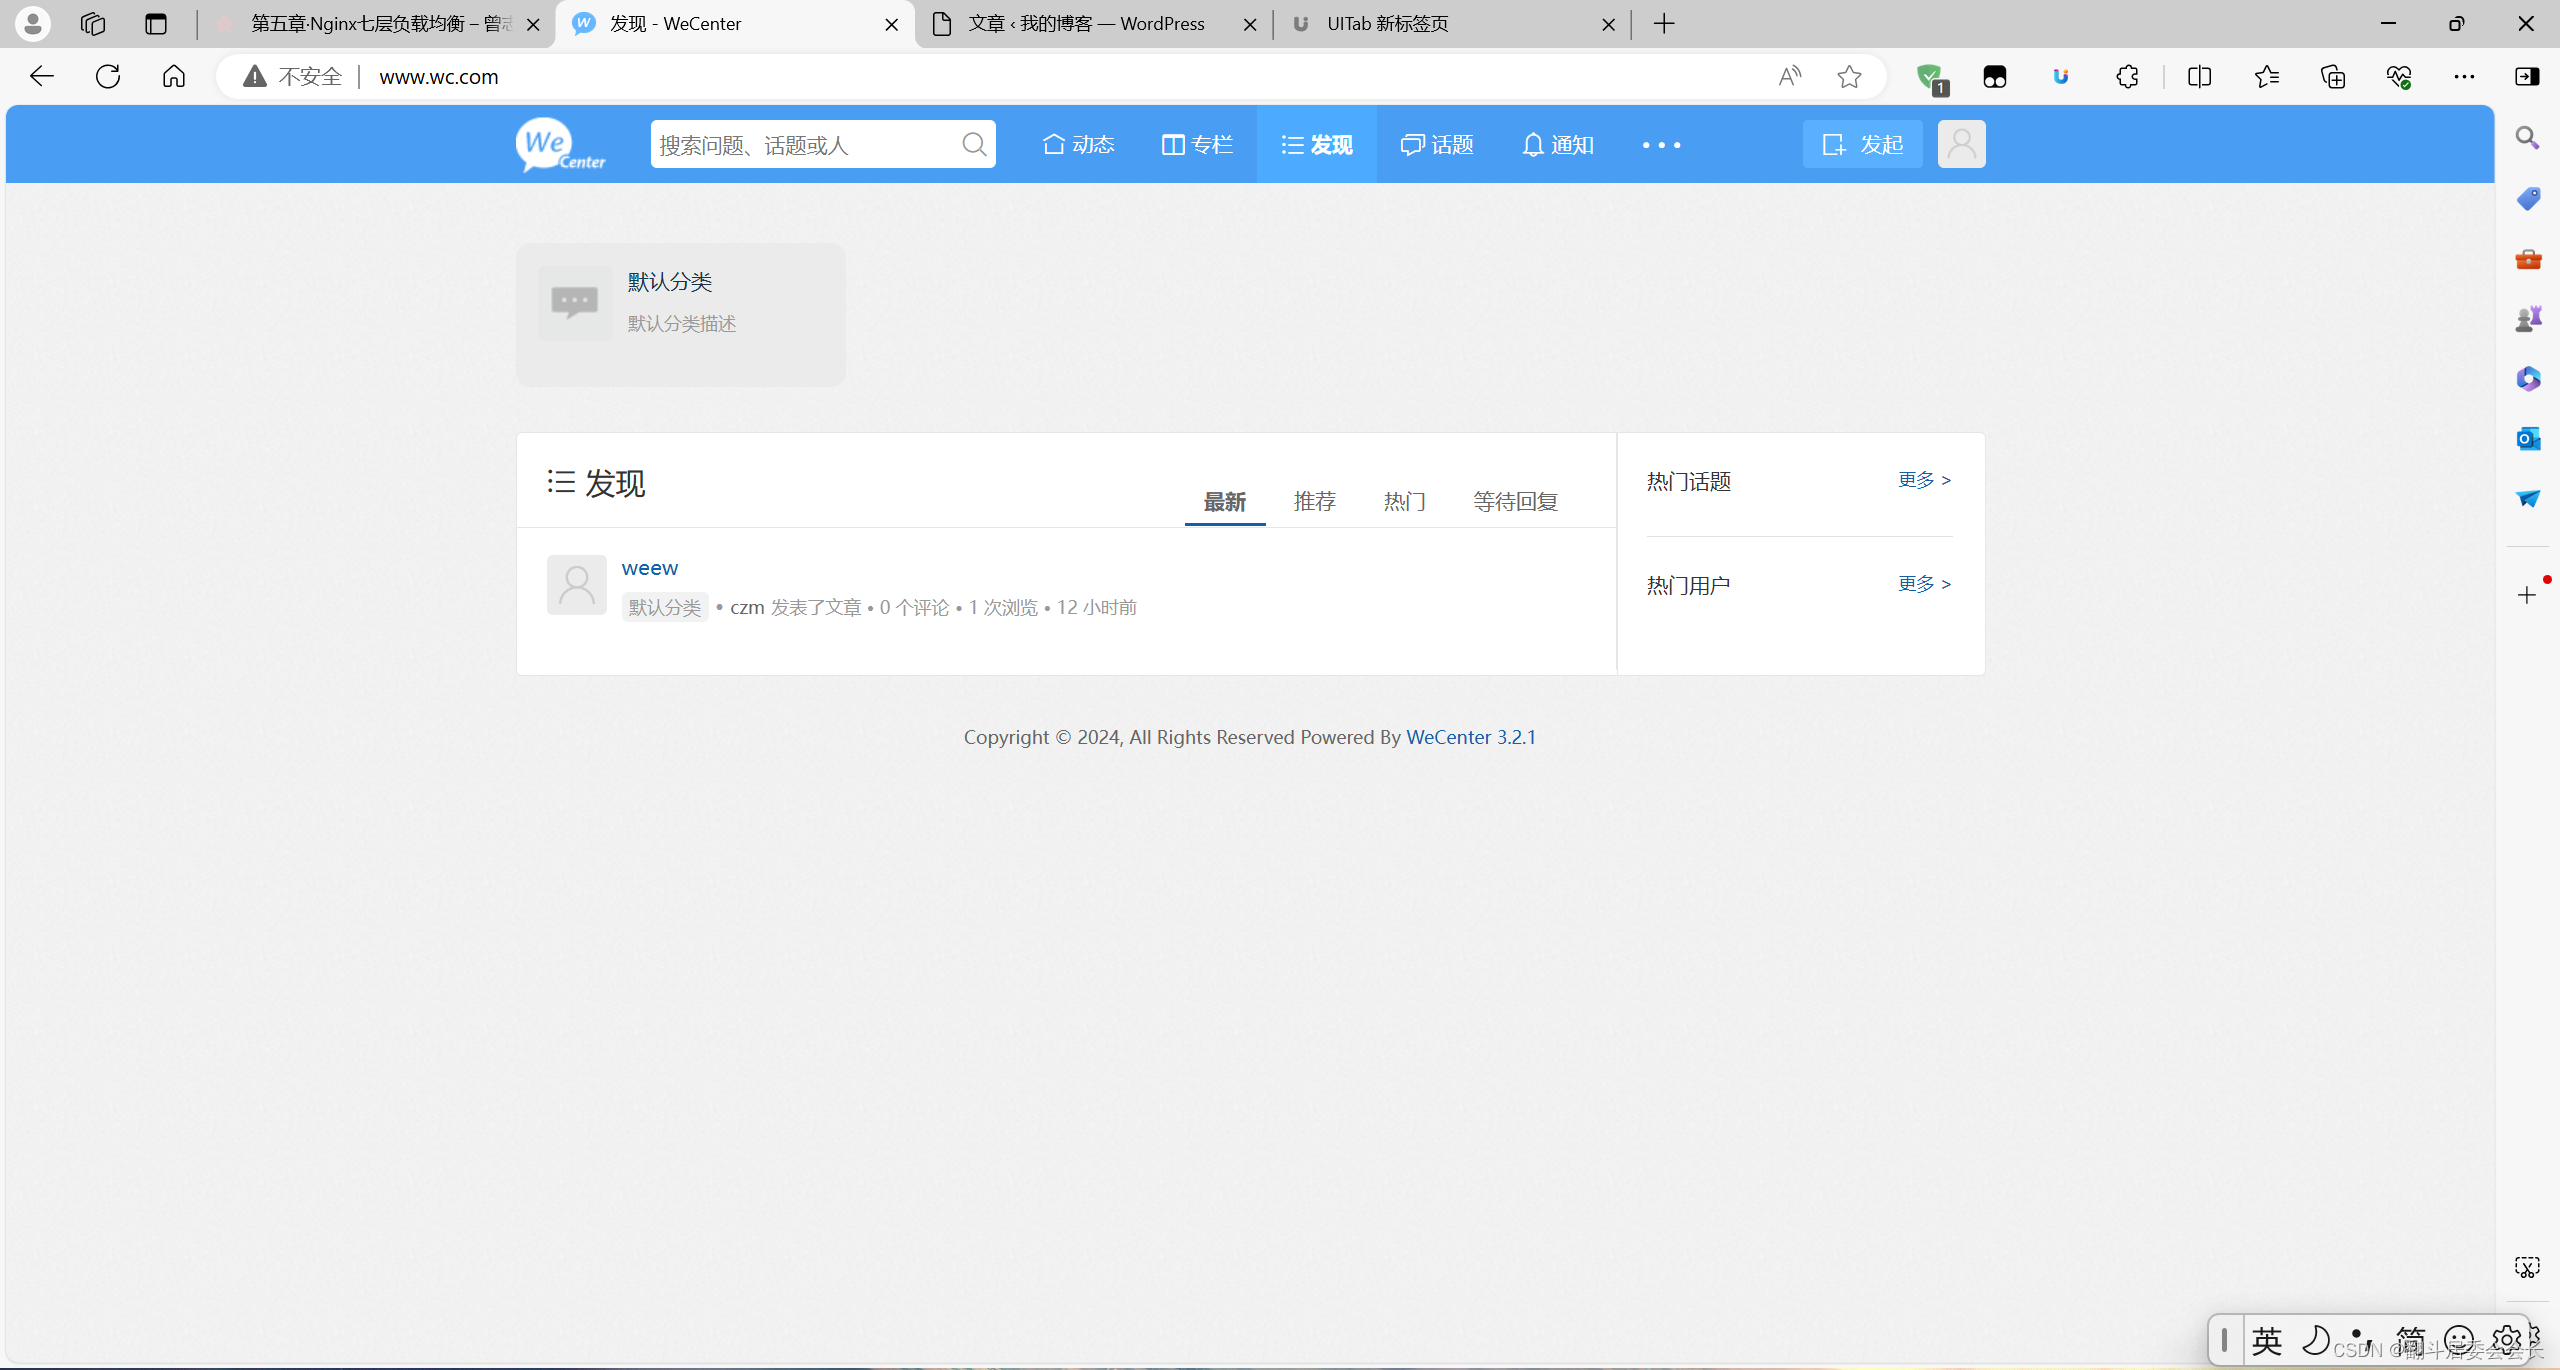
wecent
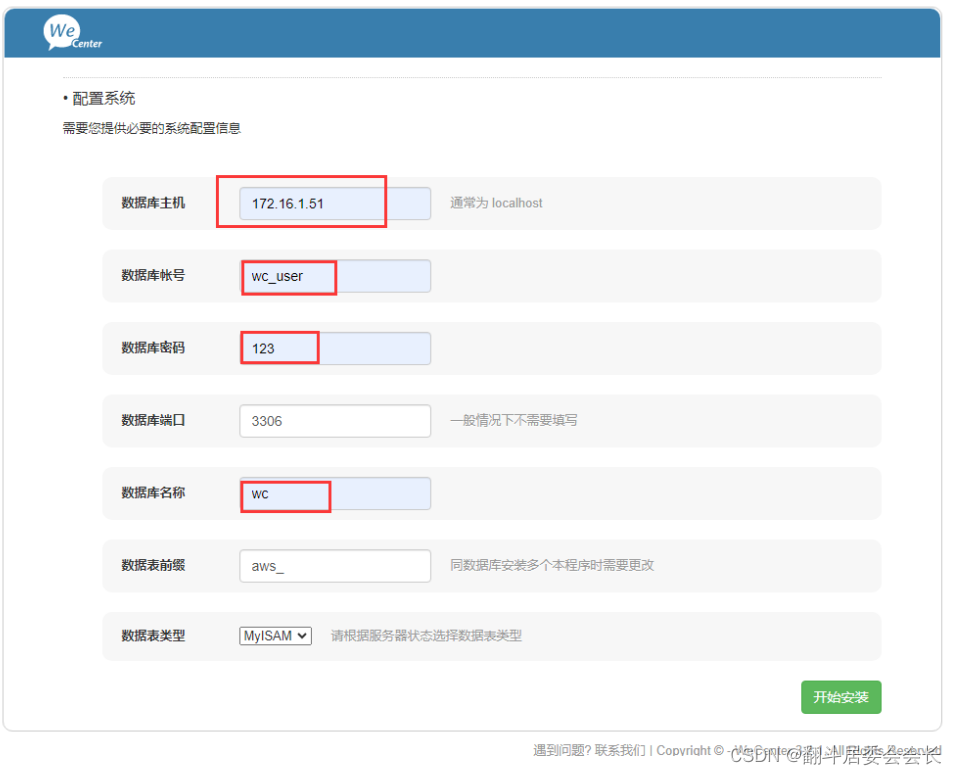
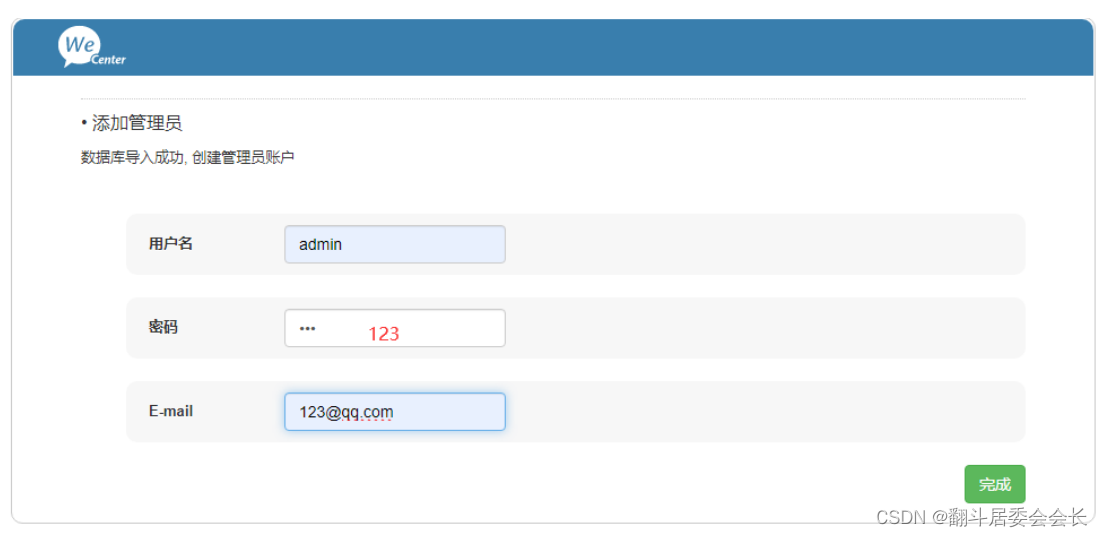
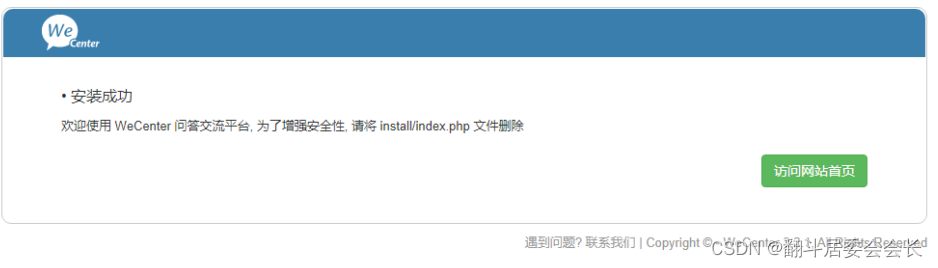
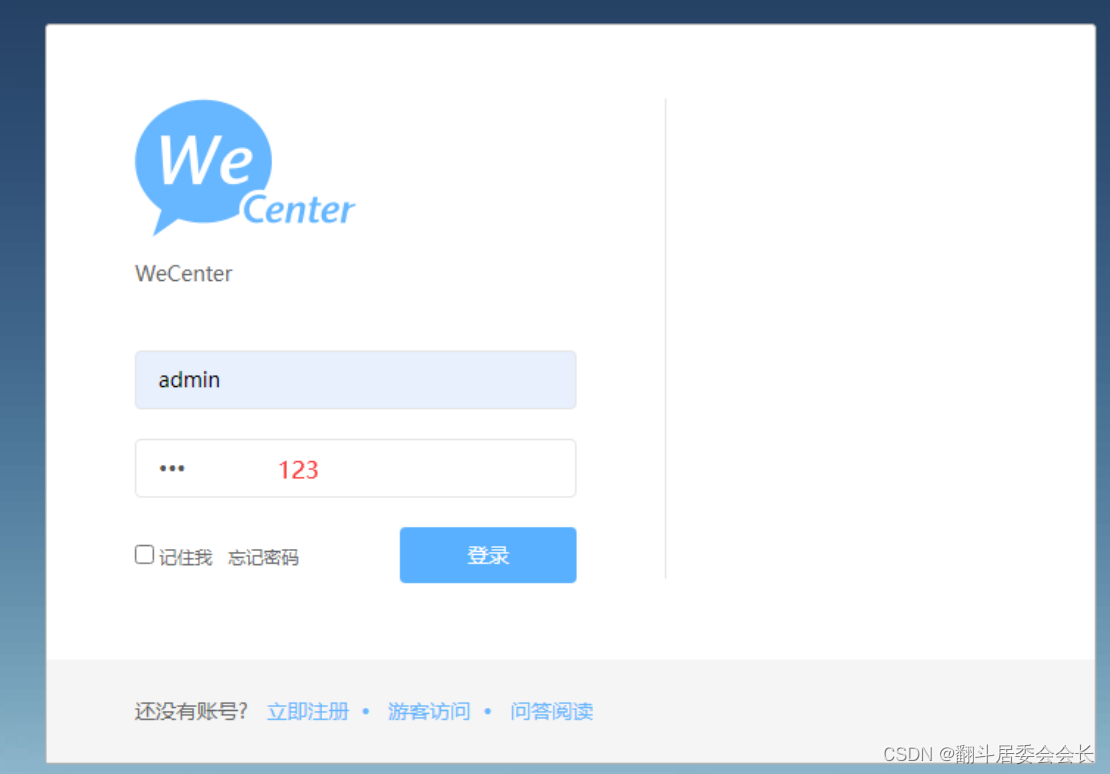
6——nfs共享目录
#安装相关服务
[root@web01 ~]# yum install -y nfs-utils

# 查看挂载点
[root@web01 ~]# showmount -e 172.16.1.31
Export list for 172.16.1.31:
/wp_data 172.16.1.0/24
/wc_data 172.16.1.0/24

#创建文件
[root@web02 ~]# mkdir  /code/wordpress/wp-content/uploads

#挂载并检查
[root@web02 ~]# mount -t nfs 172.16.1.31:/wp_data /code/wordpress/wp-content/uploads
[root@web02 ~]# mount -t nfs 172.16.1.31:/wc_data /code/wecenter/uploads/
[root@web02 ~]# df -h
df: ‘/var/www/html/user_data’: Stale file handle
Filesystem               Size  Used Avail Use% Mounted on
/dev/mapper/centos-root   19G  2.1G   17G  12% /
devtmpfs                 475M     0  475M   0% /dev
tmpfs                    487M     0  487M   0% /dev/shm
tmpfs                    487M  7.8M  479M   2% /run
tmpfs                    487M     0  487M   0% /sys/fs/cgroup
/dev/sda1                509M  126M  383M  25% /boot
tmpfs                     98M     0   98M   0% /run/user/0
172.16.1.31:/wp_data      19G  1.9G   17G  10% /code/wordpress/wp-content/uploads
172.16.1.31:/wc_data      19G  1.9G   17G  10% /code/wecenter/uploads


[root@web01 wp-content]# mount -t nfs 172.16.1.31:/wp_data /code/wordpress/wp-content/uploads
[root@web01 wp-content]# mount -t nfs 172.16.1.31:/wc_data /code/wecenter/uploads/
[root@web01 wp-content]# df -h
df: ‘/var/www/html/user_data’: Stale file handle
Filesystem               Size  Used Avail Use% Mounted on
/dev/mapper/centos-root   19G  2.1G   17G  12% /
devtmpfs                 475M     0  475M   0% /dev
tmpfs                    487M     0  487M   0% /dev/shm
tmpfs                    487M  7.7M  479M   2% /run
tmpfs                    487M     0  487M   0% /sys/fs/cgroup
/dev/sda1                509M  126M  383M  25% /boot
tmpfs                     98M     0   98M   0% /run/user/0
172.16.1.31:/wp_data      19G  1.9G   17G  10% /code/wordpress/wp-content/uploads
172.16.1.31:/wc_data      19G  1.9G   17G  10% /code/wecenter/uploads
7——sersync实时同步
# 下载rsync
yum install -y rsync

# 下载sersync
wget https://raw.githubusercontent.com/wsgzao/sersync/master/sersync2.5.4_64bit_binary_stable_final.tar.gz
# 解压sersync
tar xf sersync2.5.4_64bit_binary_stable_final.tar.gz

# 准备工作目录
mkdir /app

# 移动到工作目录并改名
[root@nfs ~]# mv GNU-Linux-x86/ /app/sersync
[root@nfs ~]# ll /app/

# 准备wordpress同步文件
[root@nfs sersync]# mv confxml.xml wp.xml
[root@nfs sersync]# vim  wp.xml
    <inotify>
        <delete start="true"/>
        <createFolder start="true"/>
        <createFile start="true"/>
        <closeWrite start="true"/>
        <moveFrom start="true"/>
        <moveTo start="true"/>
        <attrib start="true"/>
        <modify start="true"/>
    </inotify>
    <sersync>
        <localpath watch="/wp_data">
            <remote ip="172.16.1.41" name="wp_data"/>
            <!--<remote ip="192.168.8.39" name="tongbu"/>-->
            <!--<remote ip="192.168.8.40" name="tongbu"/>-->
        </localpath>
        <rsync>
            <commonParams params="-az"/>
            <auth start="true" users="rsync_backup" passwordfile="/etc/rsync.passwd"/>
            <userDefinedPort start="false" port="874"/><!-- port=874 -->
            <timeout start="false" time="100"/><!-- timeout=100 -->
            <ssh start="false"/>
        </rsync>
[root@nfs sersync]# vim  wc.xml
    <inotify>
        <delete start="true"/>
        <createFolder start="true"/>
        <createFile start="true"/>
        <closeWrite start="true"/>
        <moveFrom start="true"/>
        <moveTo start="true"/>
        <attrib start="true"/>
        <modify start="true"/>
    </inotify>
    <sersync>
        <localpath watch="/wc_data">
            <remote ip="172.16.1.41" name="wc_data"/>
            <!--<remote ip="192.168.8.39" name="tongbu"/>-->
            <!--<remote ip="192.168.8.40" name="tongbu"/>-->
        </localpath>
        <rsync>
            <commonParams params="-az"/>
            <auth start="true" users="rsync_backup" passwordfile="/etc/rsync.passwd"/>
            <userDefinedPort start="false" port="874"/><!-- port=874 -->
            <timeout start="false" time="100"/><!-- timeout=100 -->
            <ssh start="false"/>
        </rsync>

 # 创建密码文件
[root@nfs sersync]# echo 123 > /etc/rsyncd.pass
[root@nfs sersync]# cat /etc/rsyncd.pass
123

# 授权密码文件
[root@nfs sersync]# chmod 600 /etc/rsyncd.pass
[root@nfs sersync]# ll /etc/rsyncd.pass
-rw------- 1 root root 4 May 27 10:04 /etc/rsyncd.pass

# 启动sersync
[root@nfs sersync]# /app/sersync/sersync2 -rdo /app/sersync/wp.xml
[root@nfs sersync]# /app/sersync/sersync2 -rdo /app/sersync/wc.xml


 7458
7458

 被折叠的 条评论
为什么被折叠?
被折叠的 条评论
为什么被折叠?
 到【灌水乐园】发言


