


1 效果截图
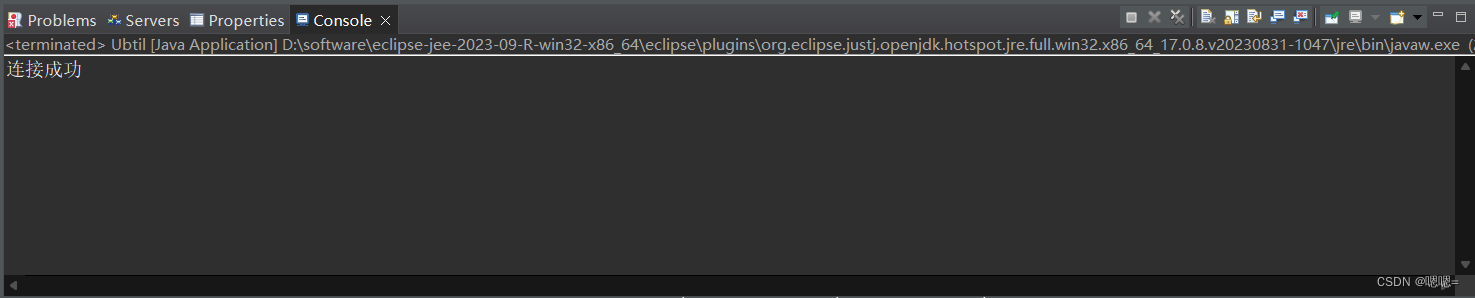
2 运行代码
package shixunzhouxiangmu;
import java.sql.Connection;
import java.sql.DriverManager;

/**
 * 数据库连接工具类
 * @author Administrator
 *
 */
public class Ubtil {
//连接数据库要使用的量
private String dbUrl="jdbc:mysql://localhost:3306/examination_results";//examination_results是数据库的名字
private String name="root";//写上登陆数据库系统的用户名(安装数据库时候设置的用户名)
private String password="123456";//写上登陆数据库系统的密码
private String jdbcName="com.mysql.jdbc.Driver";//加载数据库驱动

//公共的连接数据库方法
public Connection getCon()throws Exception{
Class.forName(jdbcName);
Connection con = DriverManager.getConnection(dbUrl,name,password);
return con;
}

//关闭数据库
public void closeCon(Connection con)throws Exception{
if(con!=null)
{
con.close();
}
}

//测试连接成功
public static void main(String[] args) {
Ubtil db = new Ubtil();
try {
db.getCon();
System.out.println("连接成功");
} catch (Exception e) {
e.printStackTrace();
}
}

}
3 步骤
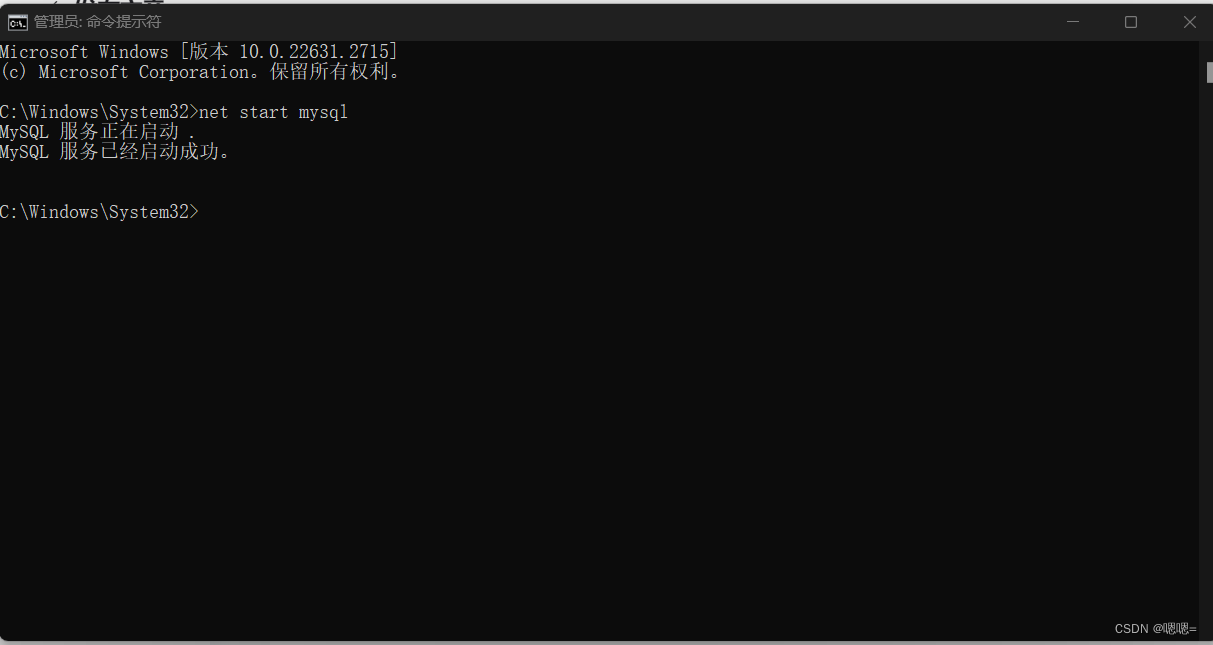
3.1 打开mysql
3.1.1 命令行提示符右键以管理员身份运行
3.1.2 命令行打开的界面输入net start mysql
3.1.3 打开mysql成功如下图
3.2 下载mysql数据库驱动,把相应的数据库驱动放到WEB-INF的bin目录下,并增加相应的classpath路径(我是下载了两个驱动,但是实际上只需要一个)
具体步骤:
以下是在Eclipse中增加MySQL驱动程序的具体步骤:
-
下载MySQL Connector/J JDBC驱动程序,您可以从MySQL官方网站下载此驱动程序。
-
打开Eclipse IDE,并打开您的Java项目。
-
在项目资源管理器中,右键单击项目名称,选择“Properties”。
-
在左侧导航栏中选择“Java Build Path”,然后单击“Libraries”选项卡。
-
单击“Add External JARs”按钮,然后浏览并选择下载的MySQL驱动程序。
-
单击“OK”按钮,将MySQL驱动程序添加到项目的类路径中。
-
右键单击项目名称,选择“Build Path” > “Configure Build Path”。
-
选择classpath
-
选择Add JARS
-
选择刚刚粘贴的驱动的位置
-
最后点击Apply and Close

添加成功后点击项目中的Referenced Libraries中的mysql驱动如下图

3.3 打开eclipse运行代码


 5888
5888


 被折叠的 条评论
为什么被折叠?
被折叠的 条评论
为什么被折叠?
 到【灌水乐园】发言


