


1、SpringBoot是什么?
一种快速开发、启动Spring的框架、脚手架
遵循“约定优于配置”的思想,使得能够快速创建和配置Spring应用
2、SpringBoot的核心特性
- 自动配置,一些依赖、默认配置都预设好了,减少了配置量
- 起步依赖,SpringBoot预设了一些没有依赖冲突的依赖,可以直接引用
- 内嵌服务器,SpringBoot将Tomcat、JBOSS等服务器内嵌了,直接以jar包的形式启动
- 还有监控、健康检查等功能
3、创建SpringBoot项目
创建maven工程,继承自spring-boot-starter-parent
<parent>
    <groupId>org.springframework.boot</groupId>
    <artifactId>spring-boot-starter-parent</artifactId>
    <version>2.7.6</version>
</parent>
添加SpringMVC和Mybtis的依赖
<dependency>
    <groupId>org.mybatis.spring.boot</groupId>
    <artifactId>mybatis-spring-boot-starter</artifactId>
    <version>2.2.2</version>
</dependency>

<dependency>
    <groupId>com.mysql</groupId>
    <artifactId>mysql-connector-j</artifactId>
    <scope>runtime</scope>
</dependency>
创建启动类SpringbootSpringbootApplication.java
@SpringBootApplication
public class SpringbootSpringbootApplication {

	public static void main(String[] args) {
		SpringApplication.run(SpringbootSpringbootApplication.class, args);
	}

}
创建配置文件application.properties/application.yml/application.yaml
文件名必须是application,如果是相同的配置内容,优先级properties > yaml/yml
server:
  port: 8888

#可以自定义内容
user:
  userList: [ 'user1', 'user2', 'user3' ]
  passwords:
    - '123456'
    - '000000'
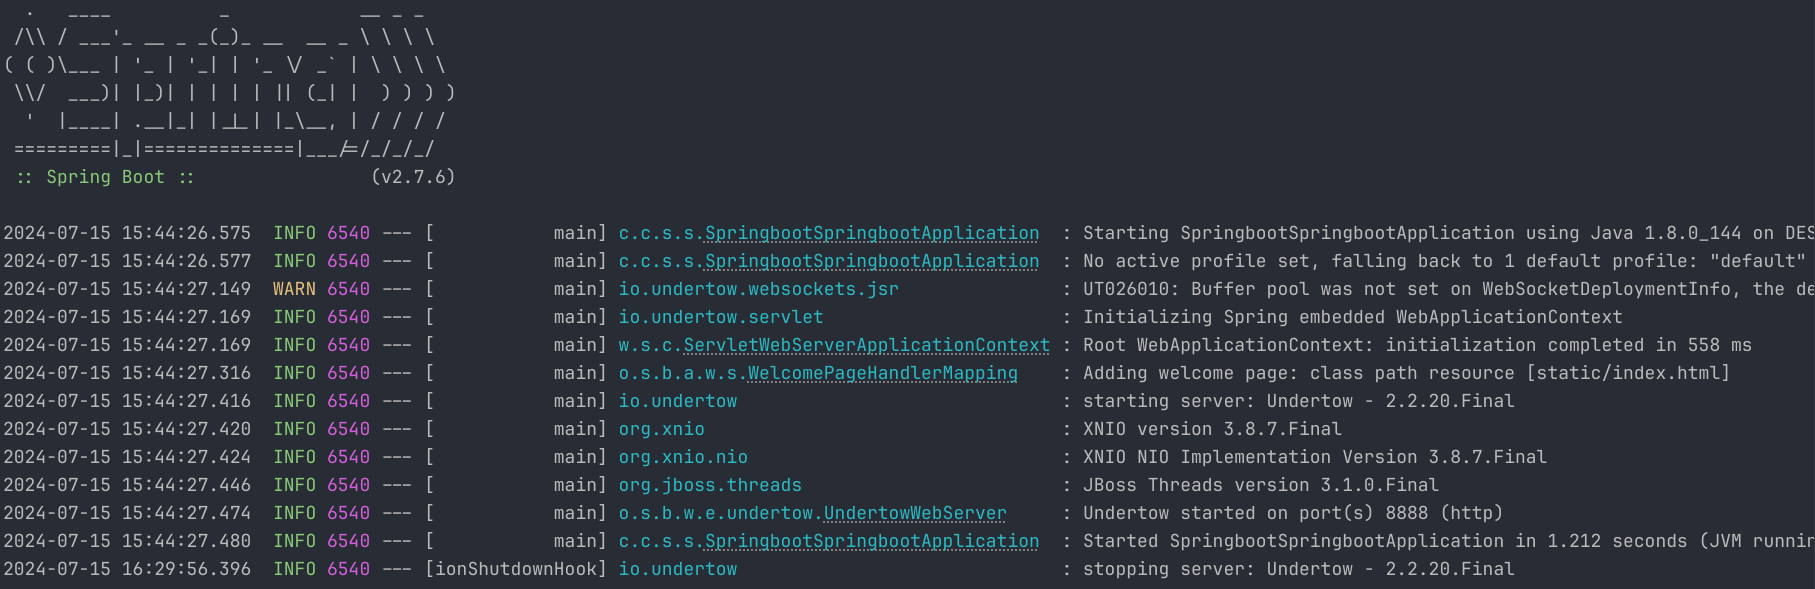
启动测试(运行启动类的main方法)
4、YAML配置文件
YAML配置文件相对于properties配置/xml配置文件文件,可阅读性更高、更加简洁
4.1、语法格式
# 基本都是key: value的格式
key: value

key:
	key1: value1
	key2: value2
配置map数据/对象数据
key:
	key1: value1
	key2: value2
配置list/set数据
key: [value1, value2, value3...]
#---------------------------------
key:
	- value1
	- value2
	- value3
	........
4.2 、在线查找SpringBoot的配置文件
https://docs.spring.io/spring-boot/docs/2.7.6/reference/htmlsingle/#common-application-properties
4.3 、配置文件与属性的映射
4.3.1、使用@Value注解
配置文件如下
user:
  username: 'zhangsan'
  age: 18
  friendList: [ 'user1', 'user2', 'user3' ]
实体类
@RestController
@RequestMapping("/my")
public class UserController {

	@Value("${user.username}")
	private String username;

	@Value("${user.age}")
	private Integer age;

	@Value("${user.friendList:user1, user2, user3}")
	private List<User> friends;

	@RequestMapping
	public String get() {
		return username + age + friends.toString();
	}
}
4.3.2、 使用@ConfigurationProperties注解
使用@ConfigurationProperties注解,必须作用在类上面,并添加prefix=key,其次还必须为字段设置set方法,才能实现自动装配,否则启动失败
配置文件
user:
  username: 'zhangsan'
  age: 18
实体类
@ConfigurationProperties(prefix = "user")
@RestController
@RequestMapping("/my")
public class UserController {

	private String username;

	private Integer age;

	@RequestMapping
	public String get() {
		return username + age;
	}

	public void setUsername(String username) {
		this.username = username;
	}

	public void setAge(Integer age) {
		this.age = age;
	}

}
5、 SpringBoot与Mybatis集成
5.1、 配置数据源和Mybatis
spring:
  datasource:
    driver-class-name: com.mysql.cj.jdbc.Driver
    url: jdbc:mysql://localhost:3306/ssm?serverTimezone=Asia/Shanghai
    username: root
    password: root
mybatis:
  configuration:
    log-impl: org.apache.ibatis.logging.stdout.StdOutImpl
  type-aliases-package: cn.cnmd.spring.springbootspringboot.pojo
  mapper-locations: classpath:mapper/*Mapper.xml
5.2、 编写mapper接口UserMapper
@Mapper
public interface UserMapper {

	List<User> getUsers();
}
5.3、 编写mapper.xml文件
<?xml version="1.0" encoding="UTF-8" ?>
<!DOCTYPE mapper PUBLIC "-//mybatis.org//DTD Mapper 3.0//EN"
		"http://mybatis.org/dtd/mybatis-3-mapper.dtd">
<mapper namespace="cn.cnmd.spring.springbootspringboot.mapper.UserMapper">

	<select id="getUsers" resultType="user">
		select username,name,password,avatar as avatarIcon
		from user;
	</select>

</mapper>
5.4、 调用接口
@GetMapping("/users")
public List<User> getUsers() {
    List<User> users = userMapper.getUsers();
    return users;
}
6、 SpringBoot与JUnit集成
6.1、 导入依赖spring-boot-starter-test
<!--测试的起步依赖-->
<dependency>
    <groupId>org.springframework.boot</groupId>
    <artifactId>spring-boot-starter-test</artifactId>
    <scope>test</scope>
</dependency>
6.2、 编写测试案例
导入的JUnit必须是来自 org.junit.jupiter.api.Test
测试类中不能使用public修饰,否则会初始化报错,但是可以进行测试
import cn.cnmd.spring.springbootspringboot.mapper.UserMapper;
import cn.cnmd.spring.springbootspringboot.pojo.User;
import org.junit.jupiter.api.Test;
import org.springframework.beans.factory.annotation.Autowired;
import org.springframework.boot.test.context.SpringBootTest;

import java.util.List;

@SpringBootTest
class SpringbootSpringbootApplicationTests {

	@Autowired
	private UserMapper userMapper;

	@Test
	public void getUsers() {

		List<User> users = userMapper.getUsers();
		System.out.println(users);
	}

}
7、 制作starter
7.1、 创建maven的quickstart工程
创建一个普通的java工程
7.2、 导入依赖
spring-boot-starter => springboot启动器
spring-boot-autoconfigure => springboot自动配置
spring-boot-configuration-processor => springboot处理元数据
<dependency>
  <groupId>org.springframework.boot</groupId>
  <artifactId>spring-boot-starter</artifactId>
  <version>2.5.6</version>
</dependency>
<!--自动装配的包-->
<dependency>
  <groupId>org.springframework.boot</groupId>
  <artifactId>spring-boot-autoconfigure</artifactId>
  <version>2.5.6</version>
</dependency>
<!--支持元数据配置的包-->
<dependency>
  <groupId>org.springframework.boot</groupId>
  <artifactId>spring-boot-configuration-processor</artifactId>
  <version>2.5.6</version>
</dependency>
7.3、 编写提供服务的类、服务的属性配置类、服务的自动装配类
Xxxservice、XxxAutoConfigure、XxxProperties
7.3.1、XxxService.java
public class XxxService{

    XxxSevice(Xxxproperties properties){
        .....构造方法......
    }
    .......具体实现功能......
}
7.3.2、XxxProperties.java
@ConfigurationProperties(prefix = "key") //这里指定的是application.yaml文件中配置的key
public class Xxxproperties{
    //设置属性,可以添加注释和默认值
    //这里的属性是需要在application.yaml文件中配置的属性,并且需要为每个属性添加get方法
    private String p1 = "12345";

    private int p2 = 123;

    public String getP1(){
        return this.p1;
    }

    public int getP2(){
        return this.p2;
    }

}
7.3.3、XxxAutoConfigure.java
注意:当@Bean修饰的方法带有参数时,在IOC容器中必须存在对应的Bean对象
比如xxxService方法有一个Xxxproperties类型的参数,那么在IOC容器中就必须存在XxxProperties这个Bean对象
这里因为指定了@EnableConfigurationProperties(XxxProperties.class),就已经添加了XxxProperties这个Bean到IOC容器
@Configuration //指定这个自动配置类为配置类
@EnableConfigurationProperties(XxxProperties.class) //开启配置属性,添加对应的Xxxproperties.class
@ConditionalOnClass(XxxService.class) //保证在类路径下存在XxxService类
public class XxxAutoConfigure{

    @Bean
    @ConditionalOnMissingBean(XxxService.class) //这个注解在IOC容器中不存在这个Bean时执行下面的方法创建Bean并放入IOC容器中
    public XxxService xxxService(Xxxproperties properties) throws Exception{
        return new XxxService(properties);
    }
}
7.4、创建spring.factories配置文件
在resources文件夹下新建一个META-INF文件夹,然后在这个文件夹下新建spring.factories文件,这个文件就是自动装配的配置文件
文件名必须是spring.factories, 只需要指定这一个属性为自动配置类的全限定名就可以了
org.springframework.boot.autoconfigure.EnableAutoConfiguration=xx.xx.xxx.XxxAutoConfigure
7.5、将项目下载为jar包
使用maven的install下载为jar包
7.6、引用测试
首先在需要引入的地方使用
@Autowired
private XxxService service;
其次在application.yaml中配置在XxxProperties中定义的属性
key:
	p1: "xxxxxxx"
	p2: 123456
之后就能调用XxxService中定义的方法了
8、 Swagger的使用
个人不喜欢使用,不推荐
因为swagger这个东西有版本问题,只能降低springboot版本才能使用
ps:SpringBoot 2.7.6 版本与 springfox-boot-starter 3.0.0 / springfox-boot-starter 2.9.0 都不兼容
本人使用的是Apifox,只需要将接口导出为在线文档或者HTML,和Swagger自动导出的结果一致,用法也大差不差
8.1、 导入依赖
<!--亲测 springboot2.4.2 和 springboot2.3.1.RELEASE 版本可以与 这个启动器兼容-->
<dependency>
    <groupId>io.springfox</groupId>
    <artifactId>springfox-boot-starter</artifactId>
    <version>3.0.0</version>
</dependency>
8.2、 常用注解
只需要下面两个就够用了,否则加上其他注解,注解内容就显得比代码还要多
@Api => 这个注解作用在一个controller上,value属性代表controller的描述
@ApiOption => 这个注解作用在一个@XxxMapping注解的方法上,value属性代表接口的具体描述
除了注解之外,还需要添加一个配置类
SwaggerConfig.java
@Configuration
@EnableSwagger2
public class SwaggerConfig {
@Bean
public Docket api() {
// Docket类就是Swagger提供的一个与Spring MVC集成的配置类
return new Docket(DocumentationType.SWAGGER_2) // 文档类型设置为SWAGGER2
.select() // 选择当前文档类型进行构建
.apis(RequestHandlerSelectors.basePackage("cn.cnmd.spring.springbootspringboot.controller")) // 请求控制器包
.paths(PathSelectors.any())// 为任意请求构建API文档
.build() // 构建API
.apiInfo(apiInfo()); // 设置AIP文档的信息
}
private ApiInfo apiInfo() {
return new ApiInfoBuilder()
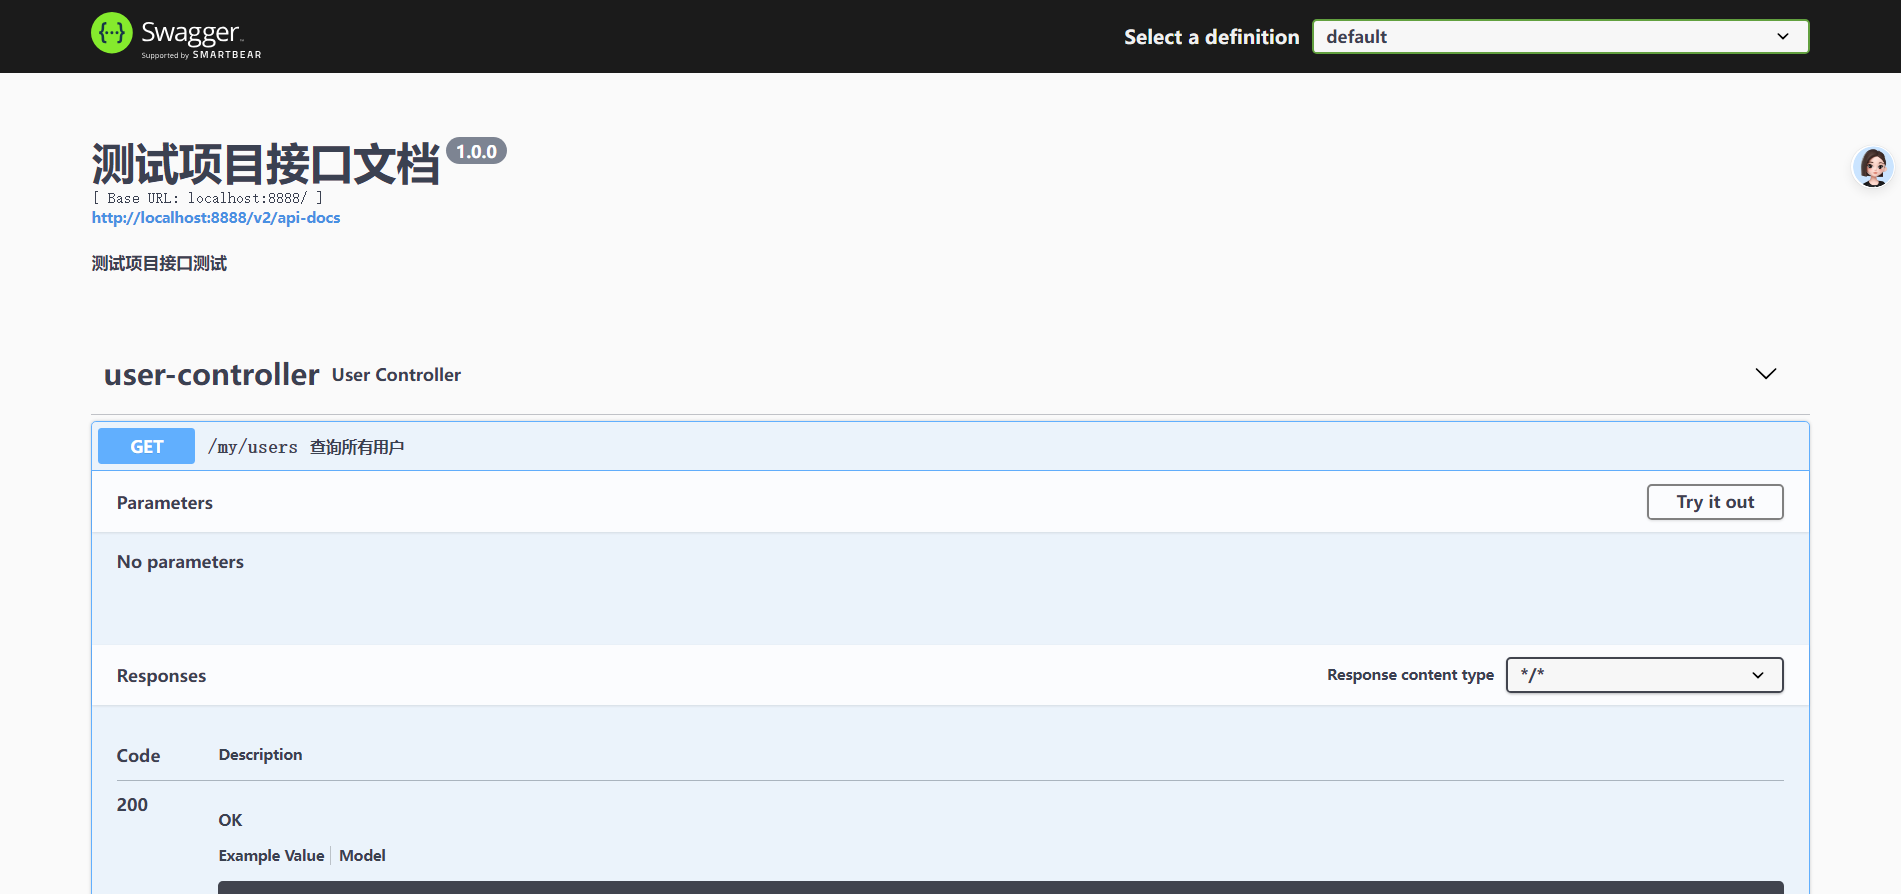
.title("测试项目接口文档")
.description("测试项目接口测试")
.version("1.0.0")
.termsOfServiceUrl("") // 服务条款地址
.license("") // 许可证
.licenseUrl("") // 许可证URL
.build();
}
}
8.3、 访问地址
启动服务之后访问
swagger 2.x版本访问localhost:8080/swagger-ui.html
swagger 3.x版本访问localhost:8080/swagger-ui/index.html
就可以看到接口文档
接口文档中可以使用 Try it out 进行在线的接口请求,服务器会返回结果并展示到Responses区域


 5587
5587


 被折叠的 条评论
为什么被折叠?
被折叠的 条评论
为什么被折叠?
 到【灌水乐园】发言


