


简况:用172.16.0.80做主服务器和从服务器,用172.16.0.241做主服务器和从服务器
rsync主从服务器:172.16.0.241
rsync主从服务器:172.16.0.80
第一部分:使用80服务器做rsync的主服务器
下载和安装rsync,不过一般都自带了
安装:yum -y install rsync
1.1 服务端配置:172.16.0.80
80服务器的rsync配置文件配置
[root@centos7 rsync]# cat /etc/rsyncd.conf
uid = root
gid = root
pid file = /var/run/rsyncd.pid
lock file = /var/run/rsync.lock
log file = /var/log/rsyncd.log
list = no
read only = no
use chroot = no
max connections = 2000
exclude = lost+found/
transfer logging = yes
timeout = 600
ignore errors = yes
ignore nonreadable = yes
dont compress   = *.gz *.tgz *.zip *.z *.Z *.rpm *.deb *.bz2
hosts allow = 172.16.0.0/24   //你的网段
auth users = rsync_backup     //你的用户名,可以设置不一样
secrets file = /etc/rsync.password  //你的密码文件,可以设置不一样的名称和目录

[data1]         //这个是你本机设置的传输目录,后面会使用到,需要自己创建
path = /data/qwe/   //目录需要自己创建
comment = a

[data_backup]
path = /data/backup
comment = b

[home_backup]
path = /home/backup
comment = c
1.2 创建rsync同步密码文件,并设置权限为600(rsync所在服务器)
[root@u-liuqi-test-1 ~]# echo "rsync_backup:liubl" > /etc/rsync.password
[root@u-liuqi-test-1 ~]# chmod 600 /etc/rsync.password
客户端服务器配置:172.16.0.241
echo "liubl" > /etc/rsync.password
chmod 600 /etc/rsync.password
1.3 启动服务端:
rsync --daemon
1.4 从服务端数据同步到客户端和客户端到服务端
服务端传输数据到客户端:命令在客户端执行 172.16.0.241
rsync -avzP /data/qwe/ rsync_backup@172.16.0.80::data1 --password-file=/etc/rsync.password
从客户端服务器的/data/qwe/目录备份到172.16.0.80服务端的data1目录下面
rsync -avzP /data/banjia38/app/ rsync_backup@172.16.0.80::data1 --password-file=/etc/rsync.password
客户端本地目录/data/banjian38/app目录,备份到80服务器的data1目录
客户端数据传输到服务端:命令都是在客户端执行
rsync -avzP --password-file=/etc/rsync.password rsync_backup@172.16.0.80::data1 /data/qwe/
把服务端的data1目录的文件,备份到客户端的/data/qwe/
命令解析:
data1目录为rsync服务器端配置文件的目录
rsync_backup为rsync服务器的配置文件用户名
--password-file=/etc/rsync.password 为secrets file配置的密码文件
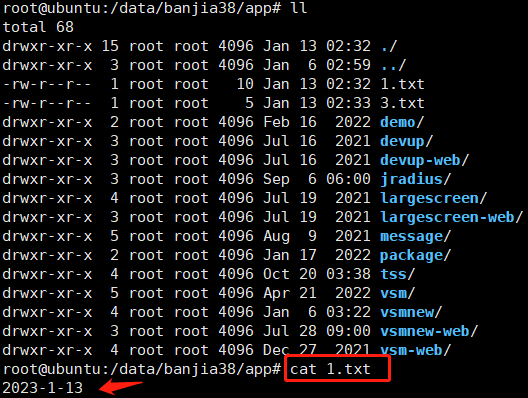
客户端数据:
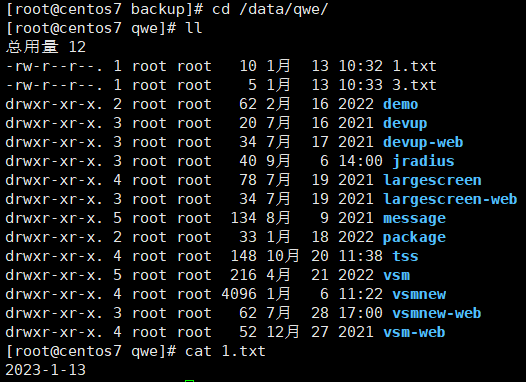
服务端数据:
第二部分:使用241服务器做rsync的主服务器
rsync的服务端配置文件配置,在241:
241的rsync配置
[root@localhost rs_backup1]# cat /etc/rsyncd.conf
uid = root
gid = root
pid file = /var/run/rsyncd.pid
lock file = /var/run/rsync.lock
log file = /var/log/rsyncd.log
list = no
read only = no
use chroot = no
max connections = 2000
exclude = lost+found/
transfer logging = yes
timeout = 600
ignore errors = yes
ignore nonreadable = yes
dont compress   = *.gz *.tgz *.zip *.z *.Z *.rpm *.deb *.bz2
hosts allow = 172.16.0.0/24
auth users = rs_backup
secrets file = /etc/rsync.password1

[data1]
path = /data/rs_backup1/
comment = a

[data2]
path = /data/rs_backup2/
comment = b

[data3]
path = /data/rs_backup3/
服务端配置:172.16.0.241
创建rsync同步密码文件,并设置权限为600(rsync所在服务器)
[root@u-liuqi-test-1 ~]# echo "rs_backup:liuqi" > /etc/rsync.password1
[root@u-liuqi-test-1 ~]# chmod 600 /etc/rsync.password1
客户端服务器配置:172.16.0.80
echo "liuqi" > /etc/rsync.password1
chmod 600 /etc/rsync.password1
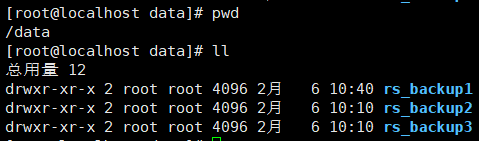
241创建目录:在/data/目录下面创建三个配置文件中的目录
启动服务端:
rsync --daemon
2.1 客户端数据传输到服务端:命令都是在客户端80执行(80数据备份到241)
在80客户端服务器创建rs.txt文件,并把1997--@放在文本

将客户端80的/home/rsync_test/的数据同步到241的data1目录
[root@centos7 rsync_test]# rsync -avzP /home/rsync_test/ rs_backup@172.16.0.241::data1 --password-file=/etc/rsync.password1
sending incremental file list
./
rs.txt
8 100% 0.00kB/s 0:00:00 (xfr#1, to-chk=0/2)
sent 120 bytes received 46 bytes 110.67 bytes/sec
total size is 8 speedup is 0.05
然后到241查看
[root@localhost rs_backup1]# pwd
/data/rs_backup1
[root@localhost rs_backup1]# ll
总用量 4
-rw-r--r-- 1 root root 8 2月 6 2023 rs.txt
查看
[root@localhost rs_backup1]# cat rs.txt
1997--@
2.2 服务端数据传输到客户端:命令都是在客户端80执行
在241服务器创建目录和rs1.txt文件,然后输入2023--@内容
mkdir -p /data/rsync/
[root@localhost rsync]# echo "2023--@" >> rs1.txt
[root@localhost rsync]# ll
-rw-r--r-- 1 root root 8 2月 6 13:26 rs1.txt
然后执行命令把241的data1目录中的两个文件,备份到客户端80的/data/rsync/目录
[root@centos7 rsync]# rsync -avzP --password-file=/etc/rsync.password1 rs_backup@172.16.0.241::data1 /data/rsync/
receiving incremental file list
./
rs.txt
8 100% 7.81kB/s 0:00:00 (xfr#1, to-chk=1/3)
rs1.txt
8 100% 7.81kB/s 0:00:00 (xfr#2, to-chk=0/3)
sent 69 bytes received 201 bytes 540.00 bytes/sec
total size is 16 speedup is 0.06
[root@centos7 rsync]# ll
-rw-r--r--. 1 root root 8 2月 6 05:26 rs1.txt
[root@centos7 rsync]# cat rs1.txt
2023--@


 被折叠的 条评论
为什么被折叠?
被折叠的 条评论
为什么被折叠?
 到【灌水乐园】发言


