


之前用过quartz的事件管理器来配置定时任务,每个执行任务都需要在spring-mvc.xml里面进行配置,比较繁琐。
用注解@Scheduled的方式就简单多了,以下介绍实现的过程。
步骤一
在你的spring-mvc.xml(我的文件名是applicationContext.xml)中添加两处引用,新增配置<task:annotation-driven />

xmlns:task="http://www.springframework.org/schema/task"

http://www.springframework.org/schema/task http://www.springframework.org/schema/task/spring-task-4.1.xsd
步骤二
配置自动扫描:(如果你已配置可以跳过此步骤)
<context:component-scan base-package="com.mydemo.*" />
步骤三
新增一个java文件如AutoWorkimpl.java,头部需要添加@Component注解,并在Scheduled的cron中设置每5秒执行一次。
package com.mydemo.impl;
import org.springframework.scheduling.annotation.Scheduled;
import org.springframework.stereotype.Component;
@Component
public class AutoWorkImpl {
/**
* 自动作业--测试
*/
@Scheduled(cron = "*/5 * * * * ?")
public void test() {
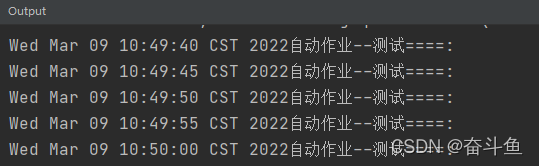
String estr="自动作业--测试====:";
try{
System.out.println(new Date().toString() +estr);
}catch (Exception e){
System.out.println(estr + e.toString());
}
}
}
执行后效果
以上完毕。


 3685
3685


 被折叠的 条评论
为什么被折叠?
被折叠的 条评论
为什么被折叠?
 到【灌水乐园】发言


