


OpenBravo 2.35
安装
介绍
Openbravo
是一个完全基于浏览器,纯
java
开发的,可扩展的,适合与中小企业的
ERP
系统。包括客户关系管理(
CRM
),
BI
,和一些必须的功能,如仓库管理,销售管理,项目管理,生产管理,采购管理,财务等。
系统需求
操作系统
:
- Microsoft Windows Vista, XP, 2000 or 2003 server.
- Linux. Red Hat, CentOS, Suse, Debian, Ubuntu and Fedora.
软件
:
- Java 2 Platform Standard Edition 5.0.
- Apache-Tomcat version 5.5.
- Apache-ant 1.6.
数据库
:
- Oracle 10g release 2 (Express, Standard and Enterprise editions).
- PostgreSQL Database Server 8.1.4
浏览器支持
:
- Firefox 2.0
- SeaMonkey 1.1
- Internet Explorer 7.0
环境安装
数据库安装
系统支持
oracle
和
PostgreSQL
数据库,选择安装一个就可以
Oracle
下载安装
oracle
数据库,未有此经验者请安装下面的这个数据库。
PostgreSQL
Sun Java 2 Software Development Kit installation
Apache Tomcat
Apache Ant
Openbravo 安装
Windows
版本
OpenbravoERP-2.35-windows-installer.exe
双击该
exe
文件,开始安装
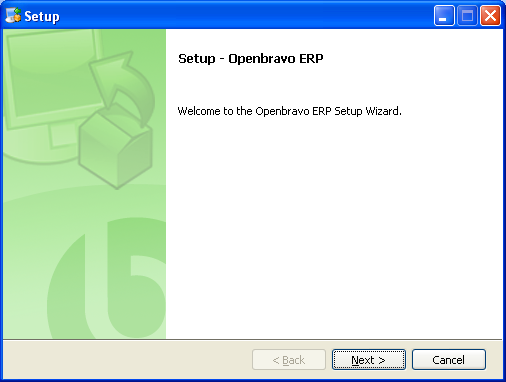
点击
next
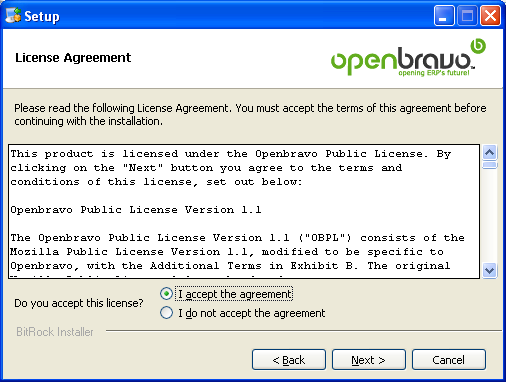
选择
I accept the agreement,
点击
next
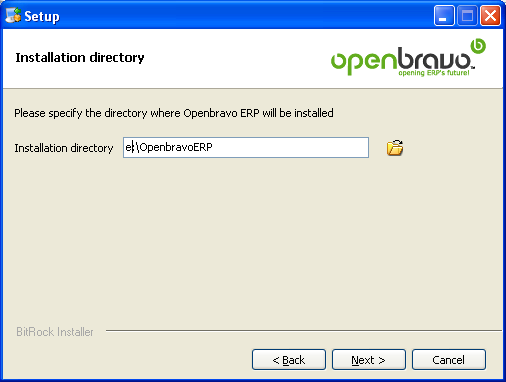
设置安装路径,点击
next
点击
next
,
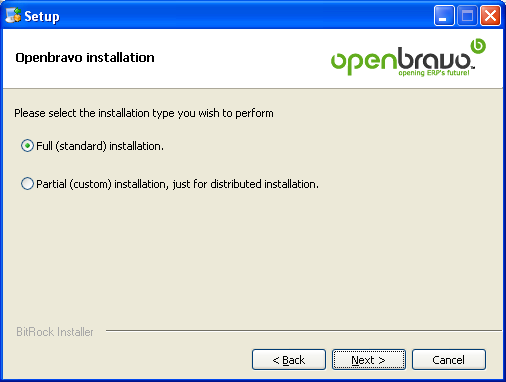
选择
Full
,点击
next

选择
Binary
,这样安装比较快速,
点击
next
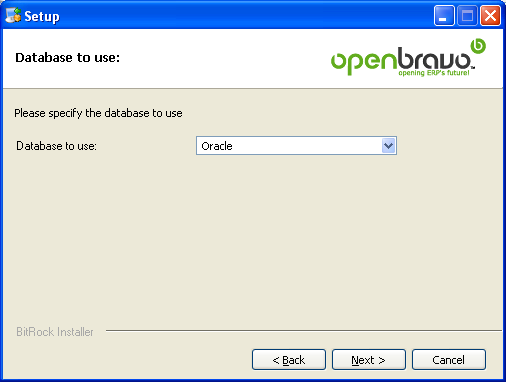
选择使用的数据库
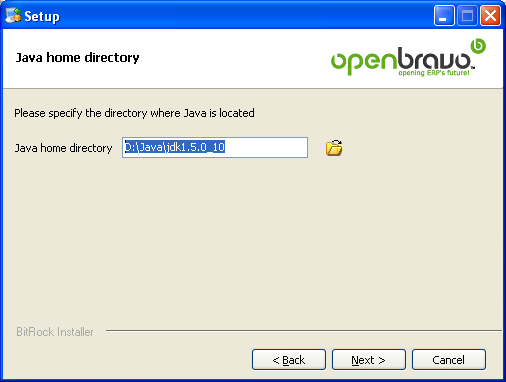
选择
jdk
的安装目录,这个选择之前安装的
jdk1.5
的路径
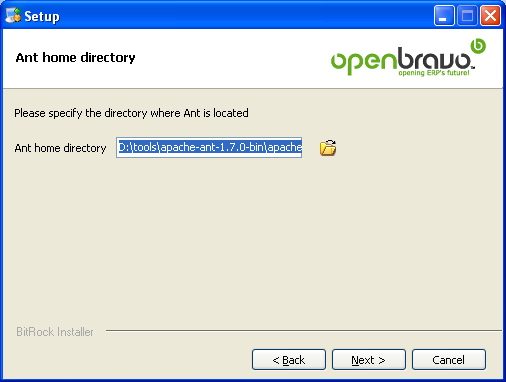
选择
ant
的路径,这个是之前安装的
ant
的路径
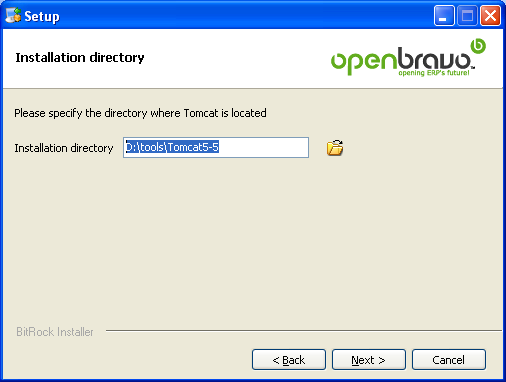
选择
tomcat
的路径
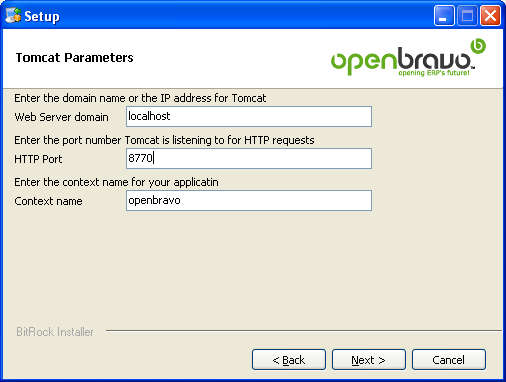
设置
web
服务的
ip
和端口等,
localhost
可以改成目前机器的
ip
,这样其他的机器才可以访问,端口是你
tomcat
的端口,如果在安装
tomcat
是没有修改,那么默认是
8080
,点击
next
之前要先启动
tomcat
,运行
D:/tools/Tomcat5-5/bin/
tomcat5.exe
点击
next
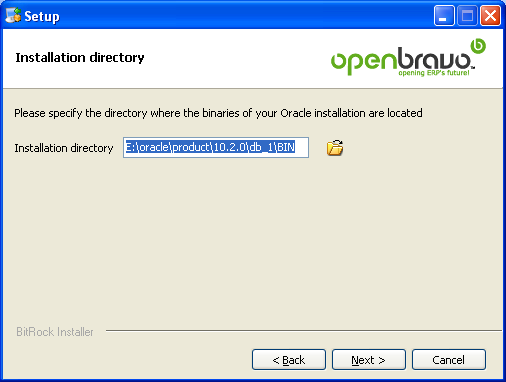
选择数据库安装位置,目前使用的是
oracle
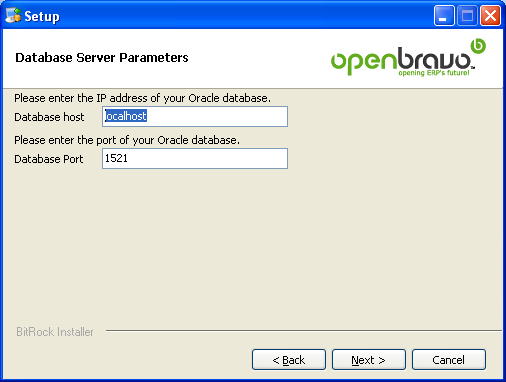
数据库的
ip
和端口,使用缺省的就可以,
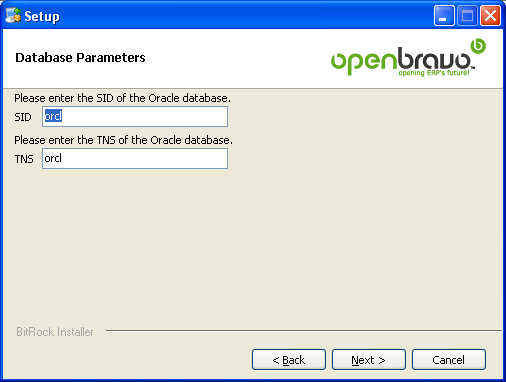
这是针对
oracle
的设置。
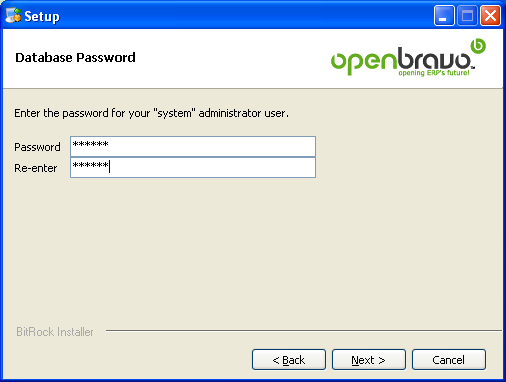
Oracle system
的密码,系统使用这个用户登录
oracle
来建立
openbravo
使用的数据库用户,
nexgt

可以全部填写
TAD
,这个是
ob
系统使用的数据库用户
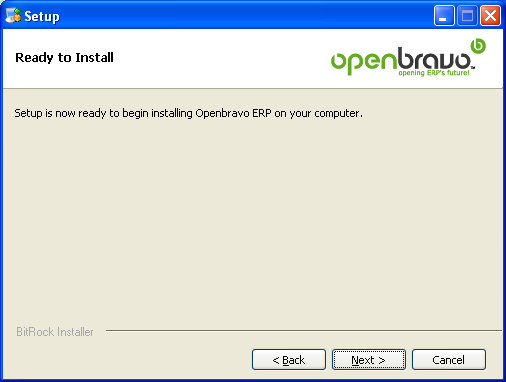
Next
后,系统开始安装。
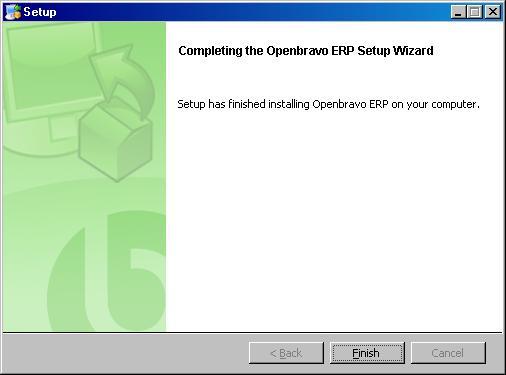
点击
finish
。
运行 Openbravo
登录系统 用户名:Openbravo 密码 openbravo 主意大小写


 3849
3849

 被折叠的 条评论
为什么被折叠?
被折叠的 条评论
为什么被折叠?
 到【灌水乐园】发言


