


目录
一、Apache的作用
- 在web被访问时通常使用http://的方式
- http:// 超文本传输协议
- http:// 超文本传输协议提供软件:Apache nginx stgw jfe Tengine
二、Apache的安装和启用
dnf install http.x86_64 -y #安装
systemctl enable --now httpd #开启服务并设定服务开机启动
systemctl enable --now firewalld #开启服务并设定服务开机启动
firewall-cmd --list-all #查看火墙信息
firewall-cmd --permanent --add-service=http #在火墙中永久开启http访问
firewall-cmd --permanent --add-service=https ##在火墙中永久开启https访问
firewall-cmd --reload #刷新火墙使设定生效
三、Apache的基本信息
- 服务名称
httpd - 配置文件:
主配置文件/etc/httpd/conf/httpd.conf
子配置文件/etc/httpd/conf.d/*.conf - 默认发布目录
/var/www/html - 默认发布文件
index.html - 默认端口
http 80https 443 - 用户
apache - 日志
/etc/httpd/logs
mv 'Screenshot from 2021-04-30 17-48-13.png' test.png
cp /root/Pictures/test.png /var/www/html/
vim /var/www/html/index.html
///\\\
<img src=test.png>
///\\\

四、Apache的基本配置
实验前先修改(否则影响实验效果):
vim /etc/sysconfig/selinux
reboot

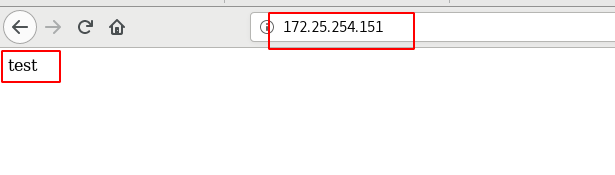
1、默认发布文件
cd /var/www/html/
vim westos.html
///\\\
test
///\\\
vim /etc/httpd/conf/httpd.conf #修改截图如下
systemctl restart httpd

2、Apache端口修改
vim /etc/httpd/conf/httpd.conf
systemctl restart httpd
firewall-cmd --permanent --add-port=8080/tcp
firewall-cmd --reload

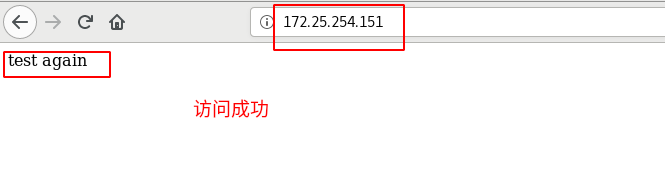
3、默认发布目录
mkdir /westos/html -p
vim /westos/html/index.html
///\\\
test again
///\\\
vim /etc/httpd/conf/httpd.conf #修改配置截图如下
systemctl restart httpd


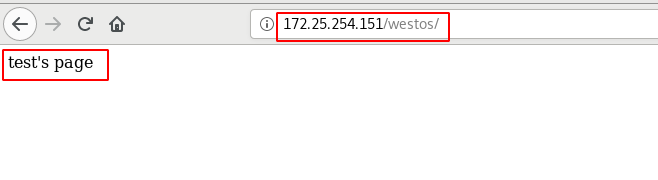
五、Apache的访问控制
实验条件:
mkdir /var/www/html/westos
vim /var/www/html/westos/index.html
///\\\
test's page
///\\\
systemctl restart httpd
1、基于客户端ip的访问
(1)ip黑名单
vim /etc/httpd/conf/httpd.conf
systemctl restart httpd


(2)ip白名单
vim /etc/httpd/conf/httpd.conf
systemctl restart httpd


2、基于用户认证
(1)生成认证文件
当/etc/httpdfile存在那么在添加用户时不要加-c参数否则会覆盖源文件内容
htpasswd -cm apacheauth jia #生成认证文件
htpasswd -m apacheauth admin #不覆盖的生成认证文件
cat apacheauth
- 认证文件的名字htpasswd
建立文件的名称apacheauth
用户名字admin,用户有没有无所谓,只是为了认证而创建的字符串
在当前目录中就会产生文件,并且记录了这个用户和用户所使用的密码

(2)修改配置文件使得基于用户认证
vim /etc/httpd/conf/httpd.conf
systemctl restart httpd

若开启指定用户通过认证,则只有指定用户能进入;若开启所有用户通过认证,则所有用户都可以通过认证。
 注:当进入一次认证后,不会再跳出提示语,需要手动清理记录,操作如下:


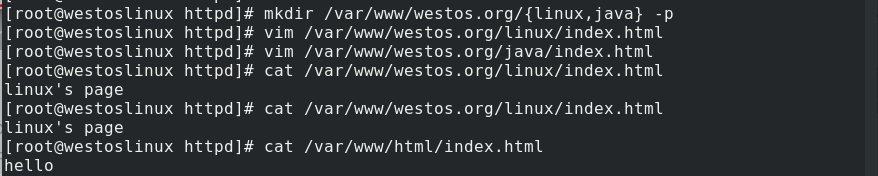
六、Apache的虚拟主机
创建目录以及编写文件内容:
mkdir /var/www/westos.org/{linux,java} -p
vim /var/www/westos.org/linux/index.html
vim /var/www/westos.org/java/index.html
cat /var/www/html/index.html
cat /var/www/westos.org/linux/index.html
cat /var/www/westos.org/linux/index.html
编写配置文件:
vim /etc/httpd/conf.d/vhosts.conf
////\\\
<VirtualHost _default_:80>
DocumentRoot /var/www/html
Customlog logs/default.log combined
</VirtualHost>
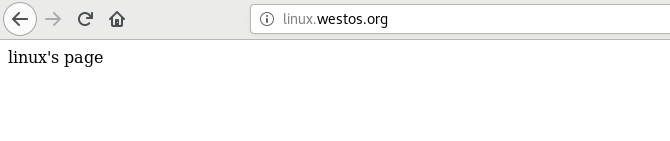
<VirtualHost *:80>
ServerName linux.westos.org
DocumentRoot /var/www/westos.org/linux
Customlog logs/linux.log combined
</VirtualHost>
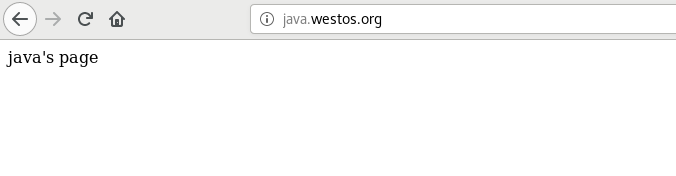
<VirtualHost *:80>
ServerName java.westos.org
DocumentRoot /var/www/westos.org/java
Customlog logs/java.log combined
</VirtualHost>
///\\\
systemctl restart httpd
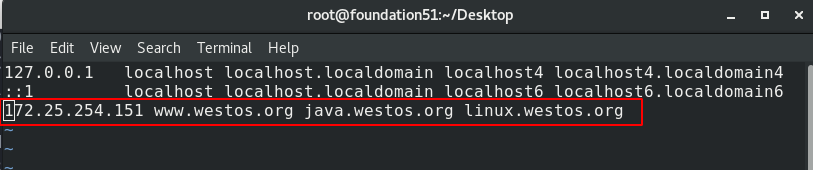
测试:
在浏览器所在的主机中设定解析
vim /etc/hosts

七、Apache的语言支持
lamp: Linux Apache mysql php/perl/python
lnmp: Linux Apache nginx php/perl/python
1、php
dnf install php.x86_64
systemctl status php-fpm.service
vim /var/www/html/index.php
///\\\
<?php
        phpinfo();
?>
///\\\
systemctl restart httpd

2、cgi
- cgi通用网关接口,支持的是
perl
mkdir /var/www/html/cgi
cd /var/www/html/cgi
vim index.cgi
///\\\
#!/usr/bin/perl
print "Content-type: text/html\n\n";
print `date`;
///\\\
vim /etc/httpd/conf/httpd.conf #修改参考下方截图
chmod +x index.cgi #一定要增加执行权限
systemctl restart httpd


3、wsgi
- 功能和cgi相似,支持的是
python
mkdir /var/www/html/wsgi
cd /var/www/html/wsgi
vim index.wsgi #添加要输出的内容
///\\\
def application(env, westos):
        westos('200 ok',[('Content-Type', 'text/html')])
        return [b'hello westos']
///\\\
dnf search python3-mod_wsgi
dnf install python3-mod_wsgi.x86_64 -y
systemctl restart httpd
vim /etc/httpd/conf.d/vhosts.conf #做一个虚拟主机
///\\\
<VirtualHost _default_:80>
        DocumentRoot /var/www/html
</VirtualHost>

<VirtualHost *:80>
        ServerName wsgi.westos.org
        WSGIScriptAlias / /var/www/html/wsgi/index.wsgi
</VirtualHost>
///\\\
systemctl restart httpd
chmod +x /var/www/html/wsgi/index.wsgi
vim /etc/hosts #浏览器所在主机中做地址解析
///\\\
172.25.254.151 wsgi.westos.org
///\\\


重启服务报错处理办法:看日志
> /var/log/messages #清空历史
systemctl restart httpd #重启服务
cat /var/log/messages #报错后看日志
八、Apache的加密访问
1、加密过程
x509证书格式req请求in加载签证名称signkey/etc/pki/tls/private/www.westos.com.key
dnf install mod_ssl -y #安装加密插件
systemctl restart httpd
vim /etc/httpd/conf.d/ssl.conf #已经生成了加密文件
systemctl restart firewalld
firewall-cmd --permanent --add-service=https
firewall-cmd --reload
openssl req -newkey rsa:2048 -nodes -sha256 -keyout /etc/httpd/westos.org.key -x509 -days 365 -out /etc/httpd/westos.org.crt #一步生成认证书
ls /etc/httpd #查看目录下是否有对应的密钥生成
vim /etc/httpd/conf.d/ssl.conf #配置修改截图参考下方
systemctl restart httpd


若刷新无法查看,需要删除之前查看的证书,步骤如下:


验证:

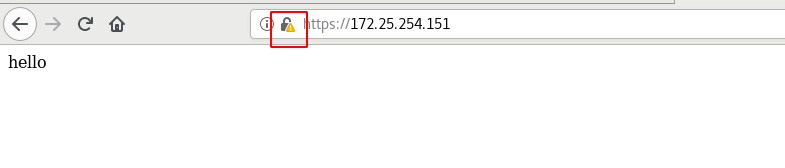


2、指定页面强制走加密方式
^(/.*)$客户地址栏中输入的地址%{HTTP_HOST}客户主机$1RewriteRule后面跟的一串字符的值
mkdir /var/www/login
vim /var/www/login/index.html
///\\\
login'spage
///\\\
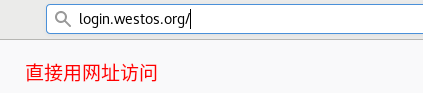
vim /etc/httpd/conf.d/vhosts.conf
///\\\
<VirtualHost *:443>
ServerName login.westos.org
DocumentRoot /var/www/login
SSLEngine on
SSLCertificateFile /etc/httpd/westos.org.crt
SSLCertificateKeyFile /etc/httpd/westos.org.key
</VirtualHost>
<VirtualHost *:80>
ServerName login.westos.org
RewriteEngine on
RewriteRule ^(/.*)$ https://%{HTTP_HOST}$1
</VirtualHost>
///\\\
systemctl status httpd
vim /etc/hosts #浏览器所在主机中做地址解析
///\\\
172.25.254.151 login.westos.org
///\\\

九、Squid+Apache
- 企业设定的代理服务器是
反向代理;客户设定的代理服务器是正向代理 - 客户设定的正向代理服务器只是解决了客户从访问不了到能访问的过程,不会加速客户访问的过程(
翻墙,vpn) - 企业设定的反向代理服务器会加速客户访问企业的过程(腾讯的
CDN加速)
1、Squid正向代理
实验环境:
westosa:单网卡主机设定ip不能上网
westosb:双网卡主机设定ip1可以连接单网卡主机,设定ip2可以上网
实验效果:
让单网卡主机westosa不能上网但浏览器可以访问互联网页
westosb:
dnf install squid -y
vim /etc/squid/squid.conf #修改配置文件内容截图参考下图
systemctl restart squid.service
systemctl start firewalld
firewall-cmd --permanent --add-service=squid
firewall-cmd --reload
ping baidu.com #能ping通,可以上网
westosa:
dnf install firefox -y
ping baidu.com #不能ping通,不可以上网,但浏览器可以访问

westosa浏览器中:


2、Squid反向代理
实验环境:
westosa:Apsche服务器
westosb:无Apsche服务器,有Squid,没有数据进行缓存
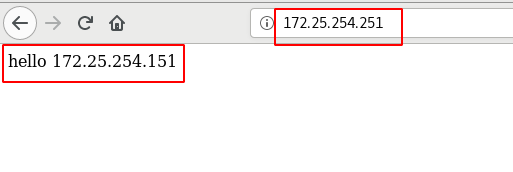
实验效果:
在真机浏览器中访问westosb的ip访问到的是westosa的数据
westosb:
rpm -qa | grep httpd #检测有无httpd
vim /etc/squid/squid.conf #修改配置文件内容参考下图
systemctl restart squid.service
firewall-cmd --list-all
systemctl start firewalld.service
firewall-cmd --permanent --add-service=http
firewall-cmd --reload
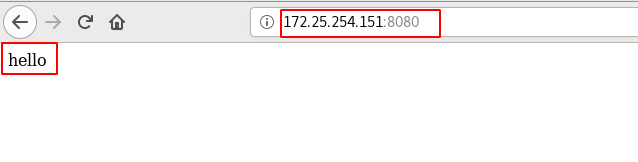
westosa:
vim /var/www/html/index.html
///\\\
hello 172.25.254.151
///\\\


 3514
3514


 被折叠的 条评论
为什么被折叠?
被折叠的 条评论
为什么被折叠?
 到【灌水乐园】发言


