


安装环境 能连接外网 防火墙关闭 IP自动获取
MySQl 5.7 使用管理
1.去相关网站 找到链接 MySQL :: MySQL Products
[root@localhost ~]# wget https://dev.mysql.com/get/mysql57-community-release-el7-11.noarch.rpm
2.安装文件
[root@localhost ~]# rpm -ivh mysql57-community-release-el7-11.noarch.rpm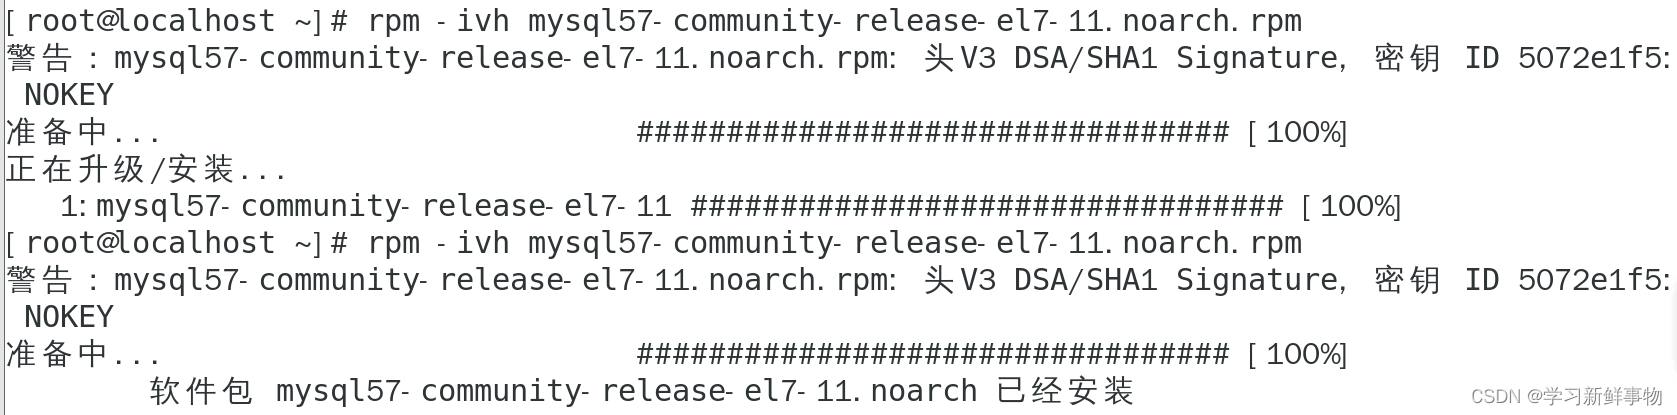
3.安装服务器
[root@localhost ~]# yum install -y mysql-community-server --nogpgcheck 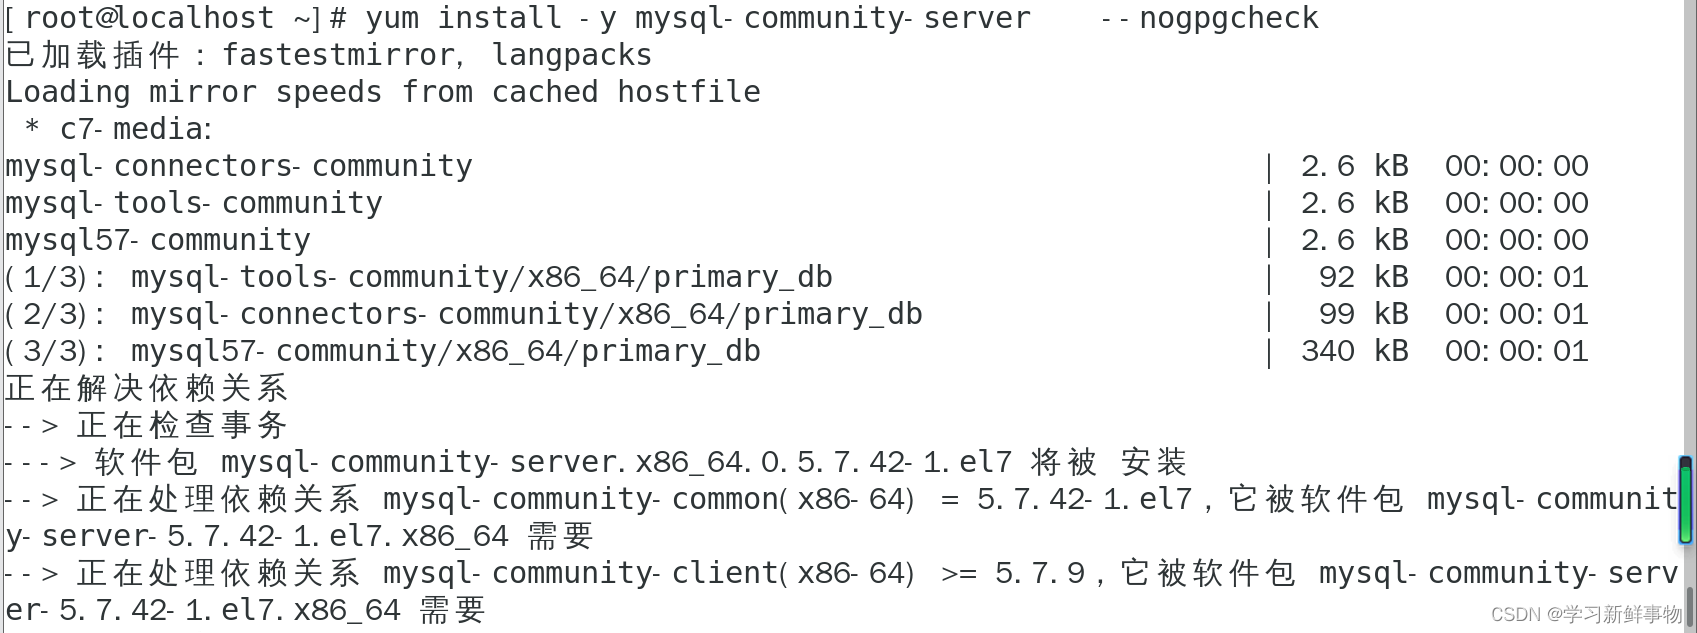
--nogpgcheck 在GPG密钥过期或无法获取,就需要使用该选项来跳过检查。但是,使用该选项可能会降低系统的安全性,因此建议在必要时才使用。
4.启动服务
[root@localhost ~]# systemctl start mysqld.service
5.获取密码 密码就是最后面的:xkRKz<qVh6%V
[root@localhost ~]#    grep 'temporary password' /var/log/mysqld.log
2023-06-05T07:23:55.115133Z 1 [Note] A temporary password is generated for root@localhost: xkRKz<qVh6%V

6.密码登陆 刚刚得到的密码
[root@localhost ~]# mysql -u root -p
Enter password:       输入刚刚得到的密码
ERROR 1045 (28000): Access denied for user 'root'@'localhost' (using password: YES)
[root@localhost ~]# mysql -u root -p
Enter password:
Welcome to the MySQL monitor.  Commands end with ; or \g.
Your MySQL connection id is 3
Server version: 5.7.42

Copyright (c) 2000, 2023, Oracle and/or its affiliates.

Oracle is a registered trademark of Oracle Corporation and/or its
affiliates. Other names may be trademarks of their respective
owners.

Type 'help;' or '\h' for help. Type '\c' to clear the current input statement.

mysql>
7.修改密码
原密码太繁琐 修改成自己容易记的 但是注意密码策略
mysql>   ALTER USER 'root'@'localhost' IDENTIFIED BY '123.coM//';
Query OK, 0 rows affected (0.01 sec)
8.创建数据库 CREATE DATABASE 数据库名
mysql> CREATE DATABASE mydb;
Query OK, 1 row affected (0.01 sec)
创建后切换 USE 加数据库名
mysql> USE mydb
Database changed
9.创建数据表
mysql> CREATE TABLE customer (
    ->        id INT(6) UNSIGNED AUTO_INCREMENT PRIMARY KEY,
    ->        name VARCHAR(30) NOT NULL,
    ->        email VARCHAR(50),
    ->        created_date TIMESTAMP DEFAULT CURRENT_TIMESTAMP ON UPDATE CURRENT_TIMESTAMP
    ->    );
Query OK, 0 rows affected (0.01 sec)
10.数据表中插入数据
mysql>  INSERT INTO customer (name, email) VALUES ('John Doe', 'john.doe@example.com'),('Jane Smith','jane.smith@example.com');
Query OK, 2 rows affected (0.01 sec)
Records: 2  Duplicates: 0  Warnings: 0
11.查询数据表 SELECT * FROM customer;
mysql> SELECT * FROM customer;
+----+------------+------------------------+---------------------+
| id | name       | email                  | created_date        |
+----+------------+------------------------+---------------------+
|  1 | John Doe   | john.doe@example.com   | 2023-06-05 15:41:42 |
|  2 | Jane Smith | jane.smith@example.com | 2023-06-05 15:41:42 |
+----+------------+------------------------+---------------------+
2 rows in set (0.02 sec)
12.更新新数据表 1的数据
mysql> UPDATE customer SET name ='john Smith', email='john.smith@example.com' WHERE id=1;
Query OK, 1 row affected (0.02 sec)
Rows matched: 1  Changed: 1  Warnings: 0
mysql> SELECT * FROM customer;
+----+------------+------------------------+---------------------+
| id | name       | email                  | created_date        |
+----+------------+------------------------+---------------------+
|  1 | john Smith | john.smith@example.com | 2023-06-05 15:48:28 |
|  2 | Jane Smith | jane.smith@example.com | 2023-06-05 15:41:42 |
+----+------------+------------------------+---------------------+
2 rows in set (0.00 sec)
13.删除数据表
mysql> DELETE FROM customer WHERE id=2;
Query OK, 1 row affected (0.00 sec)
mysql> SELECT * FROM customer;
+----+------------+------------------------+---------------------+
| id | name       | email                  | created_date        |
+----+------------+------------------------+---------------------+
|  1 | john Smith | john.smith@example.com | 2023-06-05 15:48:28 |
+----+------------+------------------------+---------------------+
1 row in set (0.00 sec)
14.主机登陆数据库 mysql -n root -p
[root@localhost ~]# mysql -u root -p
Enter password:   输入密码
Welcome to the MySQL monitor.  Commands end with ; or \g.
Your MySQL connection id is 8
Server version: 5.7.42 MySQL Community Server (GPL)

Copyright (c) 2000, 2023, Oracle and/or its affiliates.

Oracle is a registered trademark of Oracle Corporation and/or its
affiliates. Other names may be trademarks of their respective
owners.

Type 'help;' or '\h' for help. Type '\c' to clear the current input statement.

mysql>
exit 是退出
命令
数据库刚刚建立不方便过多演示还有一些命令放在下面
从表customer 选择name和email 按name升序排序 SELECT name, email FROM customer ORDER BY name ASC;
从 customer 选择name和email 中含有a的记录 SELECT name, email FROM customer WHERE name LIKE '%a%';
将customer表 按照 name升序导出到CSV SELECT * INTO OUTFILE '/path/to/file.csv' FIELDS TERMINATED BY ',' OPTIONALLY ENCLOSED BY '"' LINES TERMINATED BY '\n' FROM customer ORDER BY name ASC;
远程登陆
1.服务端创建远程登陆用户 CREATE USER '用户名'@'%' IDENTIFIED BY '密码';
mysql> CREATE USER 'qw'@'%' IDENTIFIED BY '123.qwE//';
Query OK, 0 rows affected (0.00 sec)
2.给他权限
mysql>  GRANT ALL PRIVILEGES ON *.* TO 'qw'@'%';
Query OK, 0 rows affected (0.00 sec)
3.更新权限
mysql>  FLUSH PRIVILEGES;
Query OK, 0 rows affected (0.00 sec)
exit退出
4.1服务端安装 wget https://dev.mysql.com/get/mysql57-community-release-el7-11.noarch.rpm
2安装 文件 rpm -ivh mysql57-community-release-el7-11.noarch.rpm
3安装服务器 yum install -y mysql-community-server --nogpgcheck
4.启动服务 systemctl start mysqld.service
5.远程客户端登陆 mysql -h 服务端IP -u 名字 -p
[root@localhost ~]# mysql -h 192.168.6.134 -u qw -p
Enter password:   输入密码
Welcome to the MySQL monitor.  Commands end with ; or \g.
Your MySQL connection id is 14
Server version: 5.7.42 MySQL Community Server (GPL)

Copyright (c) 2000, 2023, Oracle and/or its affiliates.

Oracle is a registered trademark of Oracle Corporation and/or its
affiliates. Other names may be trademarks of their respective
owners.

Type 'help;' or '\h' for help. Type '\c' to clear the current input statement.

mysql>
脚本启动
1. 打开一个文本编辑器,将脚本内容复制粘贴到编辑器中。
2. 将编辑器中的内容保存为一个以 .sh 结尾的文件,比如 mysql_install.sh。
3. 打开终端,进入保存脚本的目录。
4. 给脚本文件添加执行权限,命令为:chmod +x mysql_install.sh。
5. 运行脚本,命令为:./mysql_install.sh。
注意:在运行脚本之前,需要确保系统已经安装了 wget 和 rpm 工具。如果没有安装,可以使用以下命令安装:
yum install -y wget rpm
目录
1.
[root@localhost ~]# vim mysql.sh
2.
#!/bin/bash
wget https://dev.mysql.com/get/mysql57-community-release-el7-11.noarch.rpm ;
rpm -ivh mysql57-community-release-el7-11.noarch.rpm ;
yum install -y mysql-community-server --nogpgcheck ;
systemctl start mysqld.service ;
systemctl status mysqld.service ;
grep 'temporary password' /var/log/mysqld.log ;
mysql -u root -p
3.
[root@localhost ~]# chmod +x mysql.sh4.启动
[root@localhost ~]# ./mysql.sh 输入密码登陆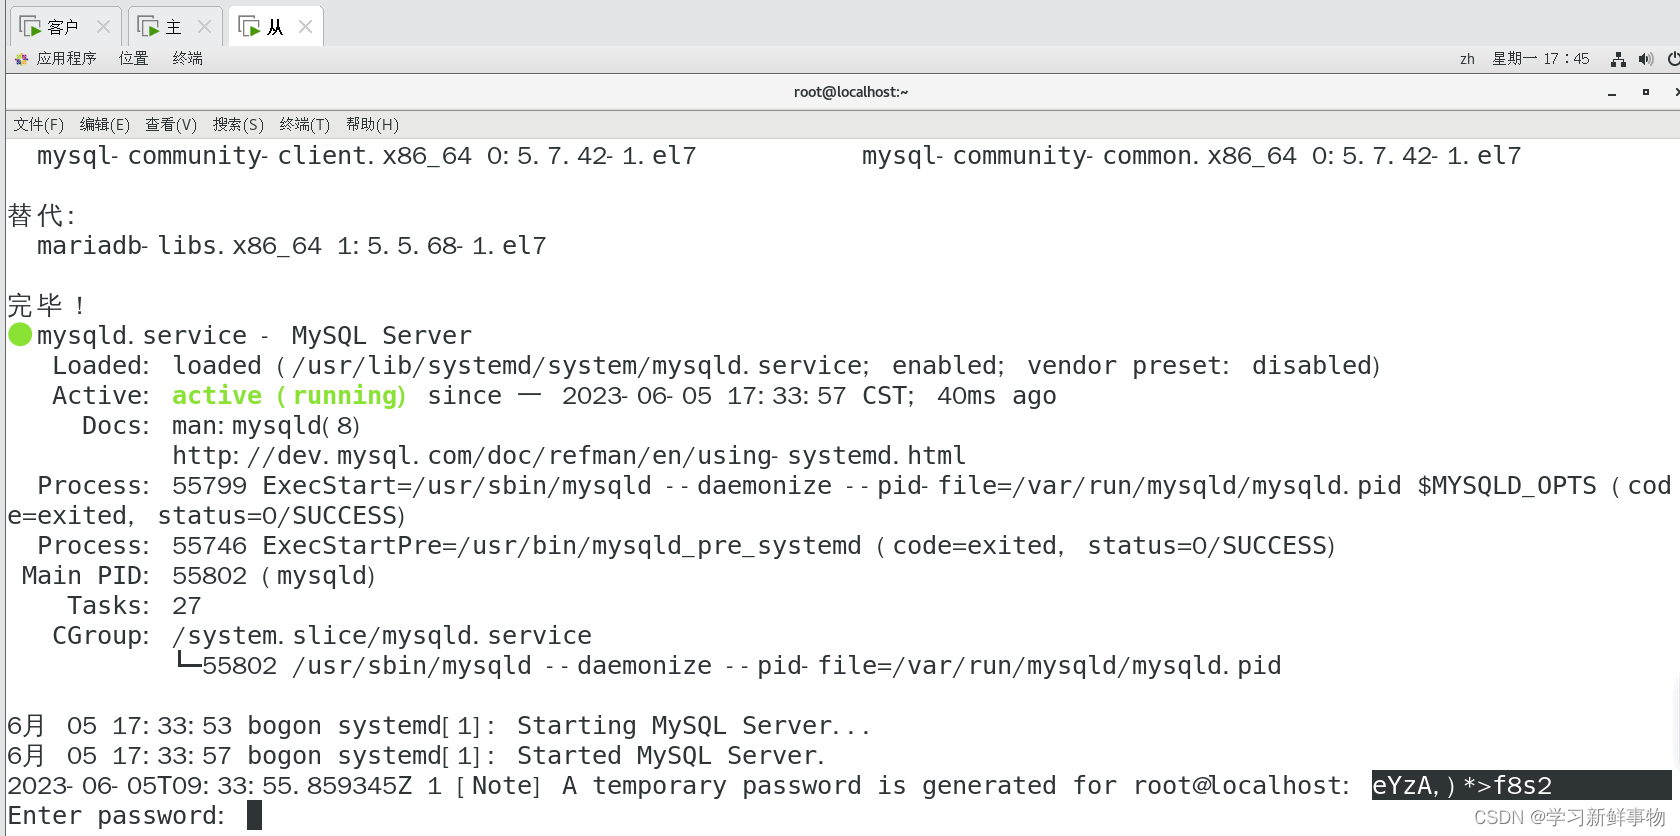

感谢观看


 1703
1703


 被折叠的 条评论
为什么被折叠?
被折叠的 条评论
为什么被折叠?
 到【灌水乐园】发言


