


 本文介绍了如何在Zabbix 3.0中添加监控脚本,以获取和监控TCP连接的各种状态,包括CLOSED、LISTEN、SYN_RECV等。通过在zabbix-agent端编写脚本,并配置Zabbix服务器,实现对目标主机TCP状态的实时监控。
原理:
netstat -an|awk '/^tcp/{++S[$NF]}END{for(a in S) print a,S[a]}'
TIME_WAIT 79
ESTABLISHED 6
LISTEN 3
可以使用man netstat查看TCP的各种状态信息描述
ESTABLISHED socket已经建立连接
CLOSED socket没有被使用,无连接
CLOSING 服务器端和客户端都同时关闭连接
CLOSE_WAIT 等待关闭连接
TIME_WAIT 表示收到了对方的FIN报文,并发送出了ACK报文,等待2MSL后就可回到CLOSED状态
LAST_ACK 远端关闭,当前socket被动关闭后发送FIN报文,等待对方ACK报文
LISTEN 监听状态
SYN_RECV 接收到SYN报文
SYN_SENT 已经发送SYN报文
FIN_WAIT1 The socket is closed, and the connection is shutting down
FIN_WAIT2 Connection is closed, and the socket is waiting for a shutdown from the remote end.
2.在需要被监控的zabbix-agent端添加脚本编写
创建文件夹
mkdir -p /usr/local/zabbix-agent/scripts/
mkdir -p /etc/zabbix/zabbix_agentd.d/
vim /usr/local/zabbix-agent/scripts/tcp_conn_status.sh
#!/bin/bash
#this script is used to get tcp and udp connetion status
#tcp status
metric=$1
tmp_file=/tmp/tcp_status.txt
/bin/netstat -an|awk '/^tcp/{++S[$NF]}END{for(a in S) print a,S[a]}' > $tmp_file
case $metric in
closed)
output=$(awk '/CLOSED/{print $2}' $tmp_file)
if [ "$output" == "" ];then
echo 0
else
echo $output
fi
;;
listen)
output=$(awk '/LISTEN/{print $2}' $tmp_file)
if [ "$output" == "" ];then
echo 0
else
echo $output
fi
;;
synrecv)
output=$(awk '/SYN_RECV/{print $2}' $tmp_file)
if [ "$output" == "" ];then
echo 0
else
echo $output
fi
;;
synsent)
output=$(awk '/SYN_SENT/{print $2}' $tmp_file)
if [ "$output" == "" ];then
echo 0
else
echo $output
fi
;;
established)
output=$(awk '/ESTABLISHED/{print $2}' $tmp_file)
if [ "$output" == "" ];then
echo 0
else
echo $output
fi
;;
timewait)
output=$(awk '/TIME_WAIT/{print $2}' $tmp_file)
if [ "$output" == "" ];then
echo 0
else
echo $output
fi
;;
closing)
output=$(awk '/CLOSING/{print $2}' $tmp_file)
if [ "$output" == "" ];then
echo 0
else
echo $output
fi
;;
closewait)
output=$(awk '/CLOSE_WAIT/{print $2}' $tmp_file)
if [ "$output" == "" ];then
echo 0
else
echo $output
fi
;;
lastack)
output=$(awk '/LAST_ACK/{print $2}' $tmp_file)
if [ "$output" == "" ];then
echo 0
else
echo $output
fi
;;
finwait1)
output=$(awk '/FIN_WAIT1/{print $2}' $tmp_file)
if [ "$output" == "" ];then
echo 0
else
echo $output
fi
;;
finwait2)
output=$(awk '/FIN_WAIT2/{print $2}' $tmp_file)
if [ "$output" == "" ];then
echo 0
else
echo $output
fi
;;
*)
echo -e "\e[033mUsage: sh $0 [closed|closing|closewait|synrecv|synsent|finwait1|finwait2|listen|established|lastack|timewait]\e[0m"
esac
赋予脚本执行权限
chmod o+x /usr/local/zabbix-agent/scripts/tcp_conn_status.sh
3.agent的配置文件 /etc/zabbix/zabbix_agentd.conf 中定义了其他key的包含目录 Include=/etc/zabbix/zabbix_agentd.d/, 接着在 /etc/zabbix/zabbix_agentd.d/ 目录新建一个文件 tcp-status-params.conf, 内容如下
vim /etc/zabbix/zabbix_agentd.d/tcp-status-params.conf
UserParameter=tcp.status[*],/usr/local/zabbix-agent/scripts/tcp_conn_status.sh $1
重启agent
service zabbix-agent restart
4.zabbix-master服务端测试
zabbix_get -s 192.168.3.86 -p 10050 -k "tcp.status[listen]"
13
5.zabbix web端配置:
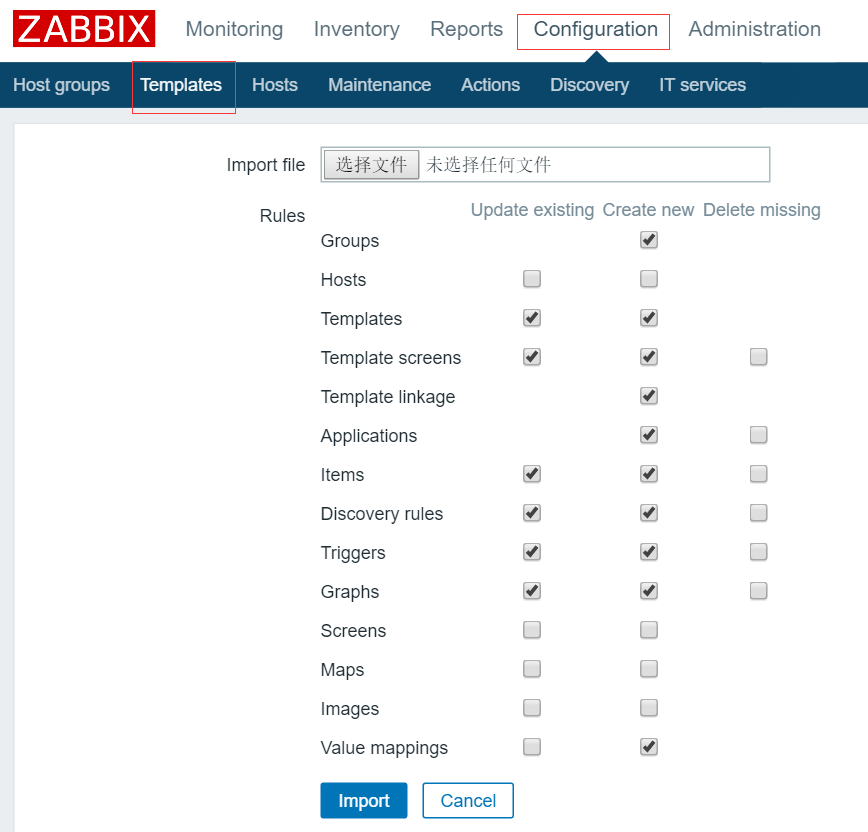
登录Zabbix3.0 的web界面,一次选择 Configuration > Templates , 在主界面的右上角有个 Import 按钮,用来导入模板

zabbix-tcp-status.xml
<?xml version="1.0" encoding="UTF-8"?>
<zabbix_export>
    <version>2.0</version>
    <date>2014-12-04T09:41:57Z</date>
    <groups>
        <group>
            <name>Templates</name>
        </group>
    </groups>
    <templates>
        <template>
            <template>Template TCP Connection Status</template>
            <name>Template TCP Connection Status</name>
            <groups>
                <group>
                    <name>Templates</name>
                </group>
            </groups>
            <applications>
                <application>
                    <name>TCP Status</name>
                </application>
            </applications>
            <items>
                <item>
                    <name>CLOSED</name>
                    <type>0</type>
                    <snmp_community/>
                    <multiplier>0</multiplier>
                    <snmp_oid/>
                    <key>tcp.status[closed]</key>
                    <delay>60</delay>
                    <history>90</history>
                    <trends>365</trends>
                    <status>0</status>
                    <value_type>3</value_type>
                    <allowed_hosts/>
                    <units/>
                    <delta>0</delta>
                    <snmpv3_contextname/>
                    <snmpv3_securityname/>
                    <snmpv3_securitylevel>0</snmpv3_securitylevel>
                    <snmpv3_authprotocol>0</snmpv3_authprotocol>
                    <snmpv3_authpassphrase/>
                    <snmpv3_privprotocol>0</snmpv3_privprotocol>
                    <snmpv3_privpassphrase/>
                    <
最低0.47元/天 解锁文章


 643
643

 被折叠的 条评论
为什么被折叠?
被折叠的 条评论
为什么被折叠?
 到【灌水乐园】发言


