


下面文章是vs2015编译, 将140换为141,则可以编译给vs2017用.
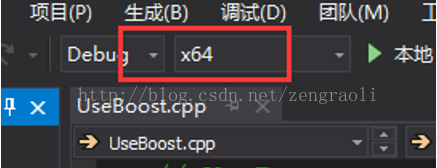
编译64位:
先打开vs2017 64位环境的cmd环境, 进入boost源目录, 运行bootstrap.bat,然后运行下面编译命令,
stagedir用来指定库存放的位置bjam stage --toolset=msvc-14.1 architecture=x86 address-model=64 --without-graph --without-graph_parallel --stagedir="c:\boost\boost_1_64_0\bin\vc141-x64" link=static runtime-link=shared runtime-link=static threading=multi debug release
先打开vs2017 x86环境的cmd环境, 进入boost源目录, 运行
bootstrap.bat,然后运行下面编译命令,
bjam stage --toolset=msvc-14.1 --without-graph --without-graph_parallel --stagedir="c:\boost\boost_1_64_0\bin\vc141-x86" link=static runtime-link=shared runtime-link=static threading=multi debug release
=========================================
版权声明:本文为博主原创文章,未经博主允许不得转载。
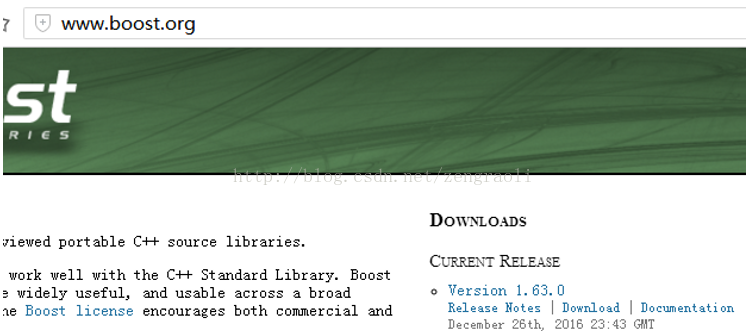
首先下载得到boost的最新版(目前最新版是1.63)
下载地址:
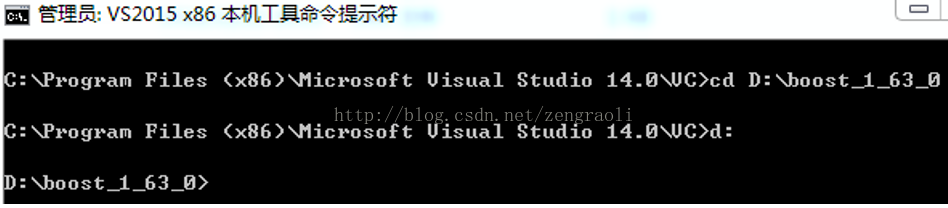
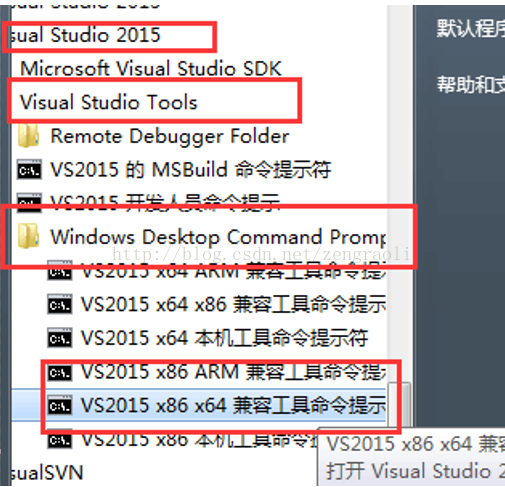
打开vs的32位命令行工具

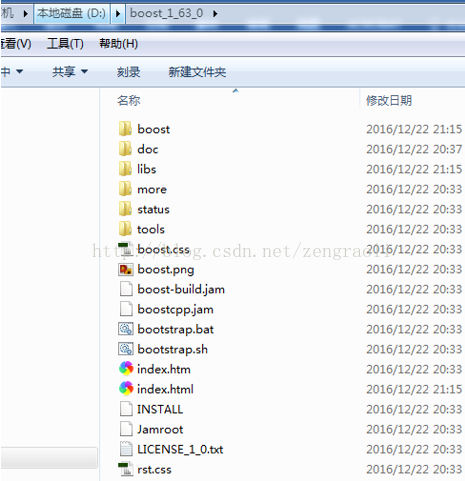
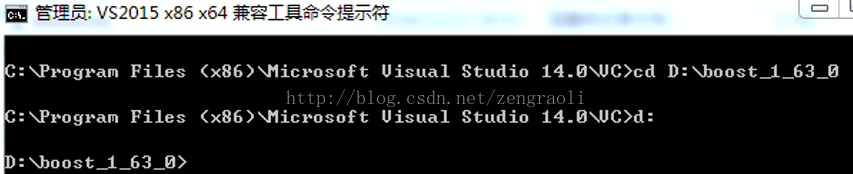
进入到boost源代码文件夹中
进入到boost源代码文件夹中
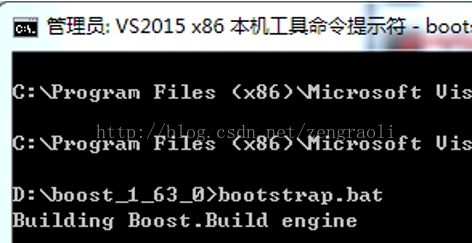
运行bootstrap.bat
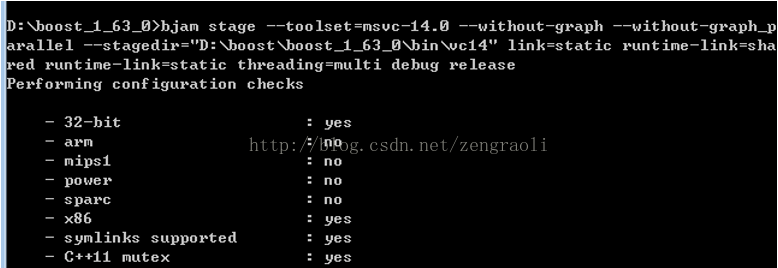
执行如下操作,对boost进行编译
(msvc版本14.0对应的是vs2015,--stagedir是指定编译后存放的目录,文章附录有vs版本对应编号)
进入到boost源代码文件夹中
运行bootstrap.bat

执行如下操作,对boost进行编译
(msvc版本14.0对应的是vs2015,--stagedir是指定编译后存放的目录)

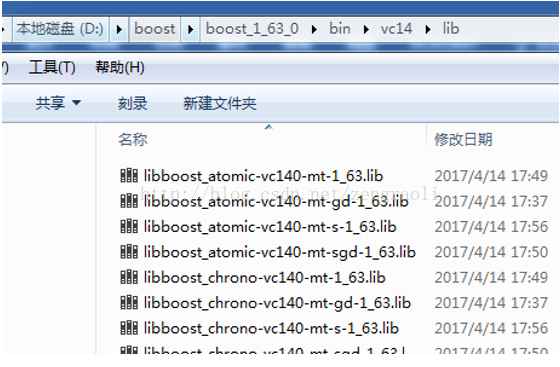
这样得到的是就是64位的boot库
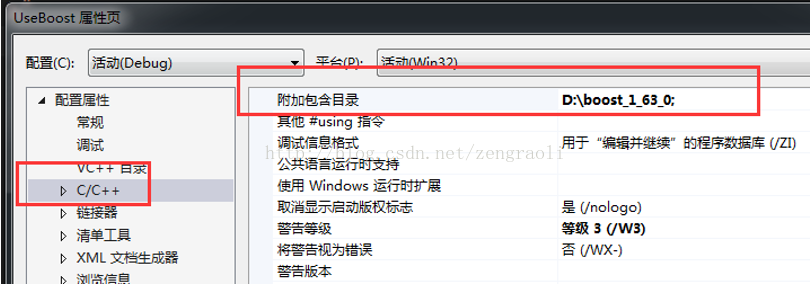
设置附加的包含路径(下载之后解压的boost文件夹):
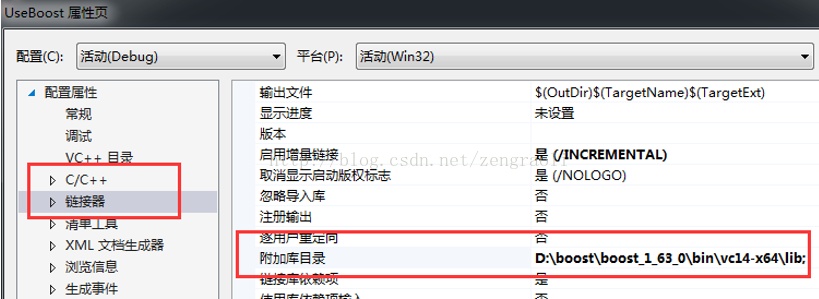
设定库路径:
然后建立第一个boost项目,代码如下:
得到输出

附带一个boost使用线程池的例子


 4700
4700

 被折叠的 条评论
为什么被折叠?
被折叠的 条评论
为什么被折叠?
 到【灌水乐园】发言


