


Eclipse安装TestNG
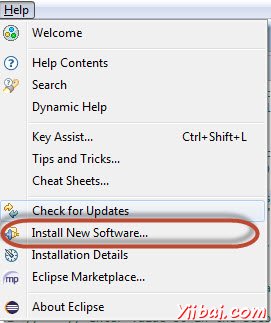
第1步:启动Eclipse,选择“Install New Software”。
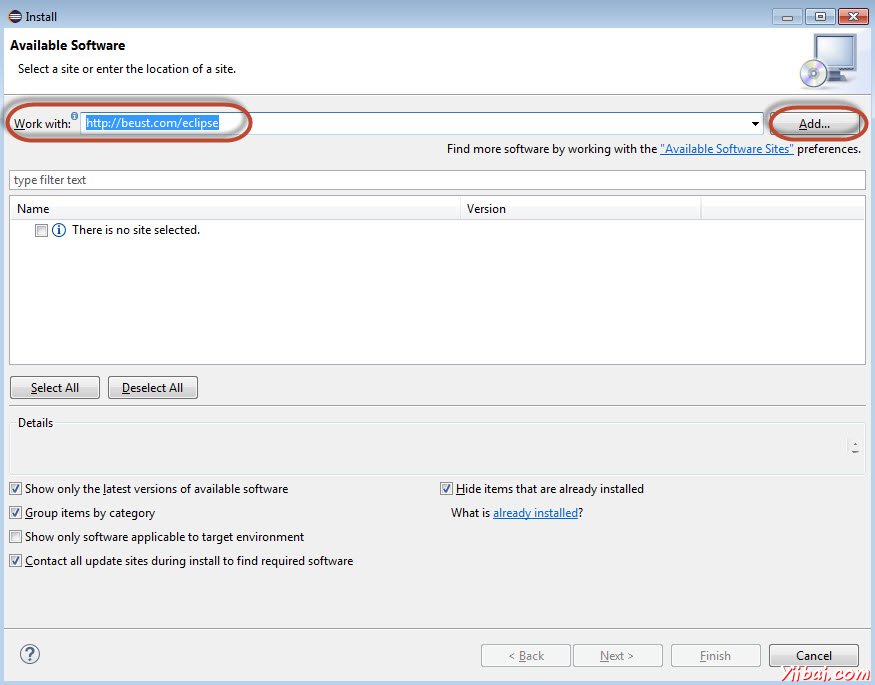
第2步:输入网址为“http://beust.com/eclipse”,然后单击“Add”。
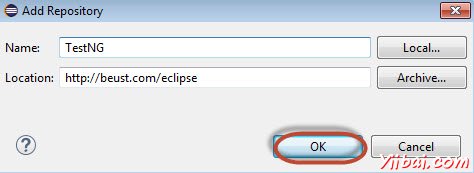
第3步:打开添加存储库对话框输入名称为“TestNG”,然后点击“OK”
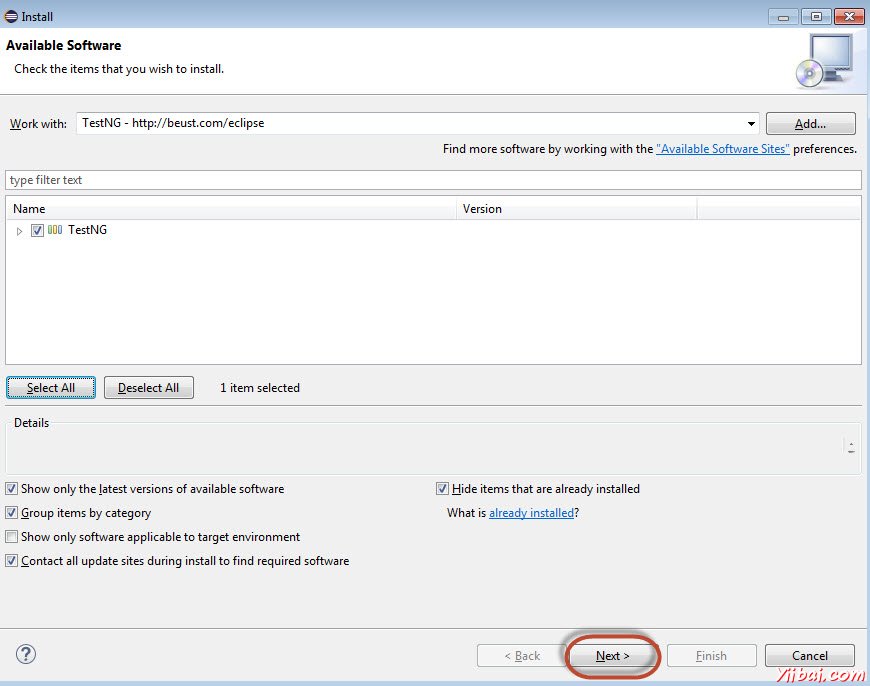
第4步:点击“全Select All”和“TestNG”将被选择,如图所示。

第5步:点击“Next”继续。
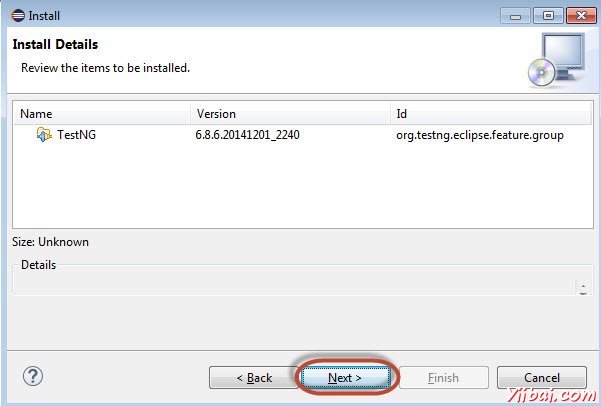
第6步:检查被选中项目,然后单击“Next”。
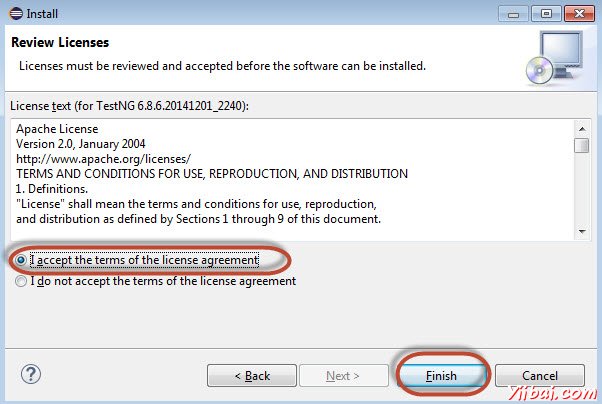
第7步:“Accept the License Agreement”,然后单击“Finish”。
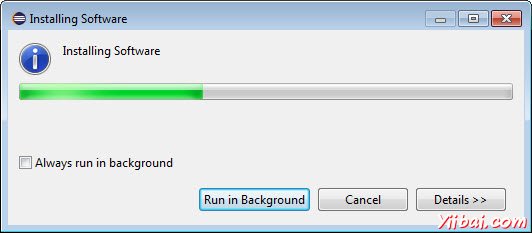
步骤8:TestNG开始安装并且将示出进度如下。
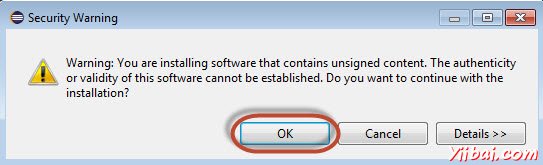
第9步:安全警告弹出的软件的有效性不能成立。单击“Ok”。
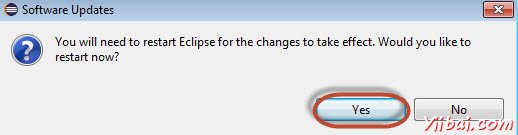
第10步:安装程序弹出的重启。单击“Yes”。
TestNG的注解
注释被正式添加到Java语言中JDK5和TestNG作出的选择使用注解来注解测试类。以下是一些使用注释的优点。更多关于TestNG可以在这里找到www.yiibai.com/testng/index.html
-
TestNG识别是通过查找注释感兴趣的方法。因此,方法的名称不局限于任何模式或格式。
-
我们可以通过额外的参数来说明。
-
注释是强类型,所以编译器会标志任何错误。
-
测试类不再需要扩展什么(如测试用例,选择JUnit3)。
| Annotation | 描述 |
|---|---|
| @BeforeSuite | 被注释的方法将只在这个套件中的所有测试运行之前运行一次。 |
| @AfterSuite | 被注释的方法将只在这个套件中的所有测试都运行后,运行一次。 |
| @BeforeClass | 带注释的方法将只调用在当前类中的第一测试方法之前运行一次。 |
| @AfterClass | 带注释的方法将仅在当前类中的所有的测试方法已经被执行之后运行一次。 |
| @BeforeTest | 属于类<测试>中的任何测试方法标记运行之前被注释的方法将被运行。 |
| @AfterTest | 被注释的方法都将属于该类别的<测试>标签内的测试方法运行后运行。 |
| @BeforeGroups | 这种配置方法,将之前运行的组的列表。此方法是保证属于任何这些基团的被调用的第一测试方法之前短暂运行。 |
| @AfterGroups | 这种配置方法,将后运行的组的列表。这个方法保证了属于任何这些基团的被调用的最后一个测试方法之后不久运行。 |
| @BeforeMethod | 被注释的方法将每个测试方法之前运行。 |
| @AfterMethod | 被注释的方法将每个测试方法之后运行。 |
| @DataProvider | 标记的方法为测试方法提供数据。被注释的方法必须返回一个Object[] [],其中每个Object []对象可以分配的测试方法的参数列表。想从这个DataProvider接收数据的@Test方法需要使用dataProvider名称等于这个注解的名字。 |
| @Factory | 将方法标记为一个工厂,返回将使用了TestNG作为测试类的对象。该方法必须返回一个Object[]。 |
| @Listeners | 定义了一个测试类监听器。 |
| @Parameters | 介绍了如何将参数传递到一个方法@Test。 |
| @Test | 标志着一个类或方法作为测试的一部分。 |
Eclipse安装TestNG
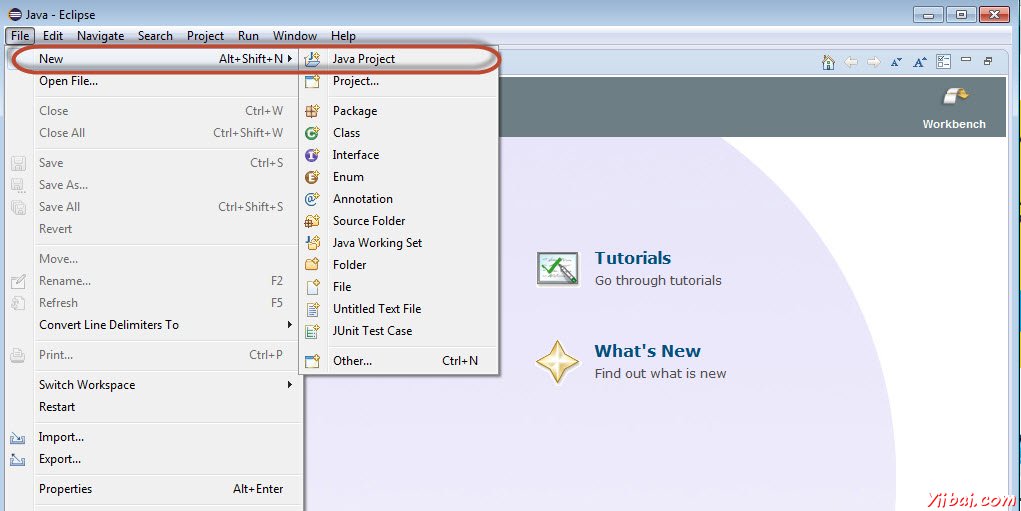
第1步:启动Eclipse,并创建一个“New Java Project”,如下图所示。
第2步:输入项目名称,然后单击“Next”。

第3步:找到“Libraries”选项卡,并单击添加Selenium远程控制服务器的JAR文件“Add External JAR's”,如图所示。

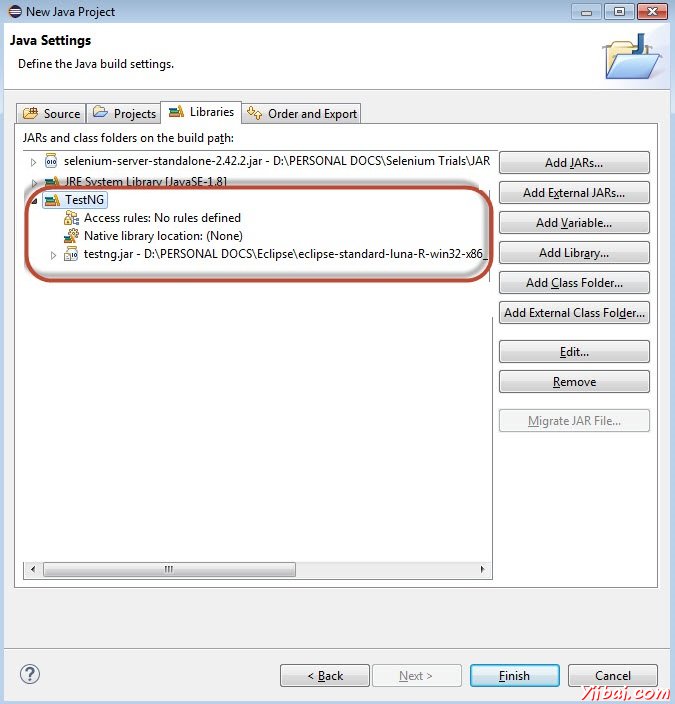
第4步:添加JAR文件,如下图所示,然后单击“Add Library”。

第5步:“Add Library”对话框打开。选择“TestNG”,然后点击“Next”在“Add Library”对话框。

第6步:添加“TestNG”类库加入如下图所示它显示出来。
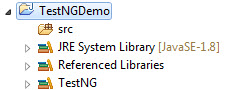
步骤7:当创建项目的结构将在下面所示的项目。
第8步:右键点击“src”文件夹并选择“New”和“other”。
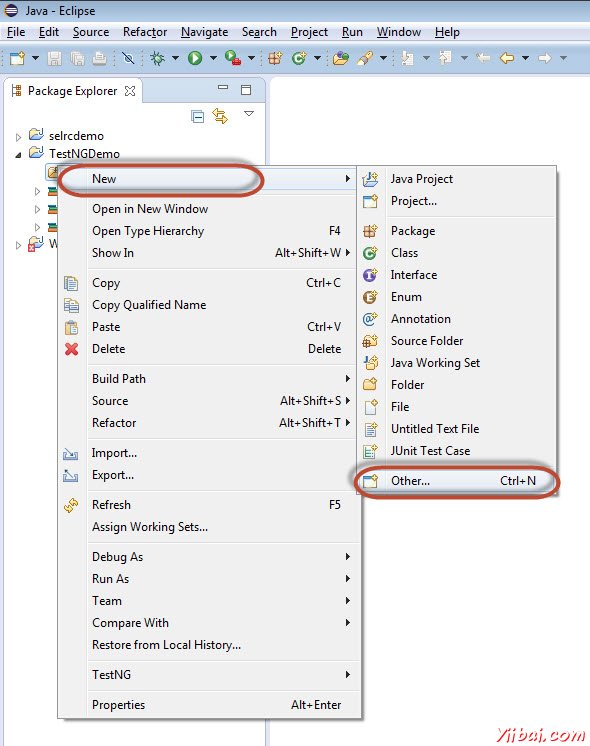
第9步:选择“TestNG”,然后点击“Next”。

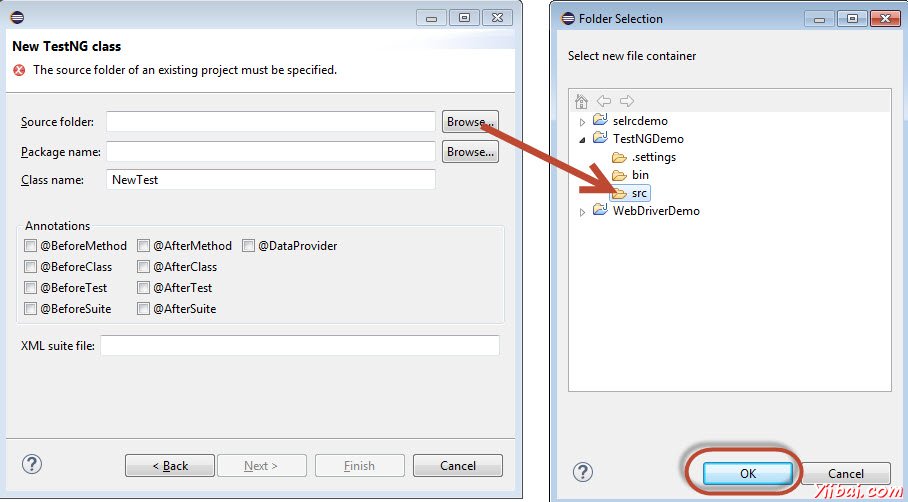
第10步:选择“Source Folder”名称,并单击“Ok”。
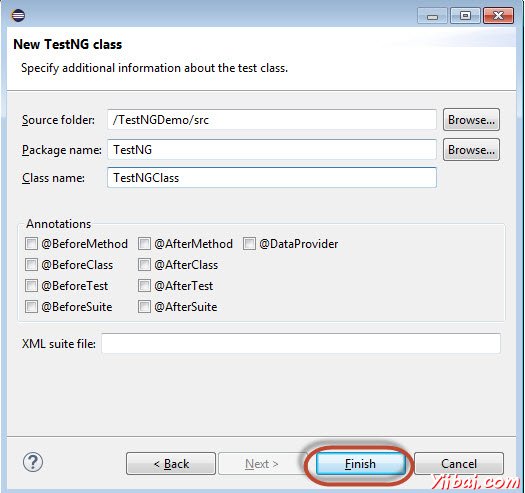
第11步:选择“Package name”,类名,然后单击“Finish”。
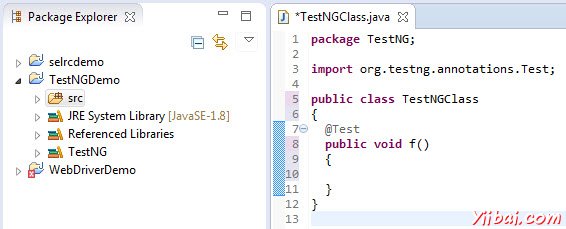
步骤12:在Package Explorer和创建的类将可以显示出来给用户。
在TestNG的第一个测试
现在让我们使用TestNG启动脚本。为我们理解webdriver使用相同的示例脚本。我们将利用演示应用程序,www.calculator.net并执行%的计算器。
在下面的测试,你会发现,没有main方法,如TestNG将驱动程序的执行流程。初始化驱动程序后,它将执行“@BeforeTest'方法,其次是”@Test',然后'@AfterTest“。请注意,可以在一个类中的任何数量“@Test”注解,但是“@BeforeTest'和'@AfterTest”只能出现一次。
package TestNG;
import java.util.concurrent.TimeUnit;
import org.openqa.selenium.*;
import org.openqa.selenium.firefox.FirefoxDriver;
import org.testng.annotations.AfterTest;
import org.testng.annotations.BeforeTest;
import org.testng.annotations.Test;

public class TestNGClass
{
  WebDriver driver = new FirefoxDriver();

  @BeforeTest
  public void launchapp()
  {
    //Puts a Implicit wait, Will wait for 10 seconds before throwing exception
    driver.manage().timeouts().implicitlyWait(10, TimeUnit.SECONDS);
    //Launch website
    driver.navigate().to("http://www.calculator.net");
    driver.manage().window().maximize();
  }

  @Test
  public void calculatepercent()
  {
	// Click on Math Calculators
	driver.findElement(By.xpath(".//*[@id='menu']/div[3]/a")).click();

	// Click on Percent Calculators
	driver.findElement(By.xpath(".//*[@id='menu']/div[4]/div[3]/a")).click();

	// Enter value 10 in the first number of the percent Calculator
	driver.findElement(By.id("cpar1")).sendKeys("10");

	// Enter value 50 in the second number of the percent Calculator
	driver.findElement(By.id("cpar2")).sendKeys("50");

	// Click Calculate Button
	driver.findElement(By.xpath(".//*[@id='content']/table/tbody/tr/td[2]/input")).click();

	// Get the Result Text based on its xpath
	String result = driver.findElement(By.xpath(".//*[@id='content']/p[2]/span/font/b")).getText();

	//Print a Log In message to the screen
	System.out.println(" The Result is " + result);

	if(result.equals("5"))
	{
		System.out.println(" The Result is Pass");
	}
	else
	{
		System.out.println(" The Result is Fail");
	}
  }

  @AfterTest
  public void terminatetest()
  {
    driver.close();
  }
}
执行
通过在创建的XML执行右键单击并选择 "Run As" >> "TestNG Suite"进行测试执行

结果分析
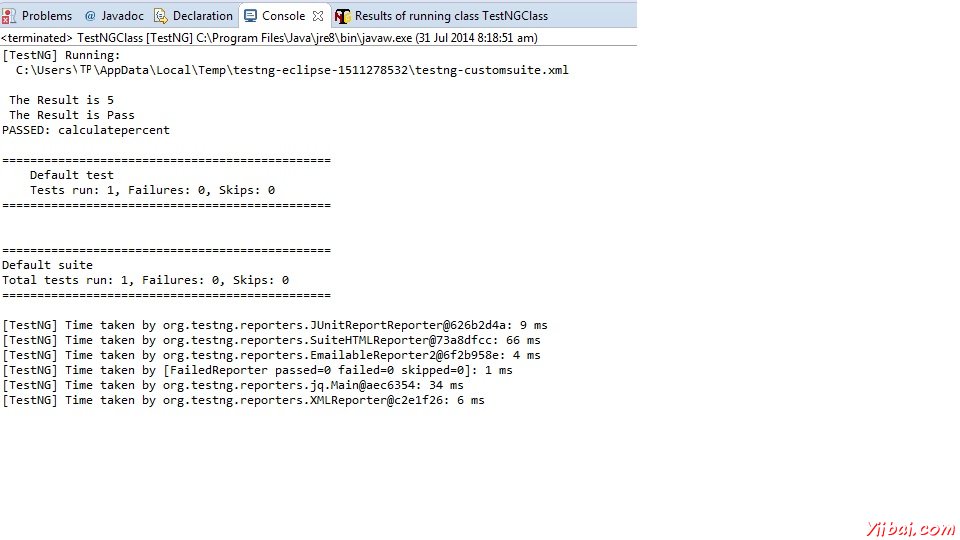
输出被丢到了控制台,它会出现如下图所示。控制台输出也有执行摘要。
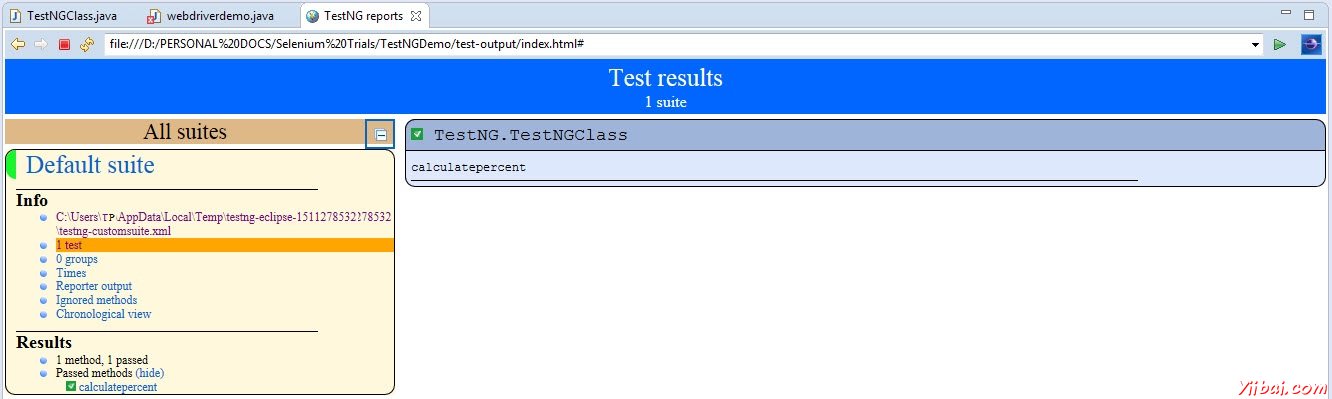
TestNG的结果也可以看出在不同的标签。点击“HTML Report View”按钮,如下图所示。

如下所示的HTML结果将被显示。


 3972
3972

 被折叠的 条评论
为什么被折叠?
被折叠的 条评论
为什么被折叠?
 到【灌水乐园】发言


